It was almost 5 years ago that it came time to make another attempt at the Colorado Trail. So much has changed since then. My buddy Mike who I did it with last time is now married, raising a young boy, and has a full plate that wont allow him the time required to ride this distance. Maybe another time Mike. Things have also changed for myself. My son Seth is away in college and I have found myself with lots of time, freedom, and the ability to do the outdoor things I love. Lately its been 20-30 nights of camping for the past few years. All of this backpacking and bikepacking I was doing for the past several summers helped get me the experience and refine my bikepacking gear that was much needed for an adventure like this. It would have been cool to have a friend along the way but I ended up doing it solo.
In 2010 the goal was to ride from Waterton Canyon to Leadville completing the first 180 miles of this 550 mile long trail over 5 days. You can read about that adventure here. Back in 2010 my gear was not nearly as light and I carried all the weight on my back. Mike and I even decided to take our bikes apart and carry them through the 6 mile Lost Creek wilderness section instead of taking the 70 mile dirt road detour. The math made sense at the time.,, I was such a beginner back then.
Major Gear list is as follows
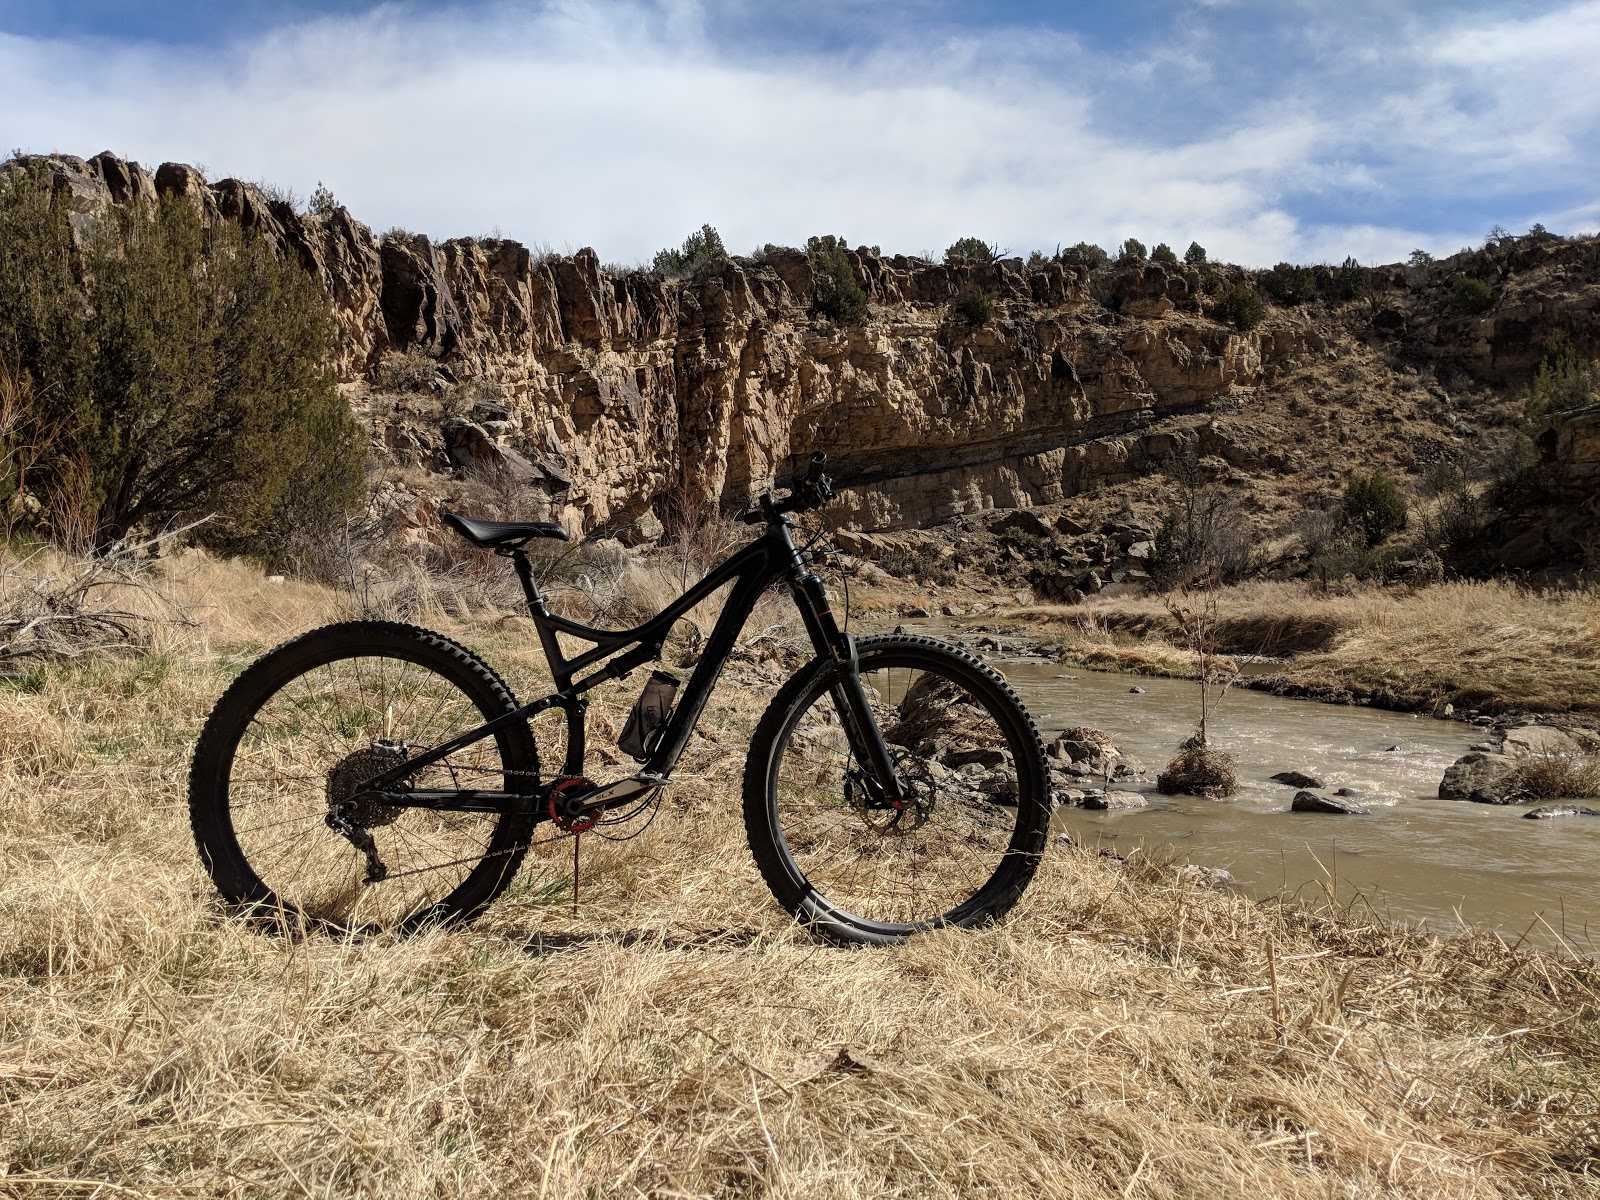
Bike: Specialized Stumpjumper 29
Bike Bags: Jpaks
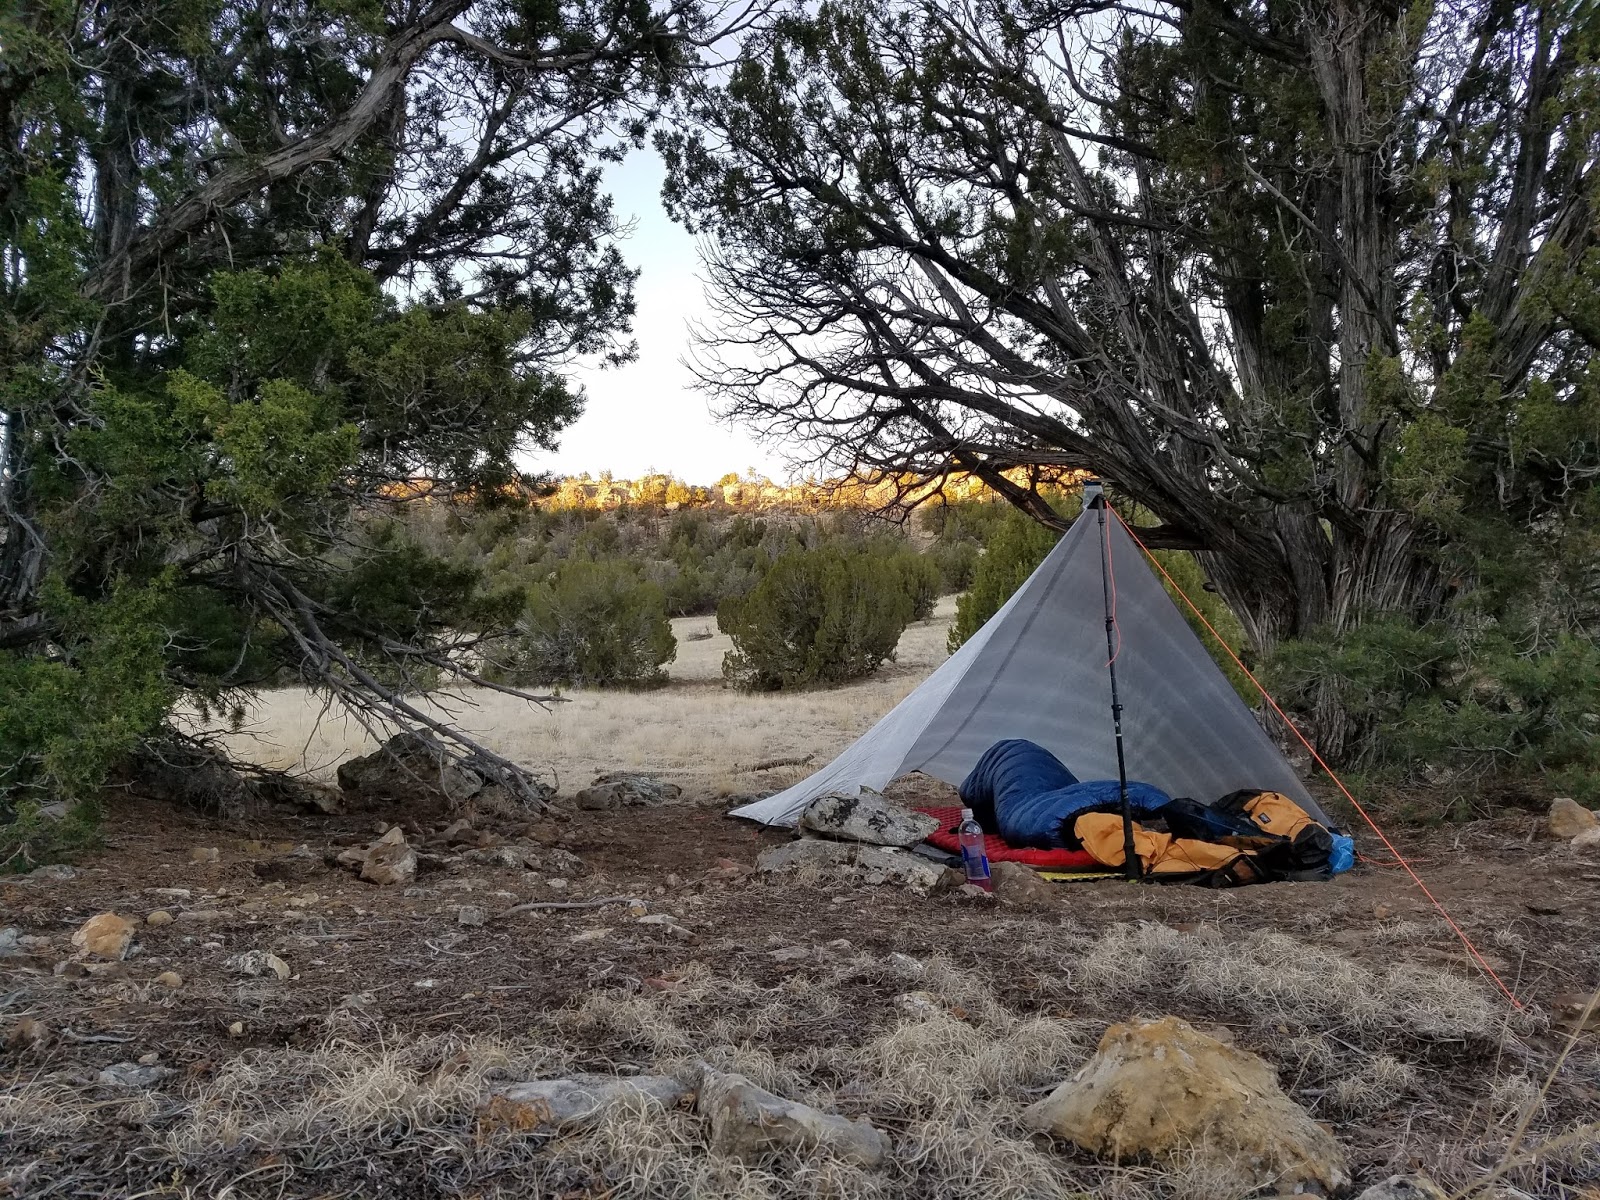
Tarp: Gossamer Gear Qtwinn Cuben
Sleeping Bag: REI 20deg Sub Kilo
Air Pad: Sea to Summit Comfort Plus
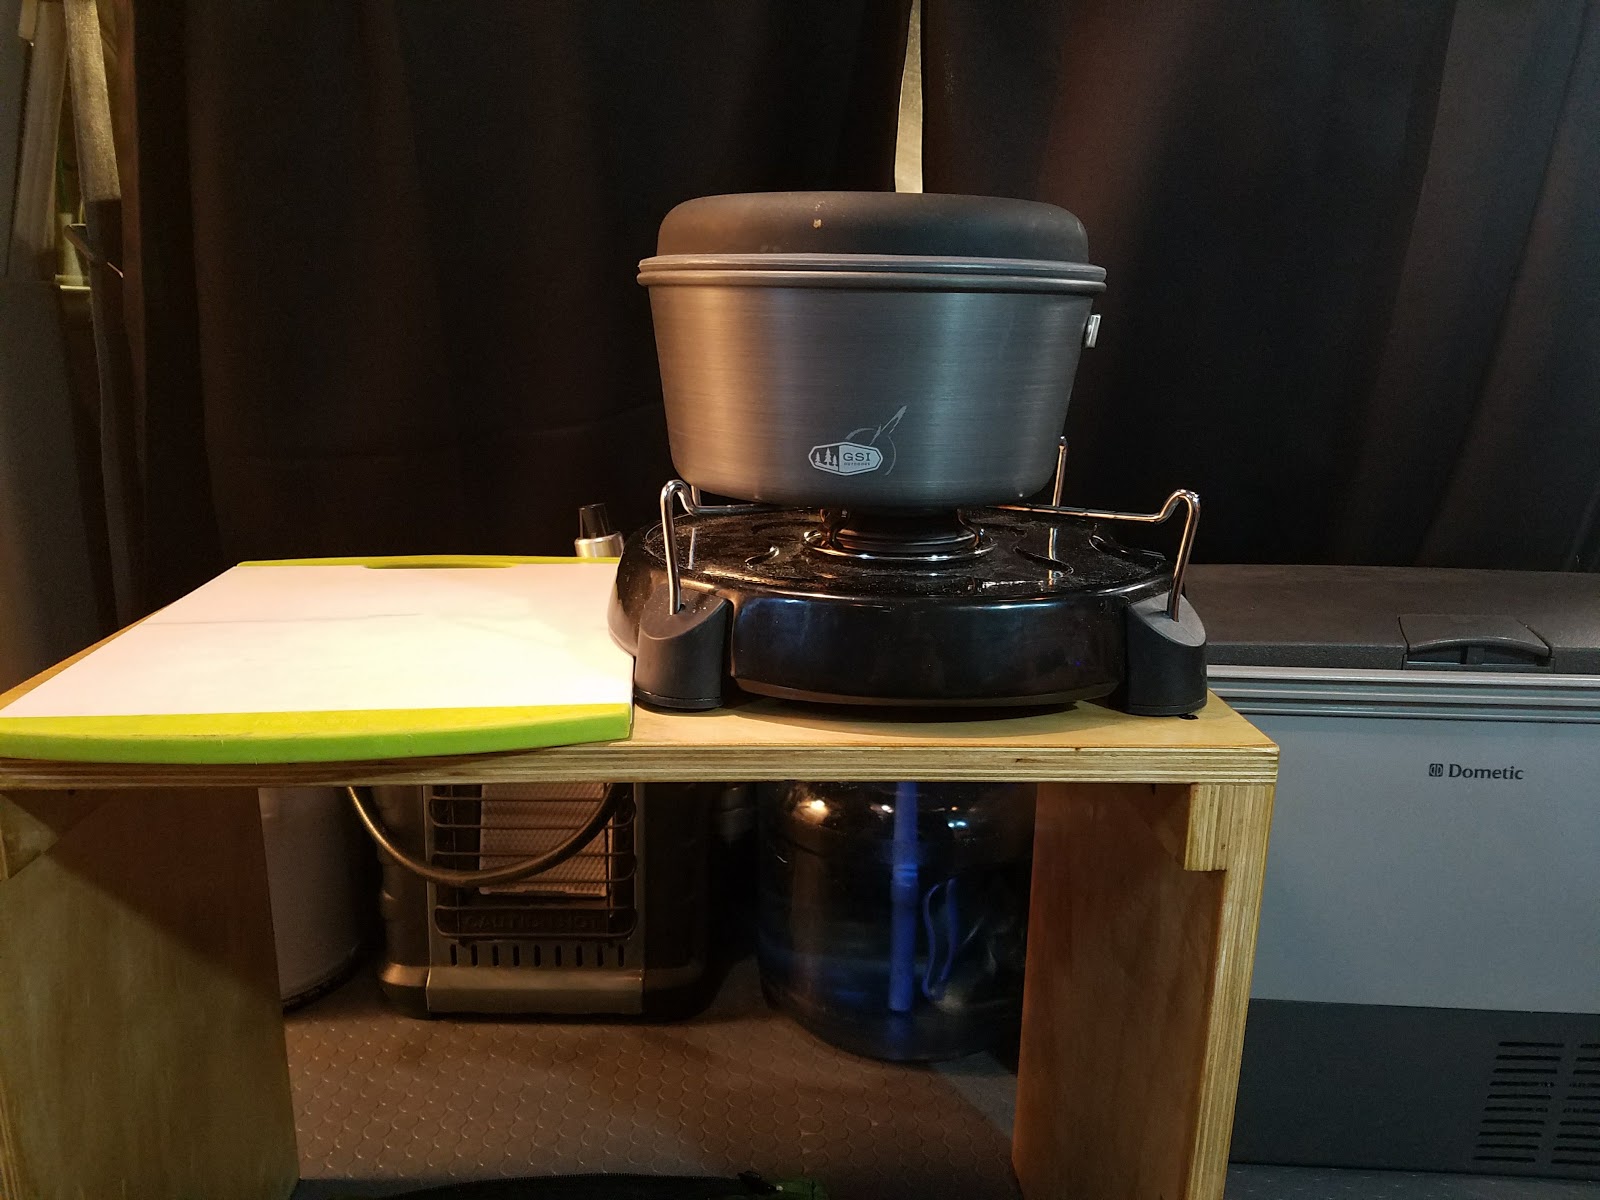
Stove: Jetboil Sol Ti
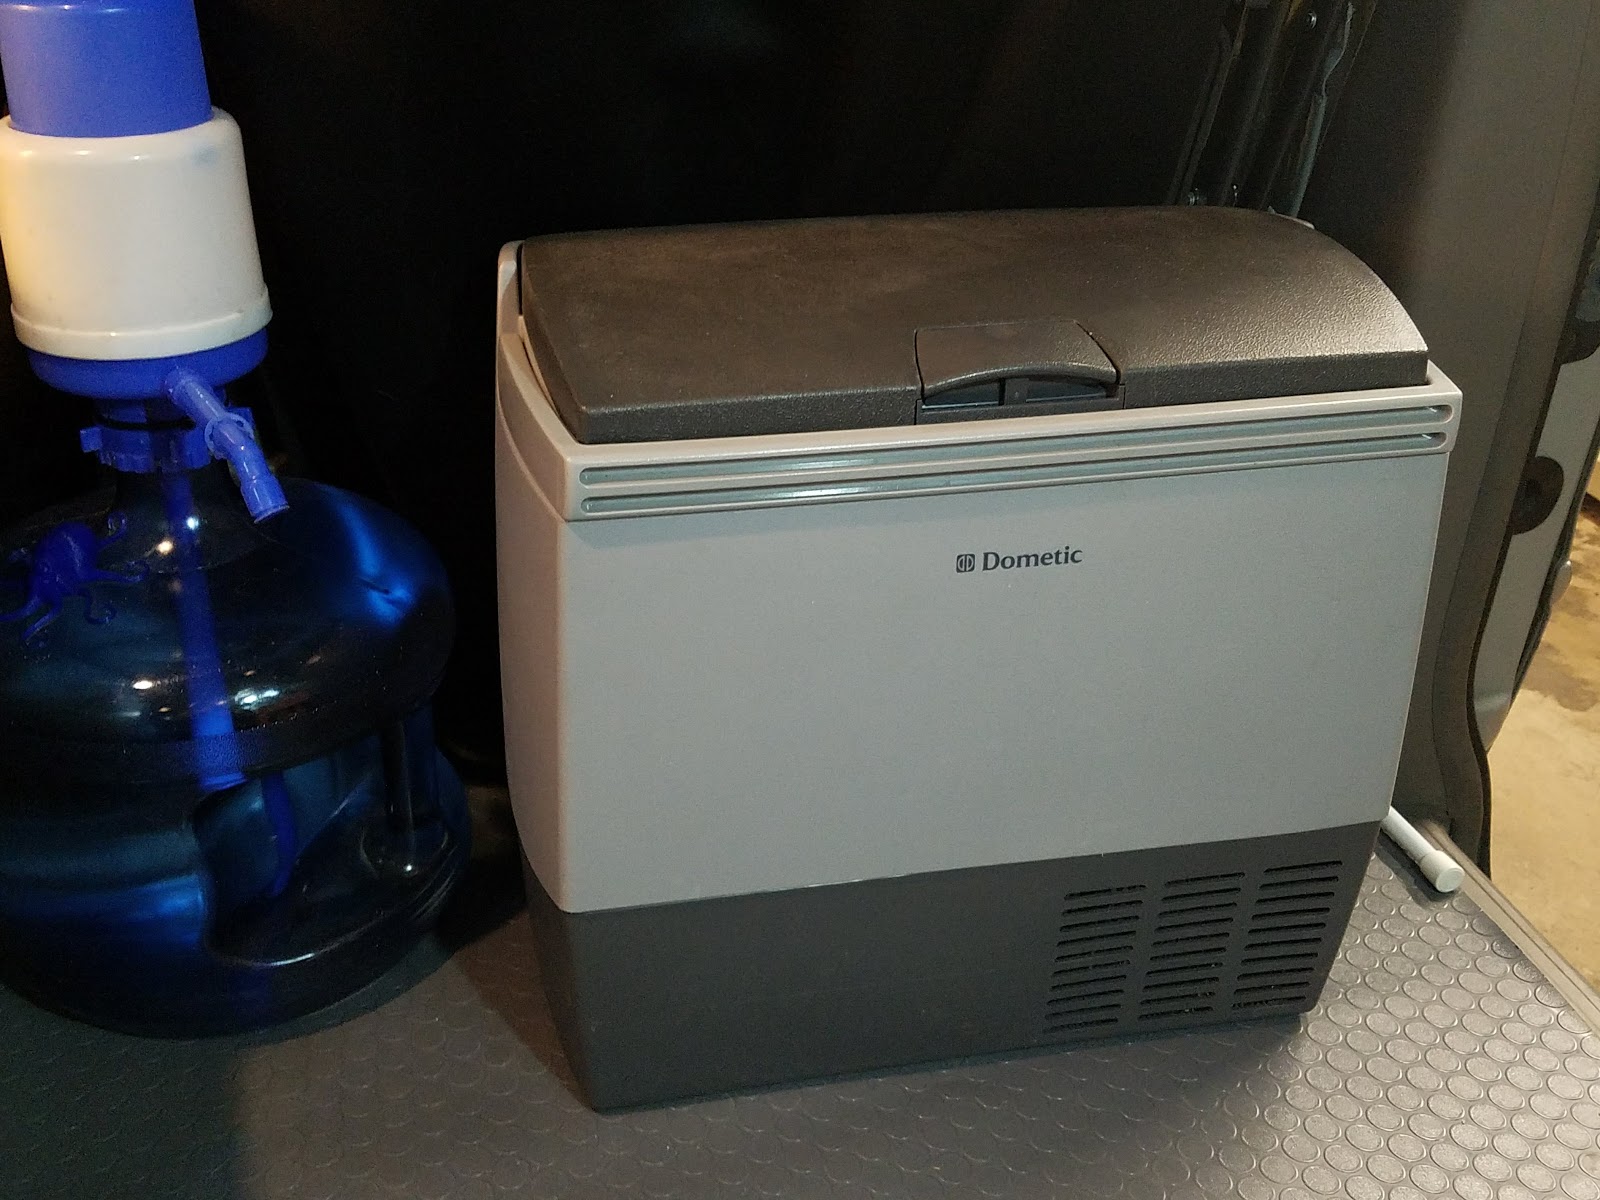
Water Filtration: Sawyer Squeeze
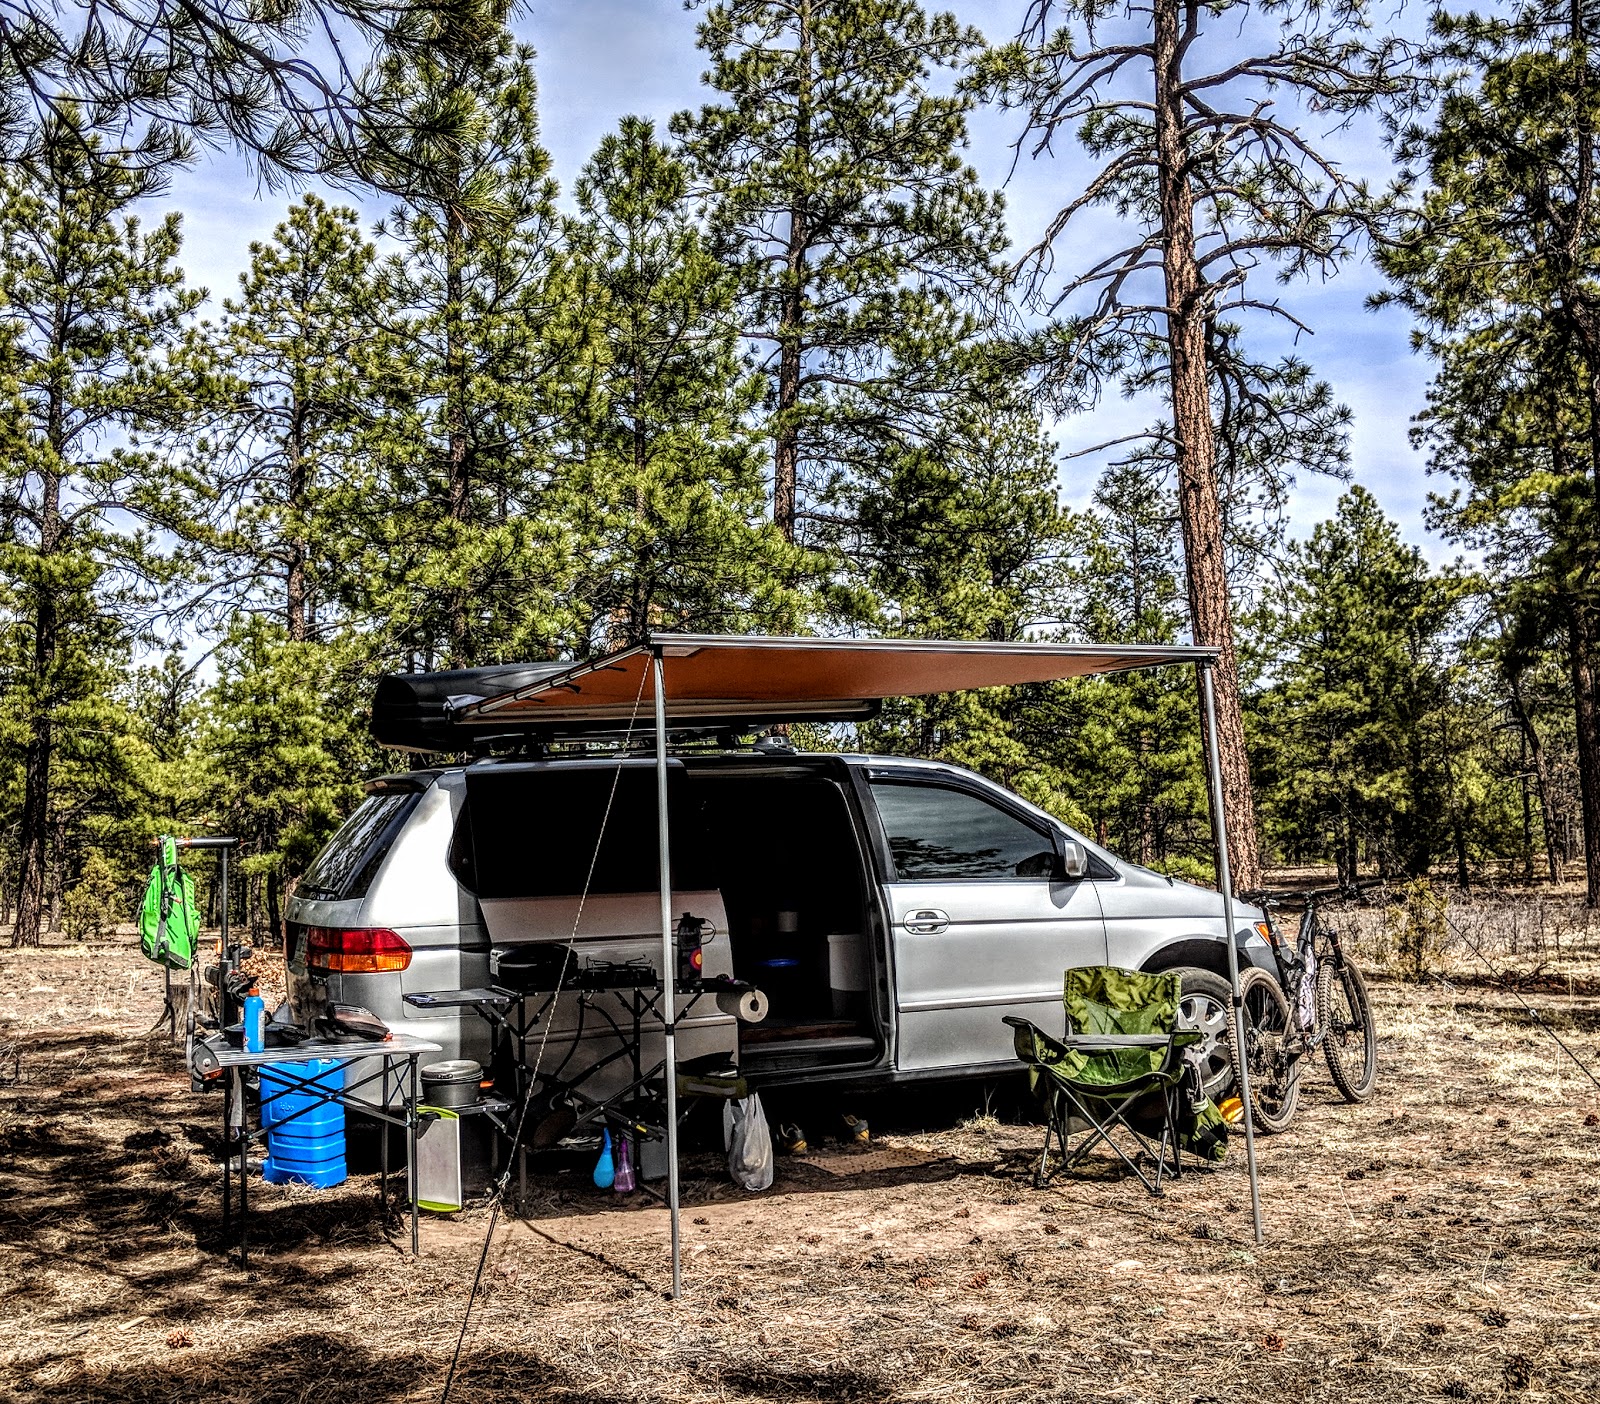
As usual I like to tell my story with pictures.
My roomate Chris Kuhn drooped me off in Leadville at the local Pizza Hut. This Pizza Hut is where my adventure ended in 2010 on the Colorado Trail with Mike. In this picture I was full of butterflies!!
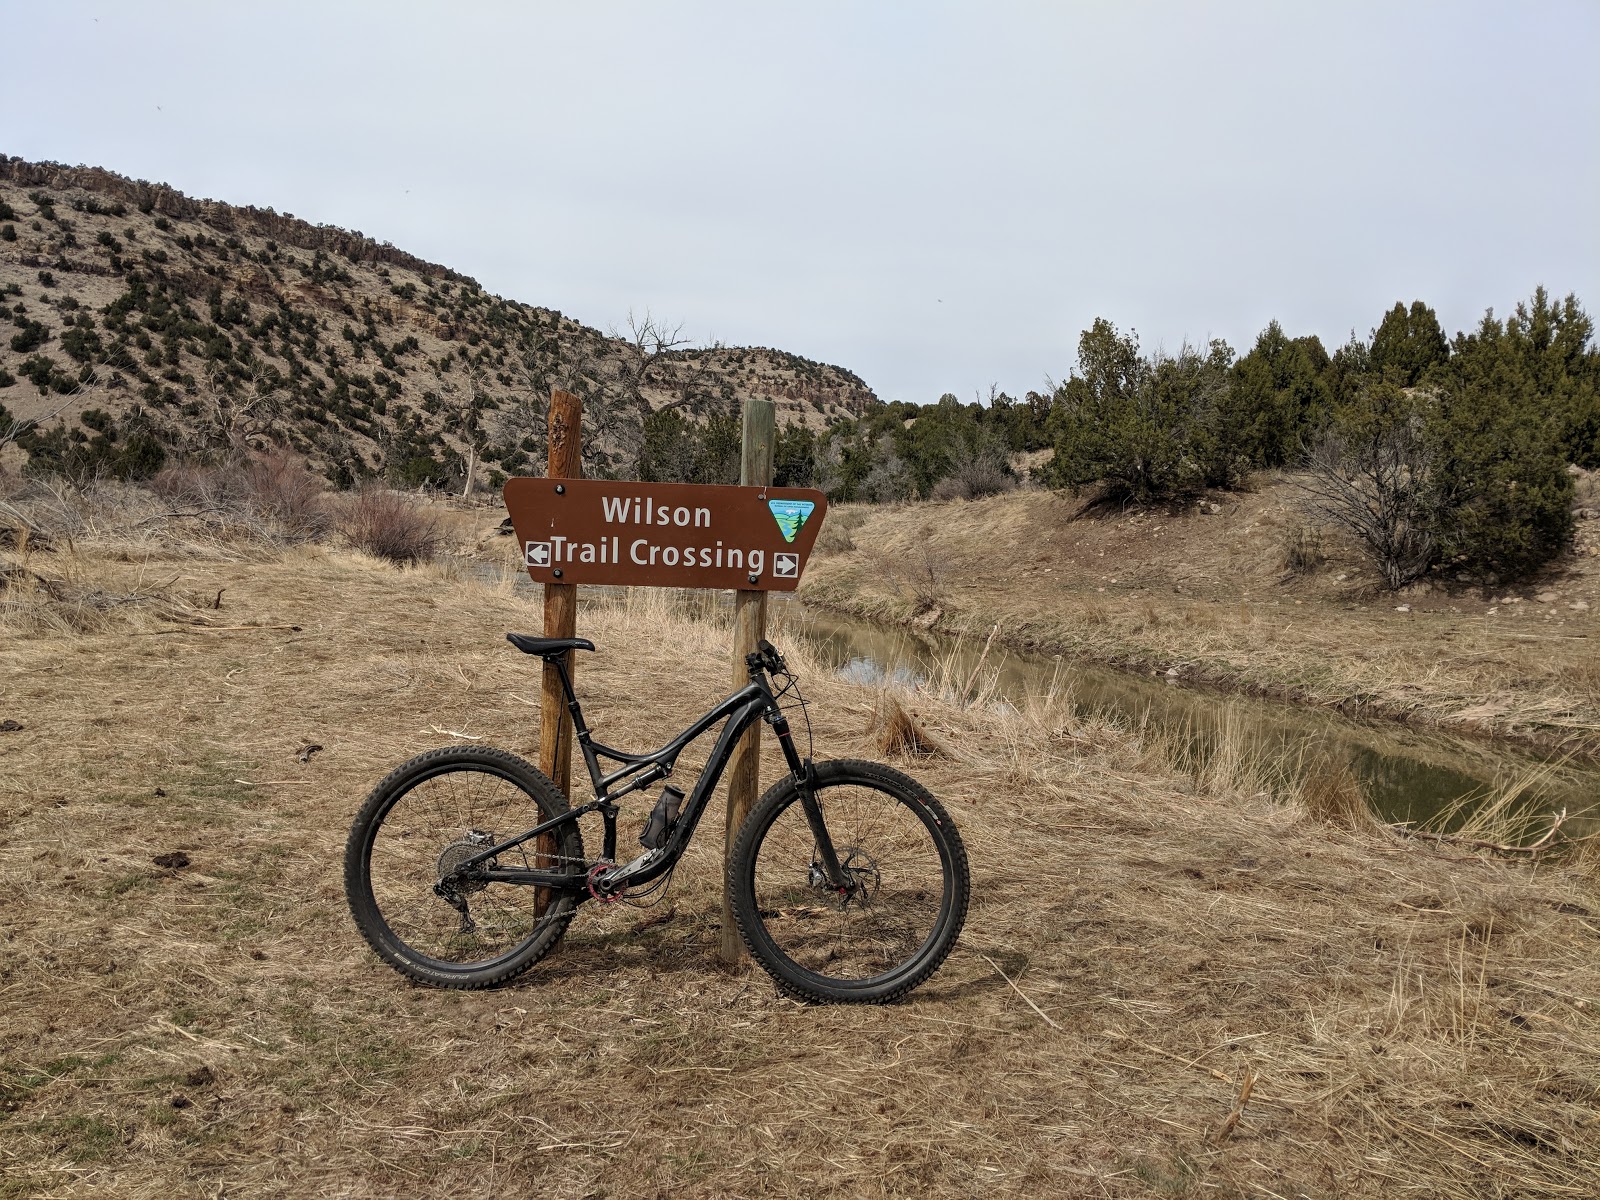
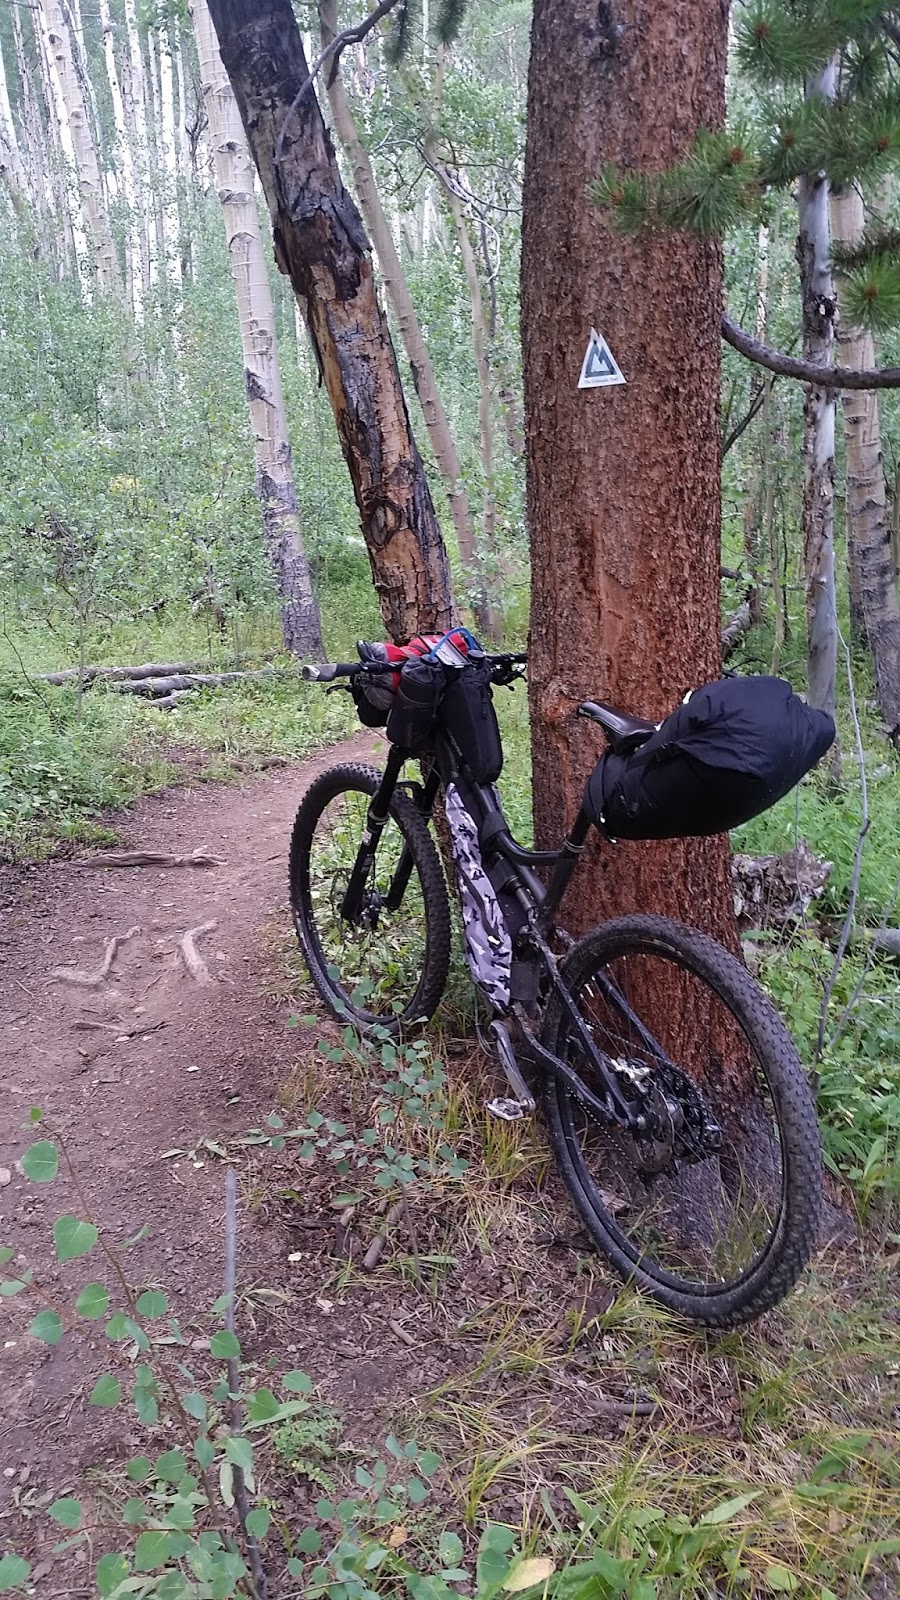
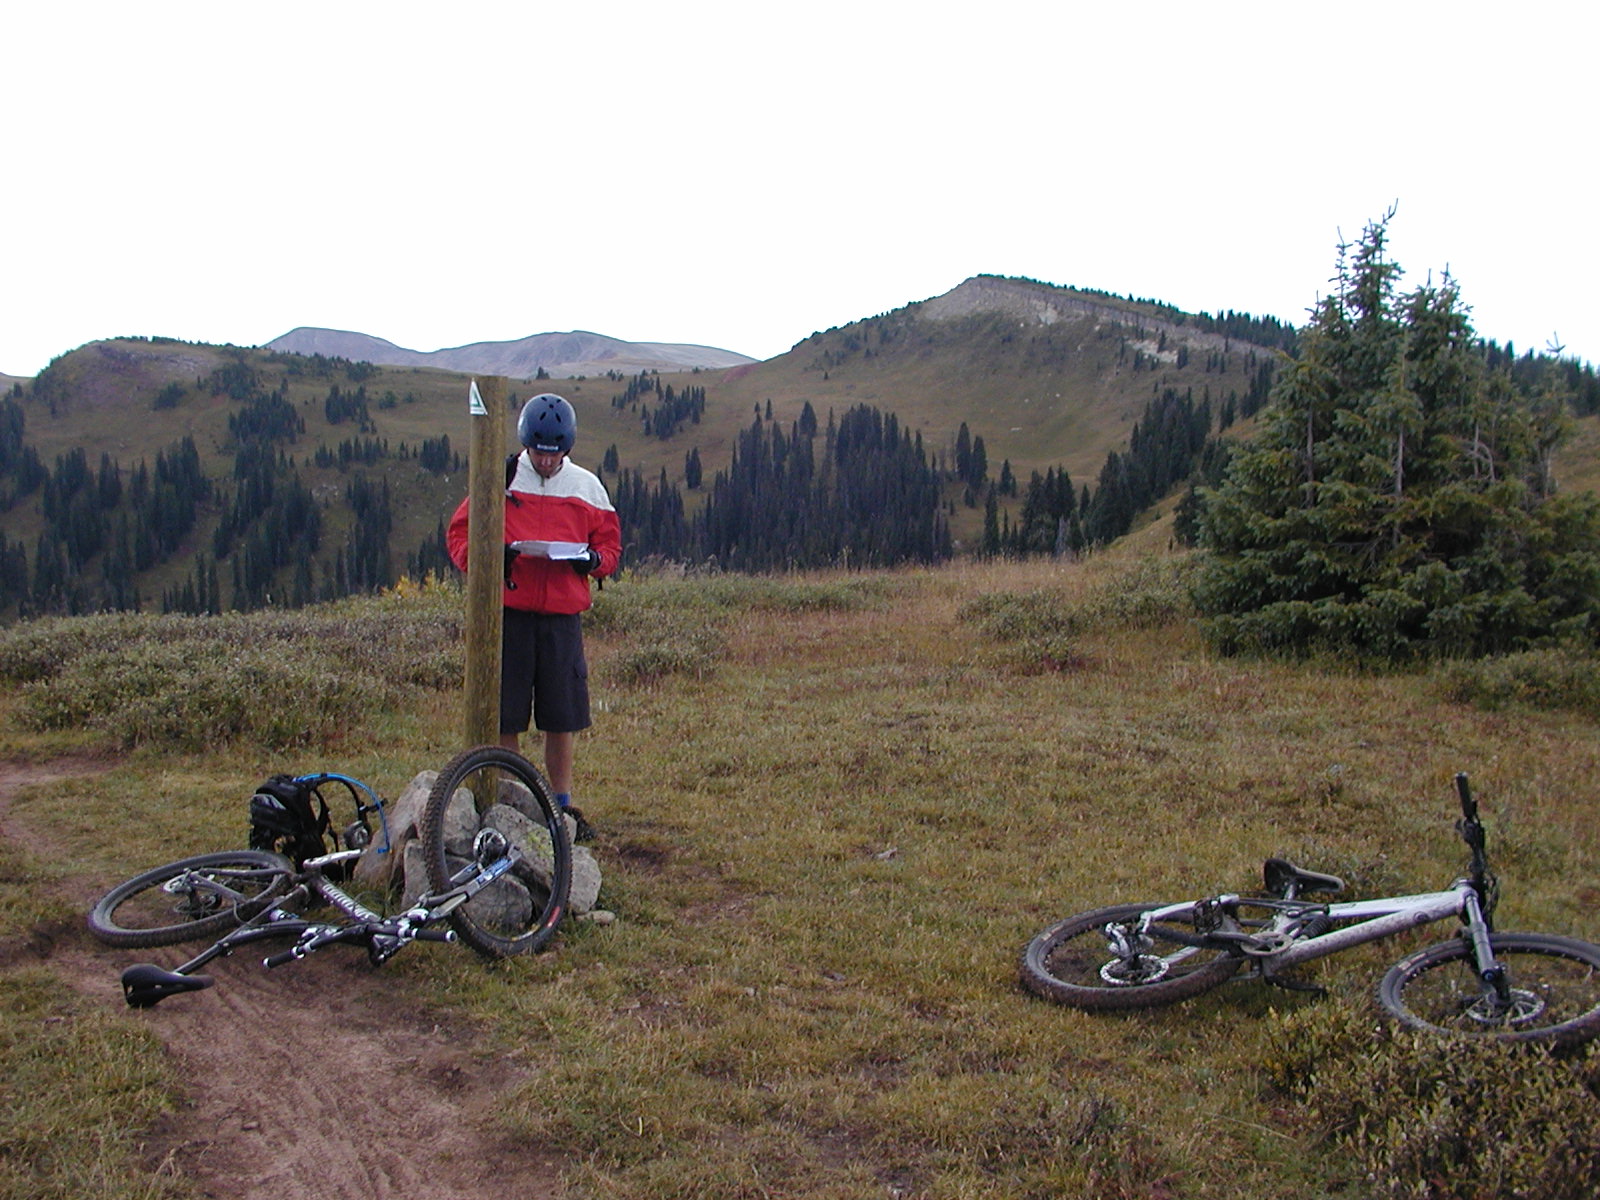
I rode from the town of Leadville up Halfmoon Creek Rd and joined the Colorado Trail for the first time since my 2010 trip. This was also my first encounter with a CT confidence marker. A confidence marker is a trail sign that says you are going the right way.
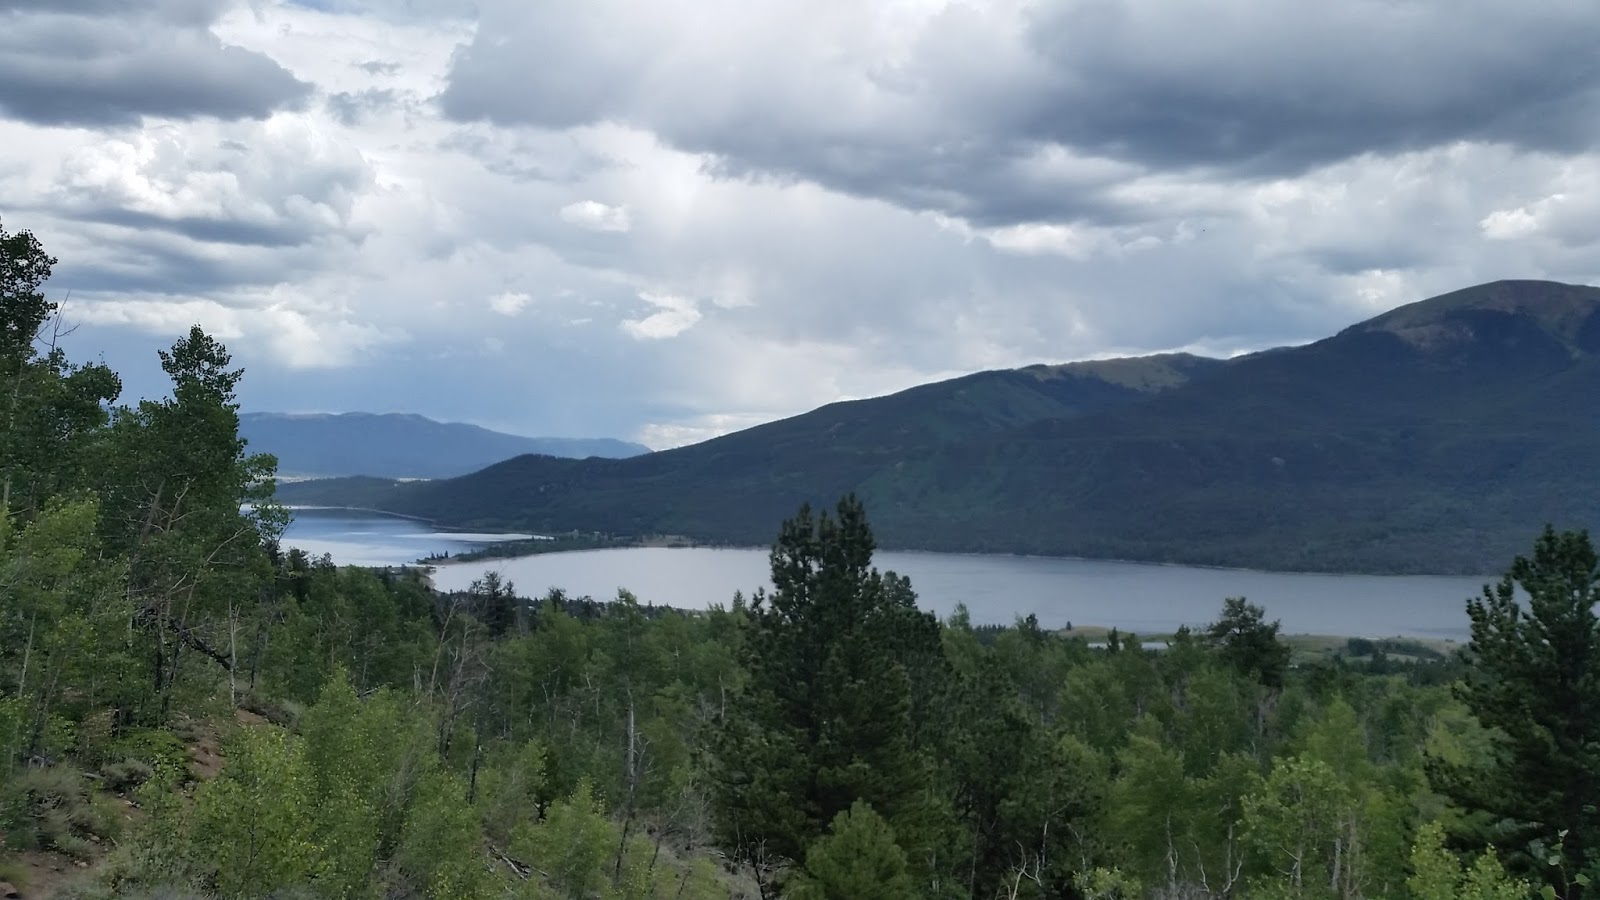
The trail between Half Moon Creek Rd and Clear Creek Road on segment 11 was really fun and well groomed single track. I would recommend this section to any mountain biker that wants to do a MTB friendly section of the CT. As I was on a fun flowly descent to the Twin Lakes, I intersected with the Leadville 100 race and spent some time watching the races while I drank water and ate some food.
I didn’t get picture but my first night of camp was off of Clear Creek Road and Hy 50. Last year when I hiked Oxford and Belford, I found lots of good car camping off Clear Creek road.
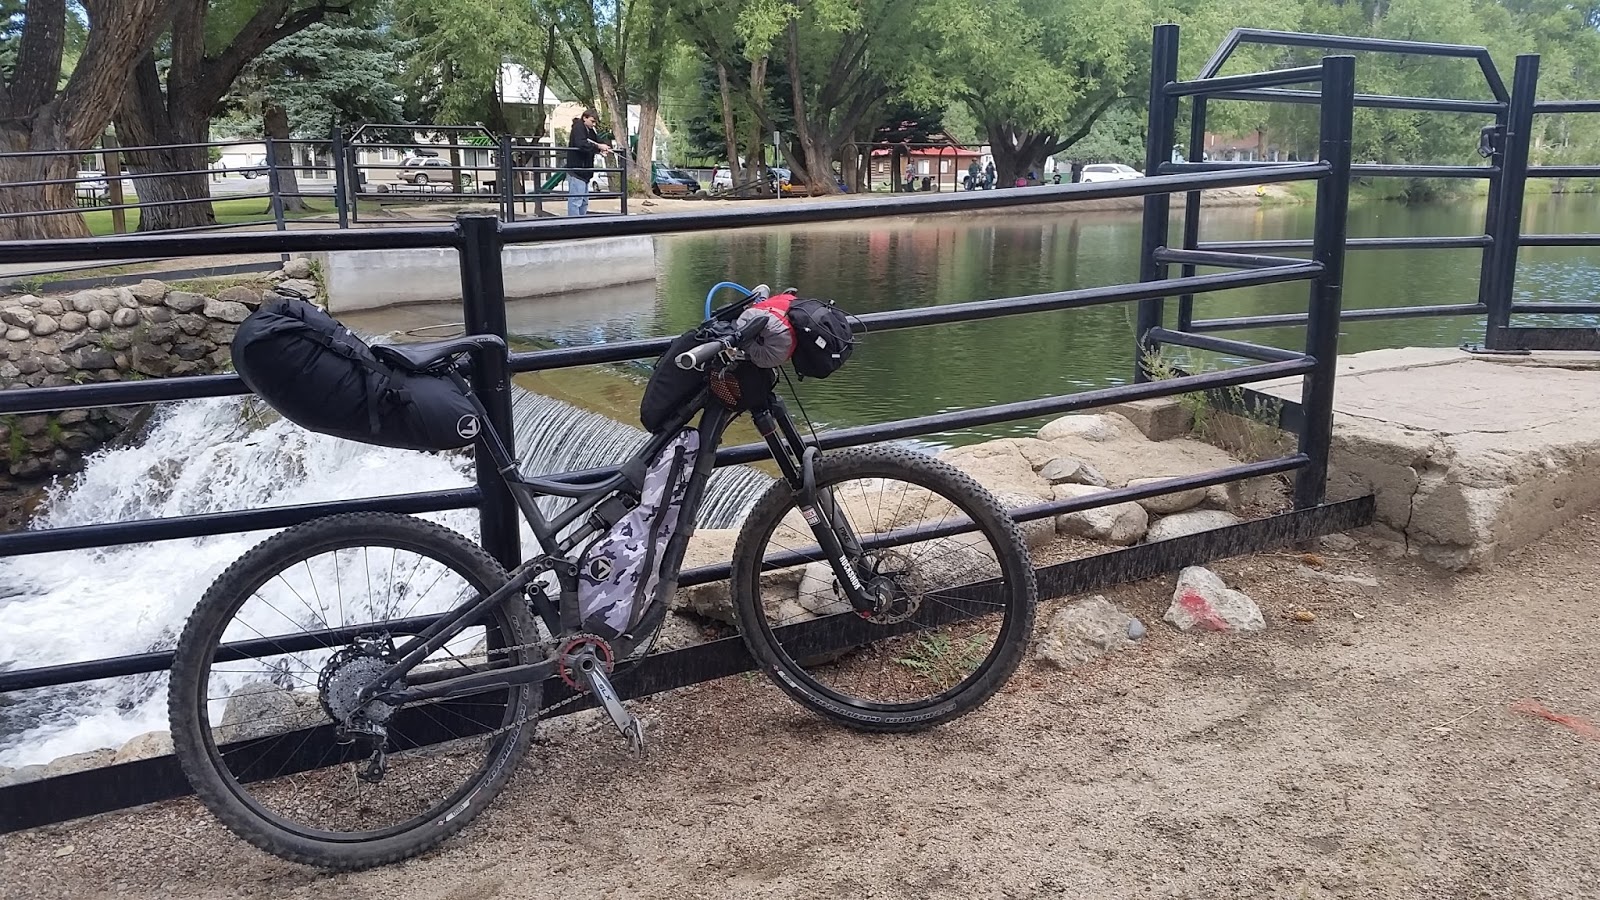
The next morning I made it to Buena Vista in no time on my first mountain bike detour of the trip. The Collegiate Wilderness Detour was really easy as it follows the Arkansas River all the way down to Buena Vista. On the way down I realized my pedal bearings were shot and luckily got new pedals replaced at the Boneshakers bike shop in town. Boneshakers was a killer shop! I got a horrible breakfast from Panchos that consisted of frozen hash brown triangles, and crappy scrambled eggs. At least they had free WiFi and bacon. You may have seen this city park right off the highway and is a popular spot. Lots of tourists hanging out and asking me questions about my trip.
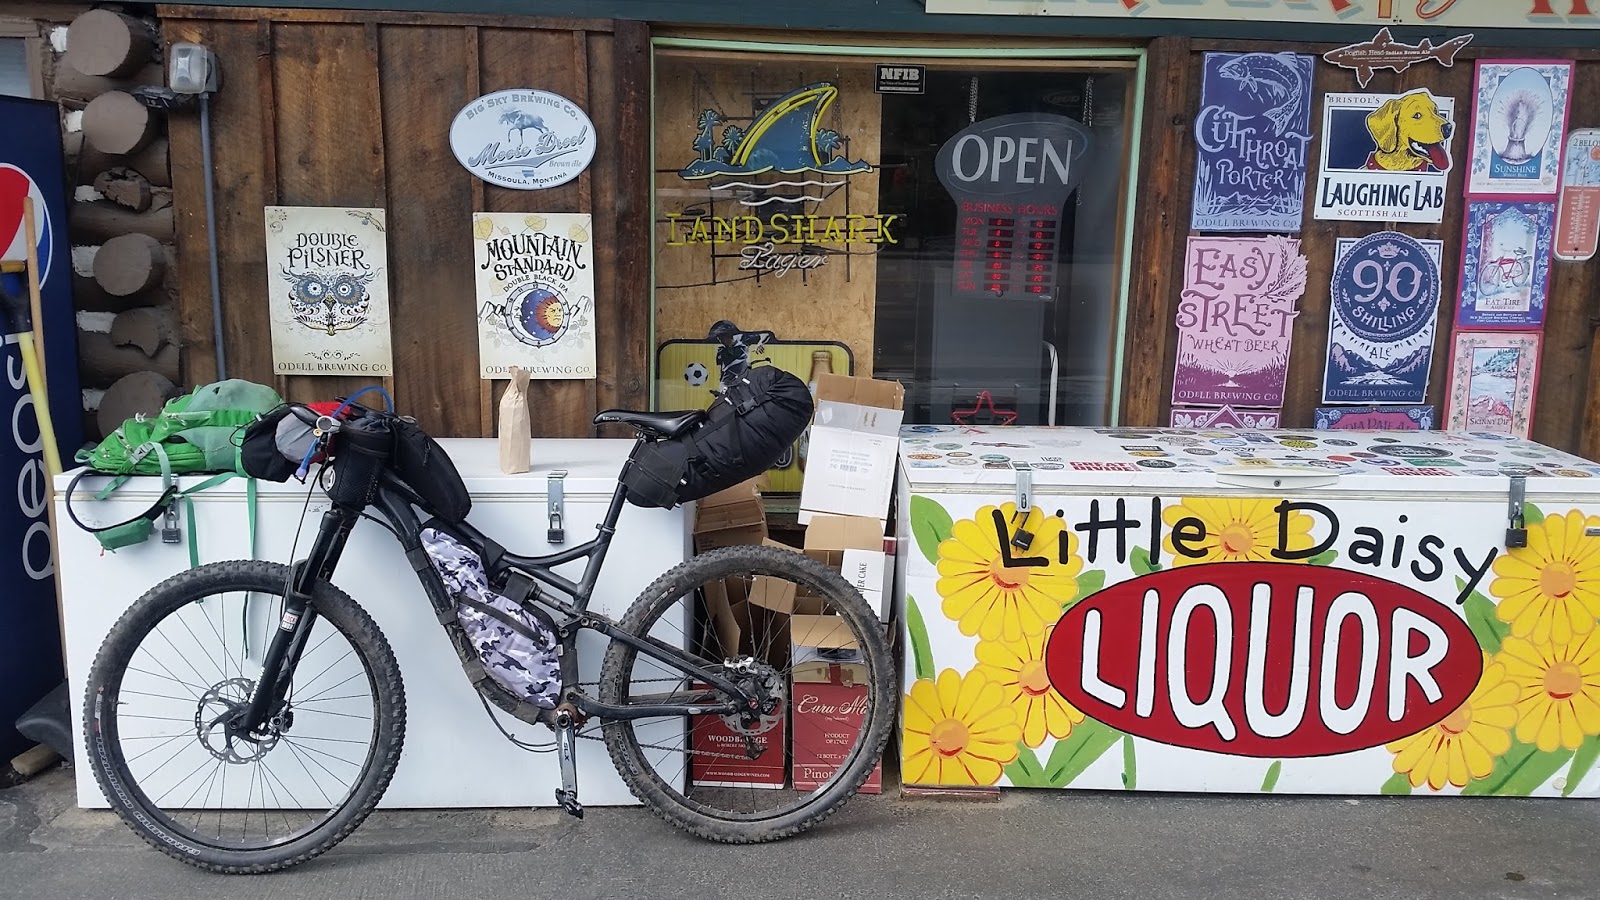
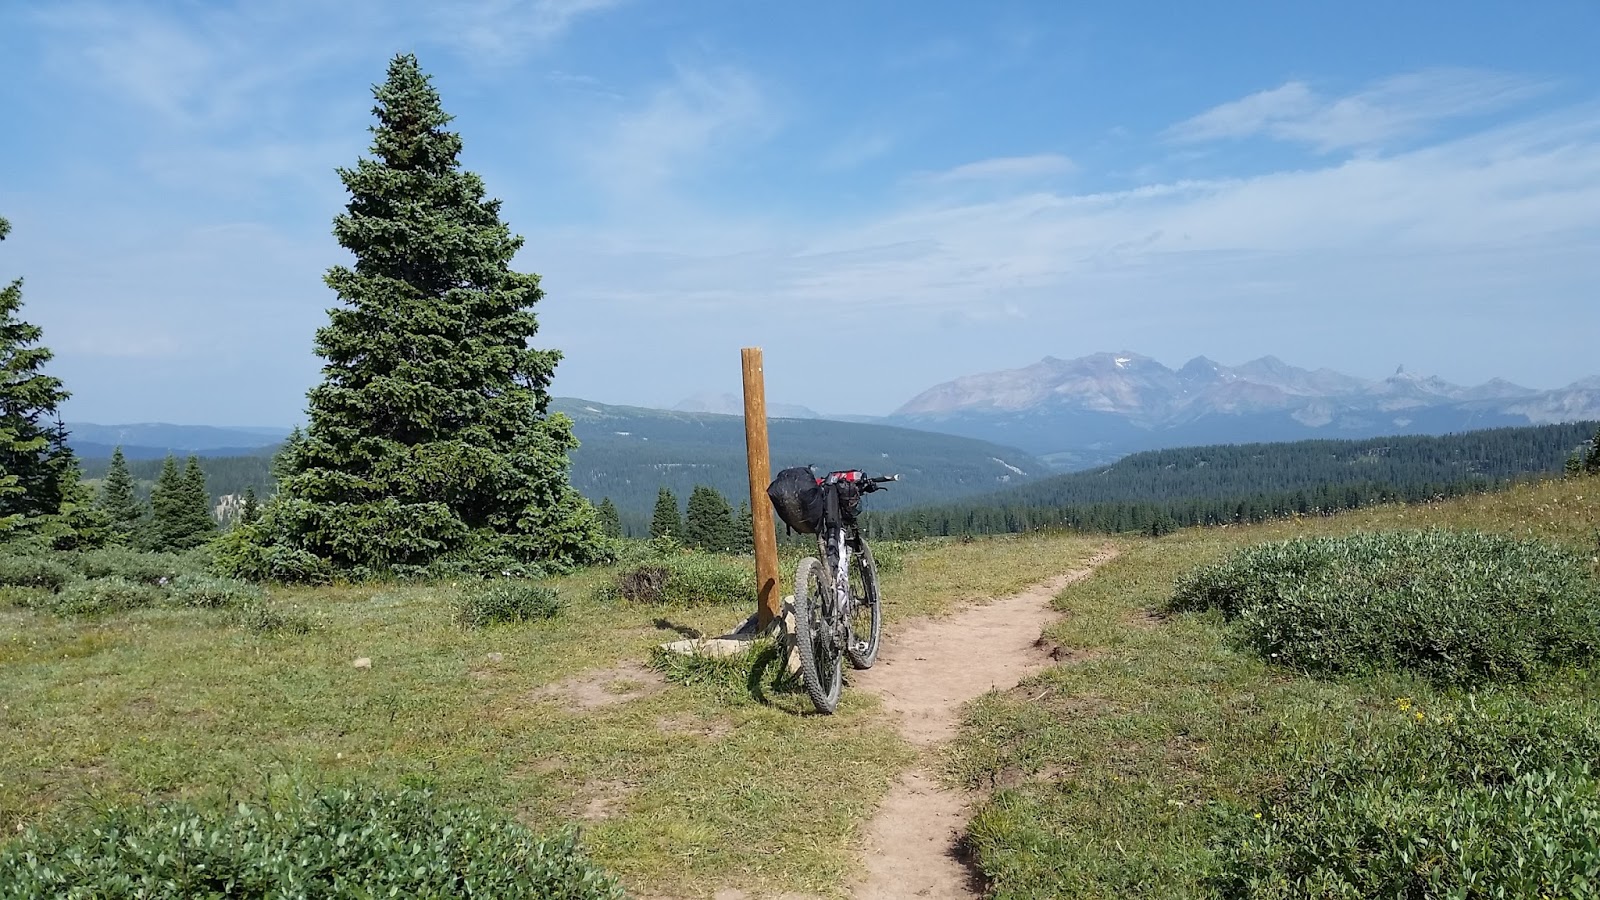
I love this picture….. I stopped and grabbed a trail beer before leaving town…. This would be the only trail beer acquired in the 360 mile trip.
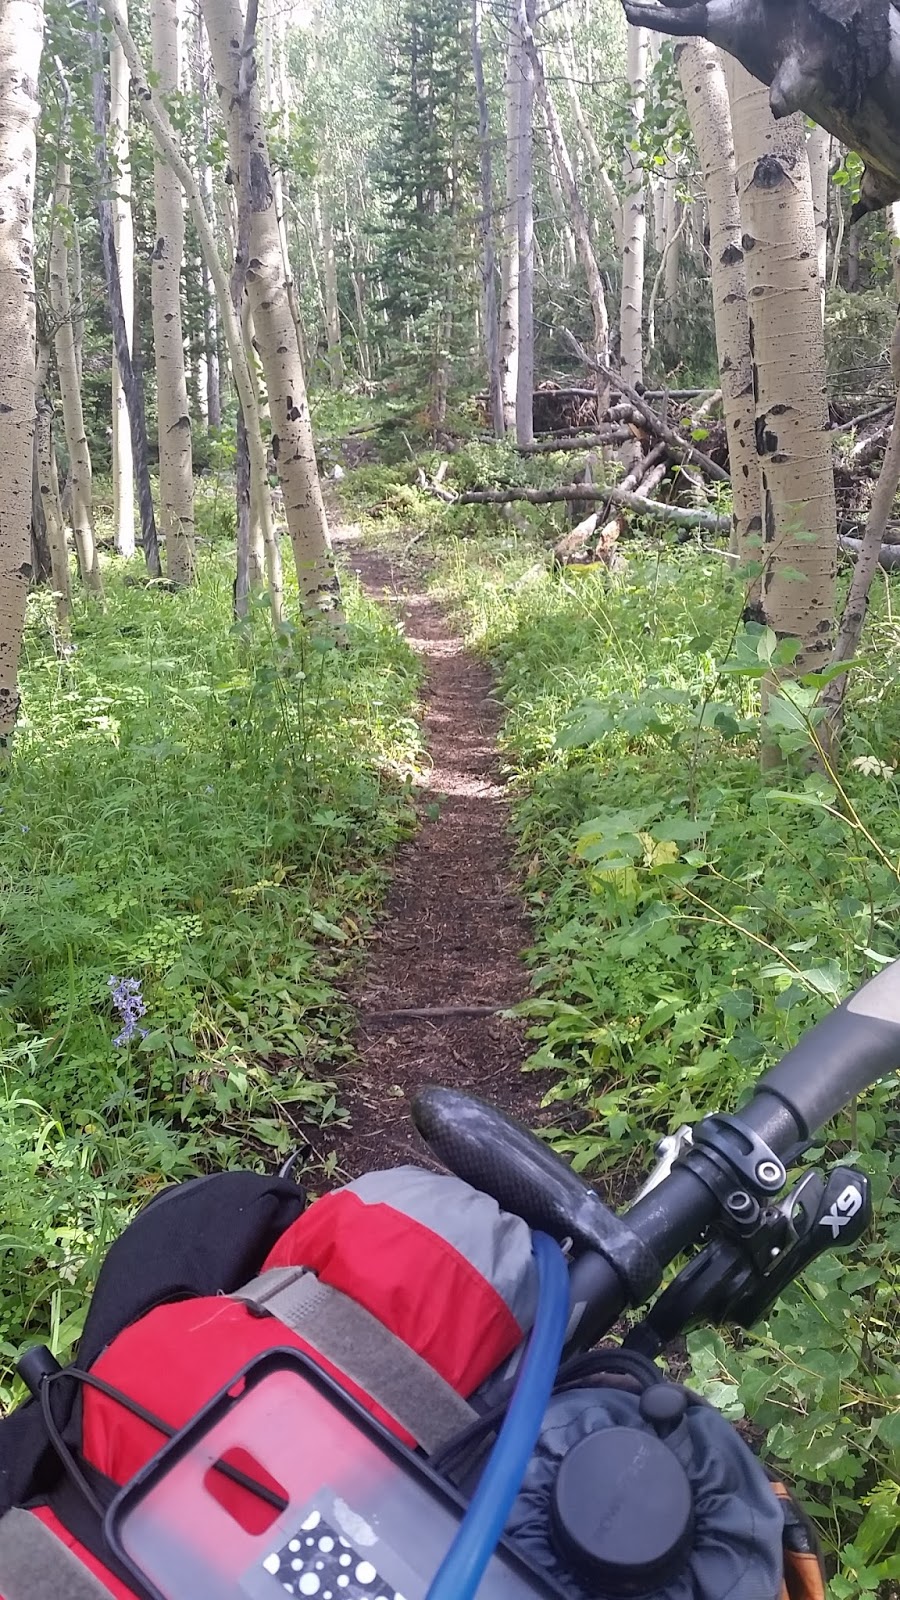
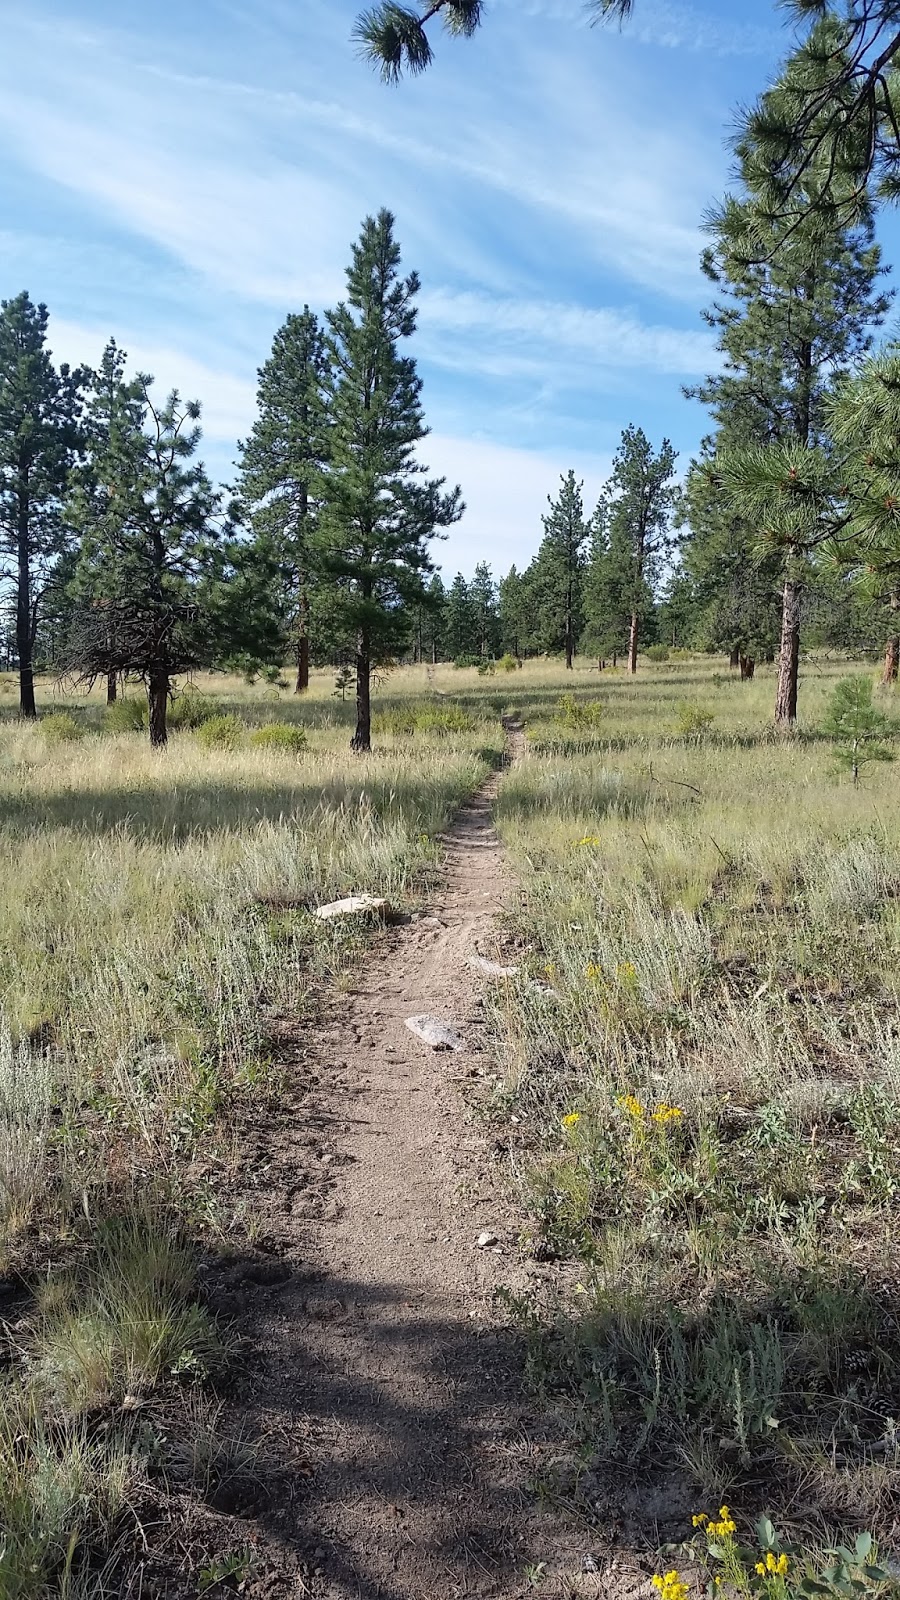
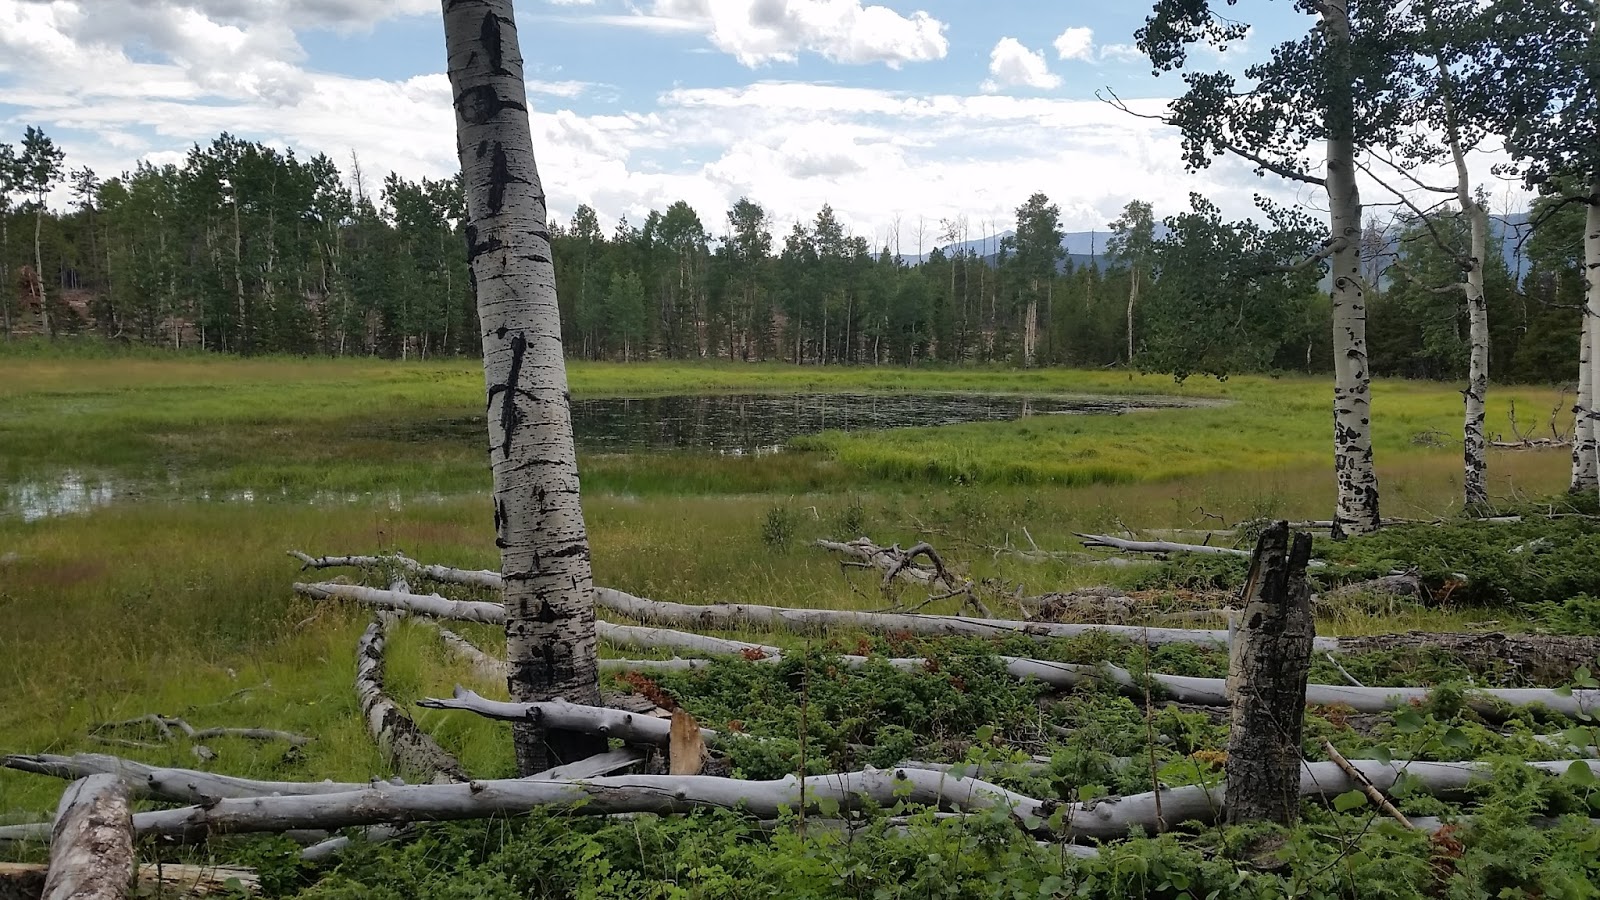
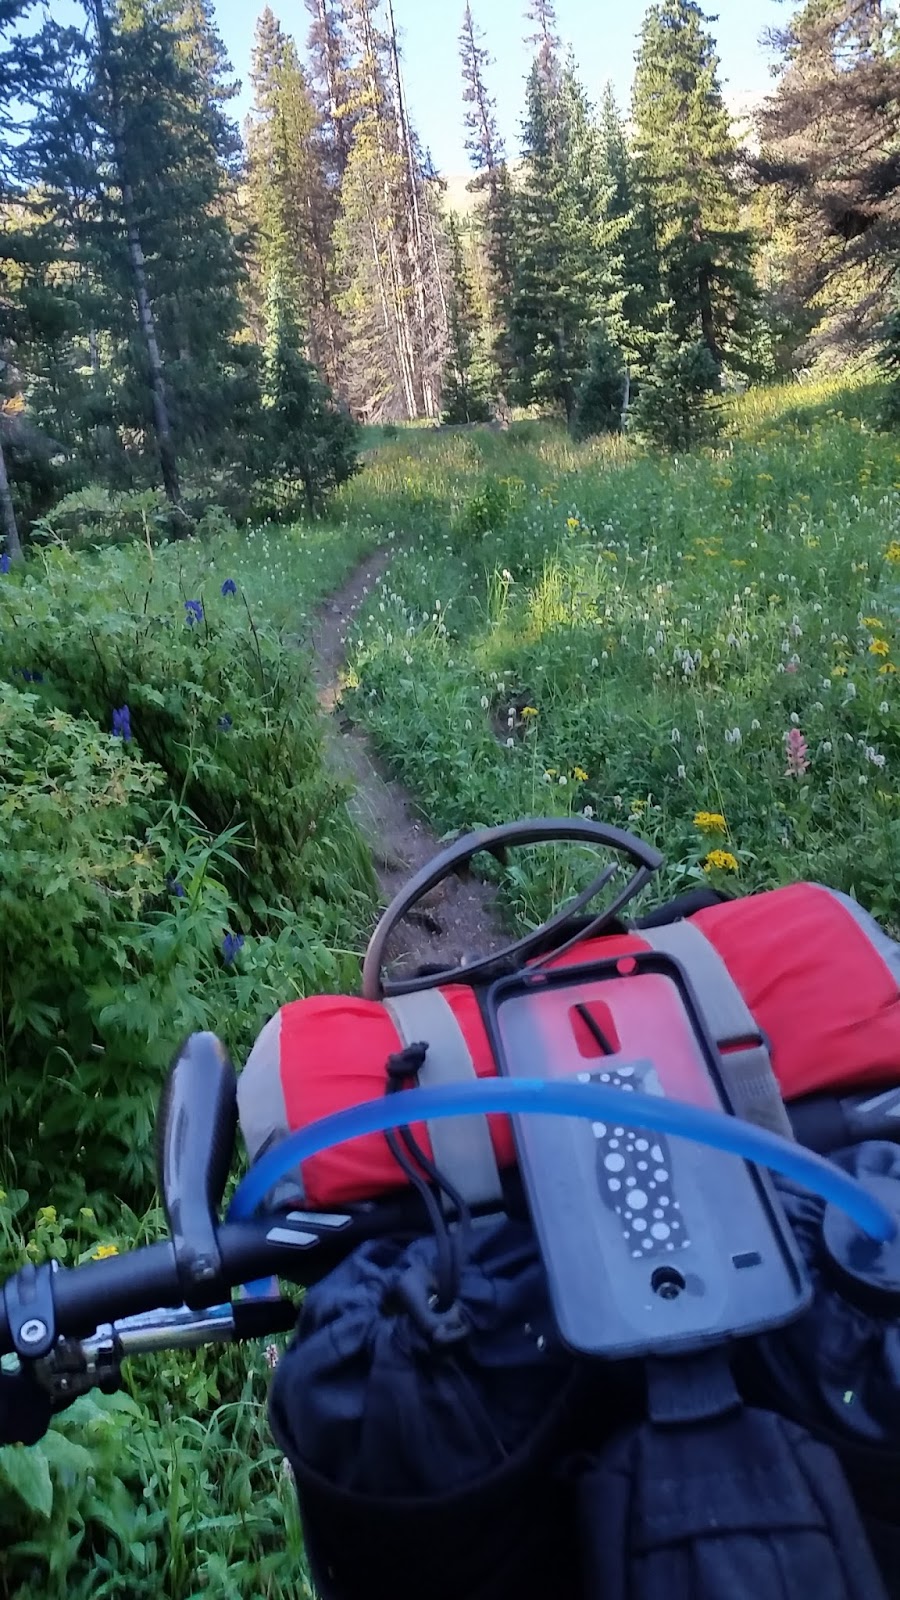
The trail was very green with tons of wild flowers, even for mid August. Check out my bar ends I stuck on the inside of my grips and controls. What do you think??? This little add on turned out to be really nice. I had different hand positions on my bars while riding but what I really used them for was hike-A-bike. It really made for good hand positioning while pushing your bike up hill.
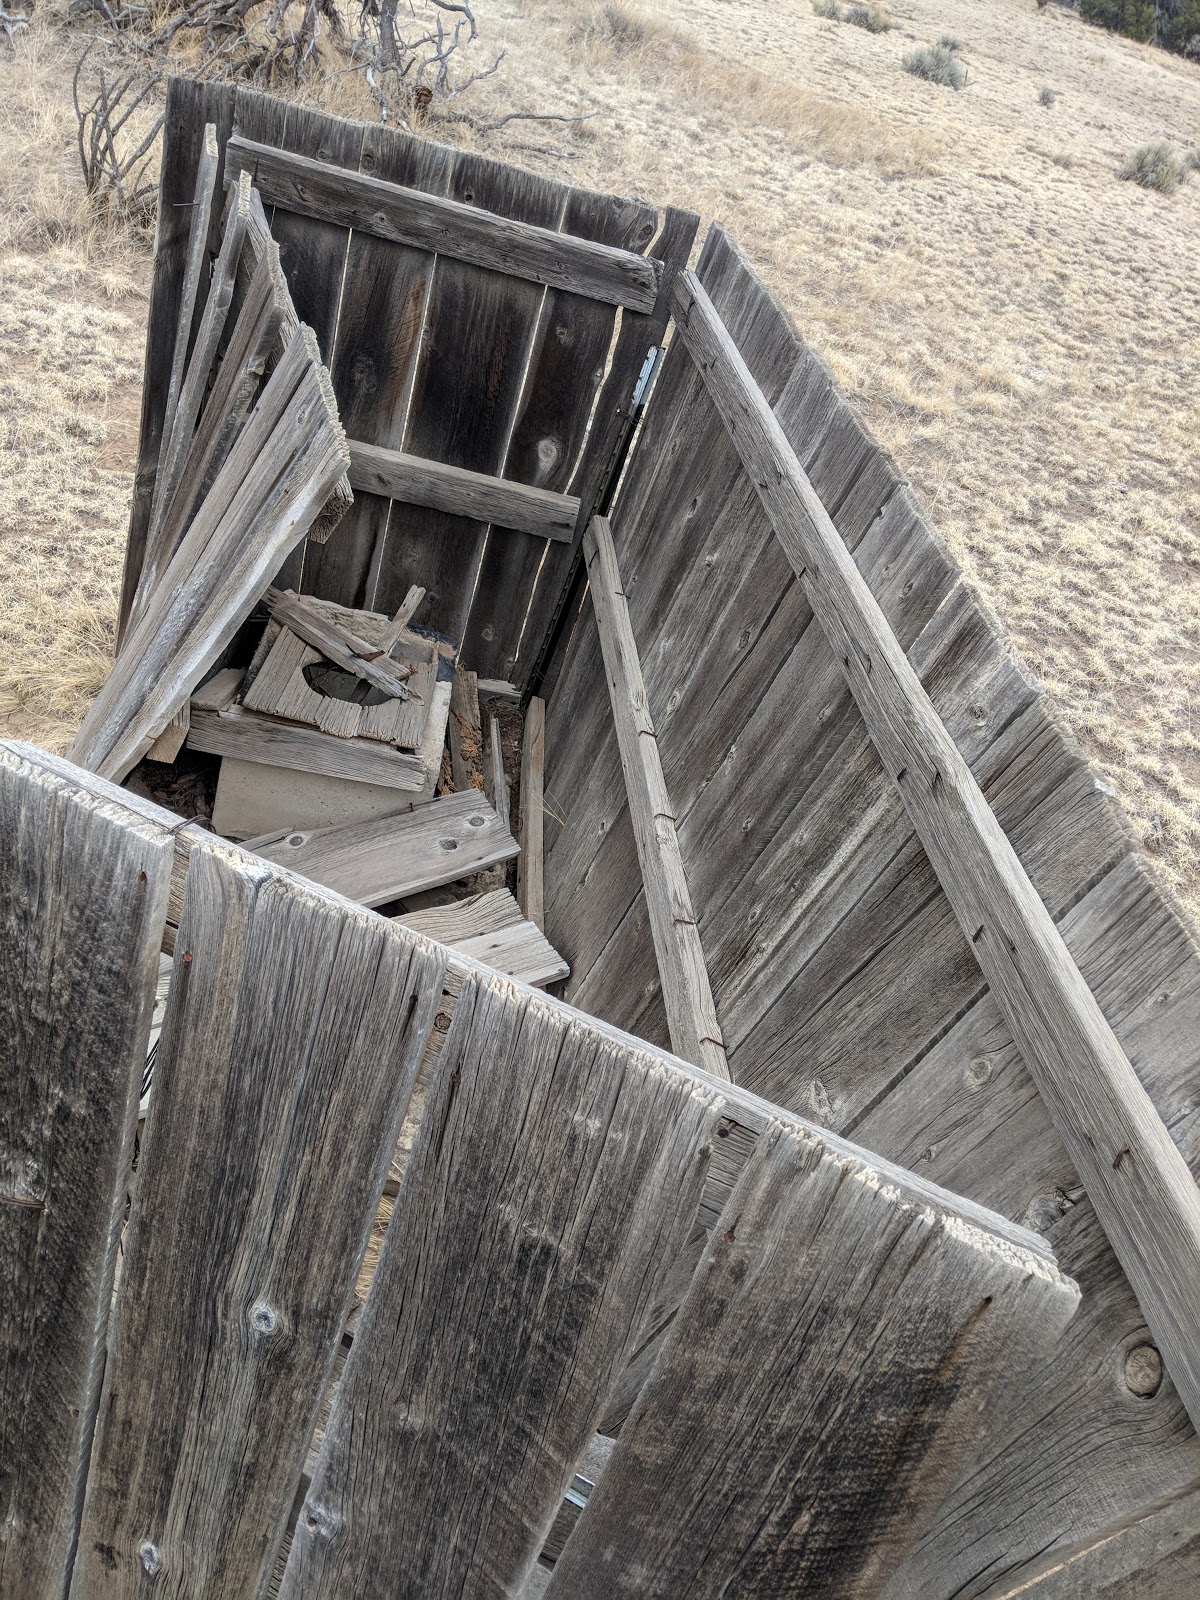
Nothing to see here… Move along…
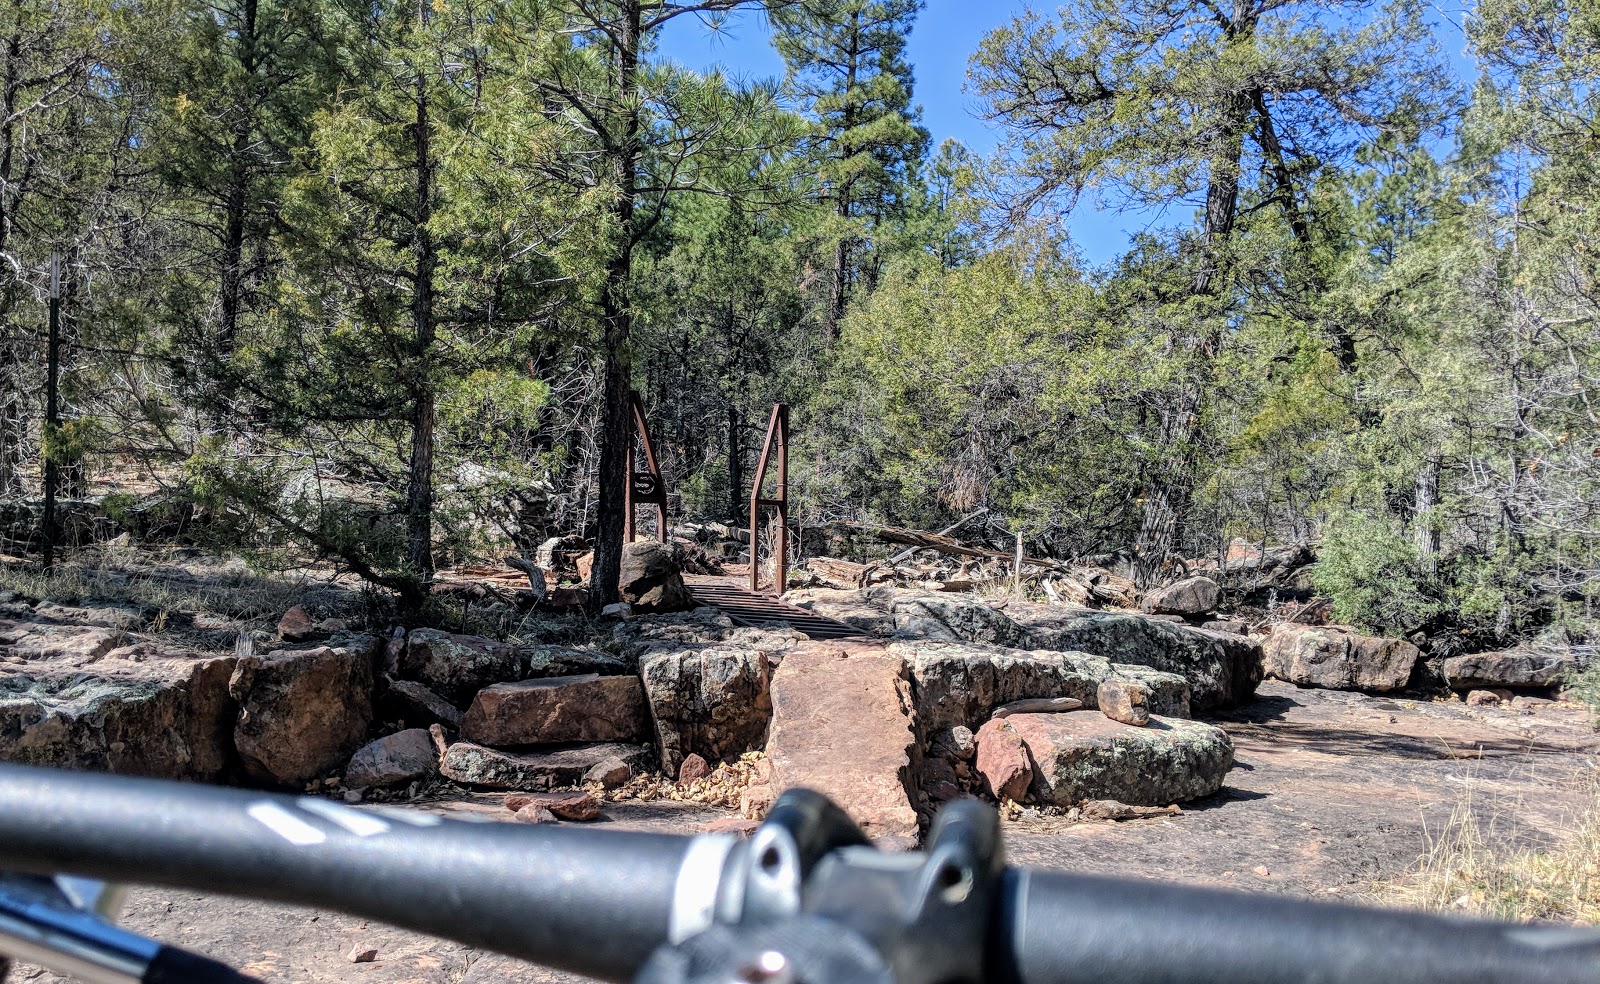
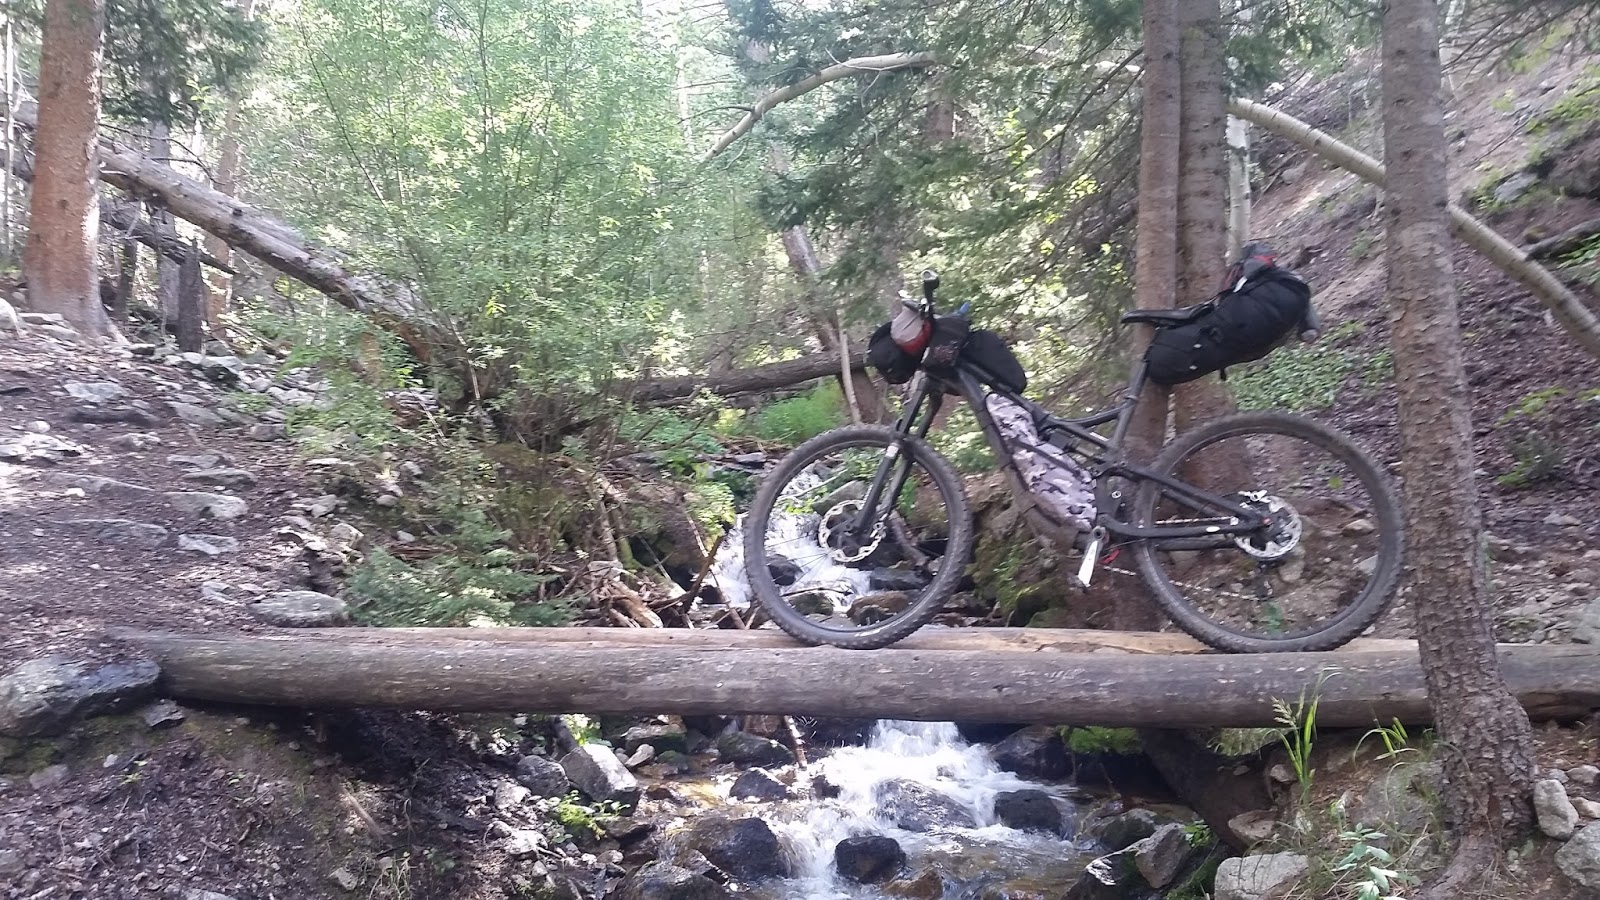
Most of the major creek crossings on the CT had some sort of bridge.
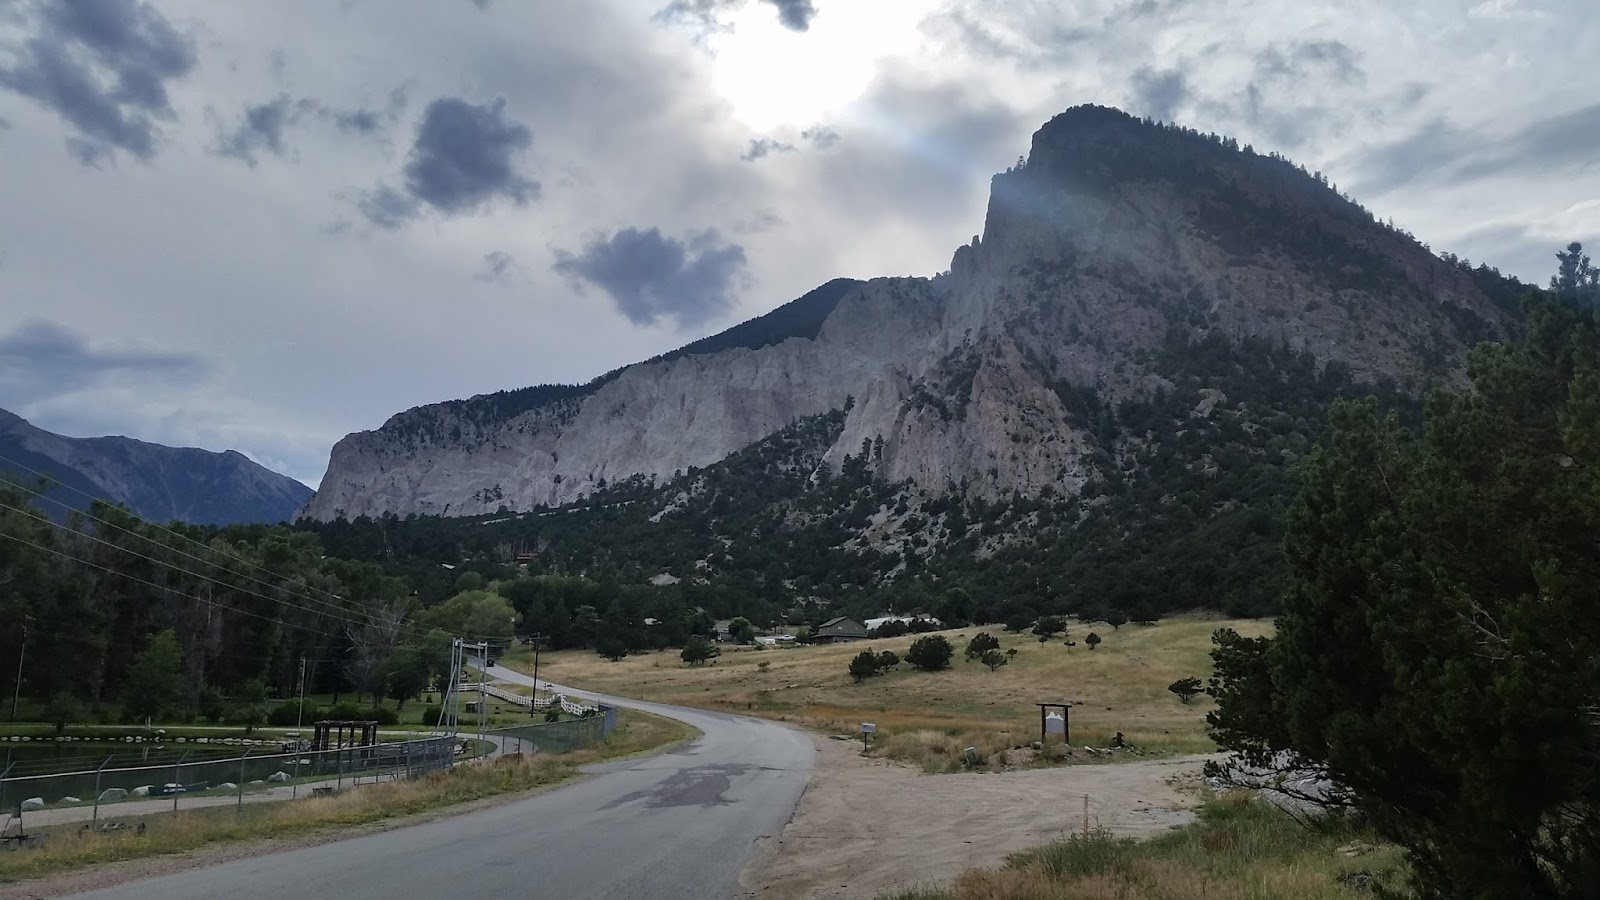
Chalk Cliffs by Princeton Hot Springs. I had heard about them, knew were they were here, and it was cool to finally see them in person. One of the great benefits of a trip like this is you will see places otherwise not possible.
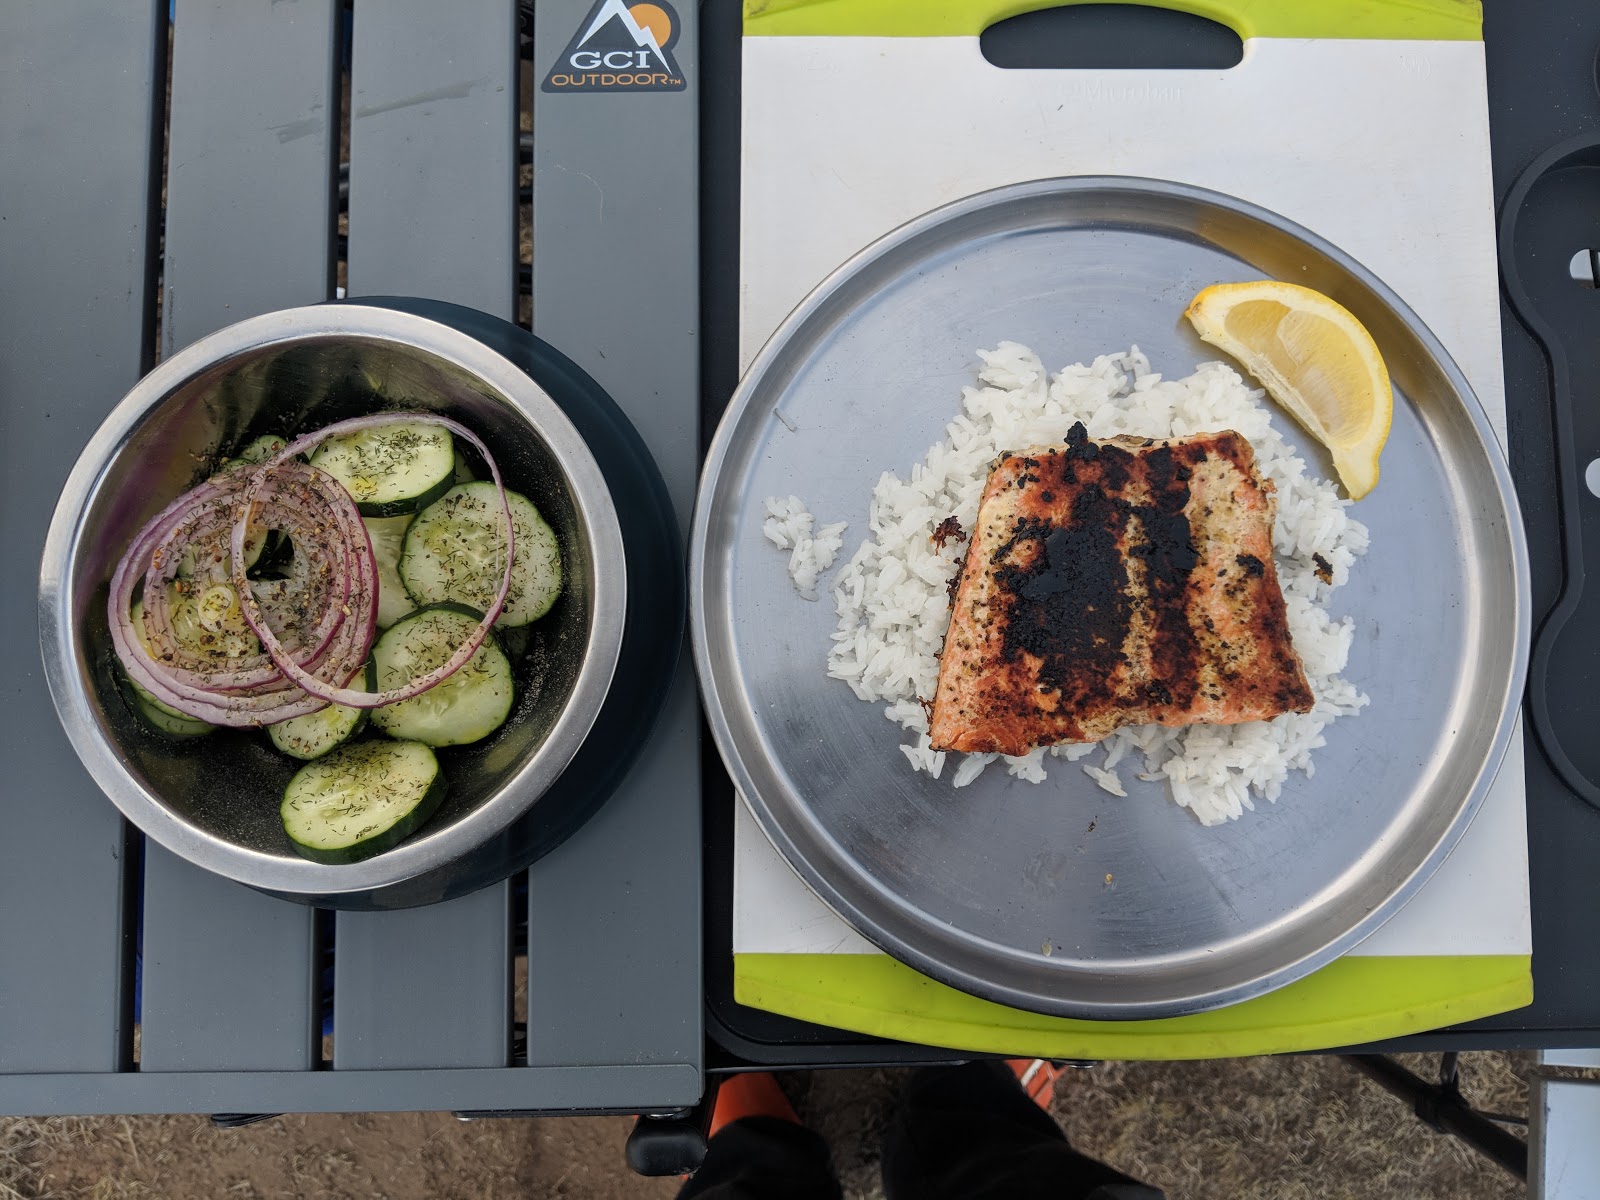
The best trail food I had the entire adventure was at the Mt Princeton Hot Springs Resort. Their burger with truffle fries and side salad were to die for. I had a couple good beers too.
Camp for the night overlooking the Chalk Cliffs and Mt Princeton.. This is when I started to get how it is to be part of every sunrise/sunset experience on the trail. My belly was full of burger and beer and I was ready to get some sleep for the night.
The next morning I was treated to some fine CT single track and some cows (See video).
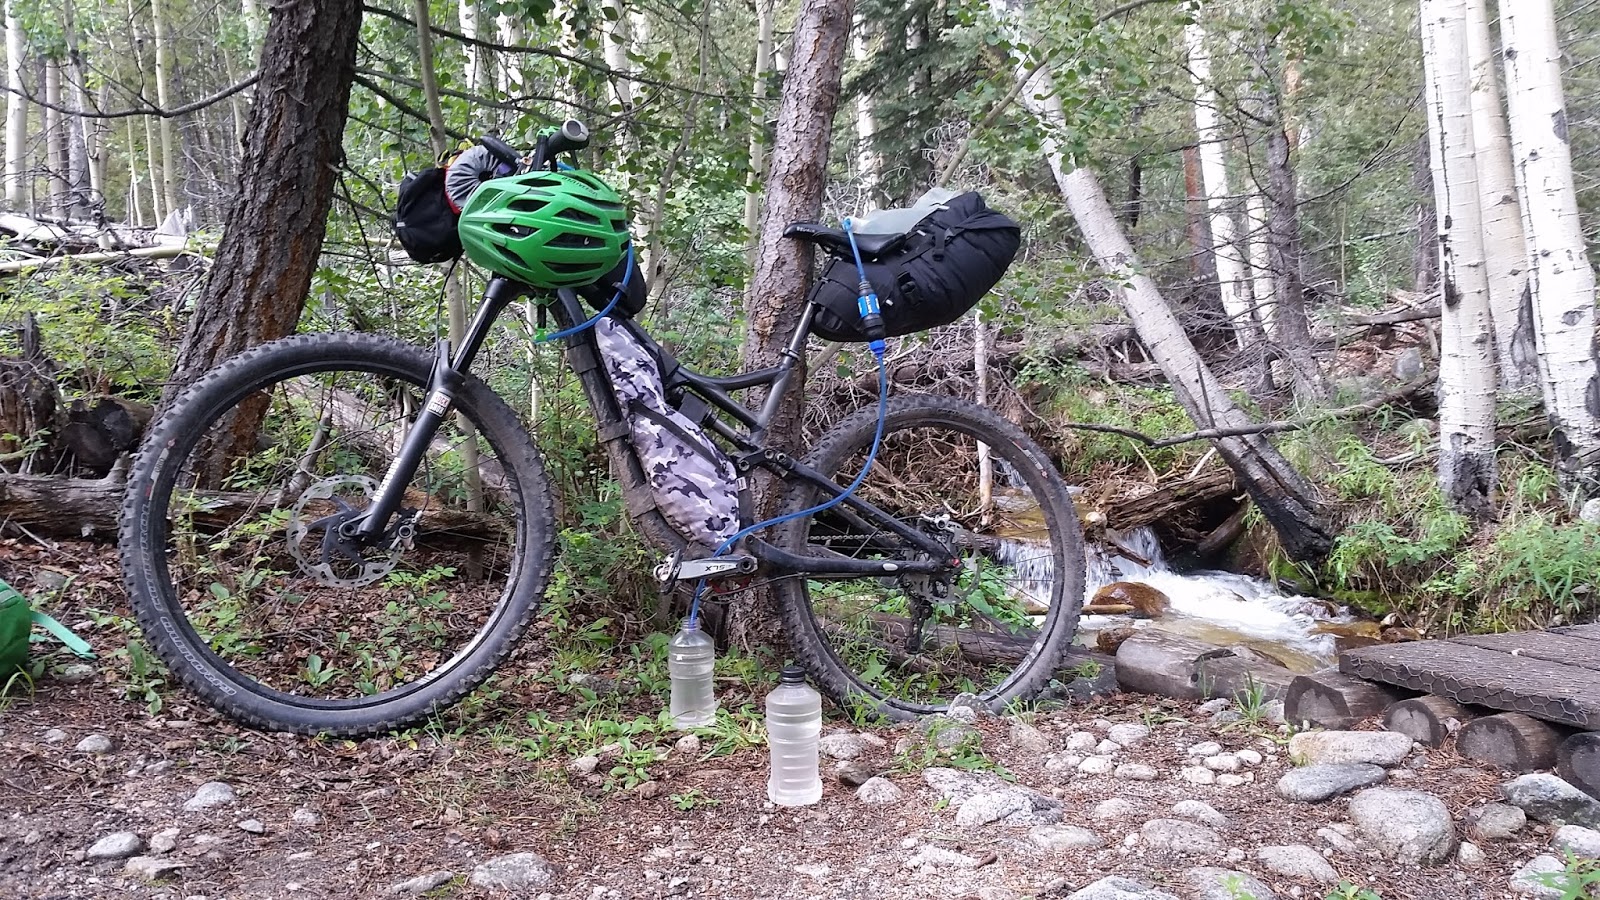
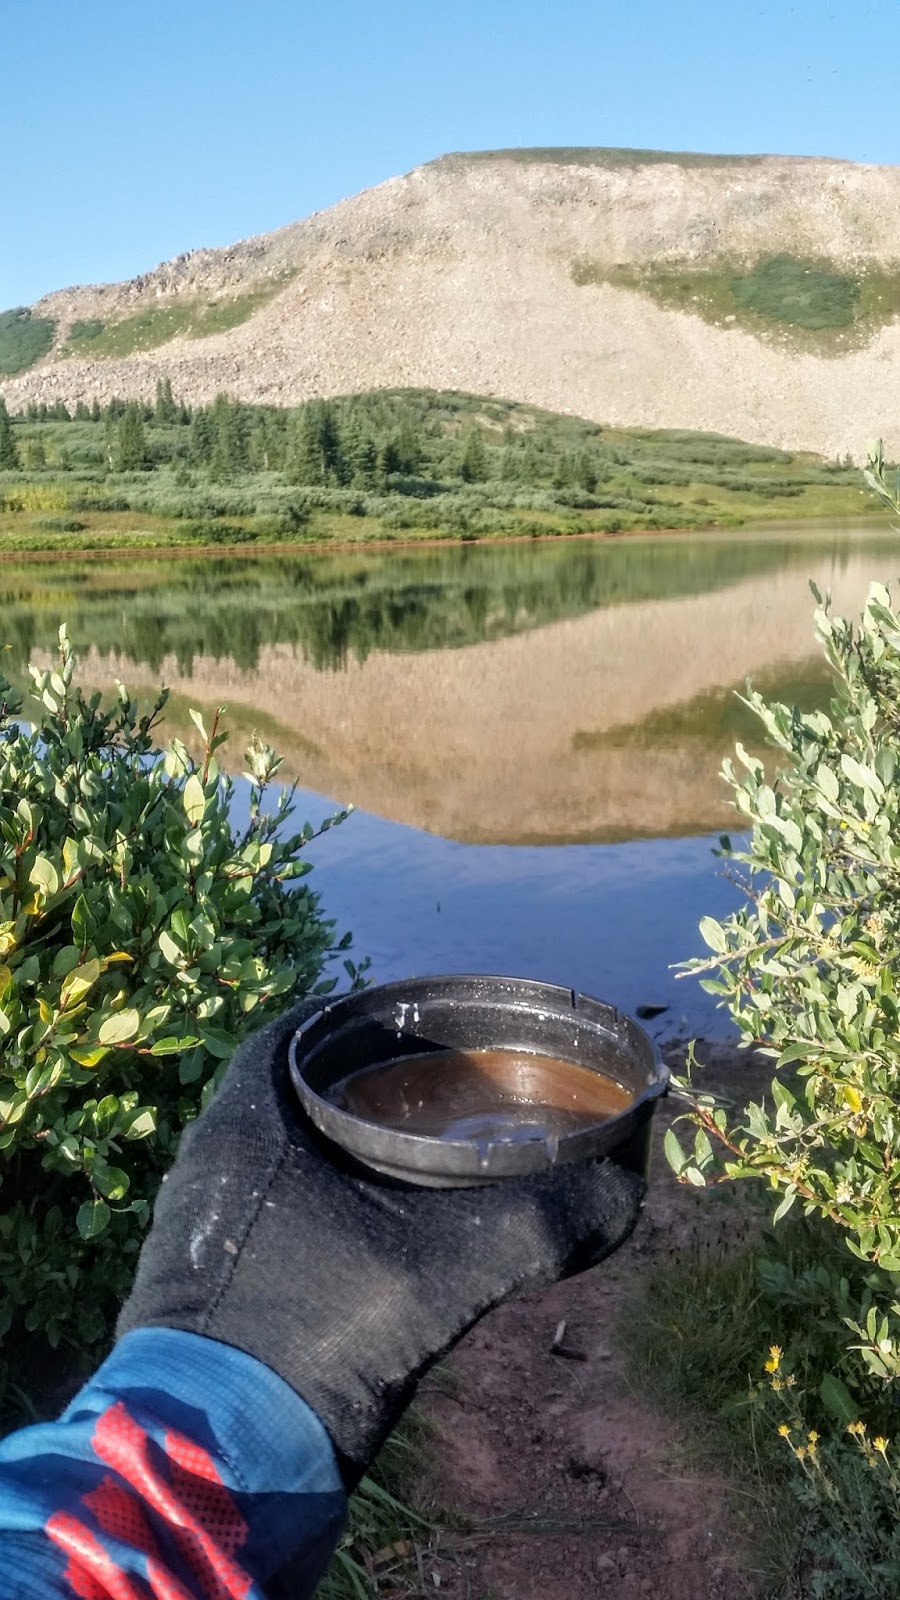
Water Filtered by Gravity. My water setup worked great. (Zoom in to see)
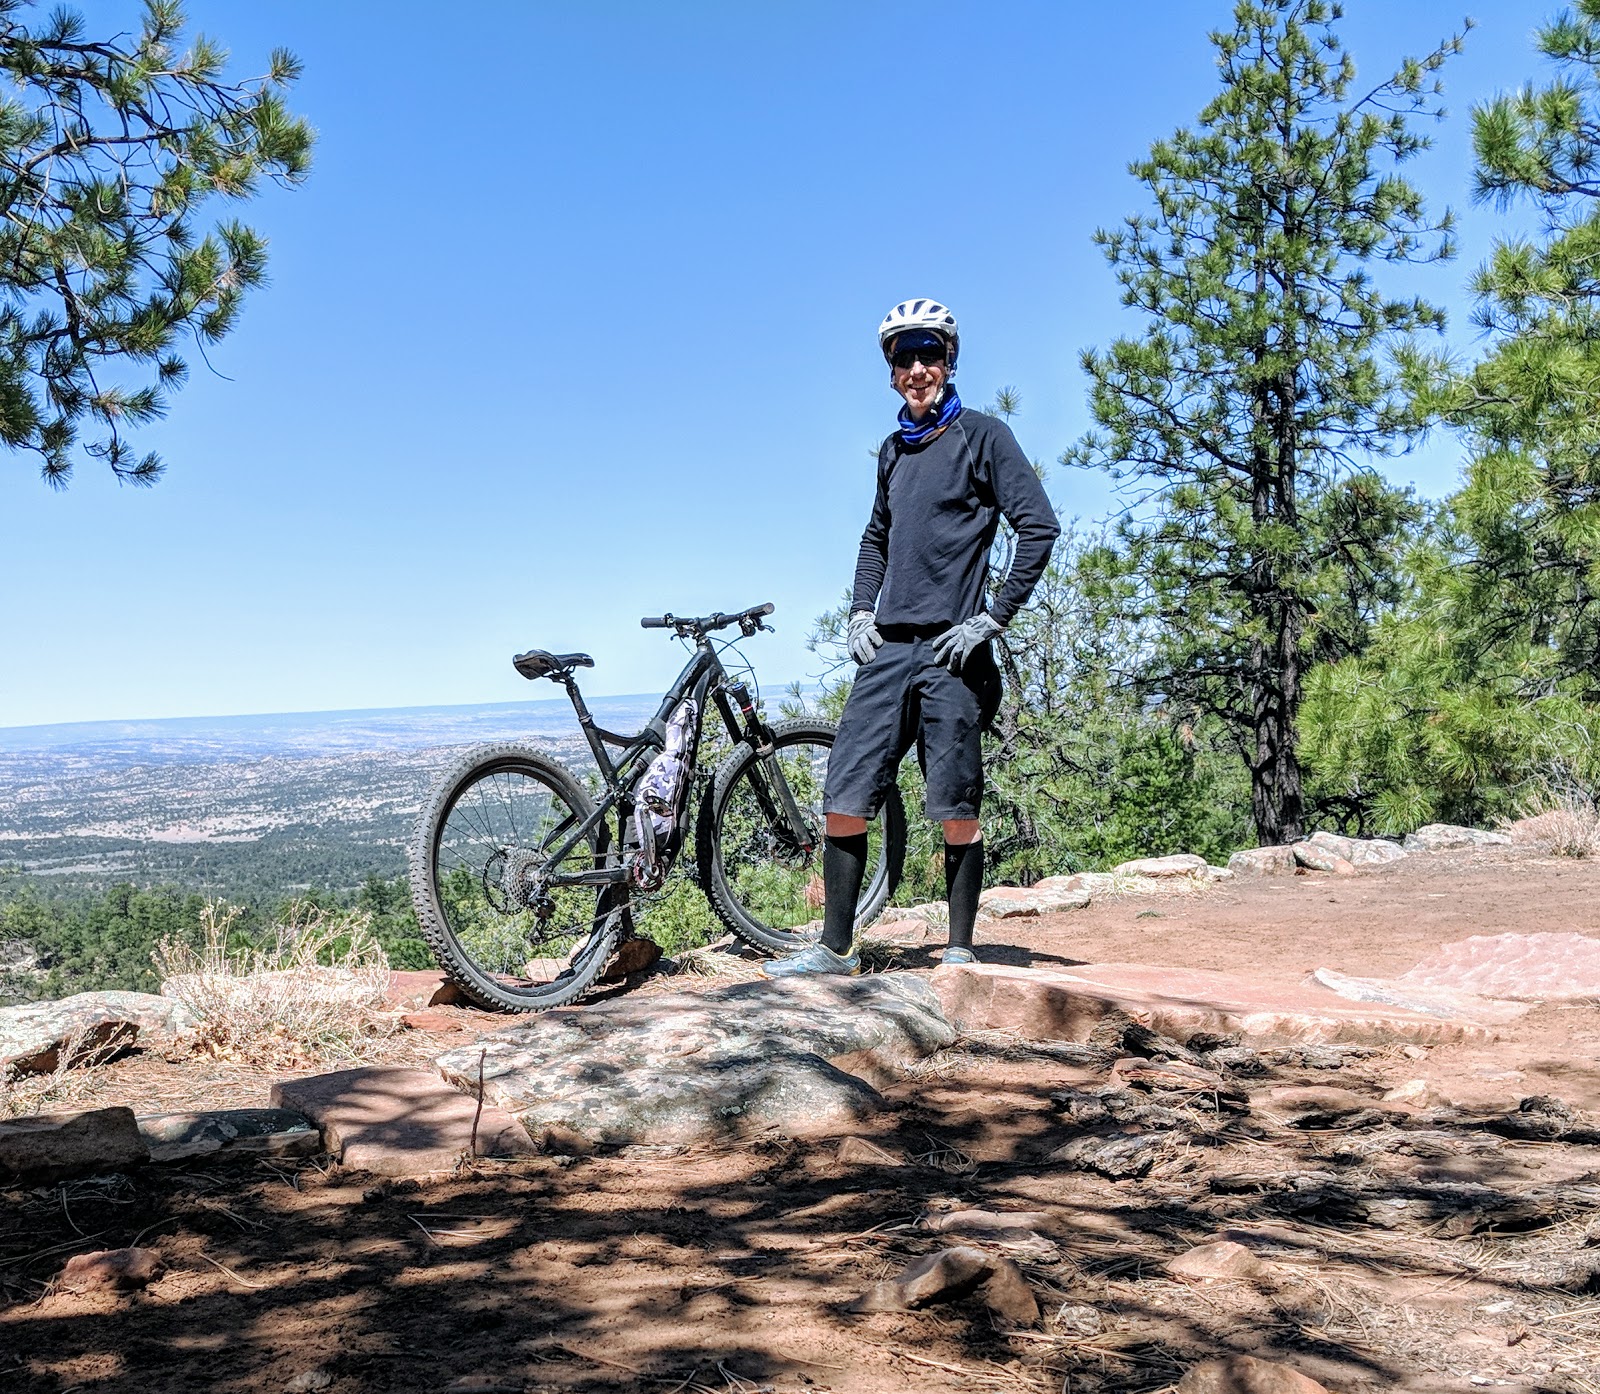
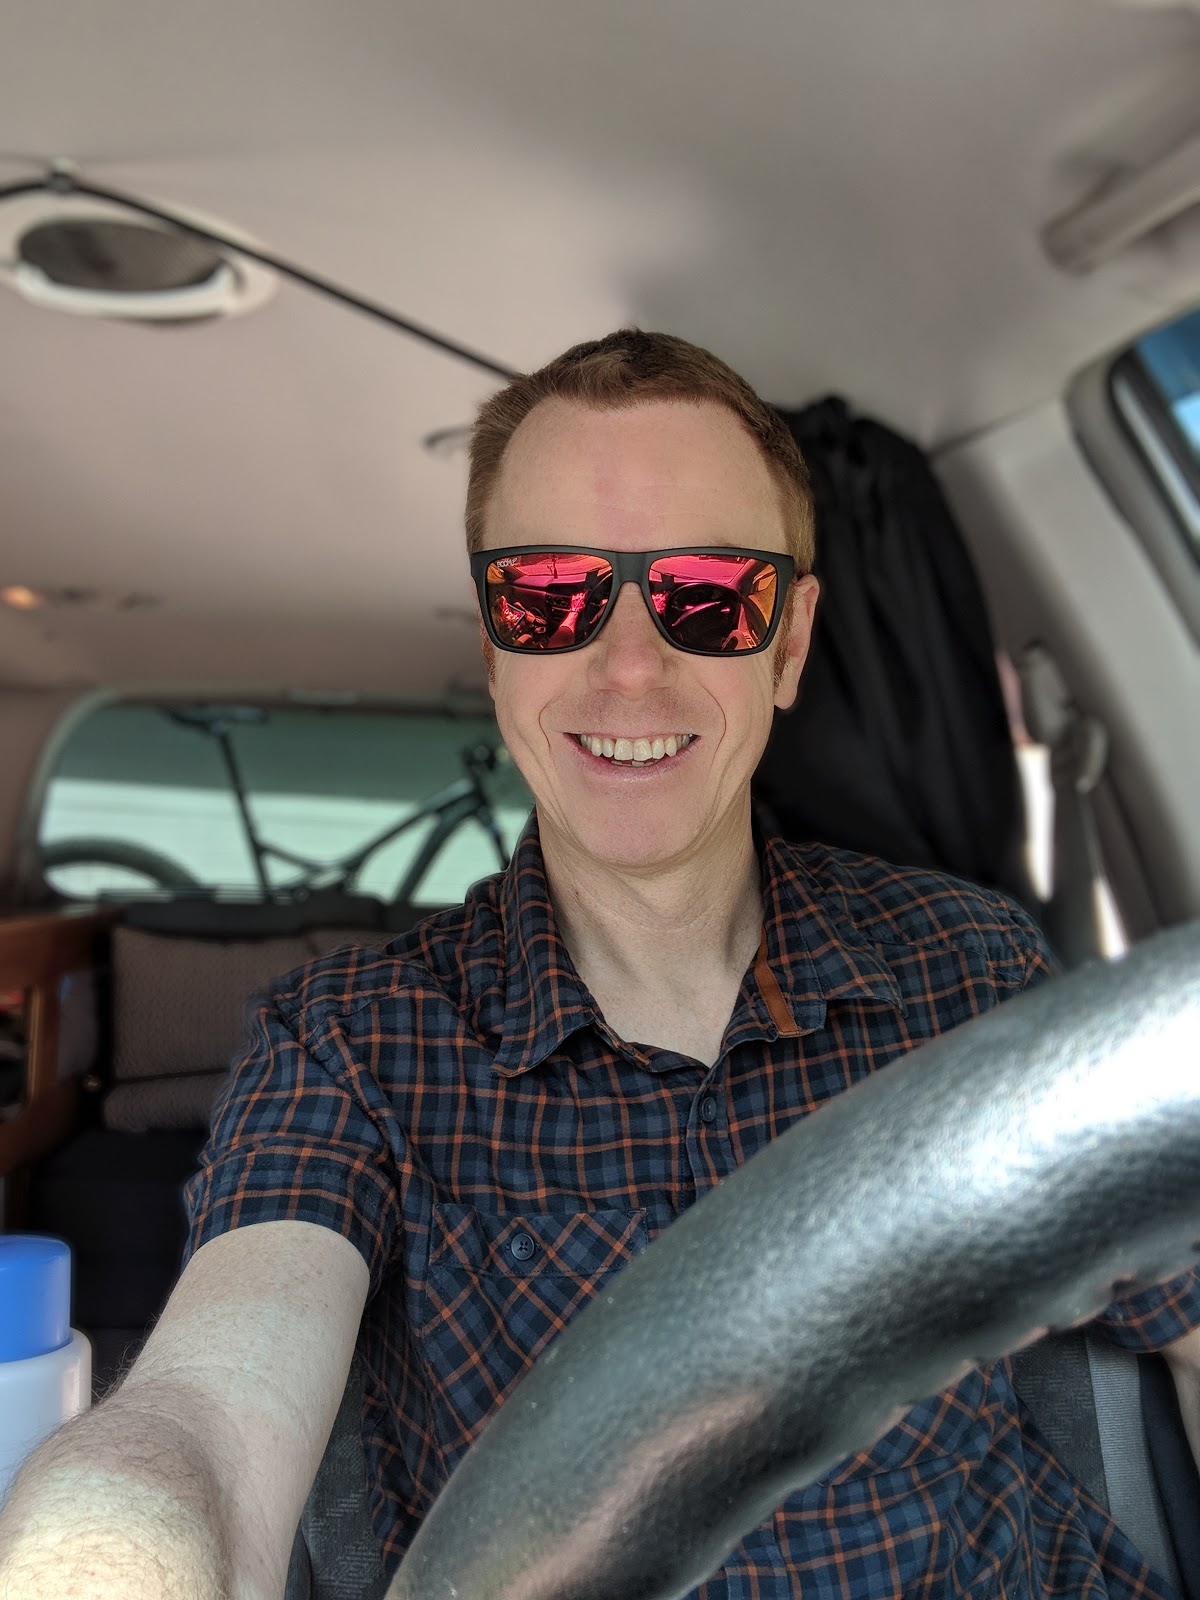
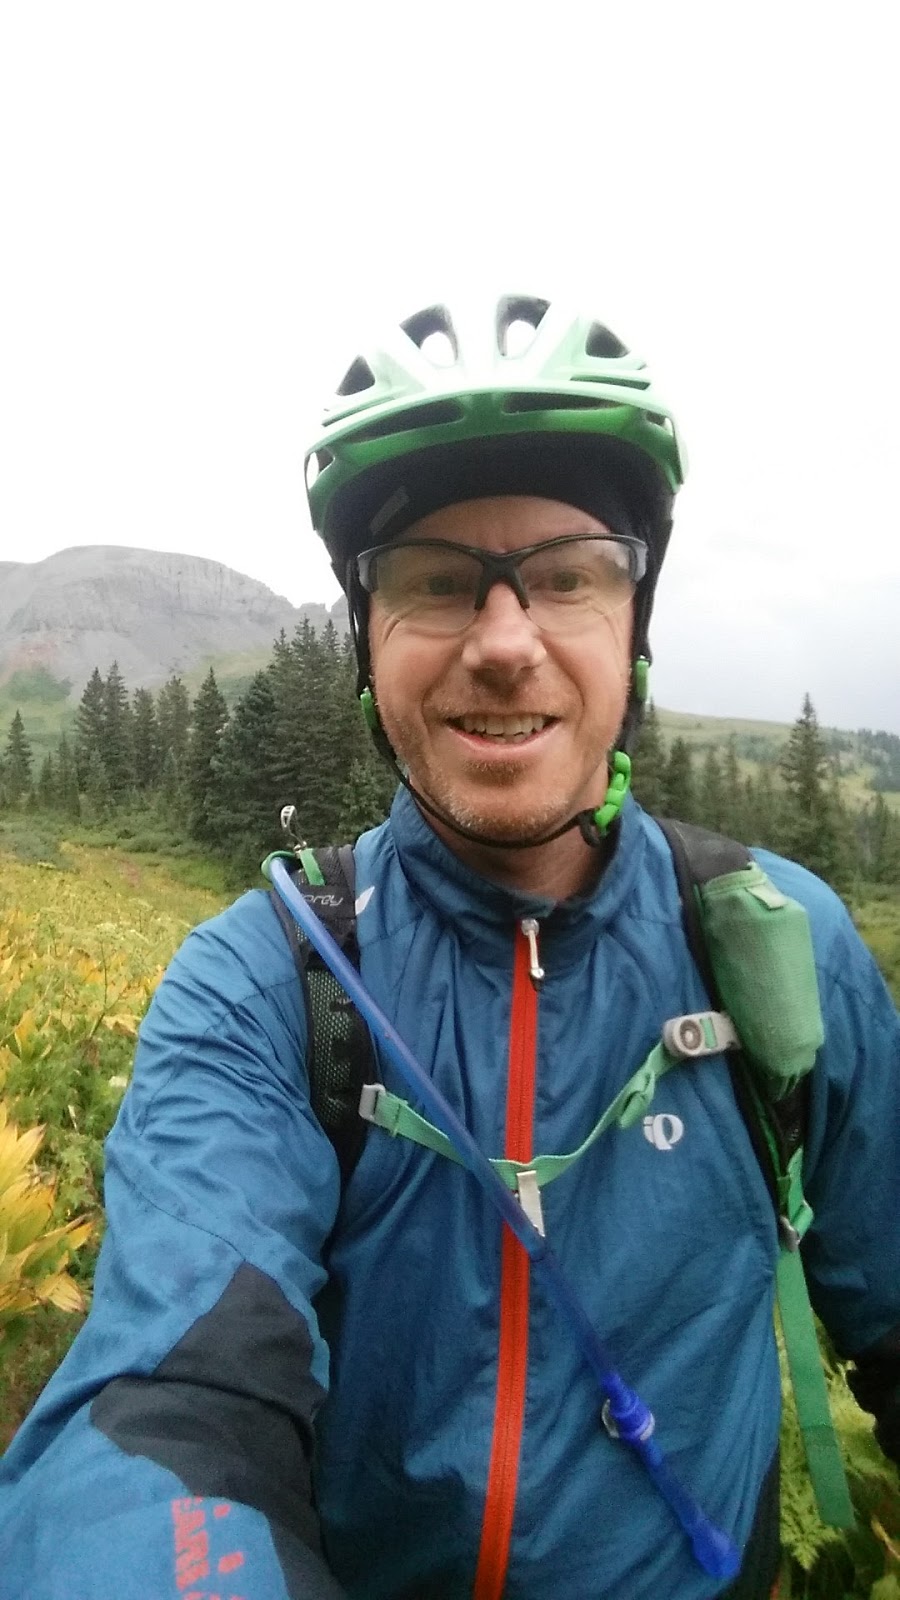
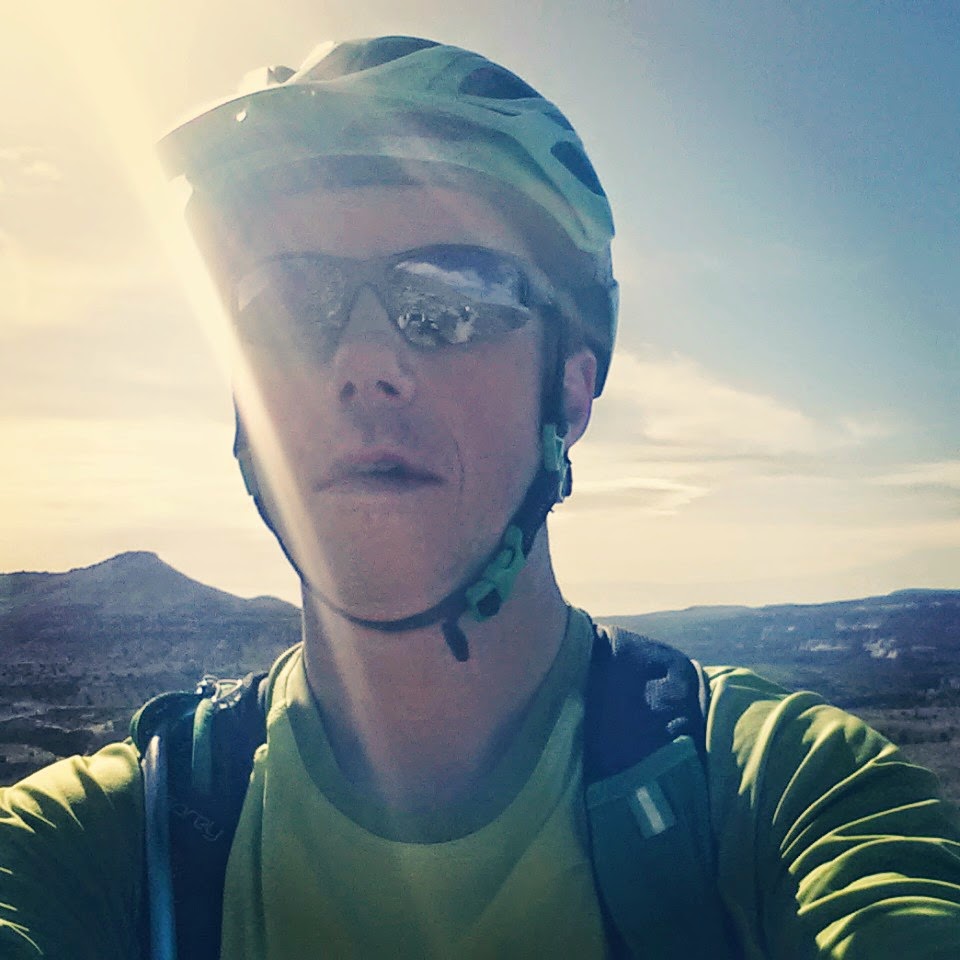
Sorry for the Trail Selfie. Yes I has happy, scared, excited, and nervous all at once in this picture.
Moments like this need to be better captured somehow. This is somewhere on segment 14 of the CT. After this I descended to Hy 50 and climbed 3 miles to the Monarch Mountain Lodge to grab my first resupply package. On the way to the lodge the sky opened up and I got rained on pretty good climbing up the highway.
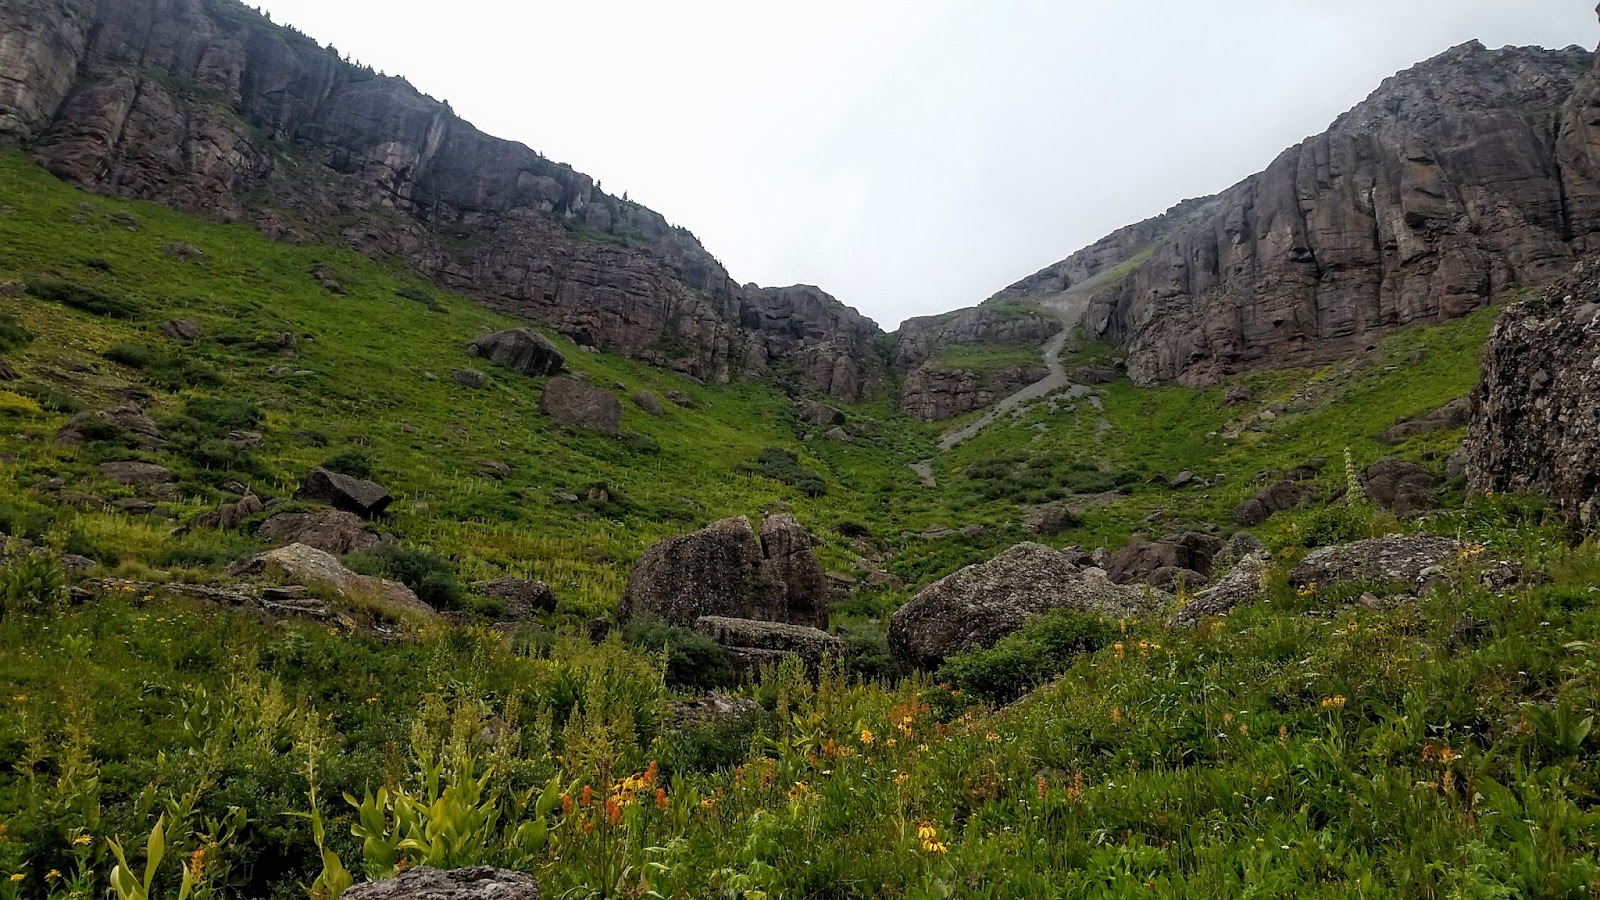
I didn’t get photos of camp this night along the Fooses Creek section of the CT. Probably because I was focused on keeping my gear dry and getting a good nights rest. It rained hard all evening!! This is the Fooses Creek trail on segment 15. A very amazing section indeed. Some day I want to descend this section.
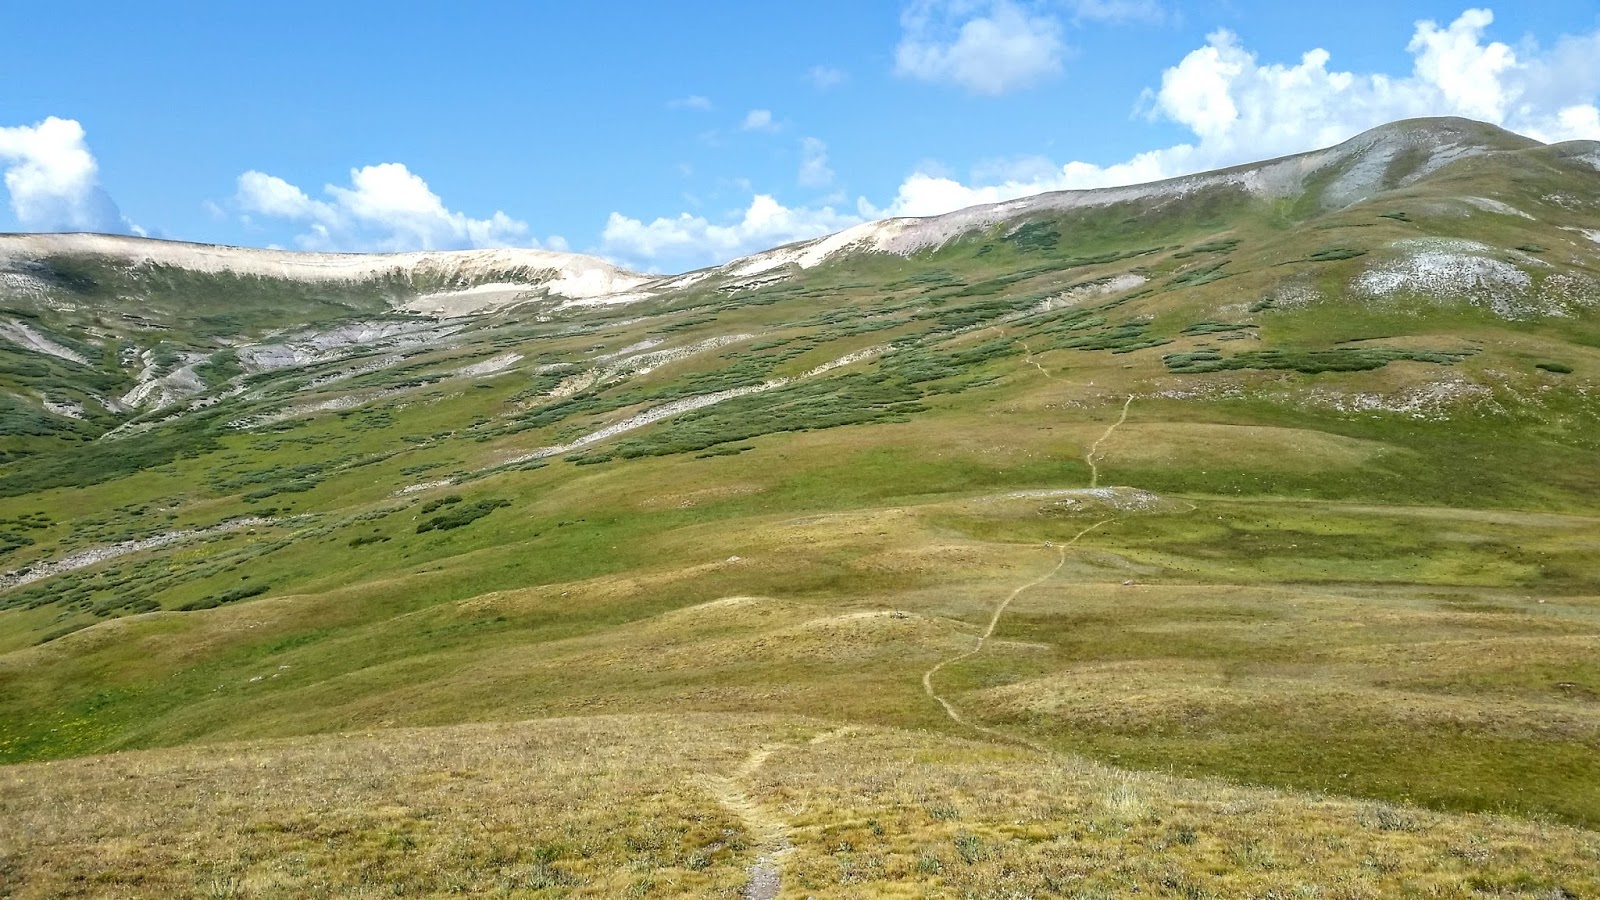
Getting higher up Fosses Creek trail. Almost to the pass. you can see the top off in the distance.
There was a steep push up to the saddle where I would climb on top of the Continental Divide. Oh the Contentintal Divide, little did I konw that later on I would become very familiar with this beast! The pic above of course does not show the steepness of the push on this final leg of Fooses Creek on segment 15.
Getting to the top went something like this……. Push your bike 3 to 4 steps….. Stop…, catch your breath…., then repeat.
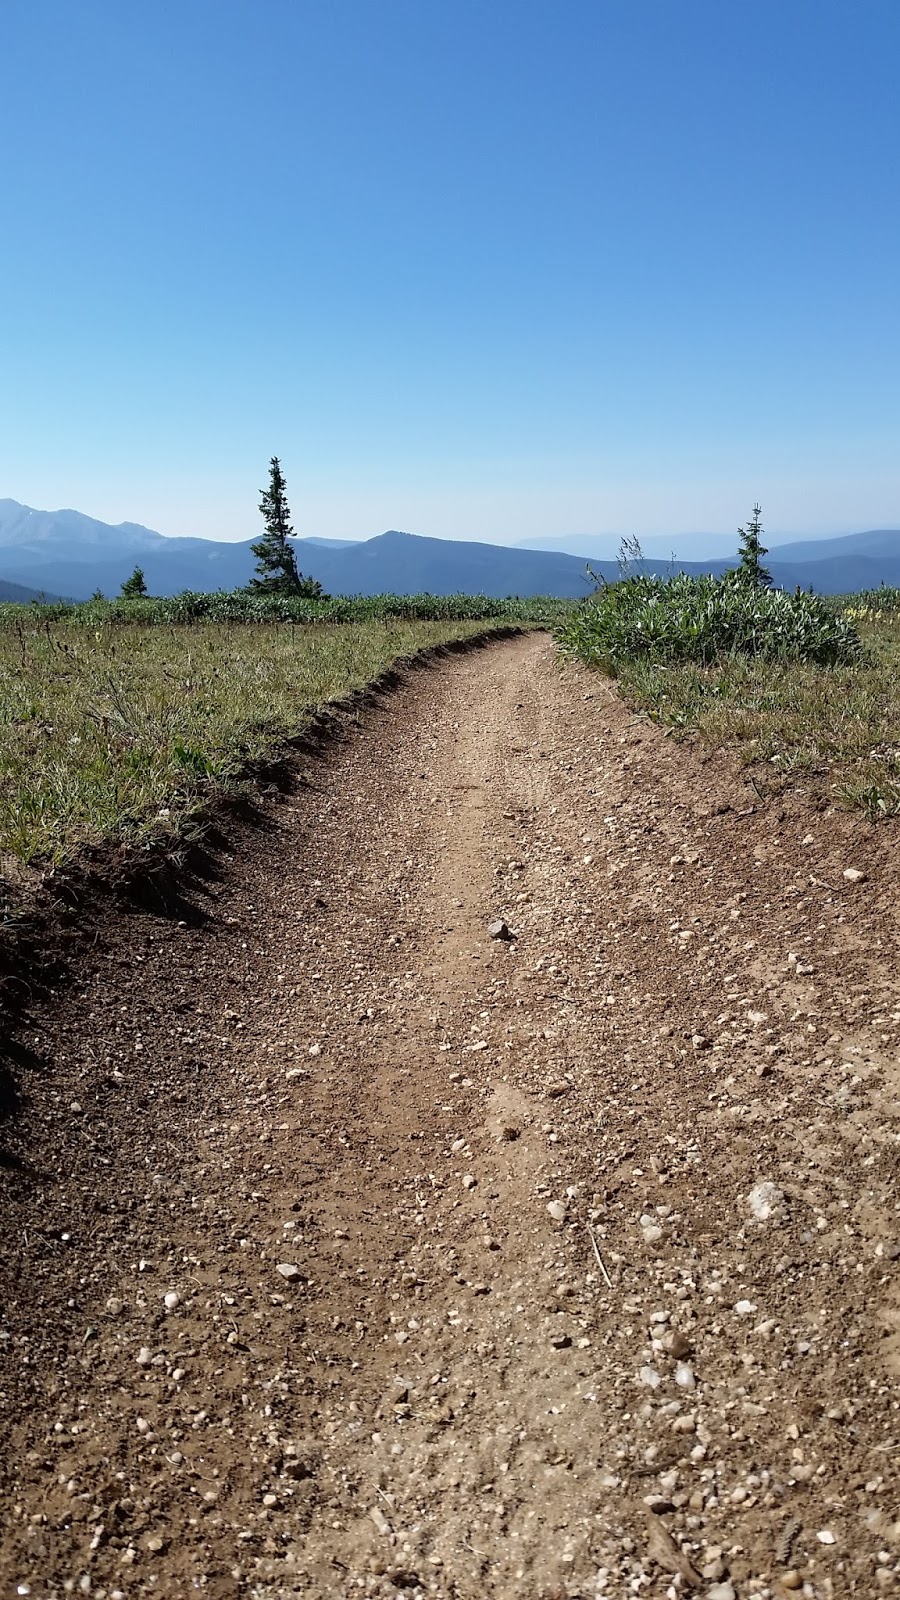
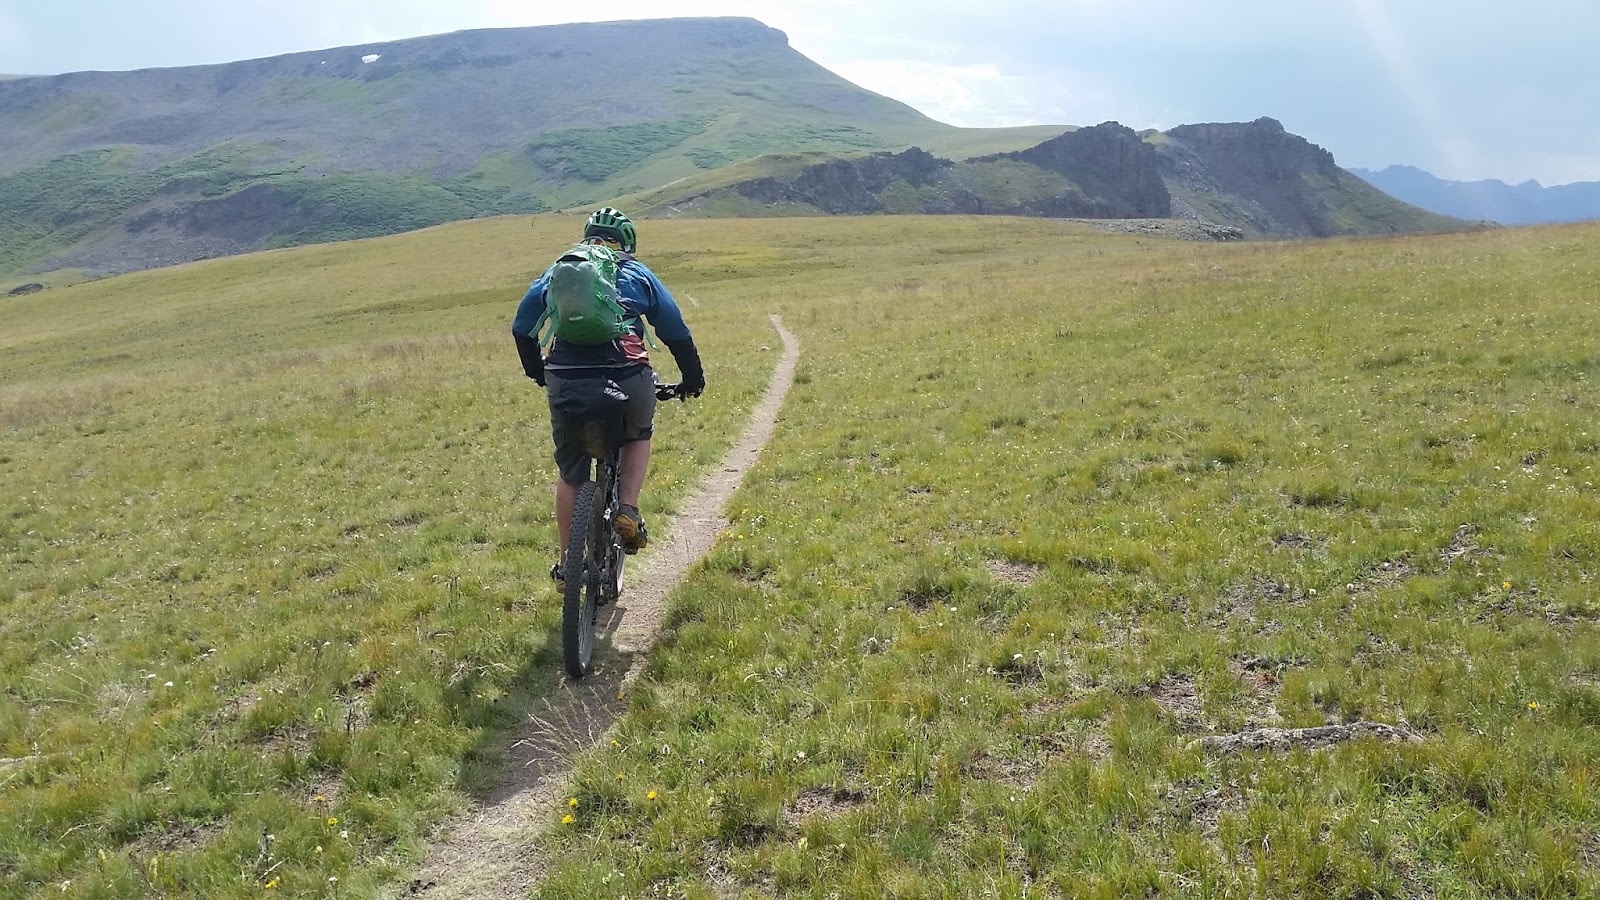
The top of the saddle and the Continental Divide attained! From here I got to ride the “Crest” section of the CT which I was very familiar with from day trips to Salida over the years.
On top of the crest where there is some very fine single track for mountain bikes. Unfortunately it did not last long. As soon as I crossed Marshall Pass and the terrain took a significant change!

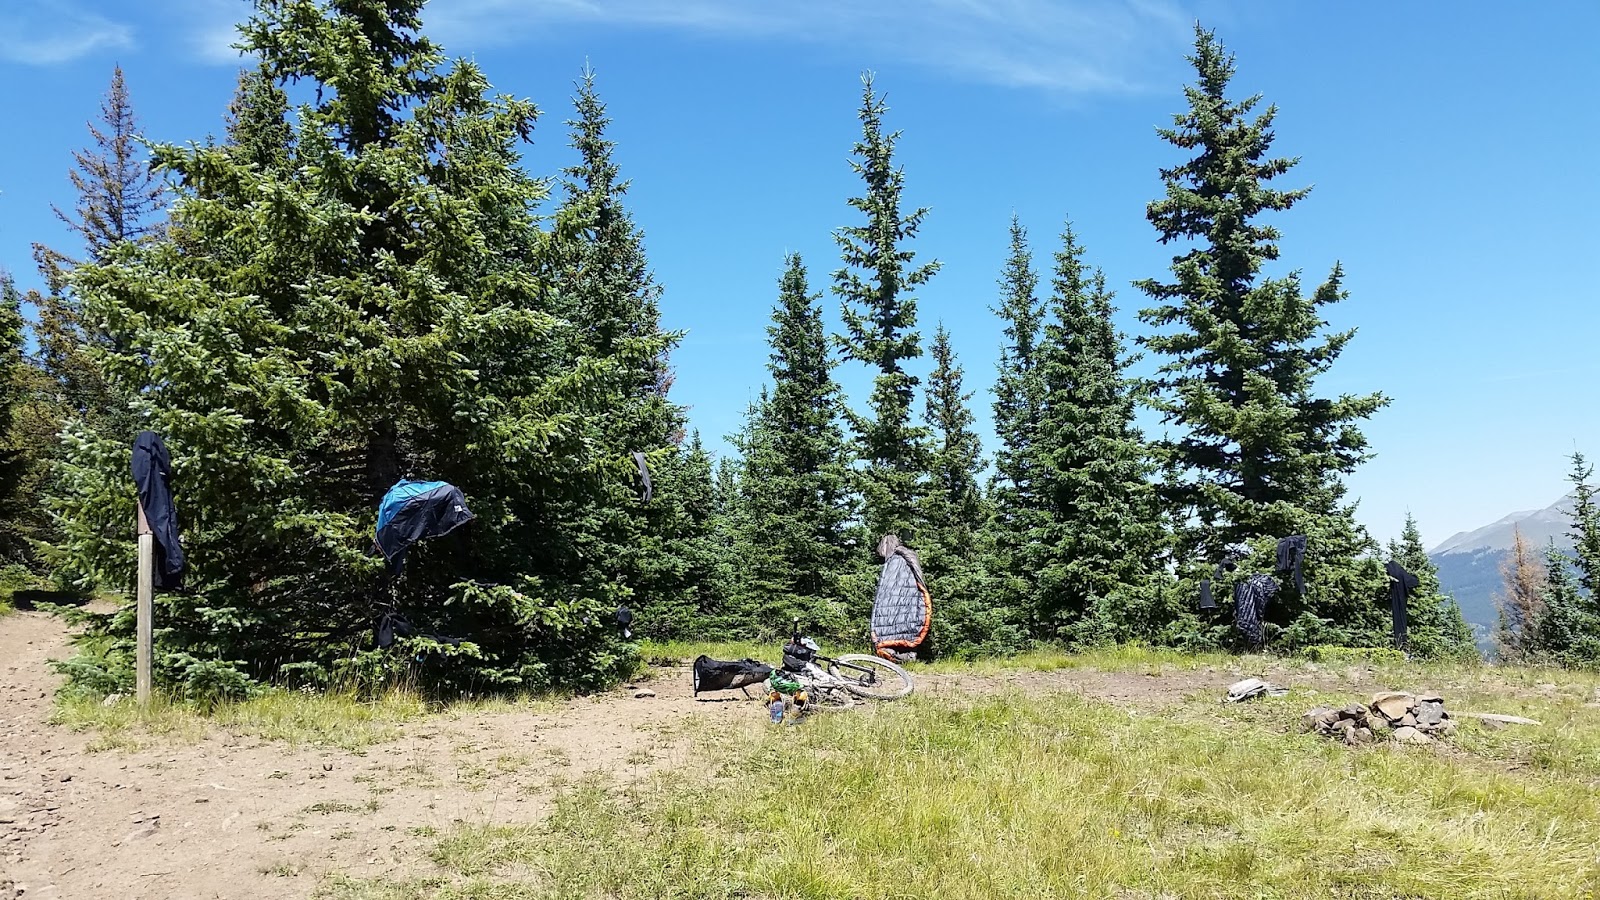
This is called a Yard Sale. The night before I got rained on hard at my Fosses Creek camp and much of my gear was damp. With the wind blowing and sun out on this high ridge it made for a great place to air out my gear. I remember laying behind one of these trees and three older mountain bikers crossed by me and were commenting on my gear. Things like “looks like a yard sale” “wonder where he is at?” “probably running around naked back there streaking”….. lol… I could have said something back but it was nice to keep quiet and let them move along. Later I caught up to them and it was 3 old school mountain bikers from Salida and Buena Vista riding the Crest and they decided to try a new trail. I believe the trail was called Tank 7 that they were looking for. All 3 were very nice and gave me a heads up on how horrible the upcoming Sergeants Mesa section was.
I really appreciated the company and adventurous spirit these 60 something mountain bike dudes!
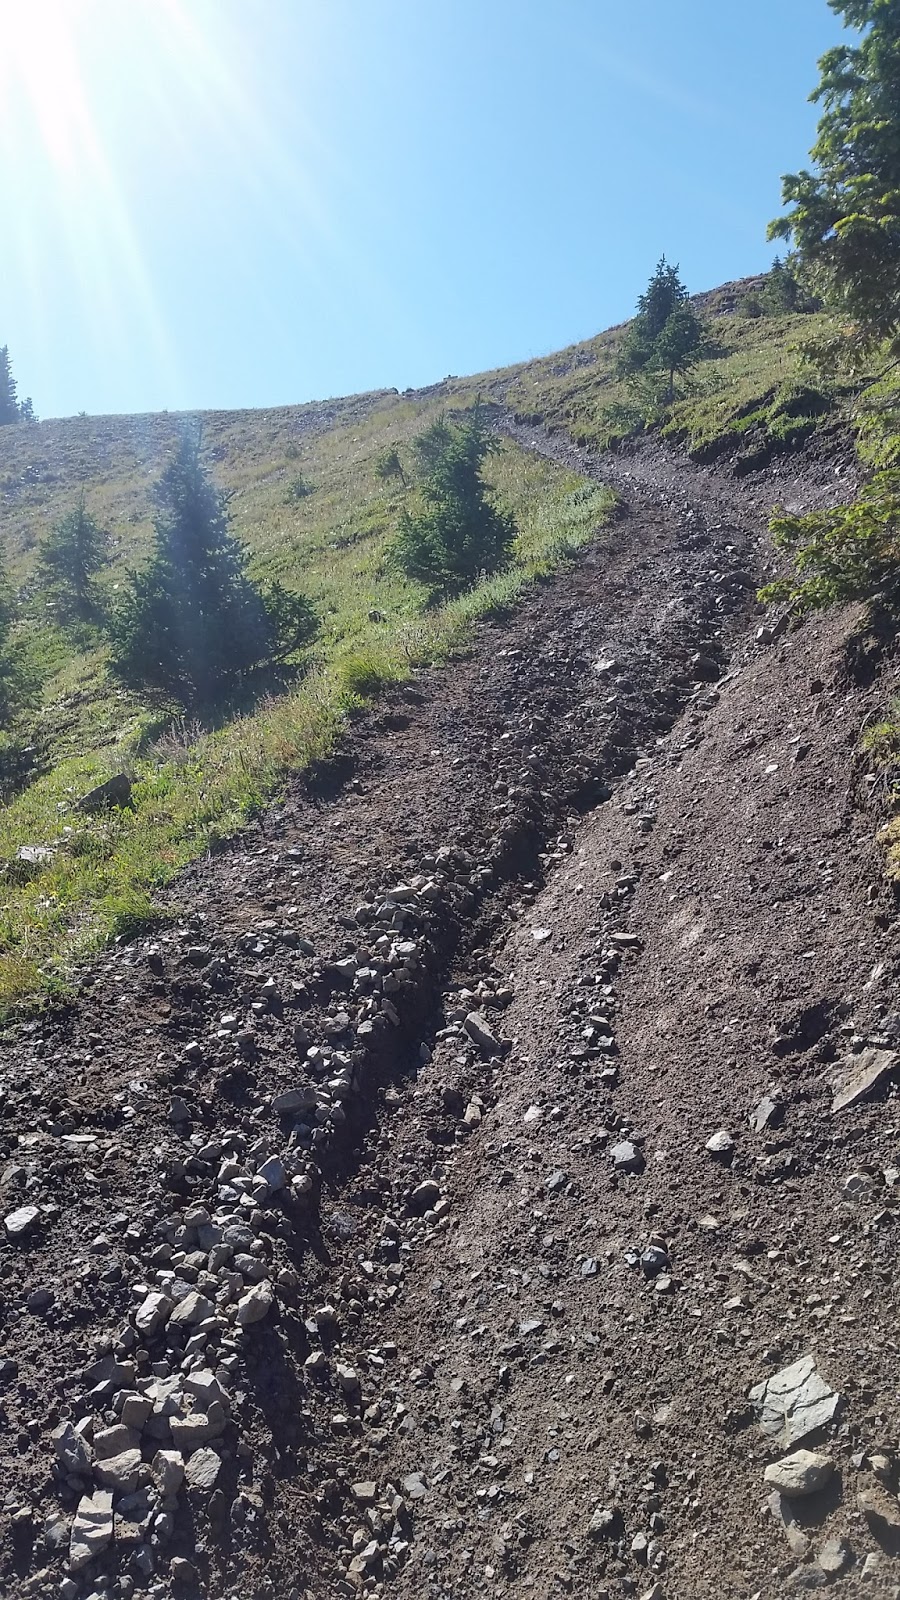
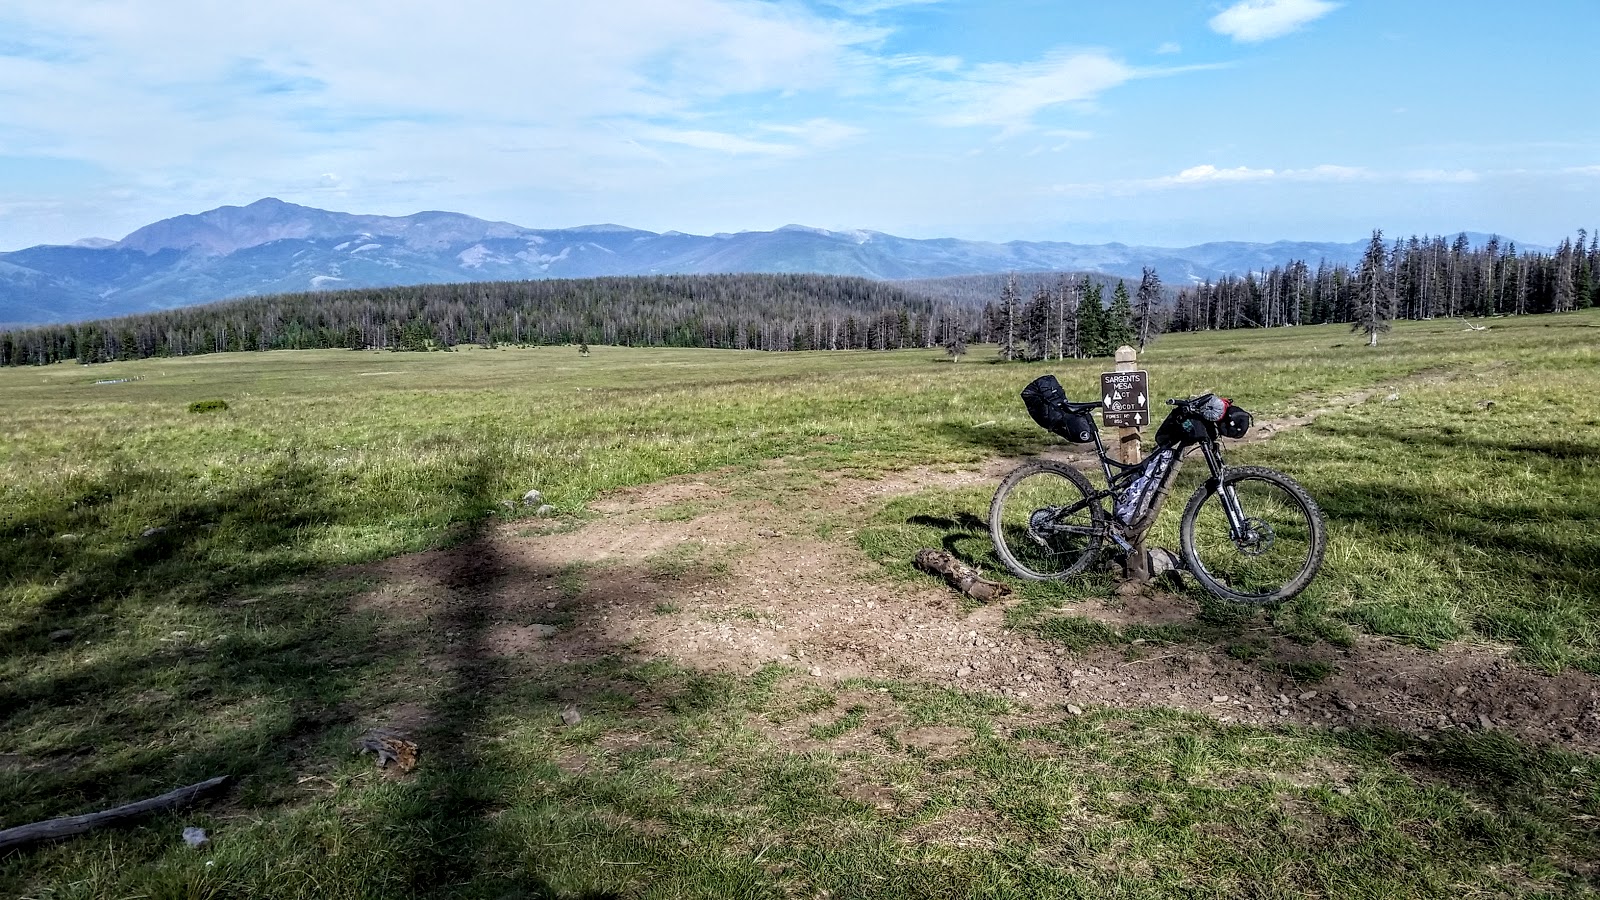
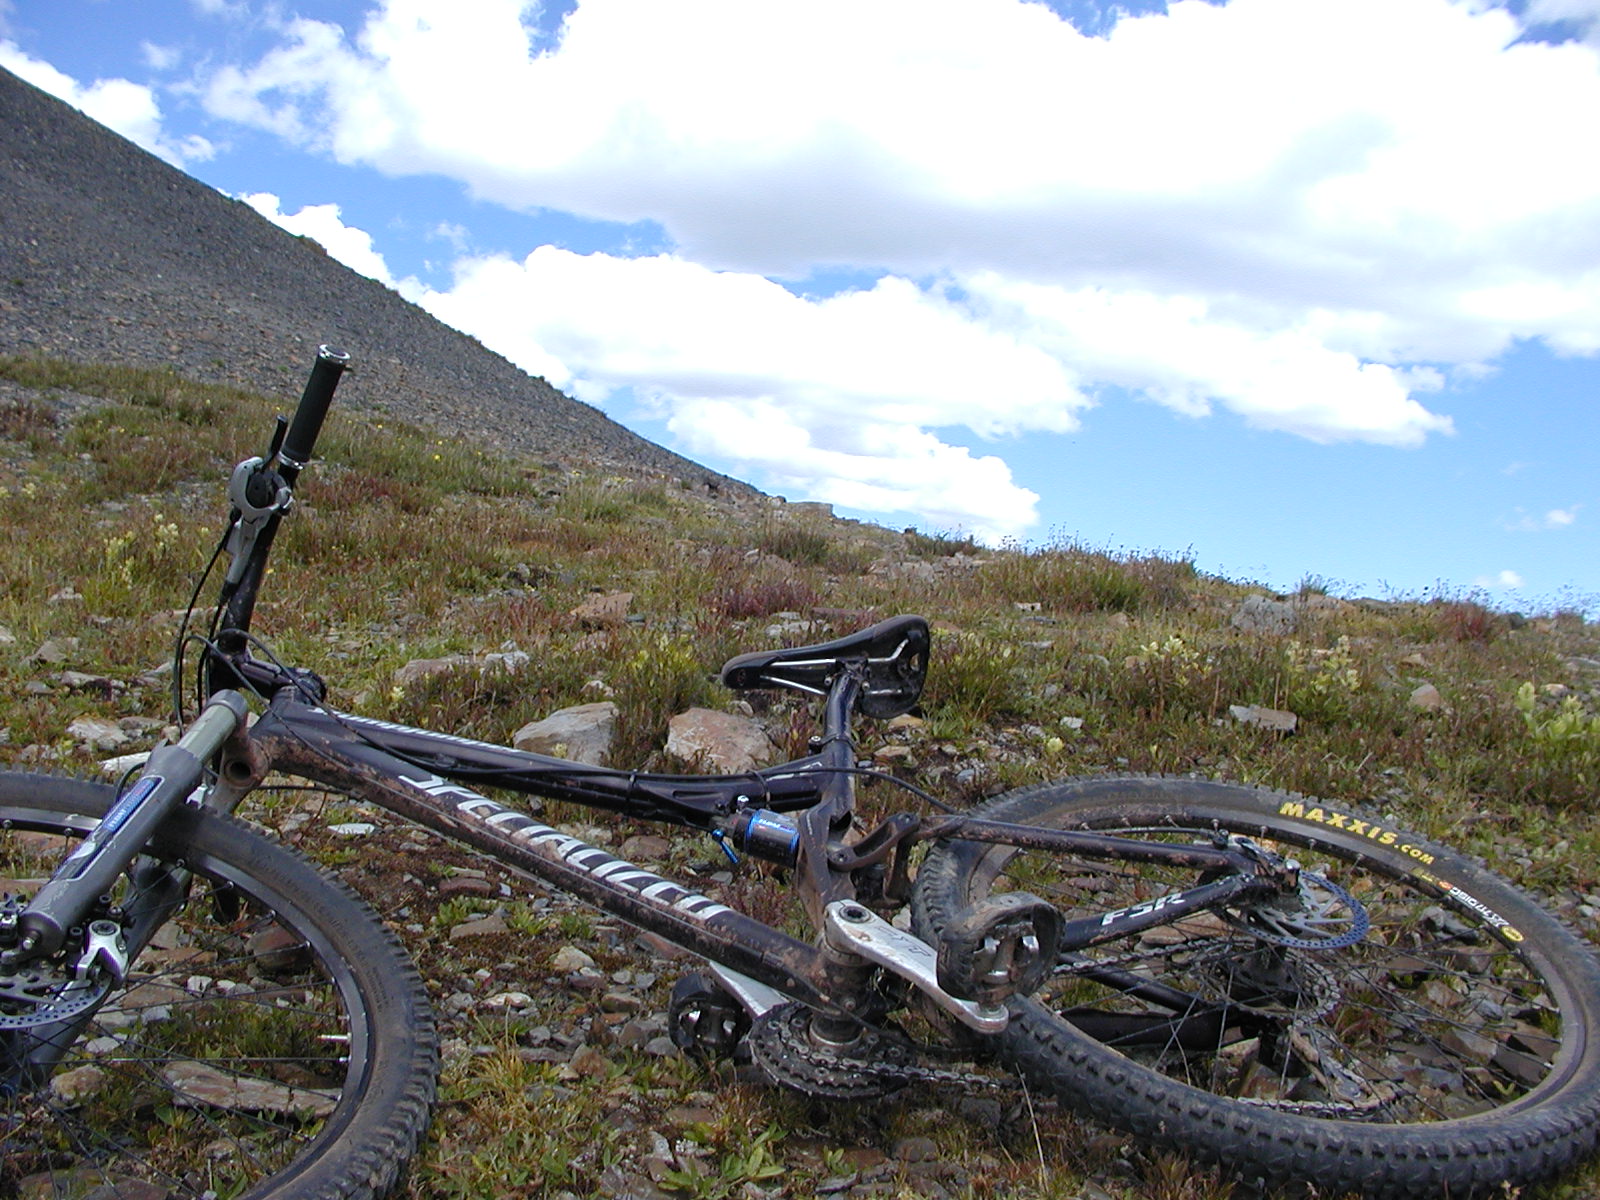
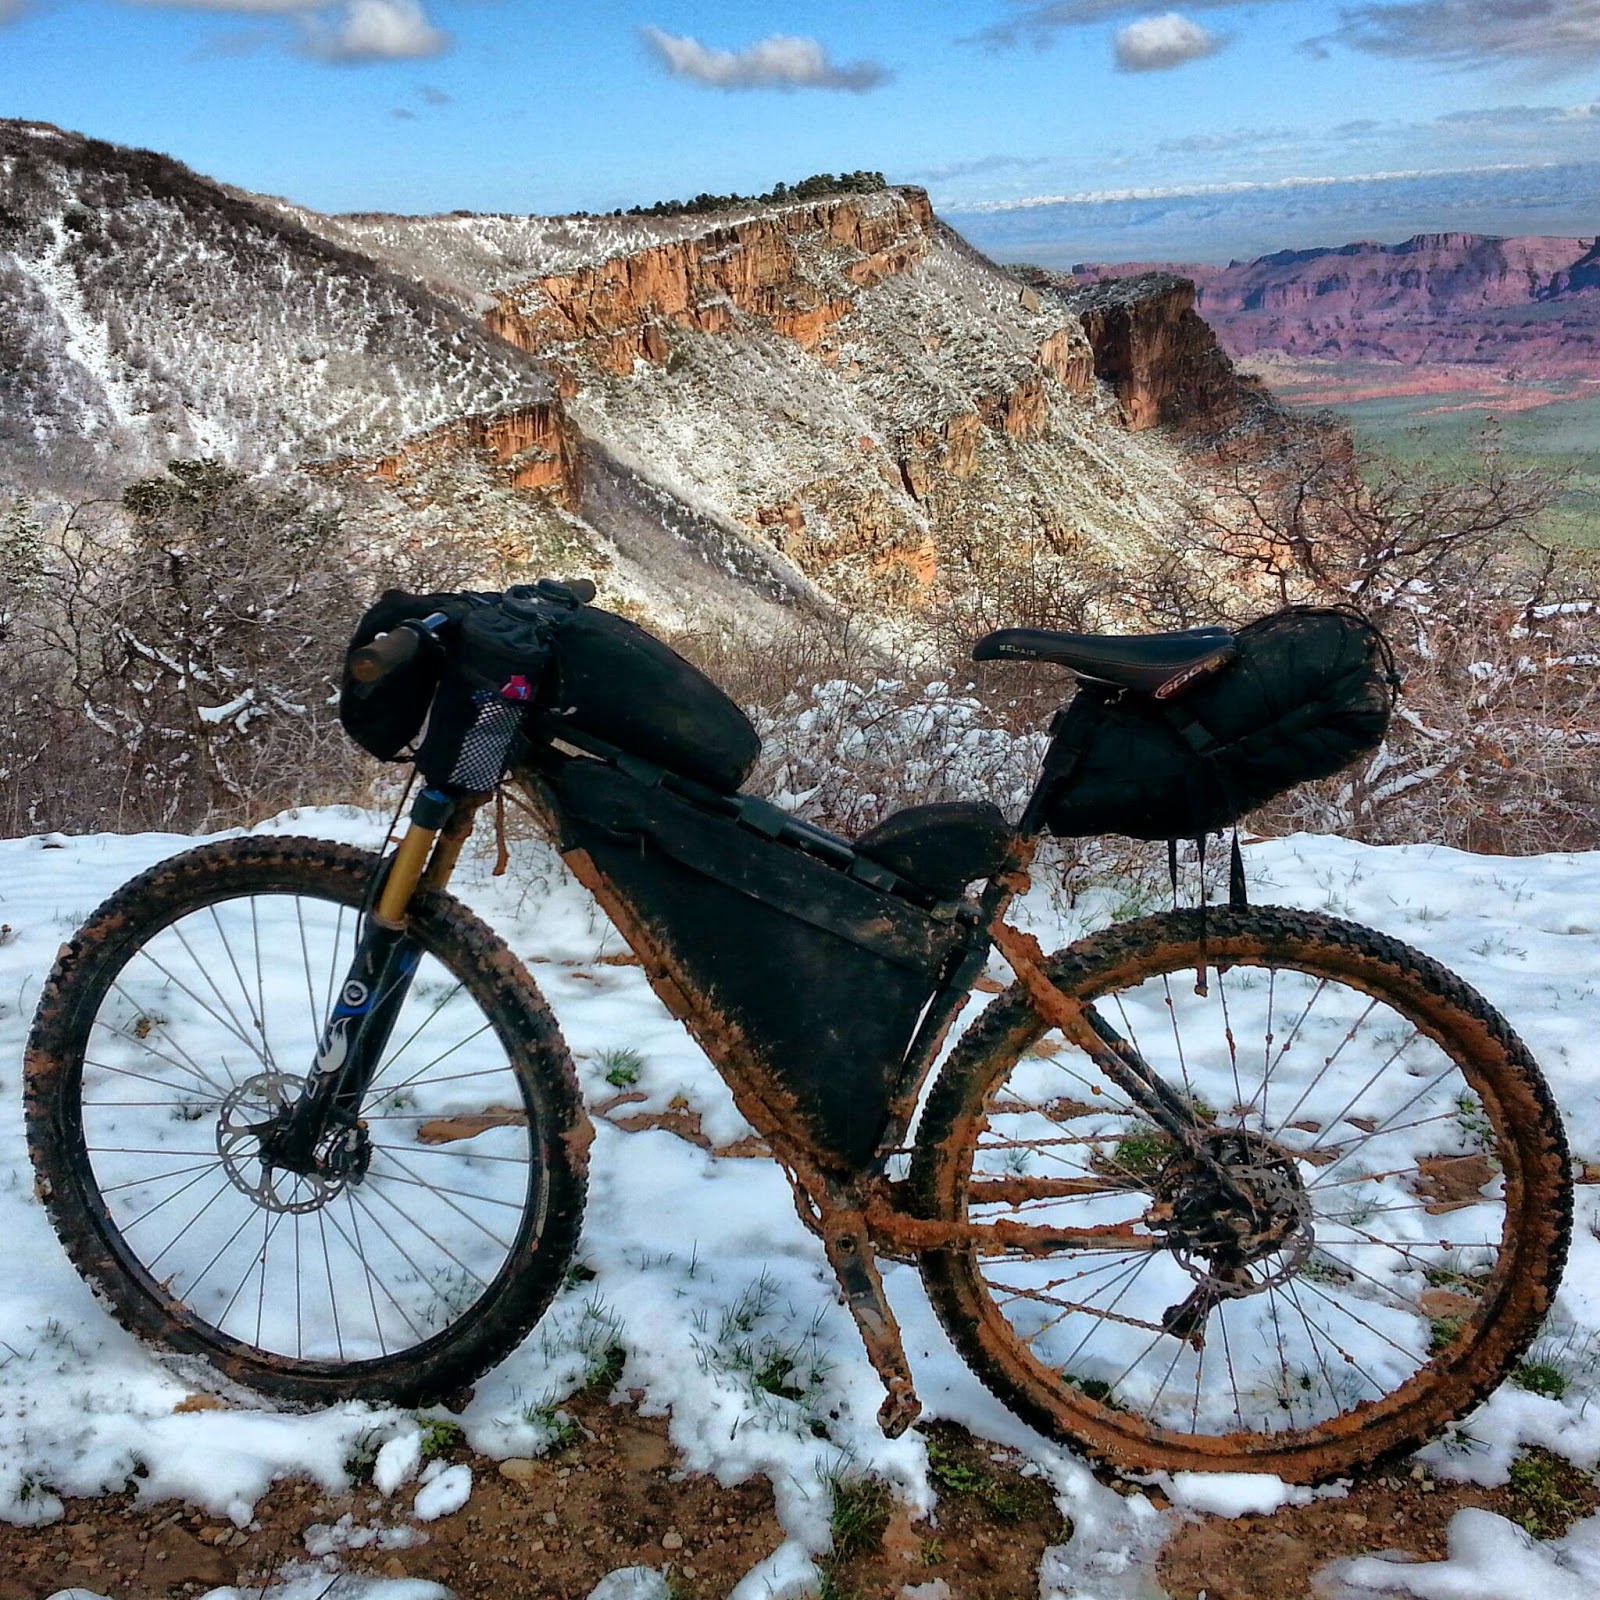
Here is my bike atop Sergeants Mesa. The Sergeants mesa section of the CT is widely regarded as the armpit of the whole trail which I found to be true. Basically there is about of 30 miles of trail that are shared by motorcycles. I appreciate my moto friends but motorcycles do a horrible job of chewing up the trail and leaving baby head sized rocks littered behind everywhere. You will see what I mean in an upcoming photo. I also remember a bloated dead cow up here that looked like it was about to explode. I didn’t take a picture of the god awful smelly rotting cow but sure do remember it!

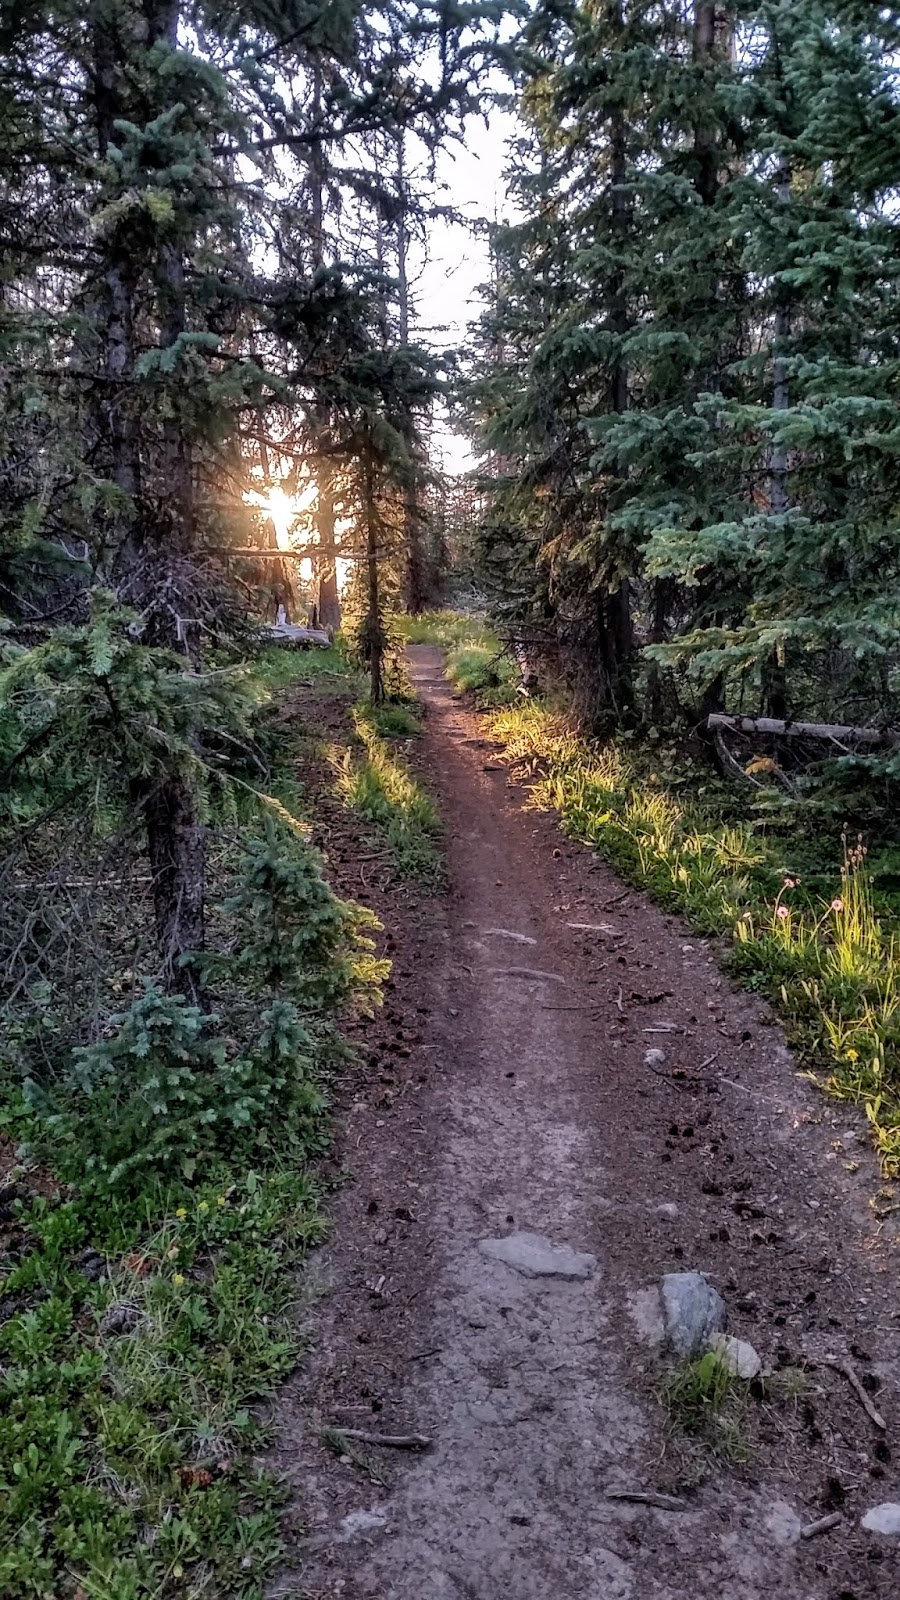
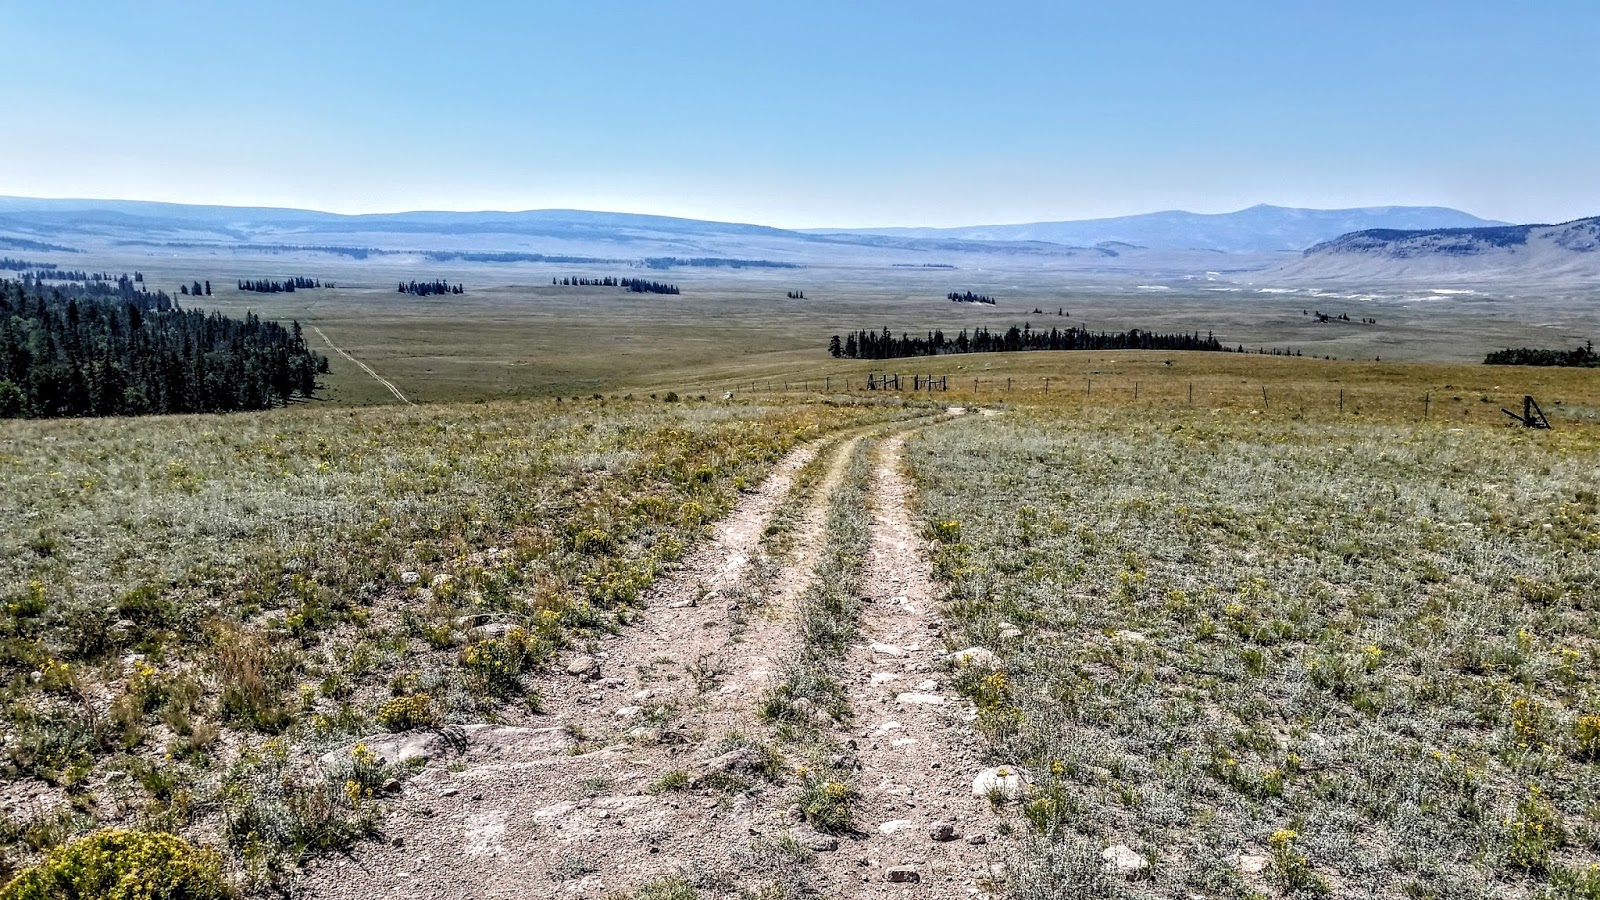
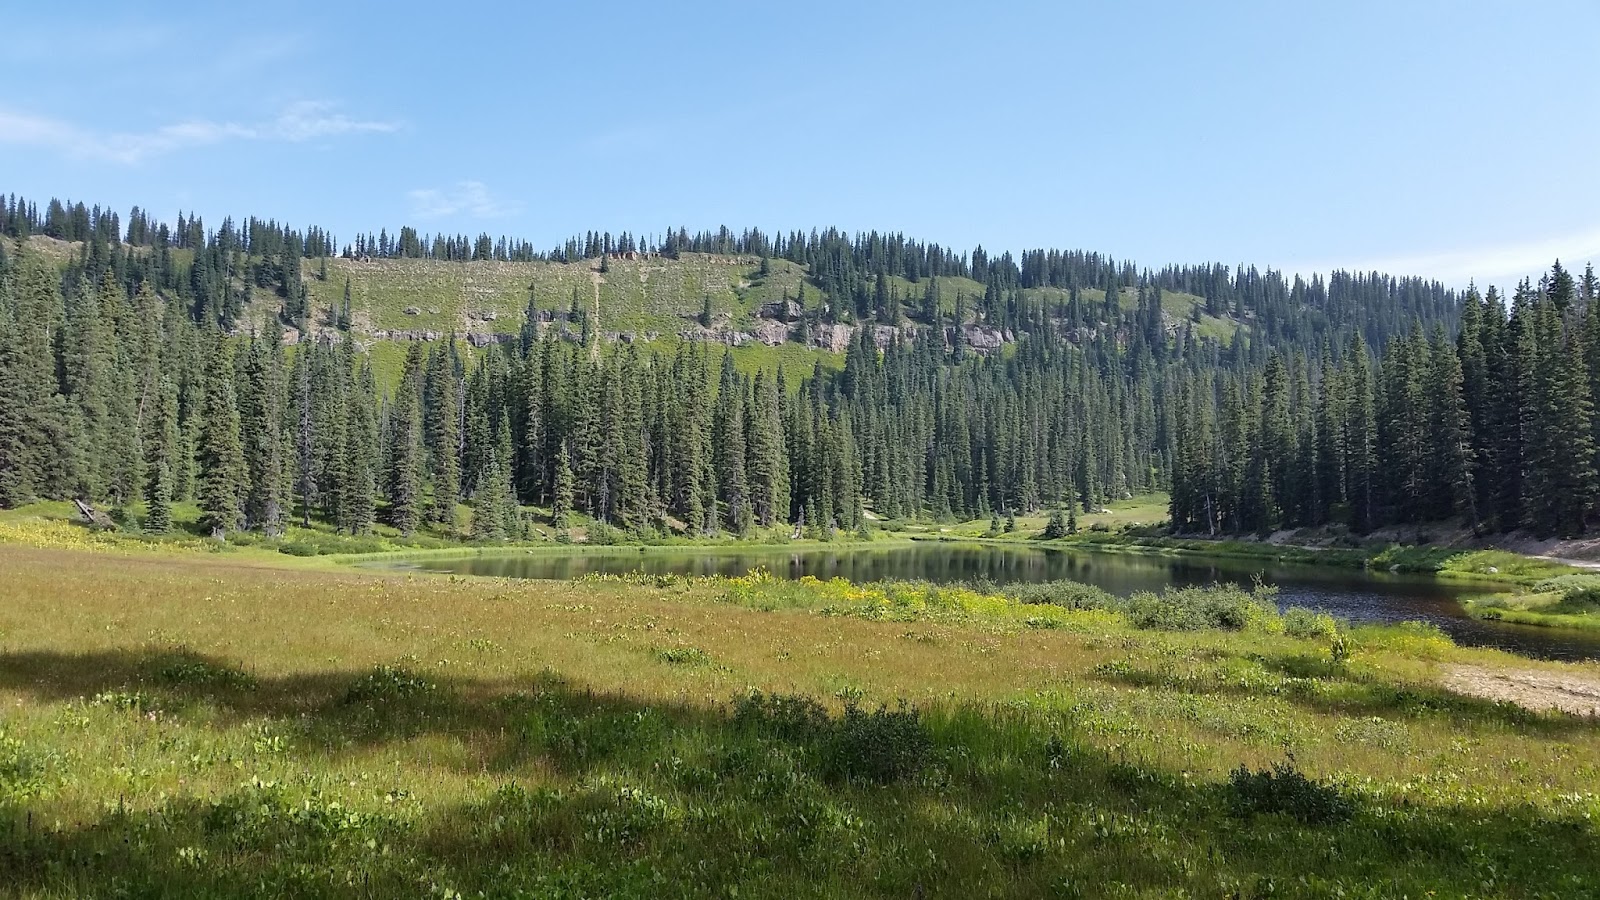
Something magical happened this evening. The low pressure system that I was dealing with for the last couple of days moved out and dry air is moving in. This was at the end of day 4 for me and the lowest point mentally on the trail for. My brain was not doing well even though my body and bike were hanging in there. I was having second thoughts about finishing and was thinking about quitting in Lake City. I remember telling myself no quitting, get to Lake City, rest, and figure it out from there. This worked brilliantly. But some how even though my spirits were down, my endorphin’s kicked in and I just keep going on and on this day. I didn’t want to or what seemed like know how to stop moving. With the last bit of sunlight in the sky I finally settled on a campsite perched on a high point of the Confidential Divide. Late in the day I had debated on taking a detour down to Lake Baldy which is a very steep 1/2 mile off of the trail. Should I go for a campsite with water or push on and dry camp. I ended up dry camping at this amazing campsite and rationed my water the next day. It somehow worked. .

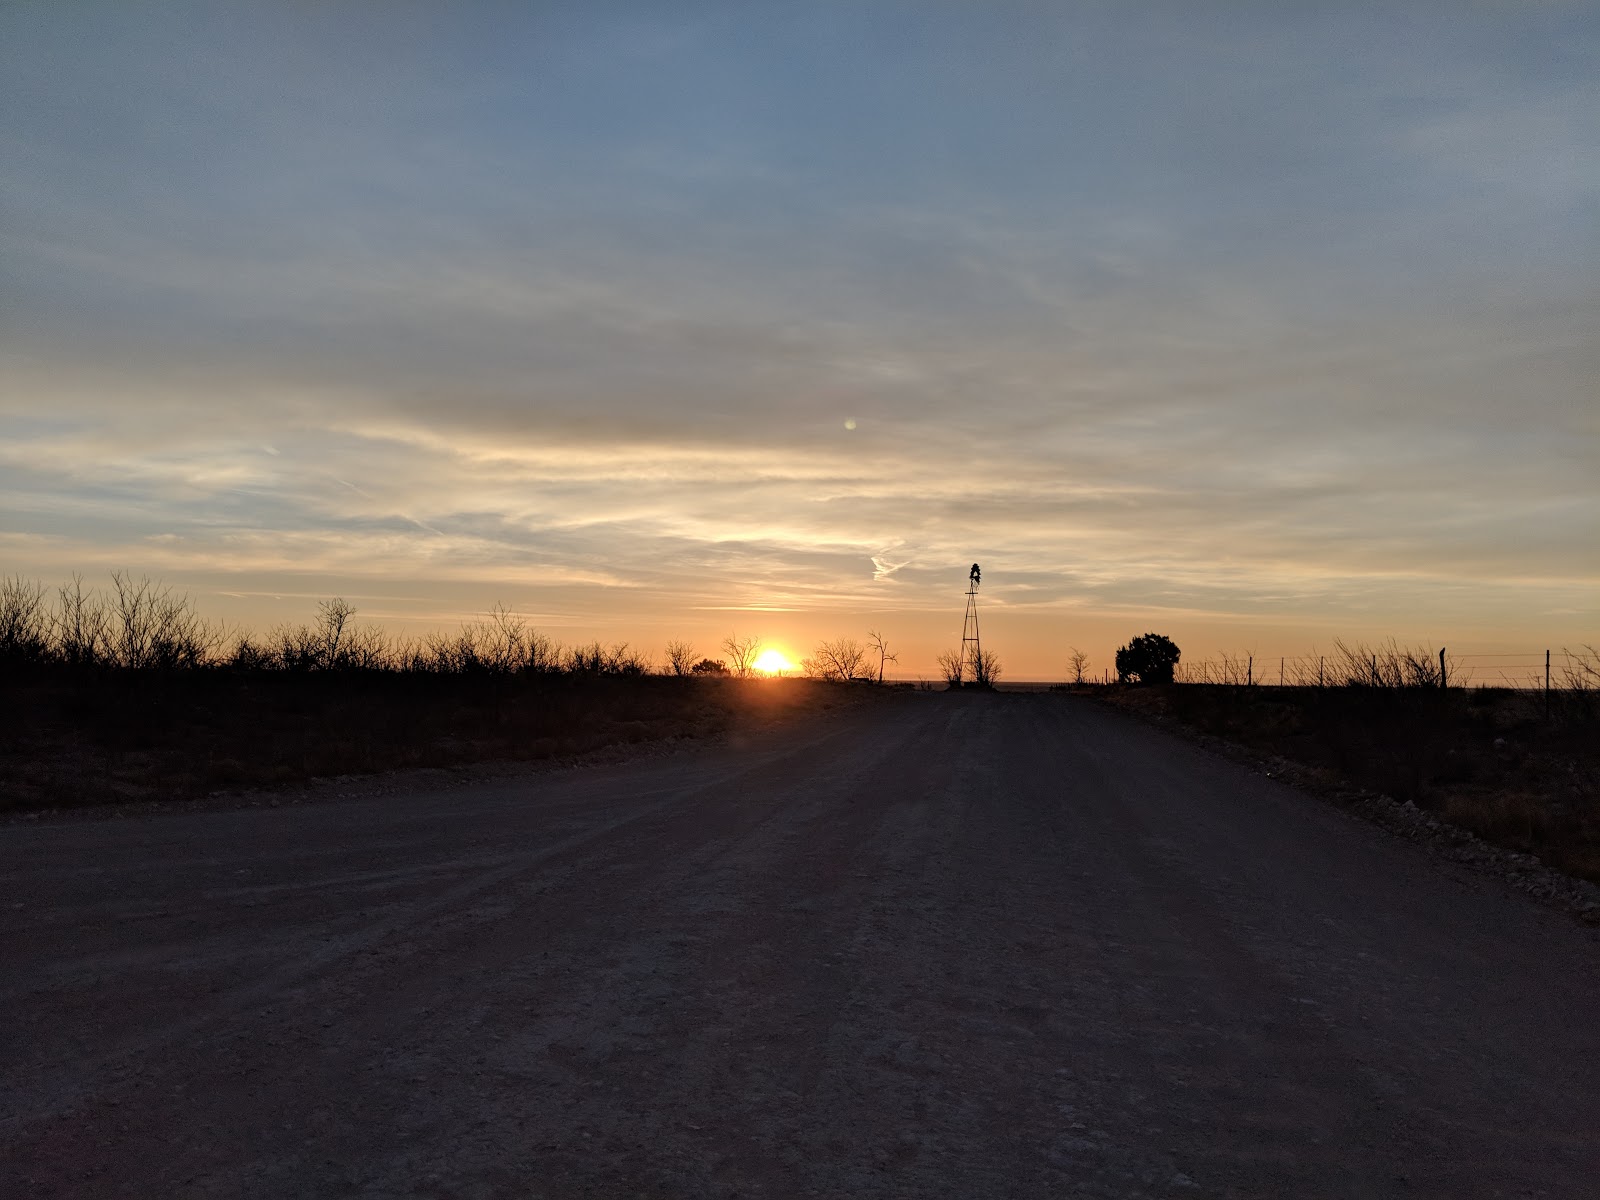
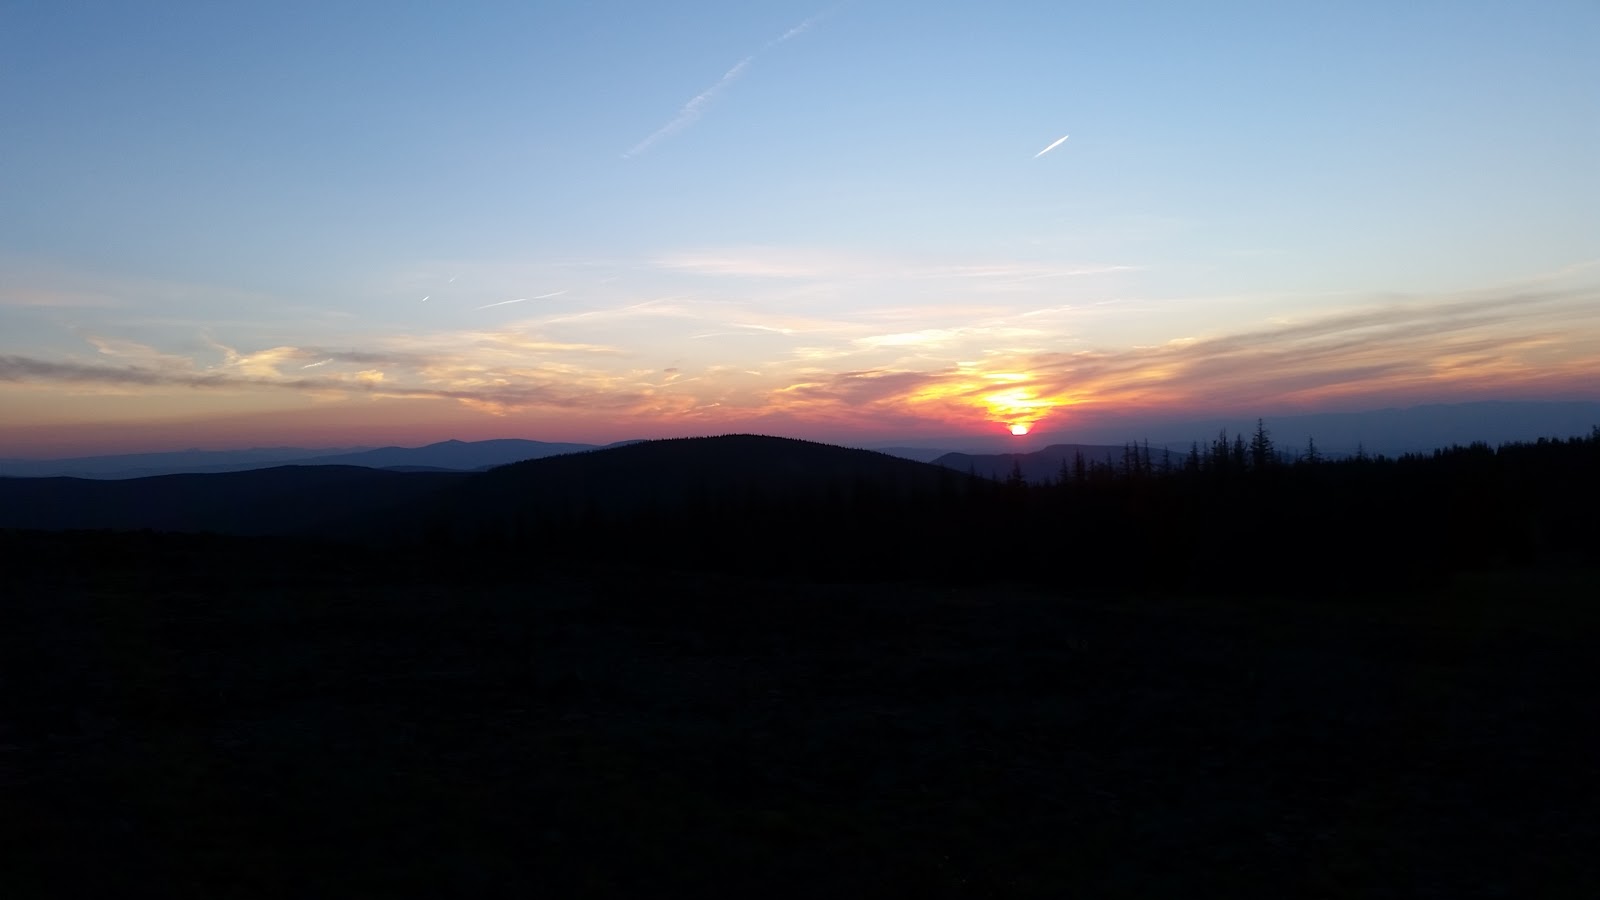
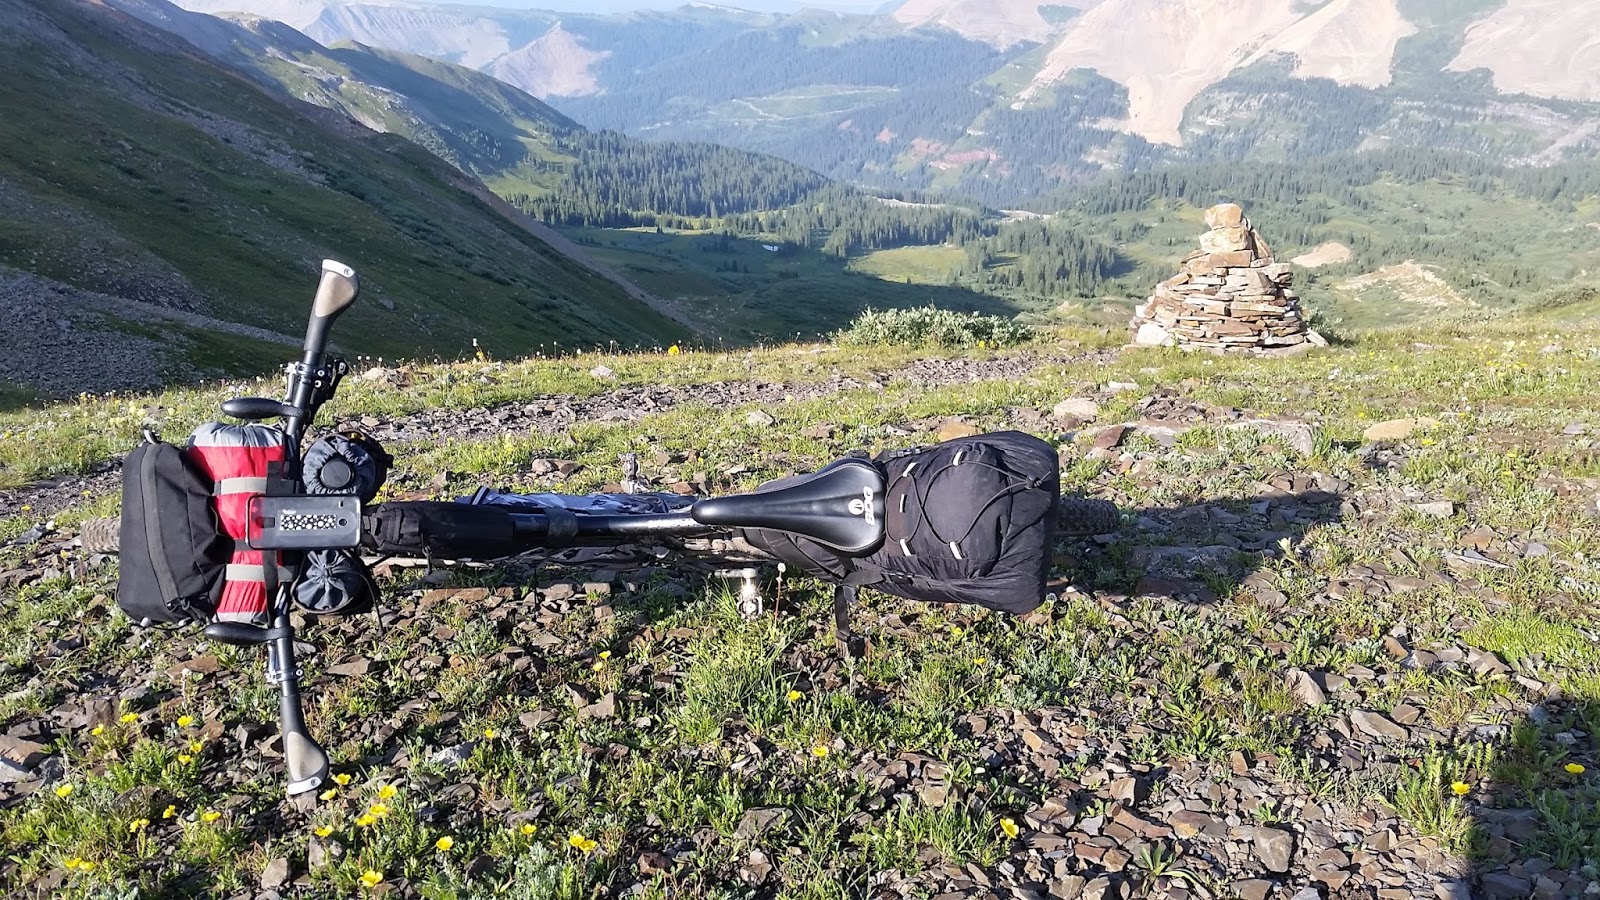
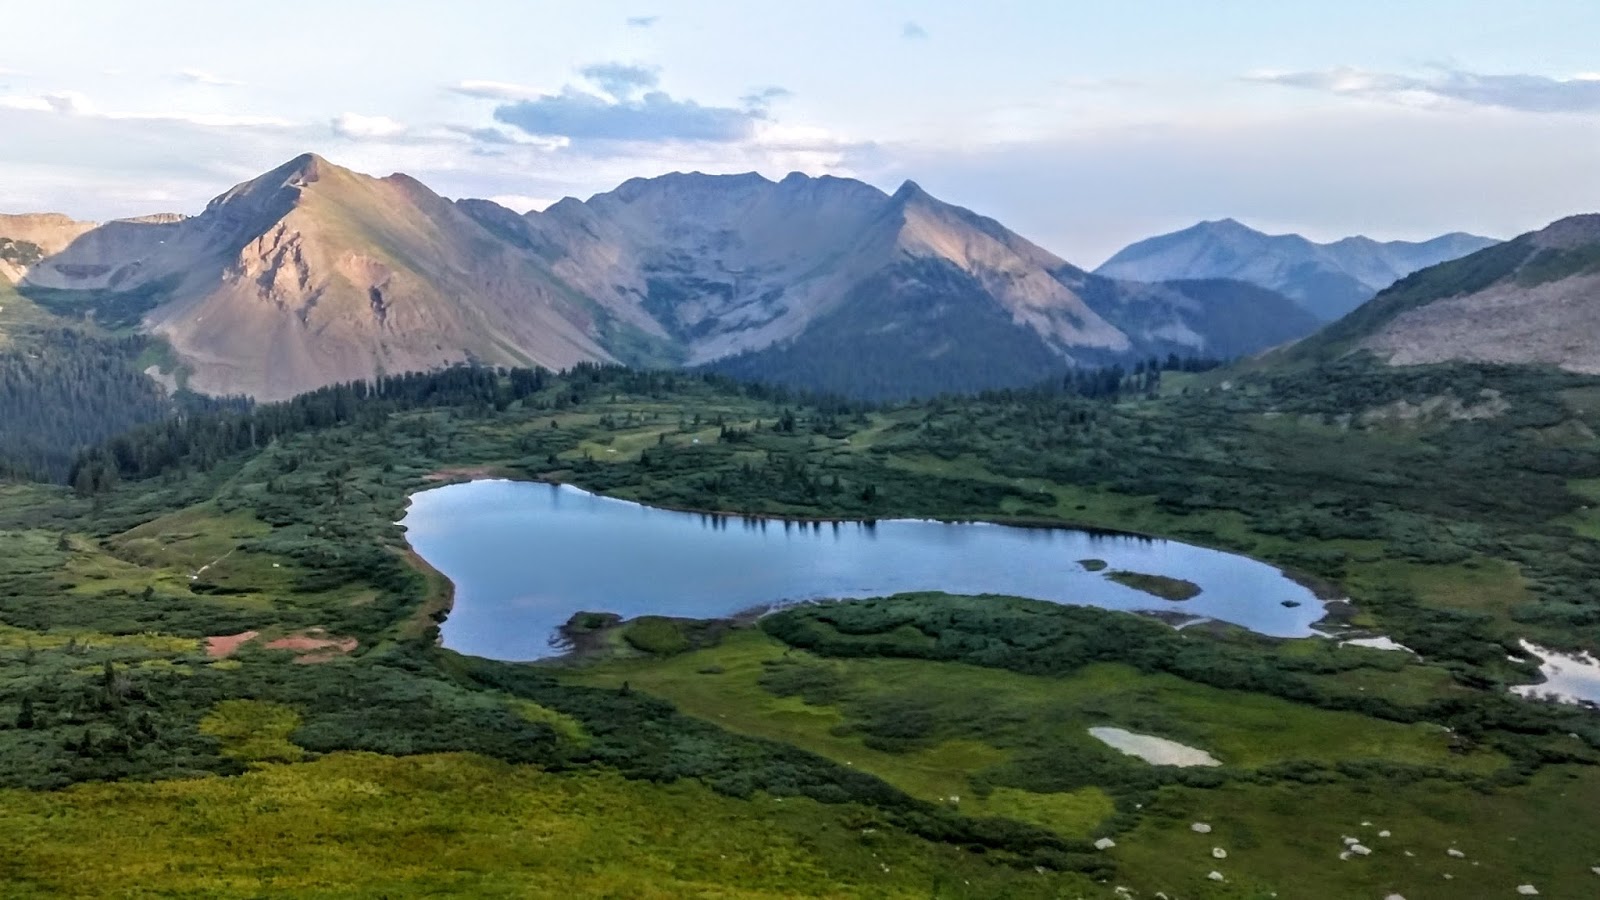
I found this spot on top of one of the 11,700 ft peaks of the Continental Divide to camp and was treated to the best sunset of the trip.
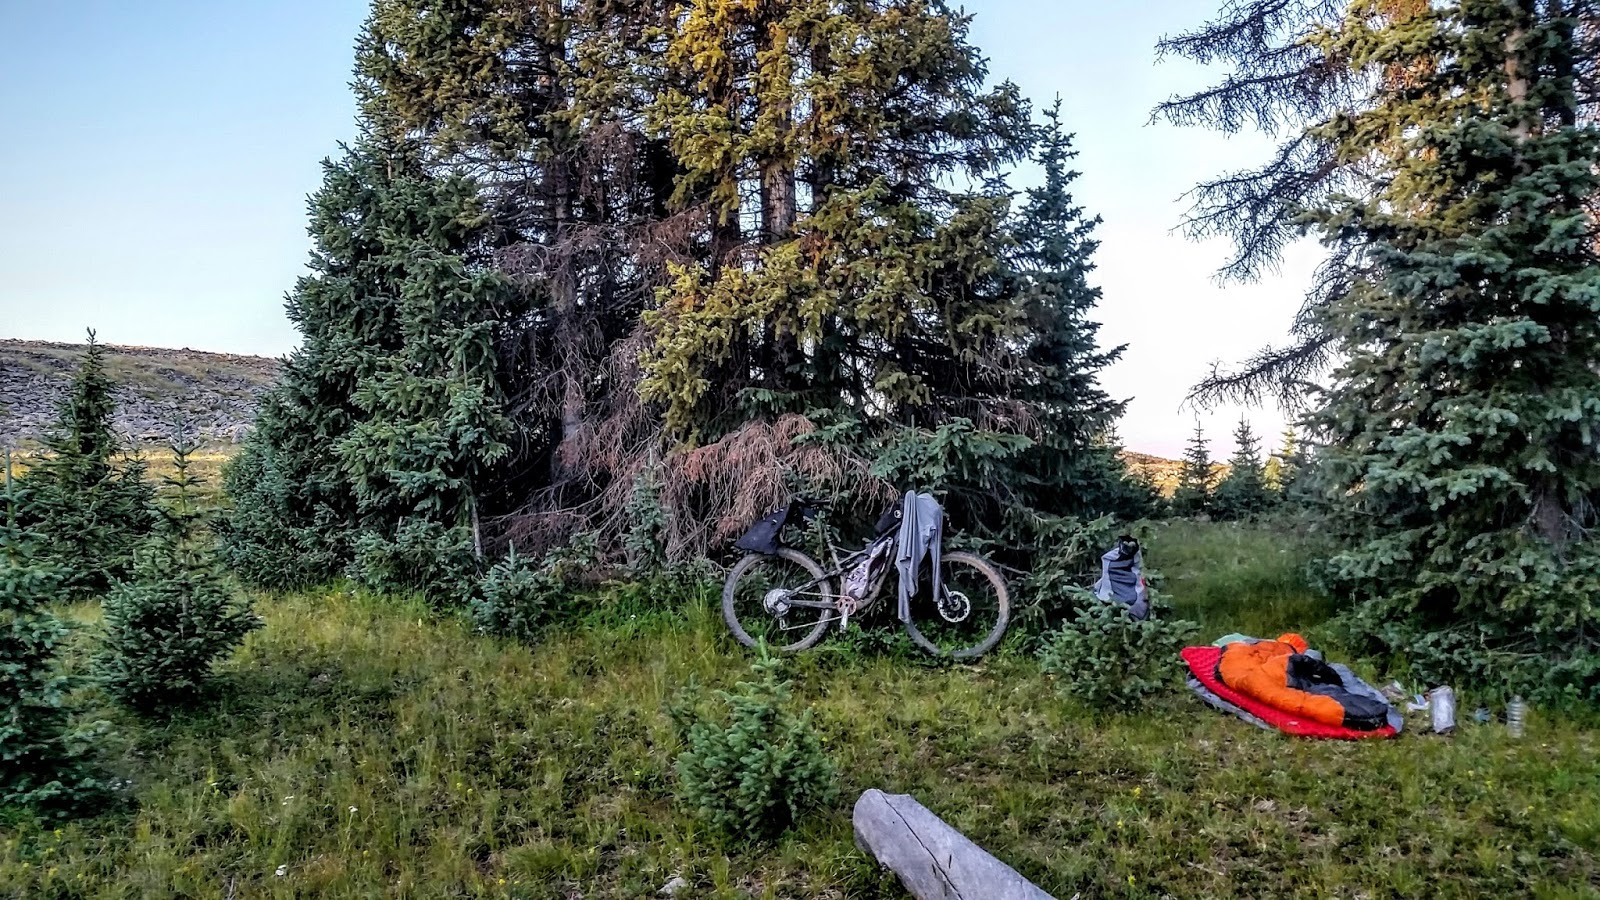
The next morning: This is what cowboy camping looks like on the Continental Divide. I love my lil bush that did a great job of airing out my bike shorts while sleeping (zoom in to see). I woke up this morning and took an extra hour to rest and get my shit together. The mental battle the previous days was taking its toll and really just wanted to relax. You think 10 days would be plenty of time to complete the trail but basically every day was a push to get up, get moving, and make as many miles as I ‘could each day.
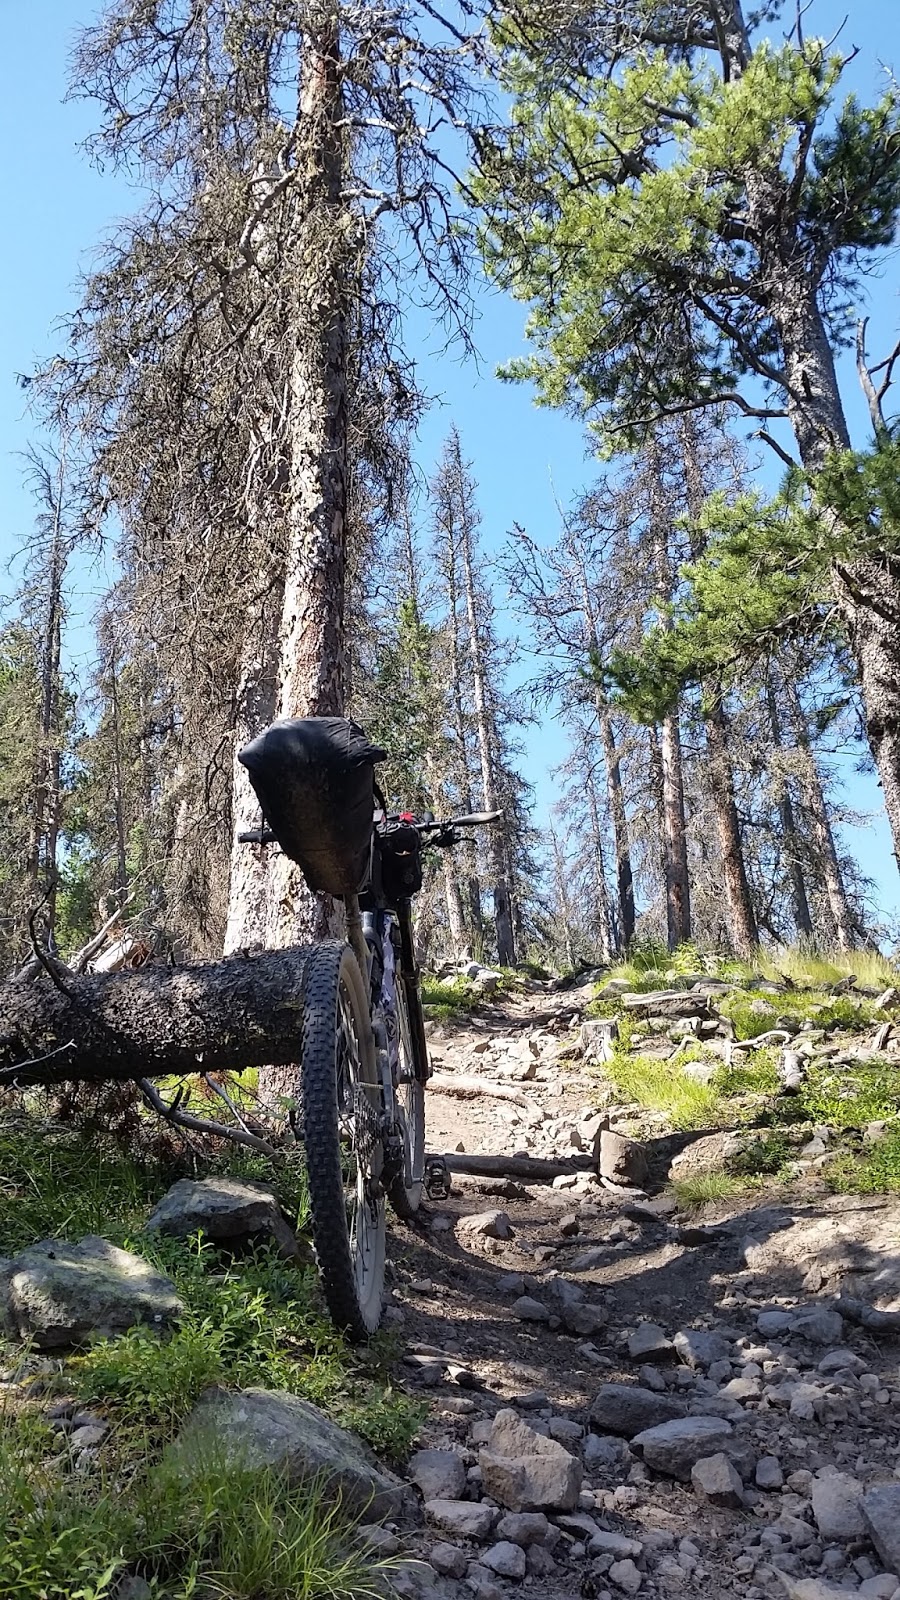
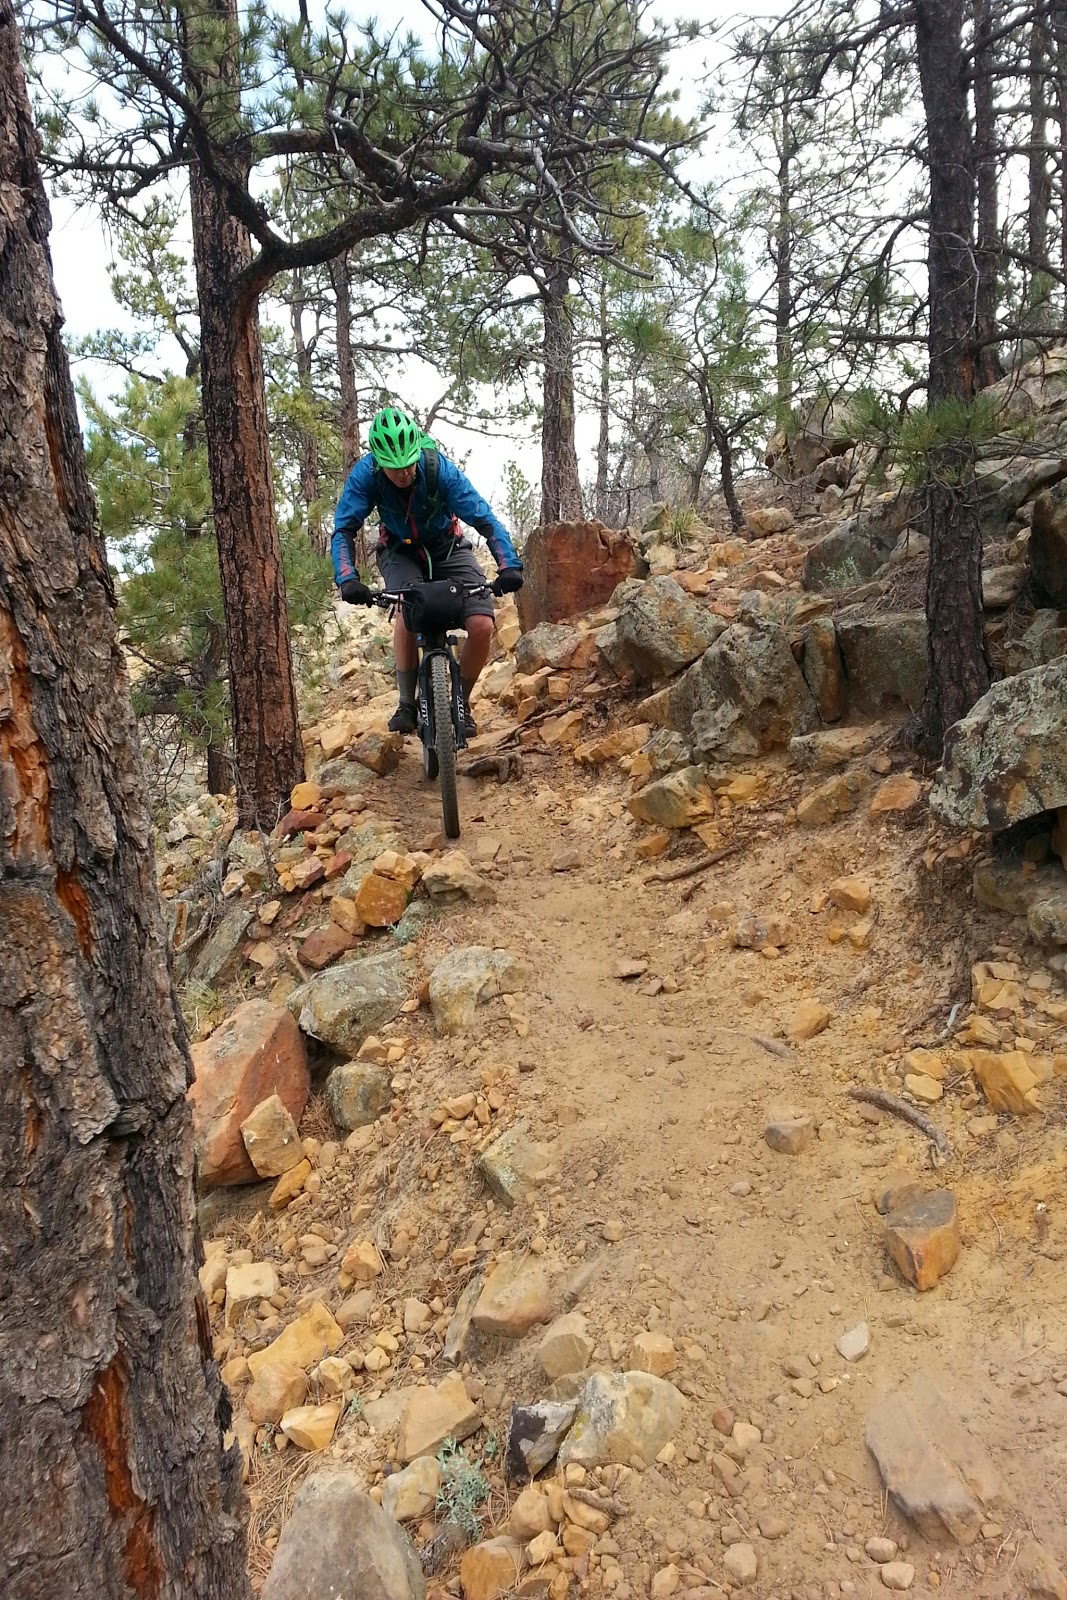
This picture really captures what the Sargent’s mesa section is like. I remember I was starting to loose my mind and thought a scrape and bruise on my shin was a snake bite. I was thinking “when did I get bit by a snake” and started to panic a bit. I quickly realized it was just a scrape and moved on.
Thank goodness this was one of the last PUD’s (pointless ups and downs) of this grueling section. Up one rocky hill, reach the top, descend back down the other side of the rocky mountain, hit the bottom saddle then repeat over and over and over. I guess this is how I would summarize the majority of the terrain of segments 16 and 17.
On to segment 18! I just finished the Sargent’s Mesa Section and hit the Lujan Creek TH. This section was super chill and I really enjoyed of the simple railroad grade trail that you follow for about 10 miles along this segment.
This was it! This was when my attitude finally changed for the better.. Hope! I felt hope and hope filled me. For the first time I really felt like I was going to make it. ahhhhh hope!!
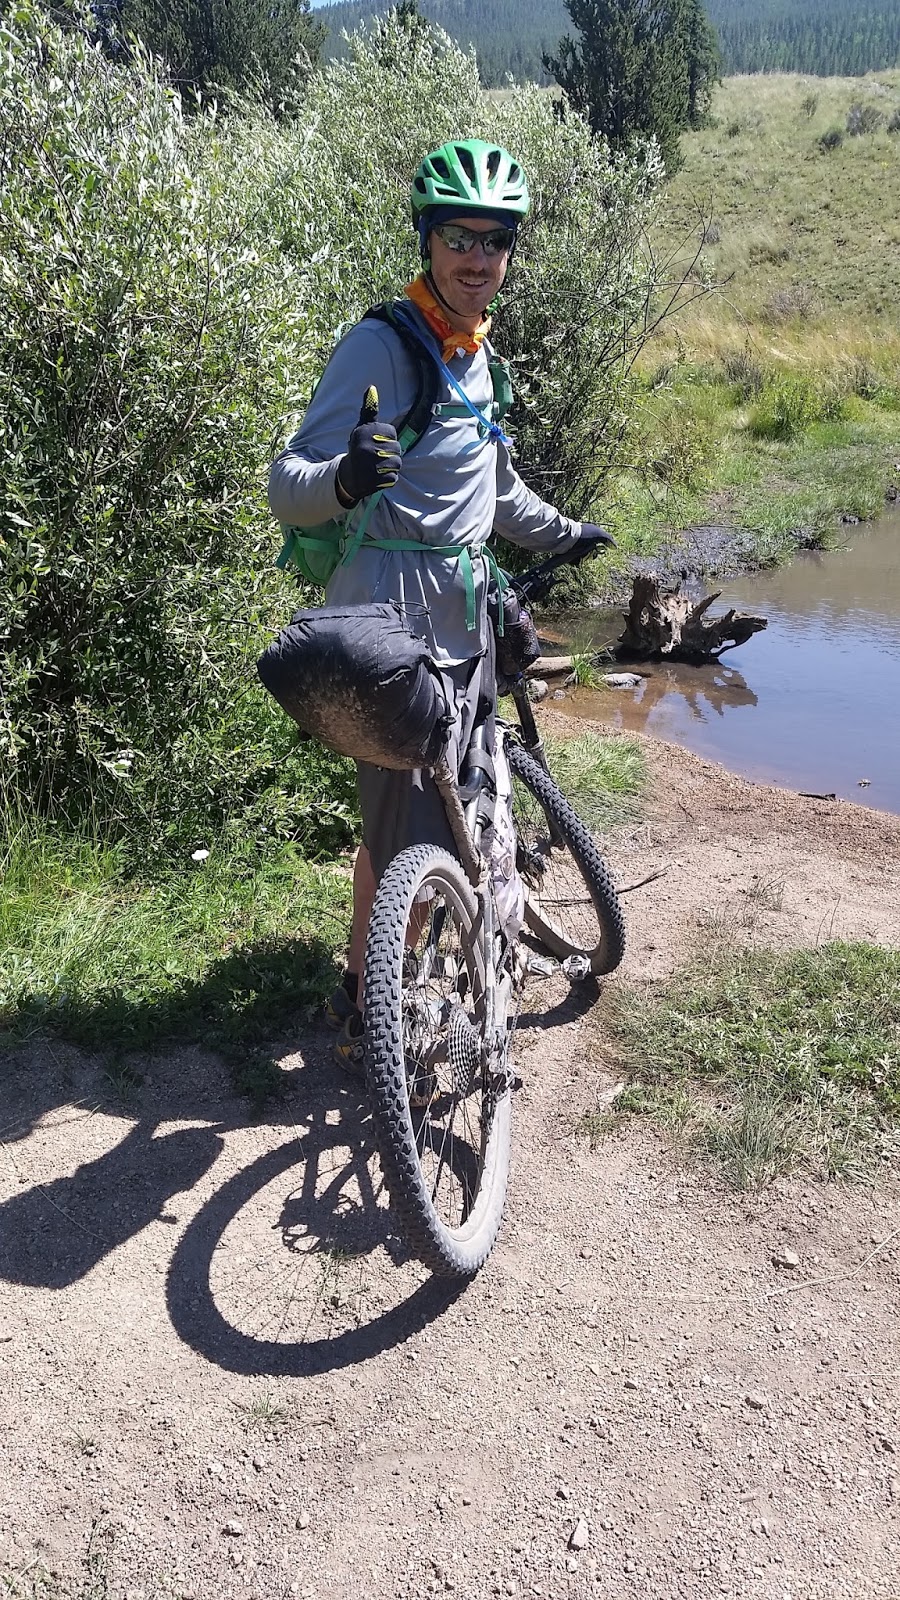
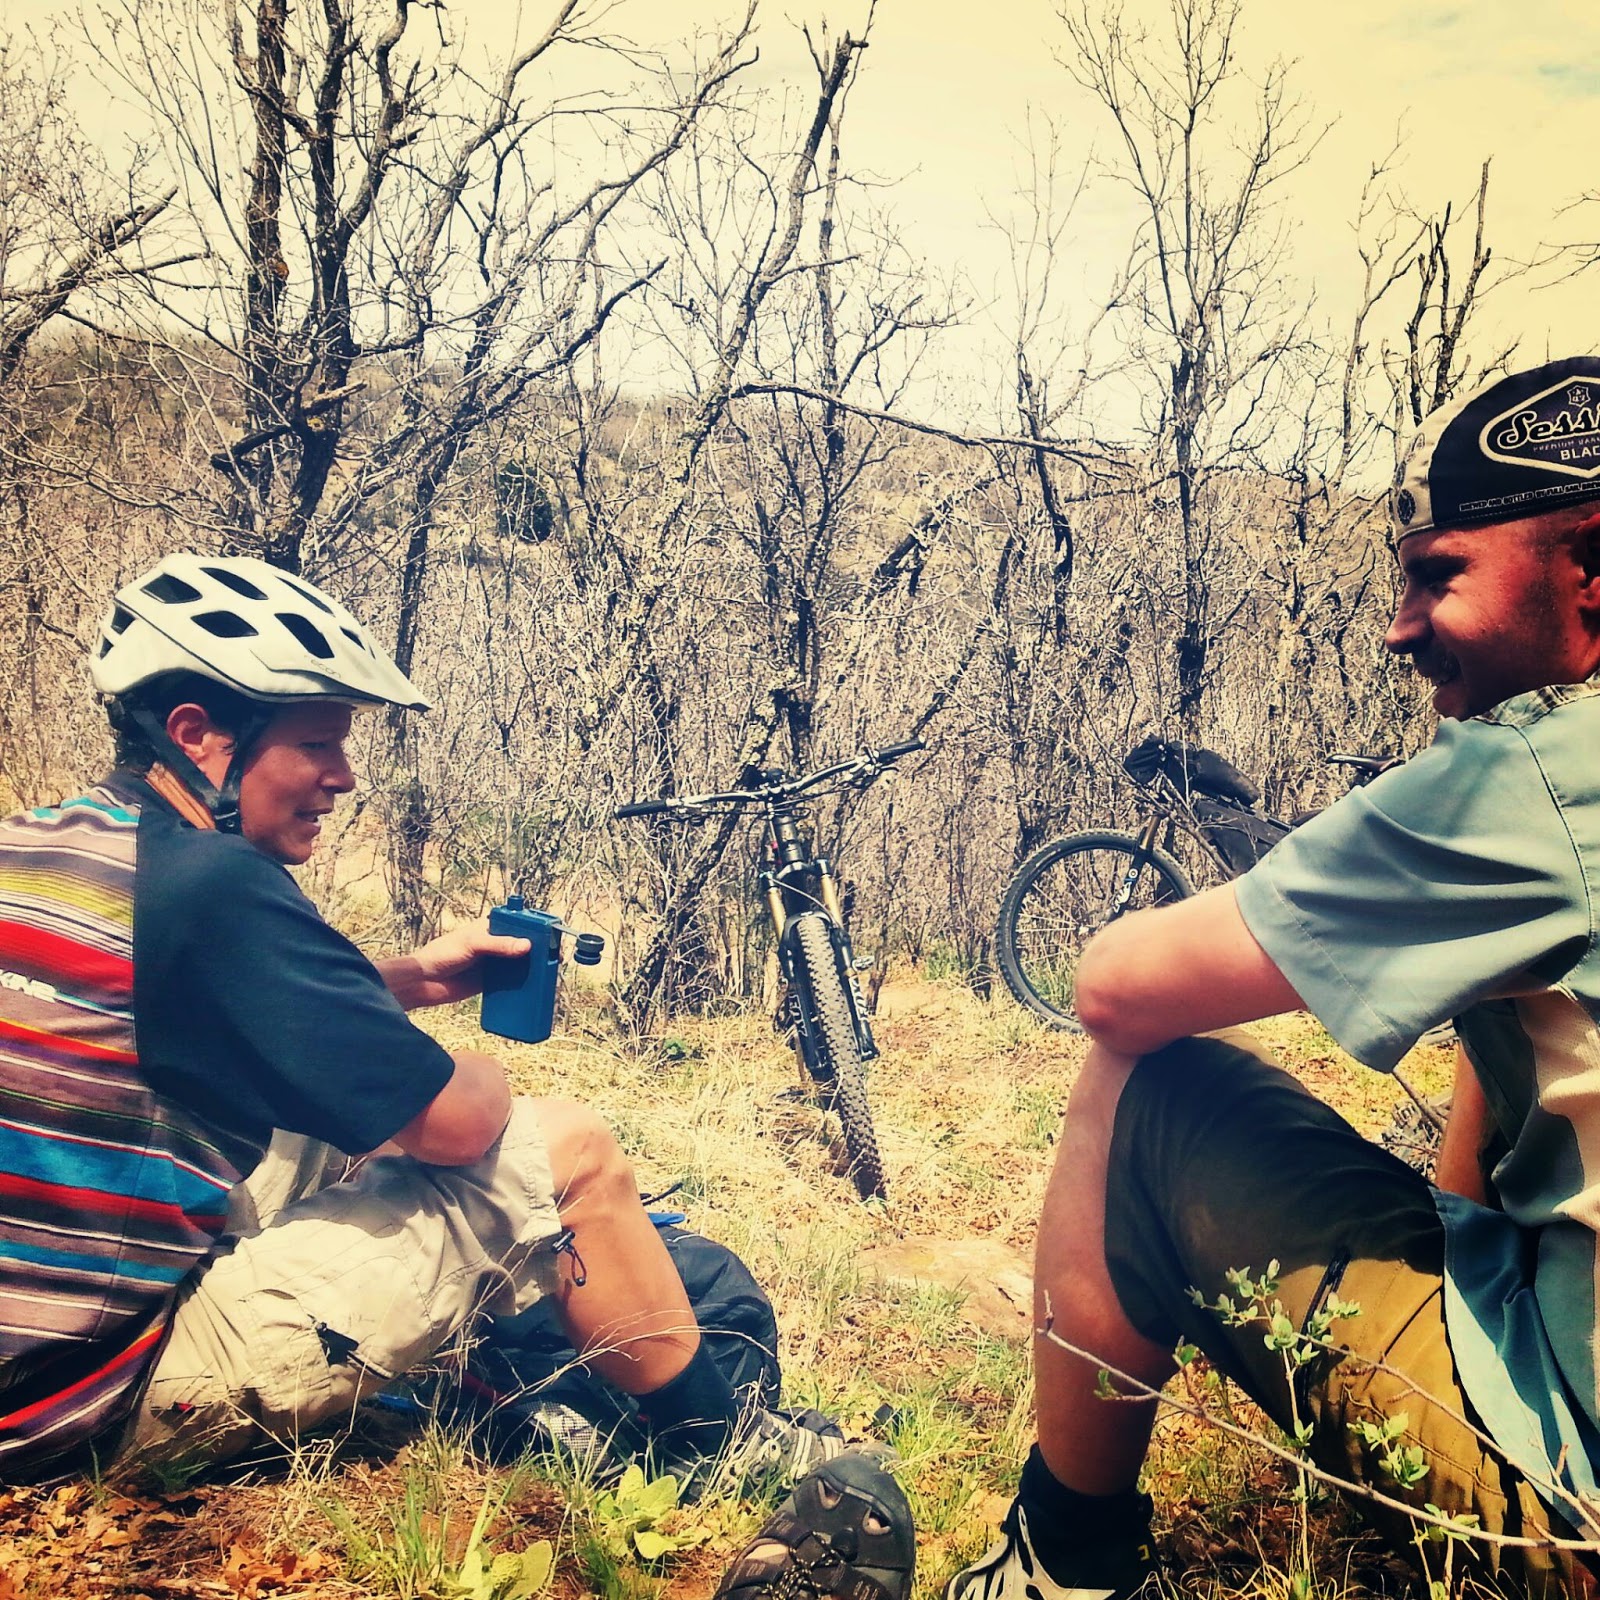
Thru-hikers were the best people to meet on the trail. I ran into a couple other random thru hikers and had a brief bonding moment with them at this watering hole. One of the dudes (can’t remember his name) snapped this pic and as I peddled off, Turns out the guy that took this picture was a writer for the Denver Post and did a long article after he completed the trail. Later on this day realized I was part of the trail community. Meeting the hikers on the trail was one of my favorite parts because they were always friendly and took the time to chat. Since I was on my bike I never did get to cross paths with the hikers again so I always made sure to make a good impression and enjoy my time with my fellow trail mates. Bikepackers seemed few and far between but I did run into what I counted 6 during my time on the trail. .


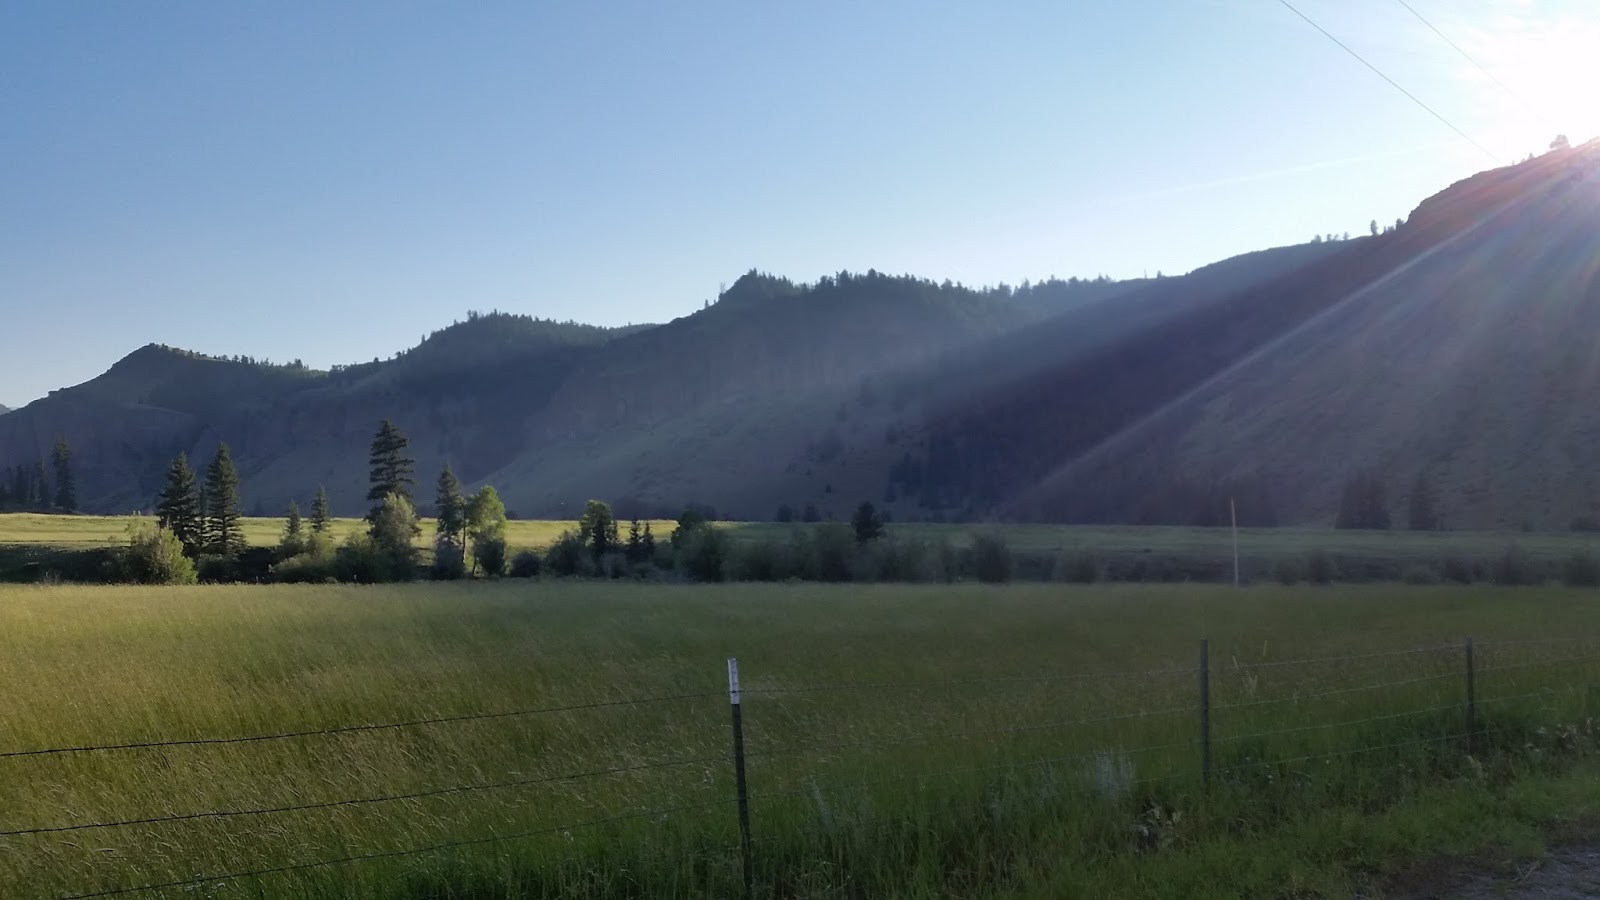
After leaving Hy 114 and joining the LaGarita Detour, I got to enjoy a large part of the Gunnison National forest on my way to Lake City. This detour was long (60 miles) but really enjoyed the faster pace of riding dirt road and bombing down the back side of Pinos Pass.
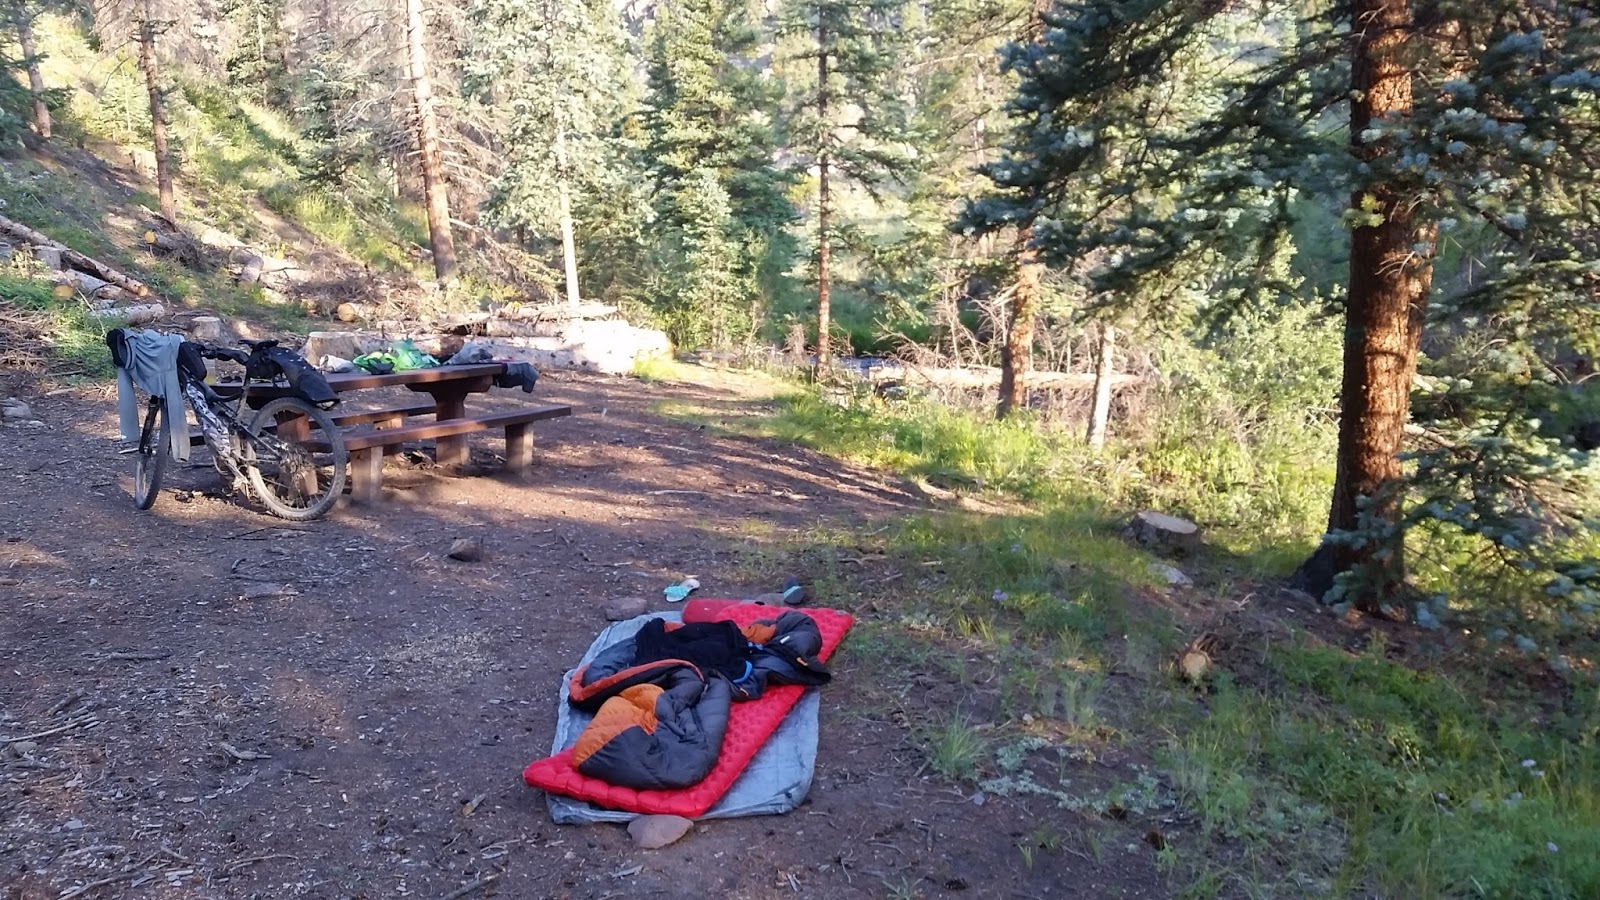
My campsite at the Hidden Valley Campground along Cebolla Creek. This was the only developed campsite I stayed at the entire trip and the last night I cowboy camped. My sleeping bag was one of the very few pieces of gear that did not perform well on the trip. I have had that bag for almost 10 years and it served well but its time to part ways. When I got back home I immediately ordered a Zpaks 10 degree bag. Baller!
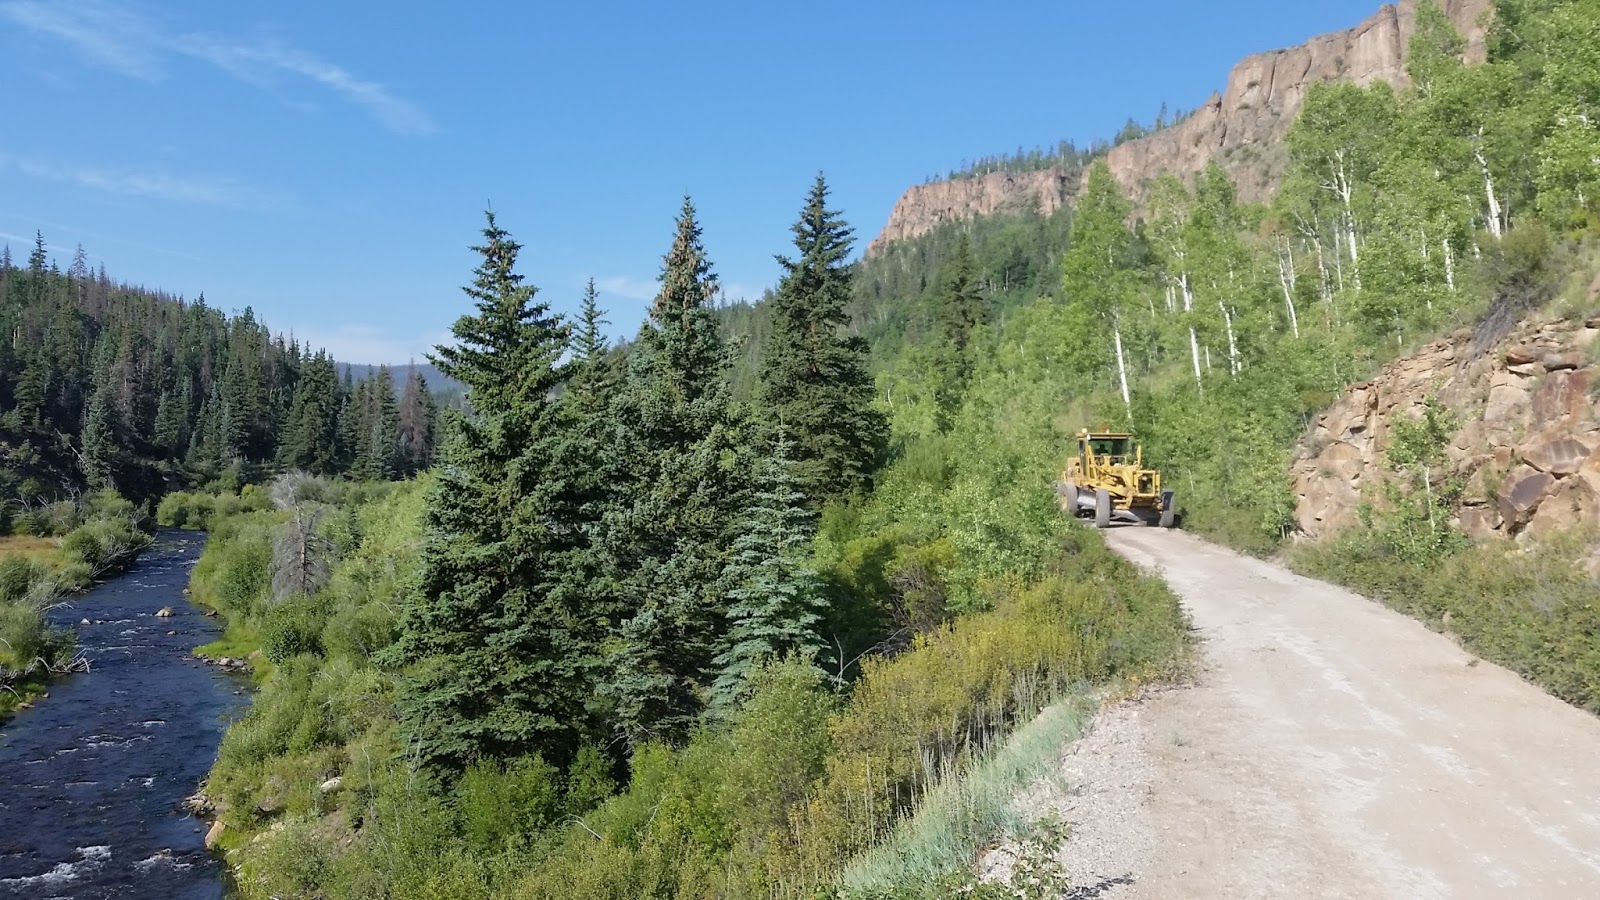
Climbing up to Spring creek pass. I snapped a photo of the Caterpillar grading the road. I was really impacted by the huge amount of beetle kill in this area. Many areas of Colorado have been deeply impacted by beetle kill but Gunnison Natl. Forest was absolutely devastated by it.
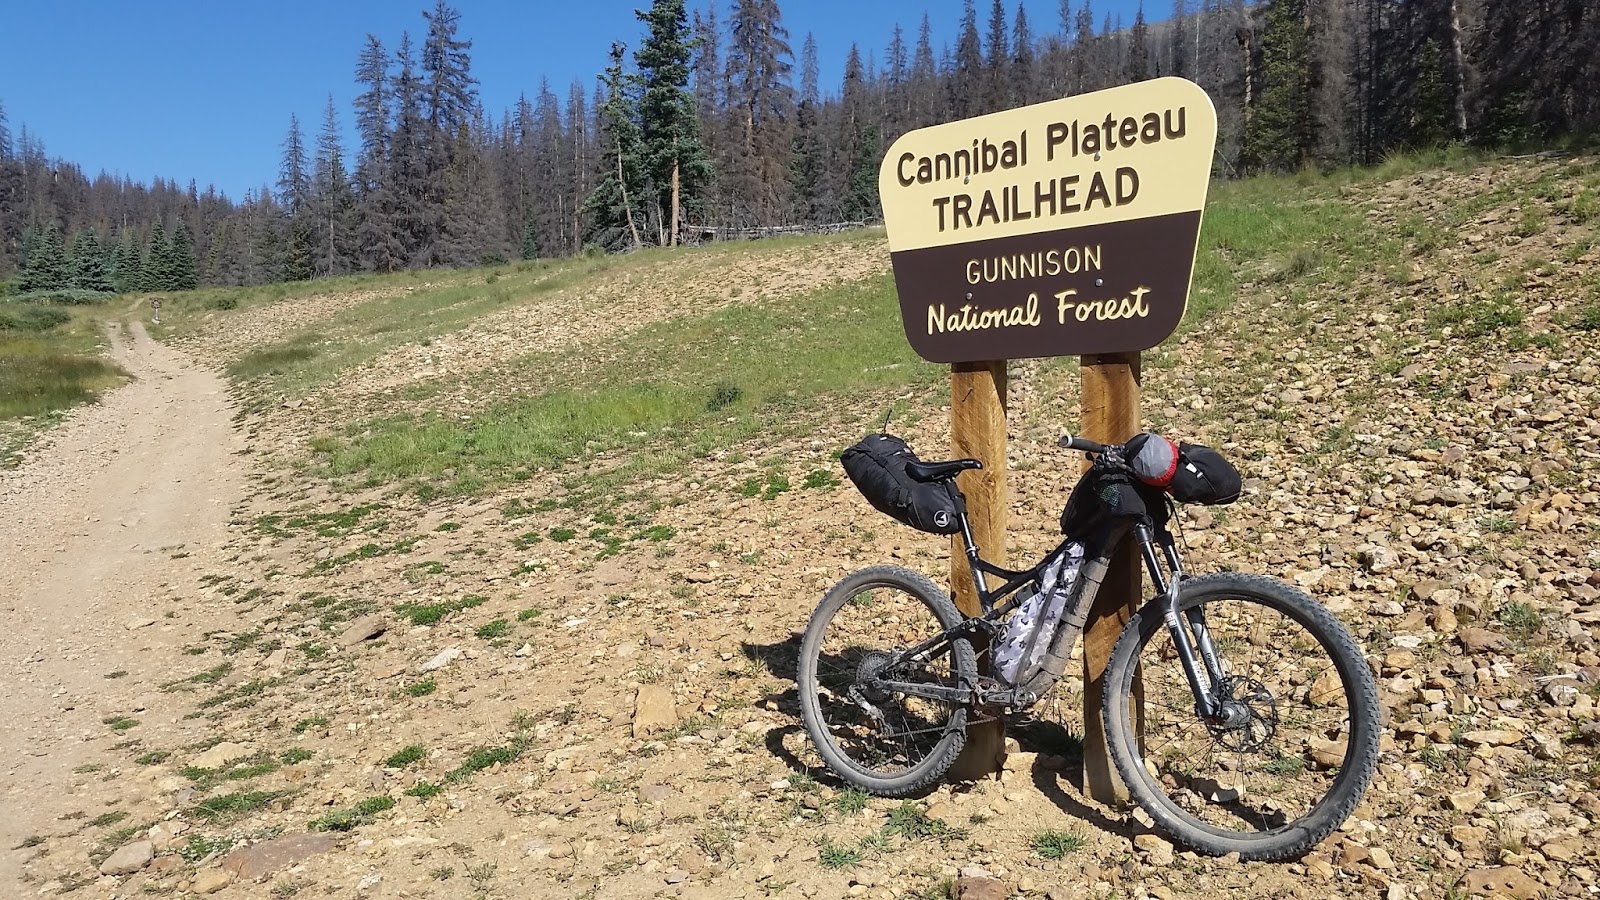
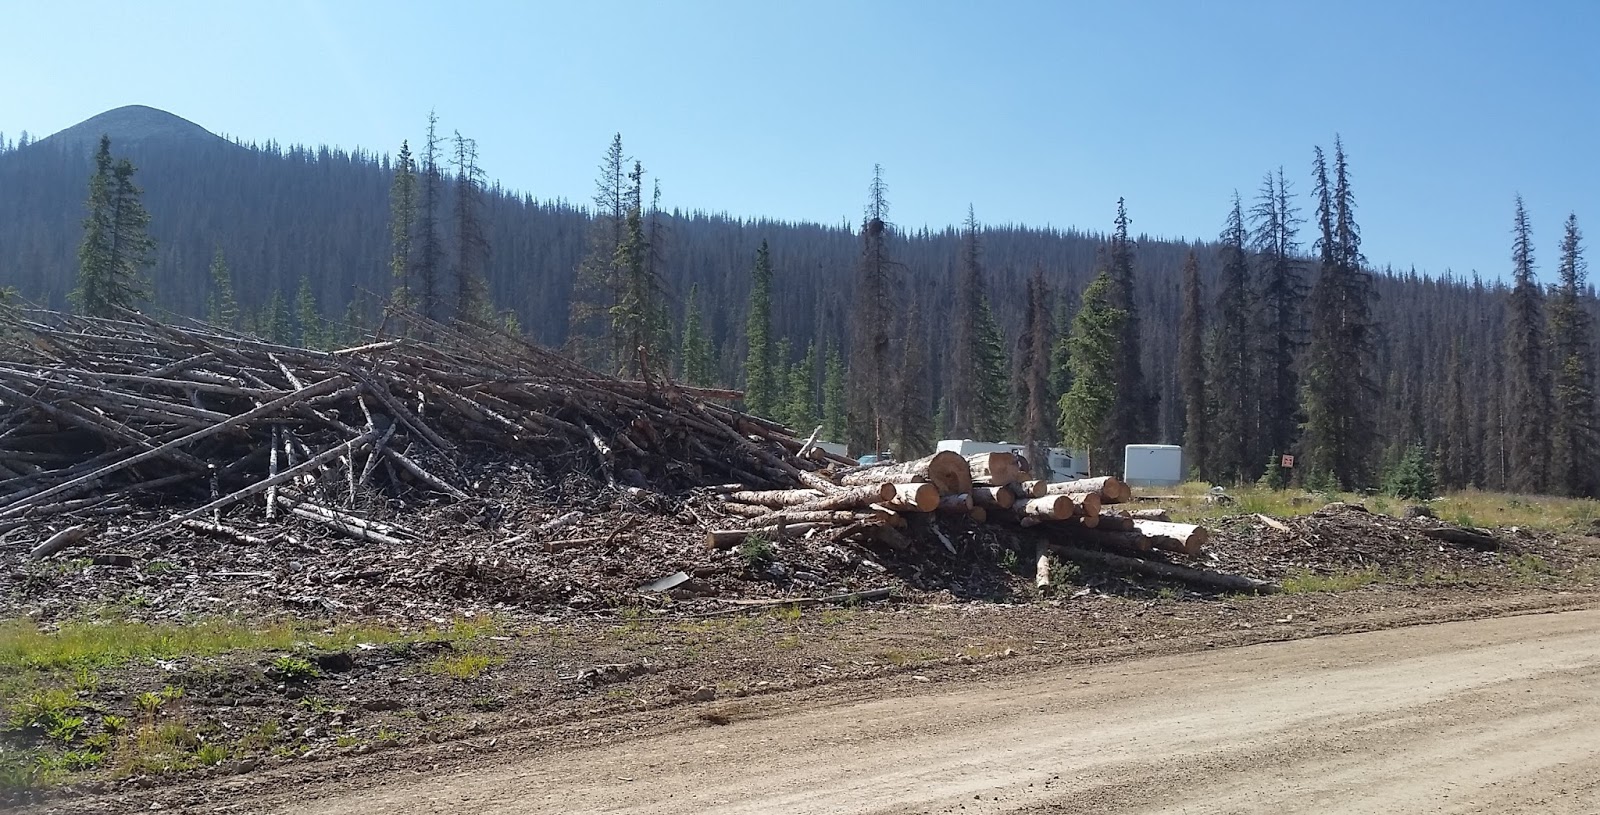
Better look out for Cannibals!!
IThe Beetle Kills was so bad in this area. In Lake City I was told they can only access about 9% of the dead trees to cut down. Piles like this were common in the area. Every long trip I do I seem to come back with a new focus or something in my life I want to change. The mantra I found this time was I want to do more for the environment. I want to protect our forests………


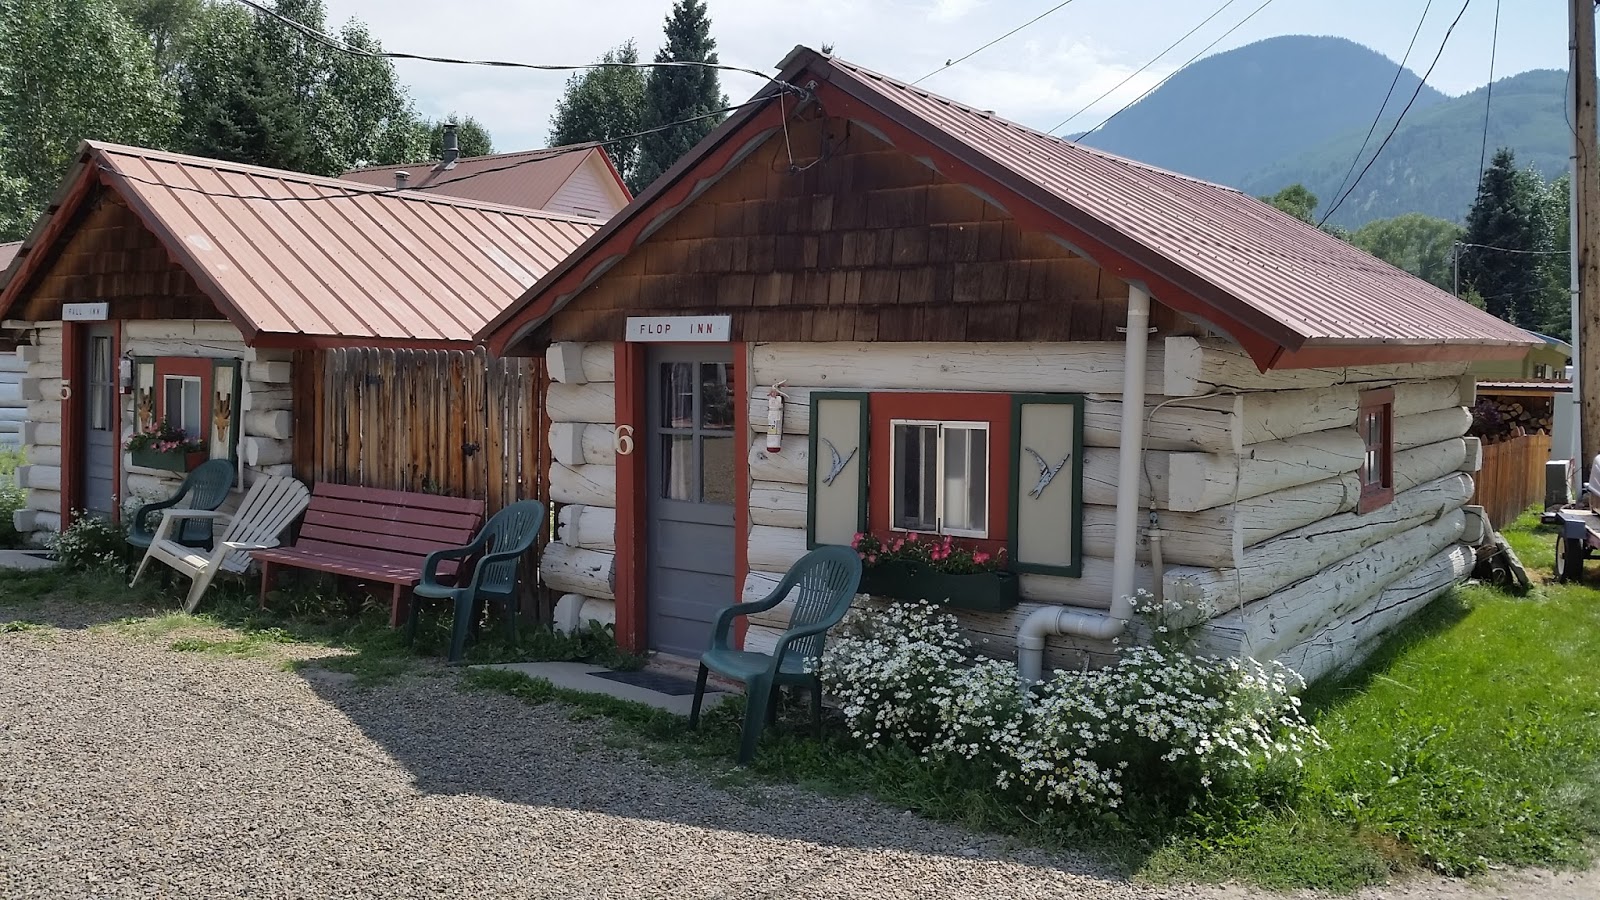
Ahhhhh. Lake City! And my first Zero Day ever! This is the lil cabin that I stayed in right next to the Ravens Rest Hostel. I shipped my resupply package to the hostel and feel bad for not staying there but Lucky the owner of the hostel was very nice and held my package regardless. I wont recommend this cabin but will recommend Lucky and the awesome hostel called Ravens Rest right next door. Ohhhh these delicious IPA’s, blowing your shit up all over the place, a roof, doing laundry. What was really amazing was the shower I took here. I swear I sounded like the guy from the double rainbow video if you know what I mean. It was that good!!! Something I learned on this trip, if you want to really feel something again…. deprive yourself of it…. for a long time…..
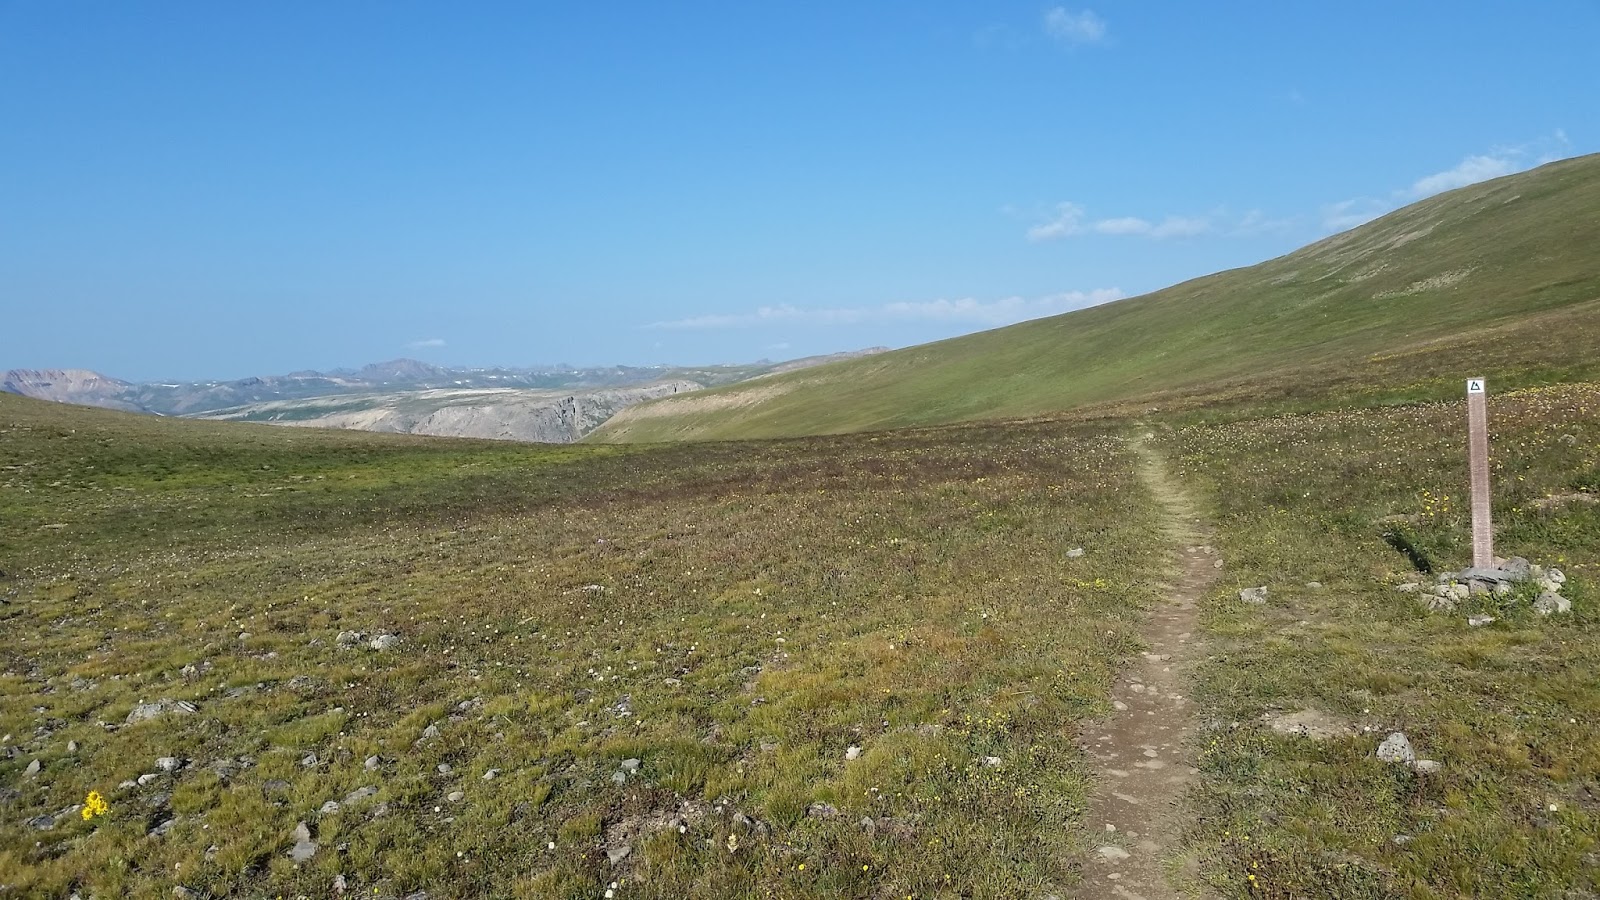
So after my Zero Day in Lake City I was treated to a free shuttle back up the pass to the Spring Creek Trail Head. Segment 23 and off to the high point of the trail.
A little gif of me riding back and forth to the camera man. (aka really cute solo thru hiker gal) and this was the ONLY picture of me actually riding on my bike the entire trip.
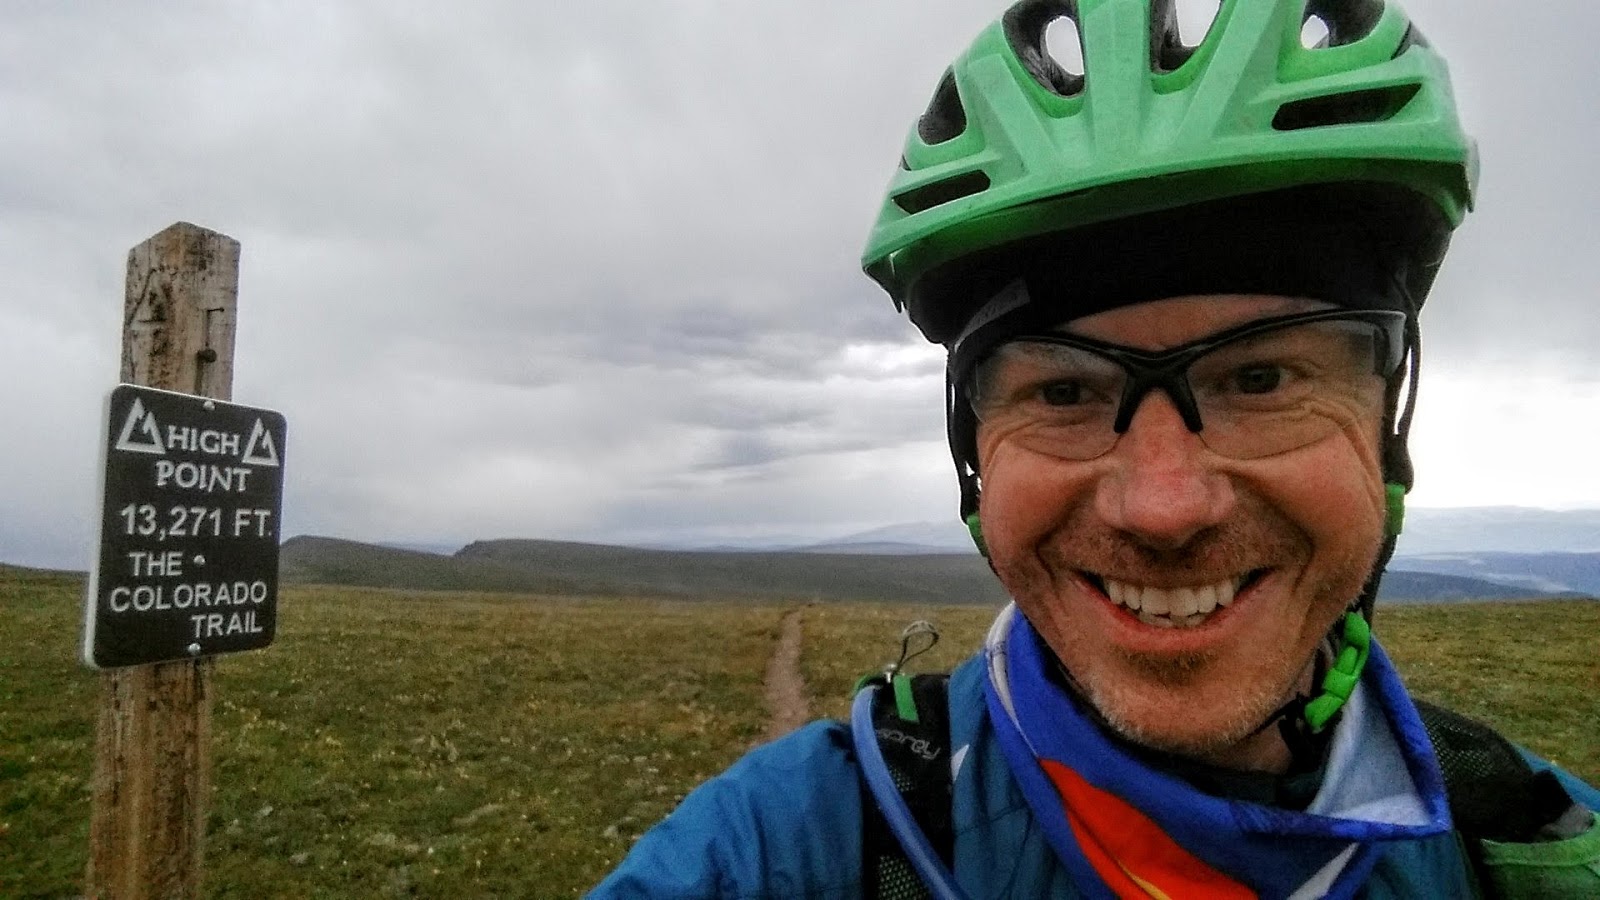
No pun intended… Another “High Point” of the adventure. This one just happened to be at 13,271ft. The highest point of the CT.
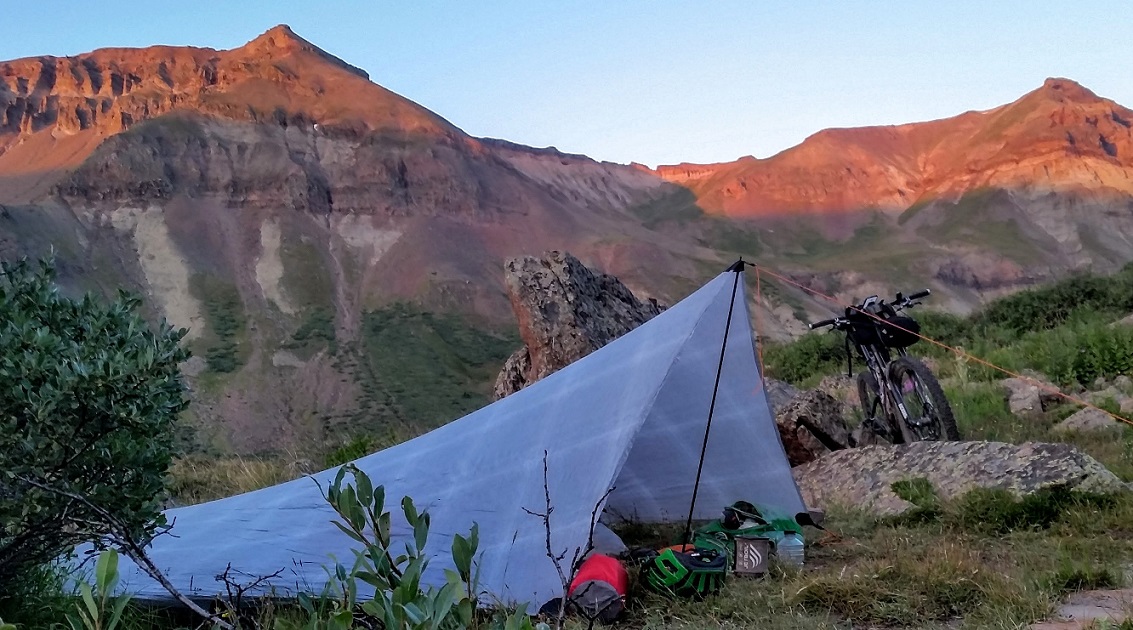
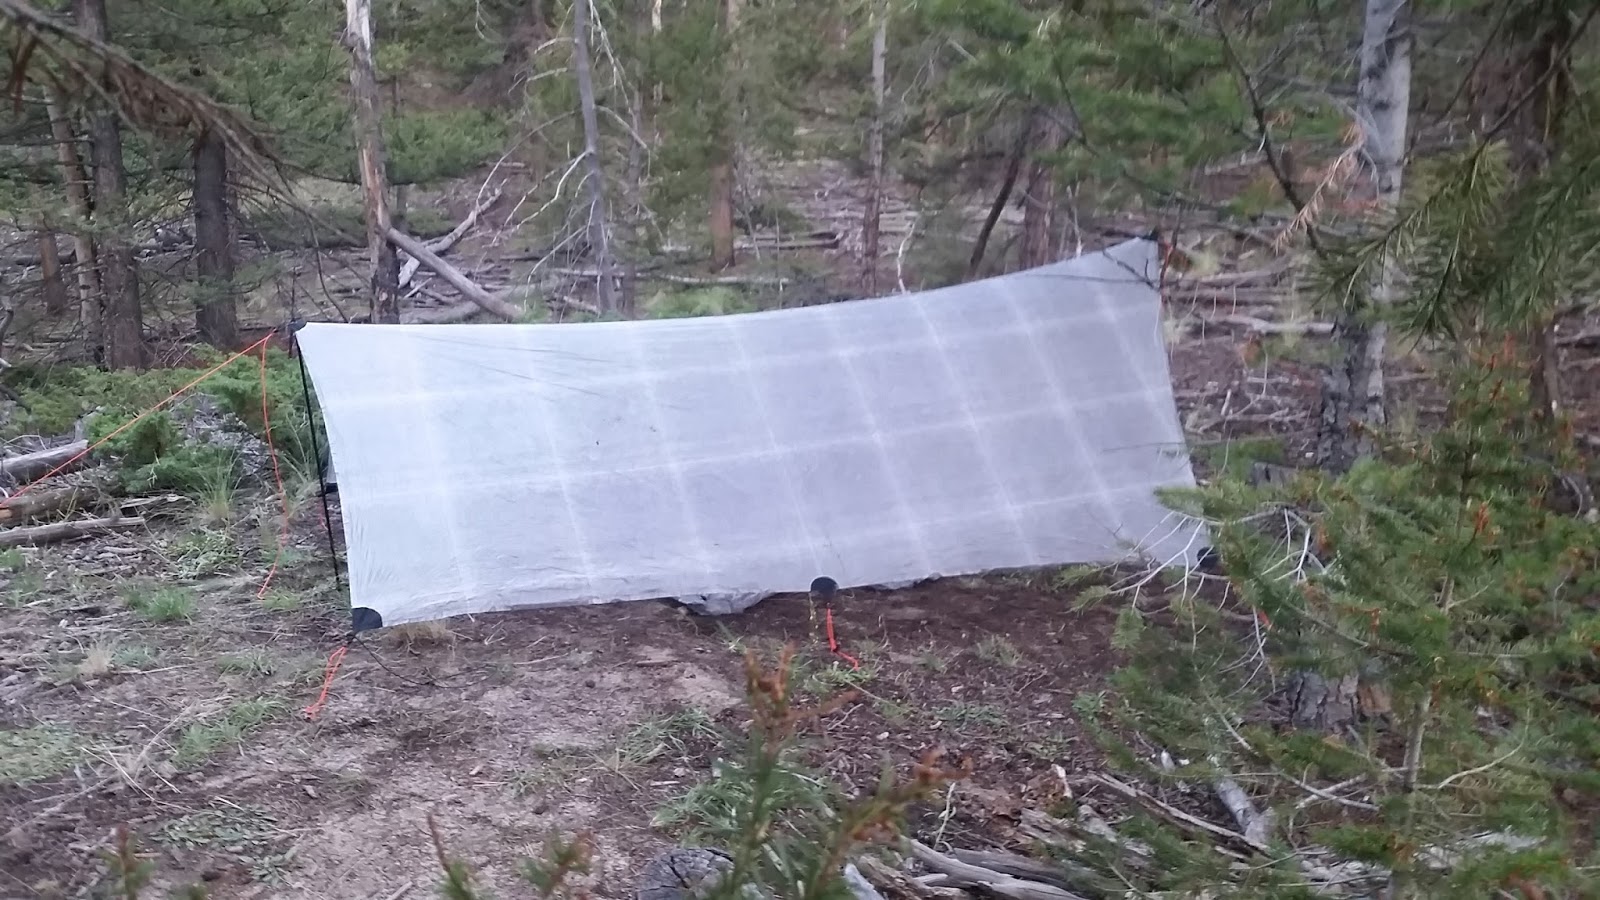
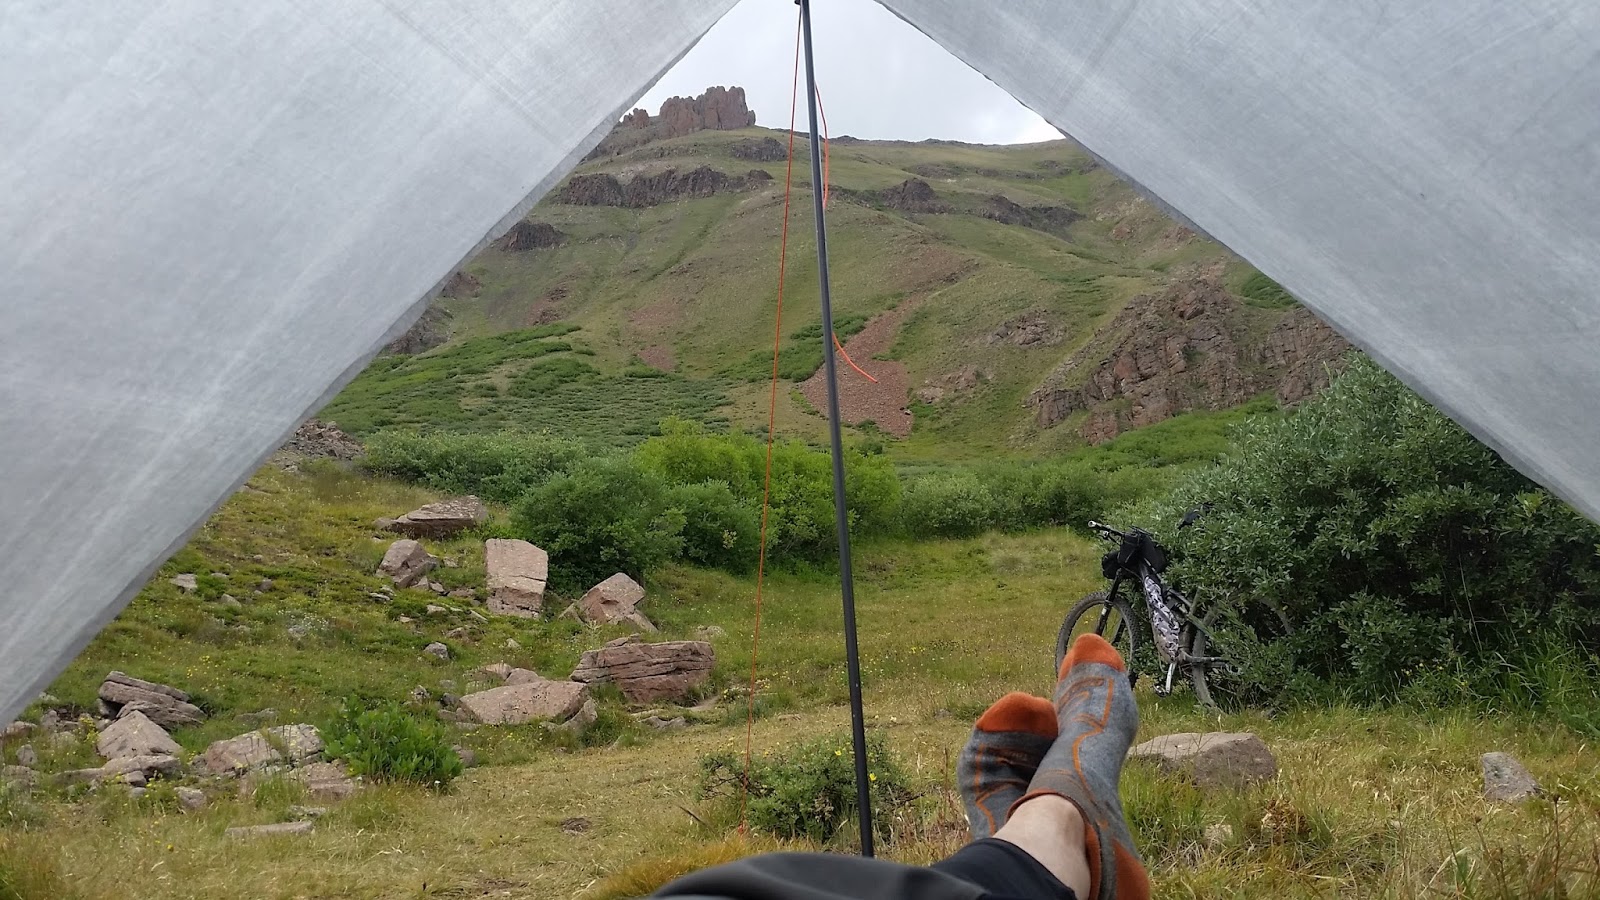
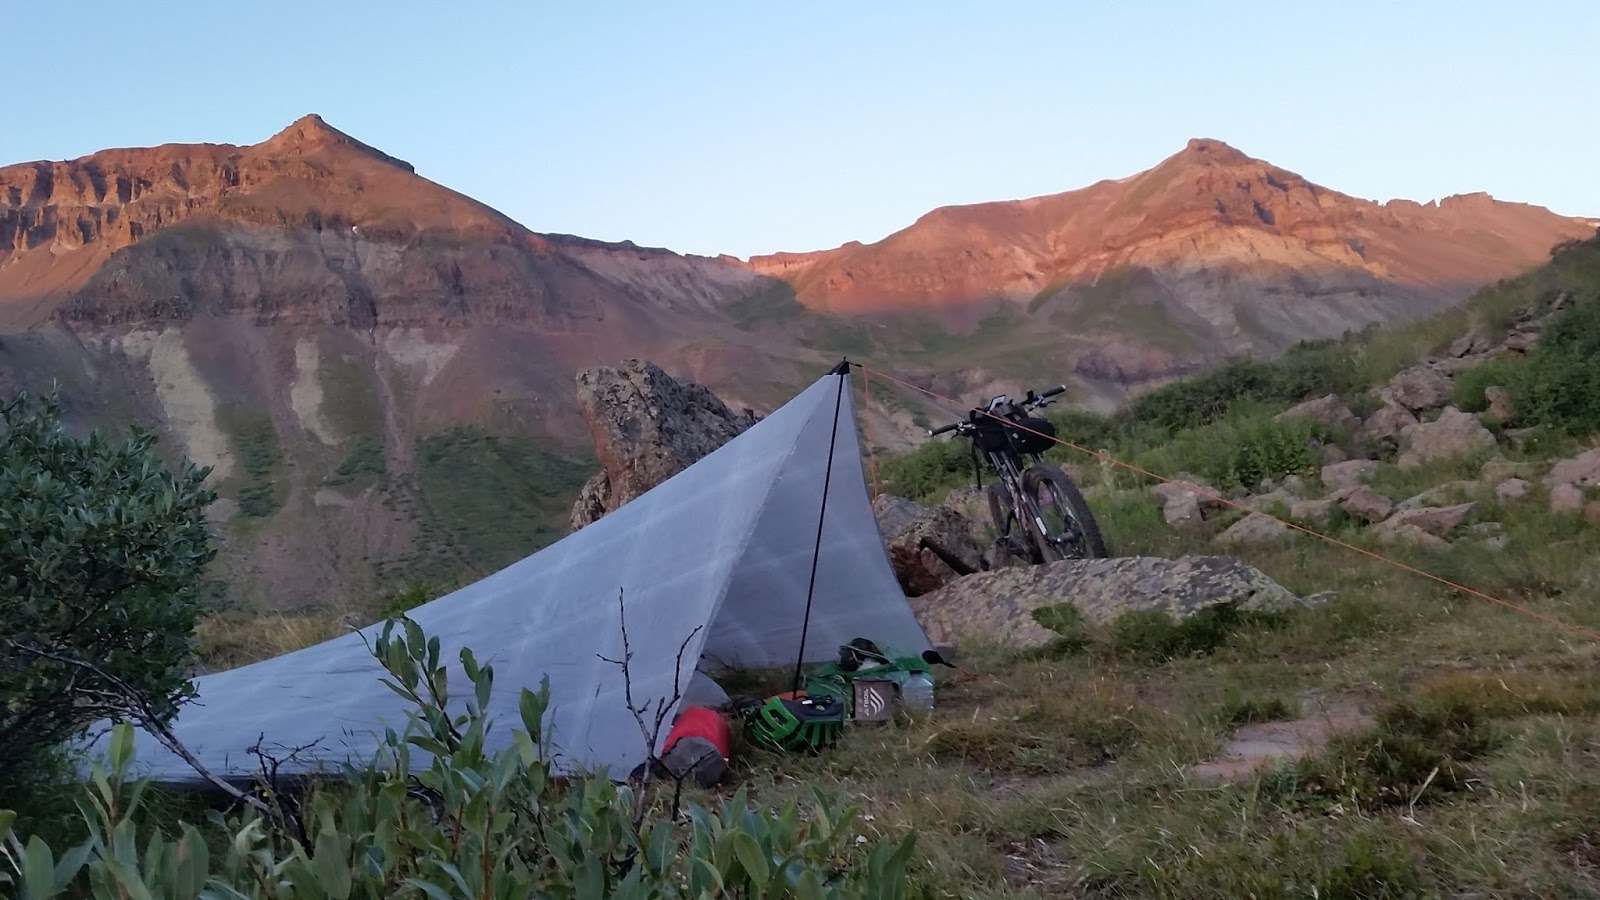
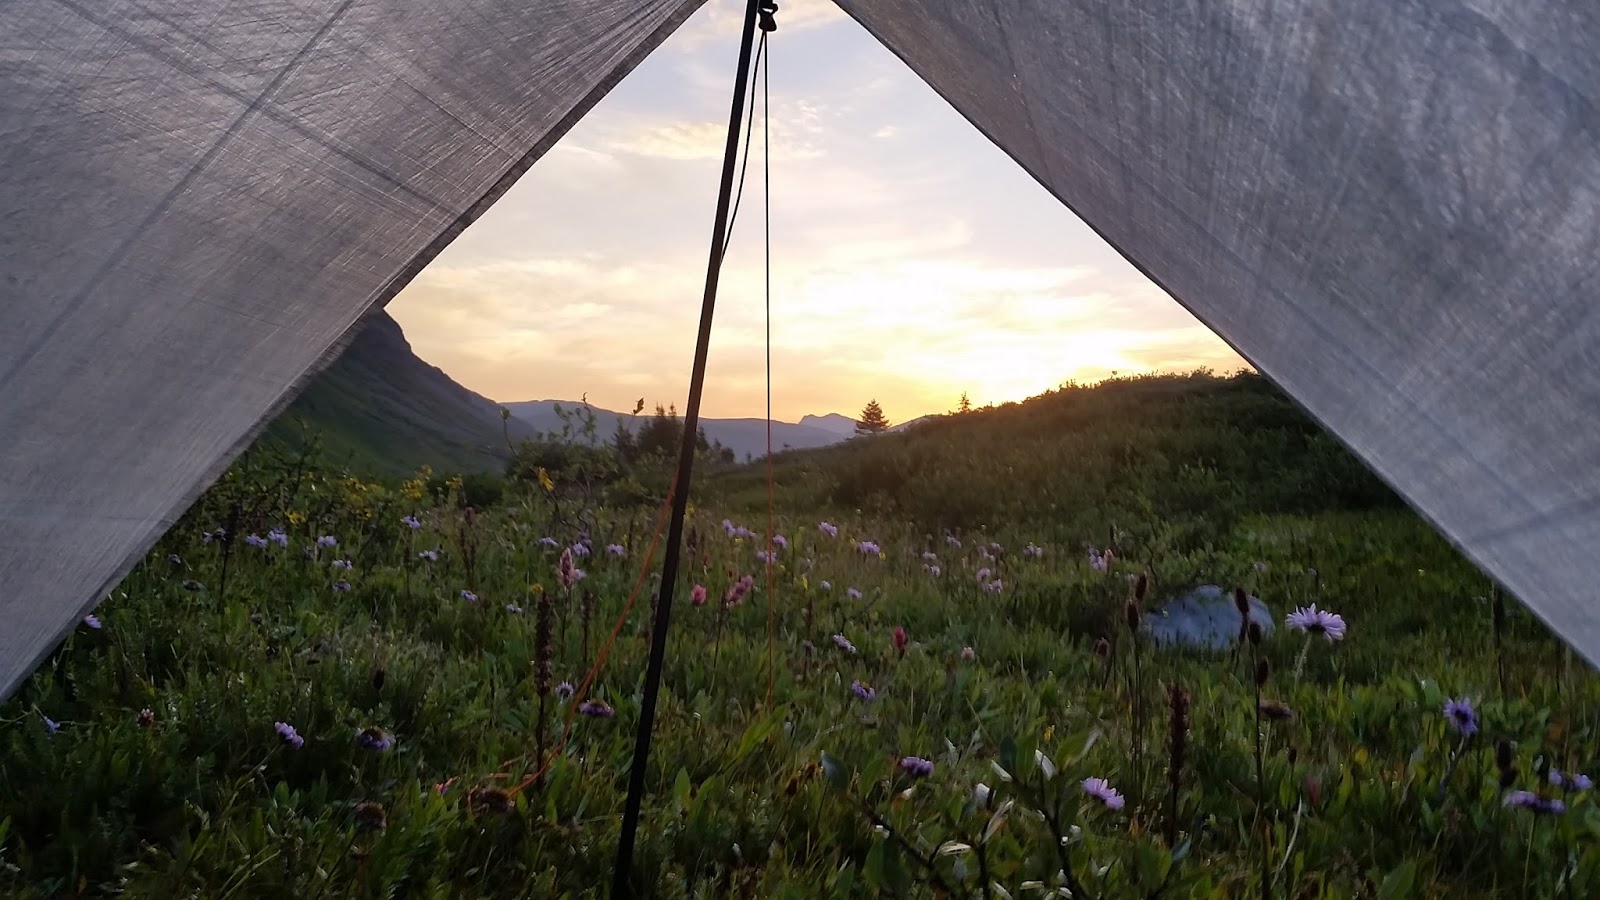
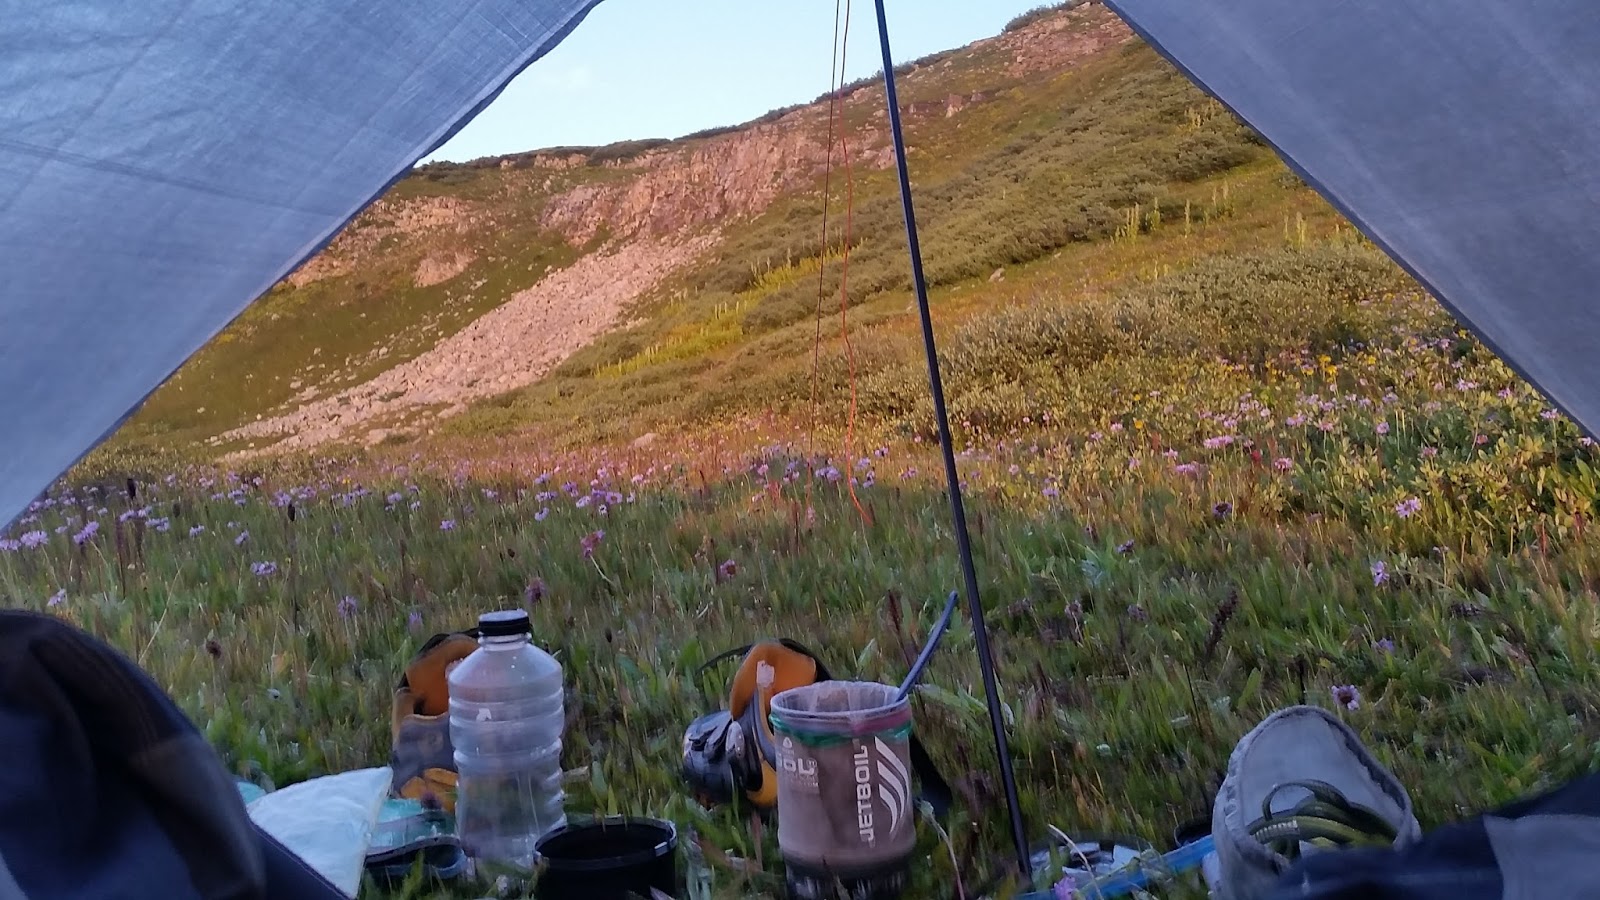
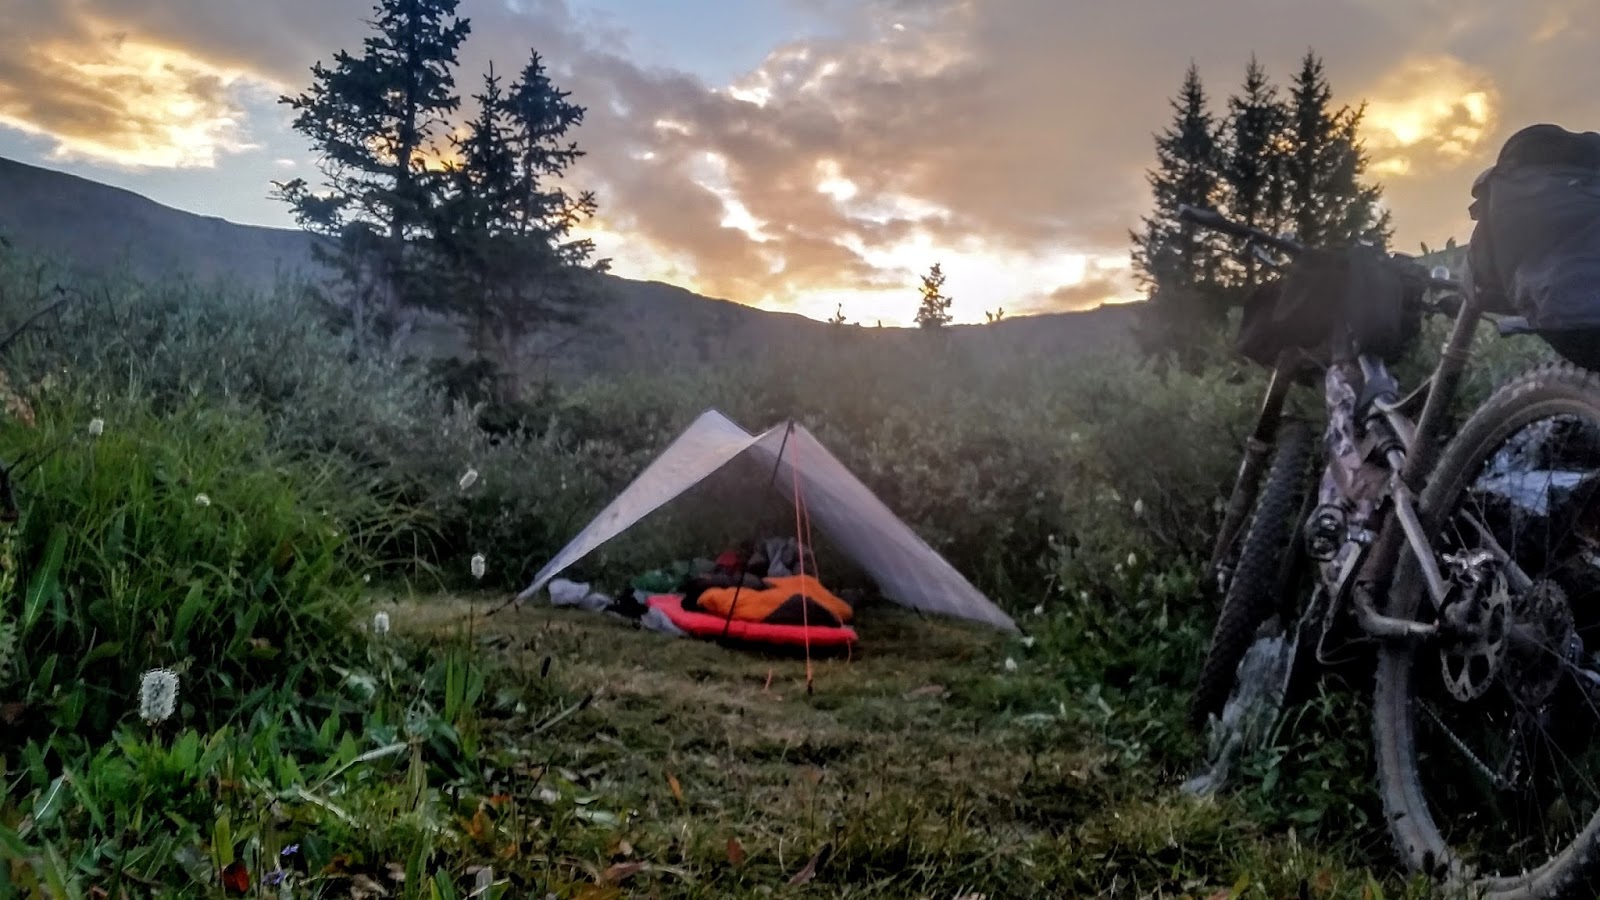
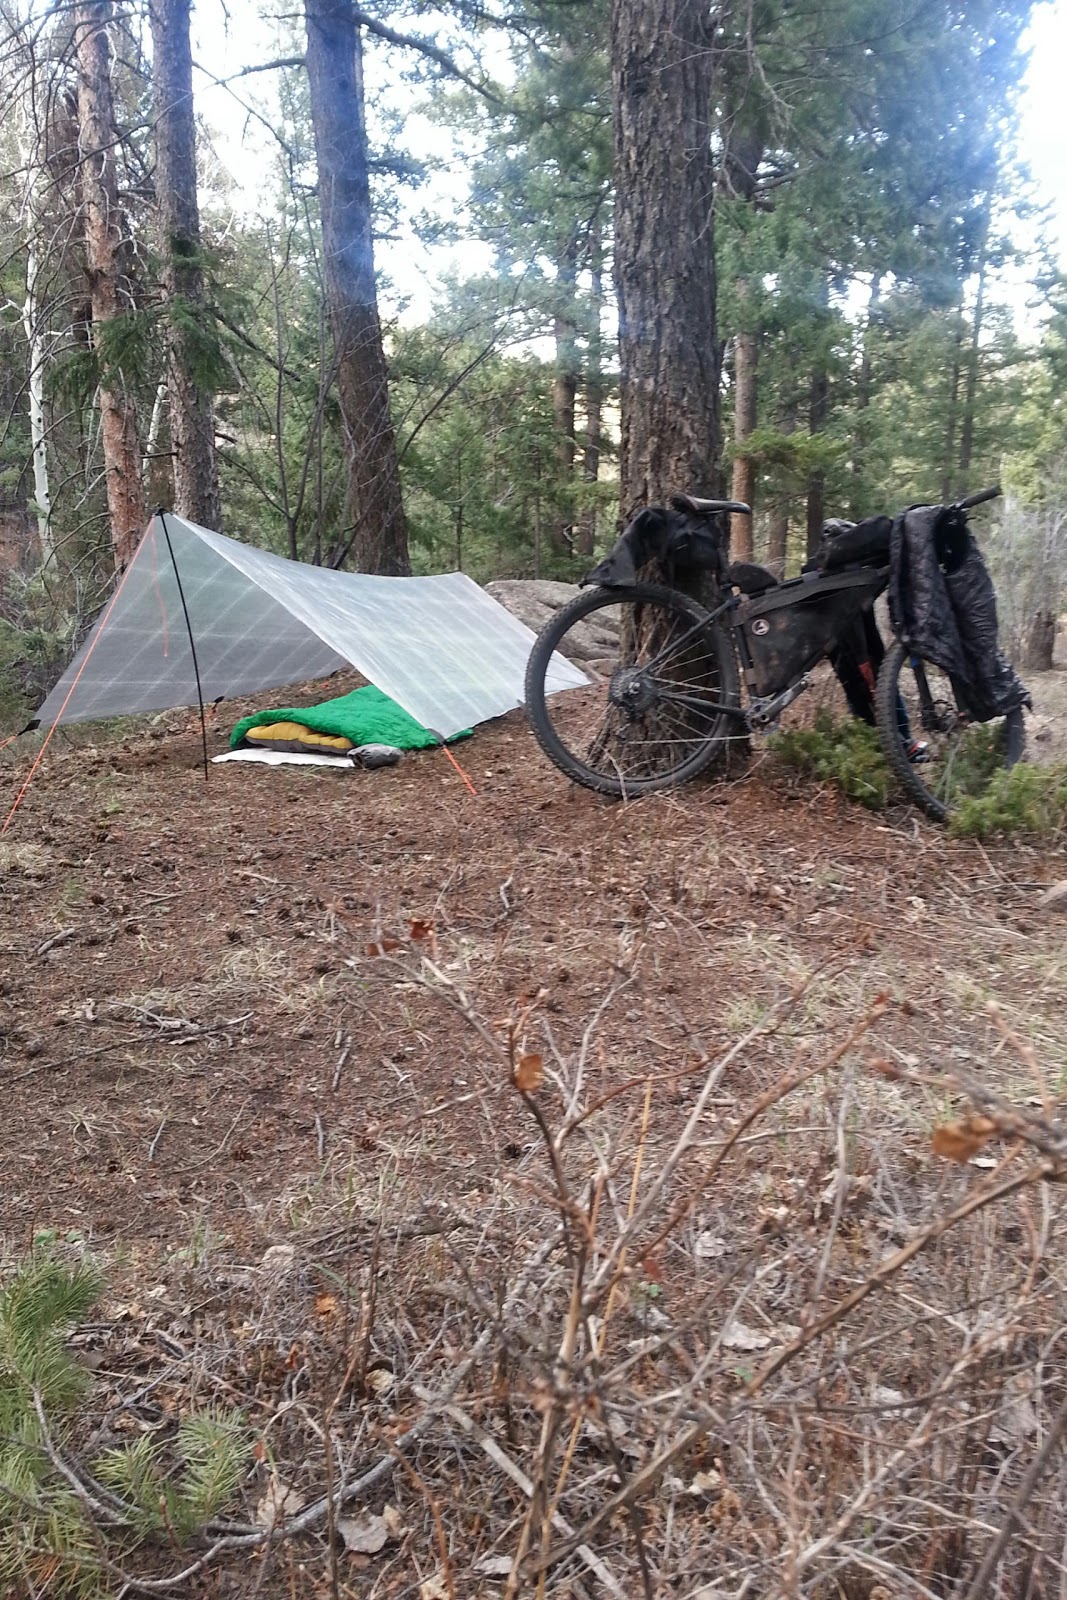
Tarp life. Here is my campsite on Segment 23. The elevation is right at about 12,000 feet. Pics like this make me really miss those moments only the back country can bring.
I love this shot of camp. Carson Peak off in the distance on the right. One of the many Colorado 14ers I passed by on this adventure.
#coffeeoutside bitches!
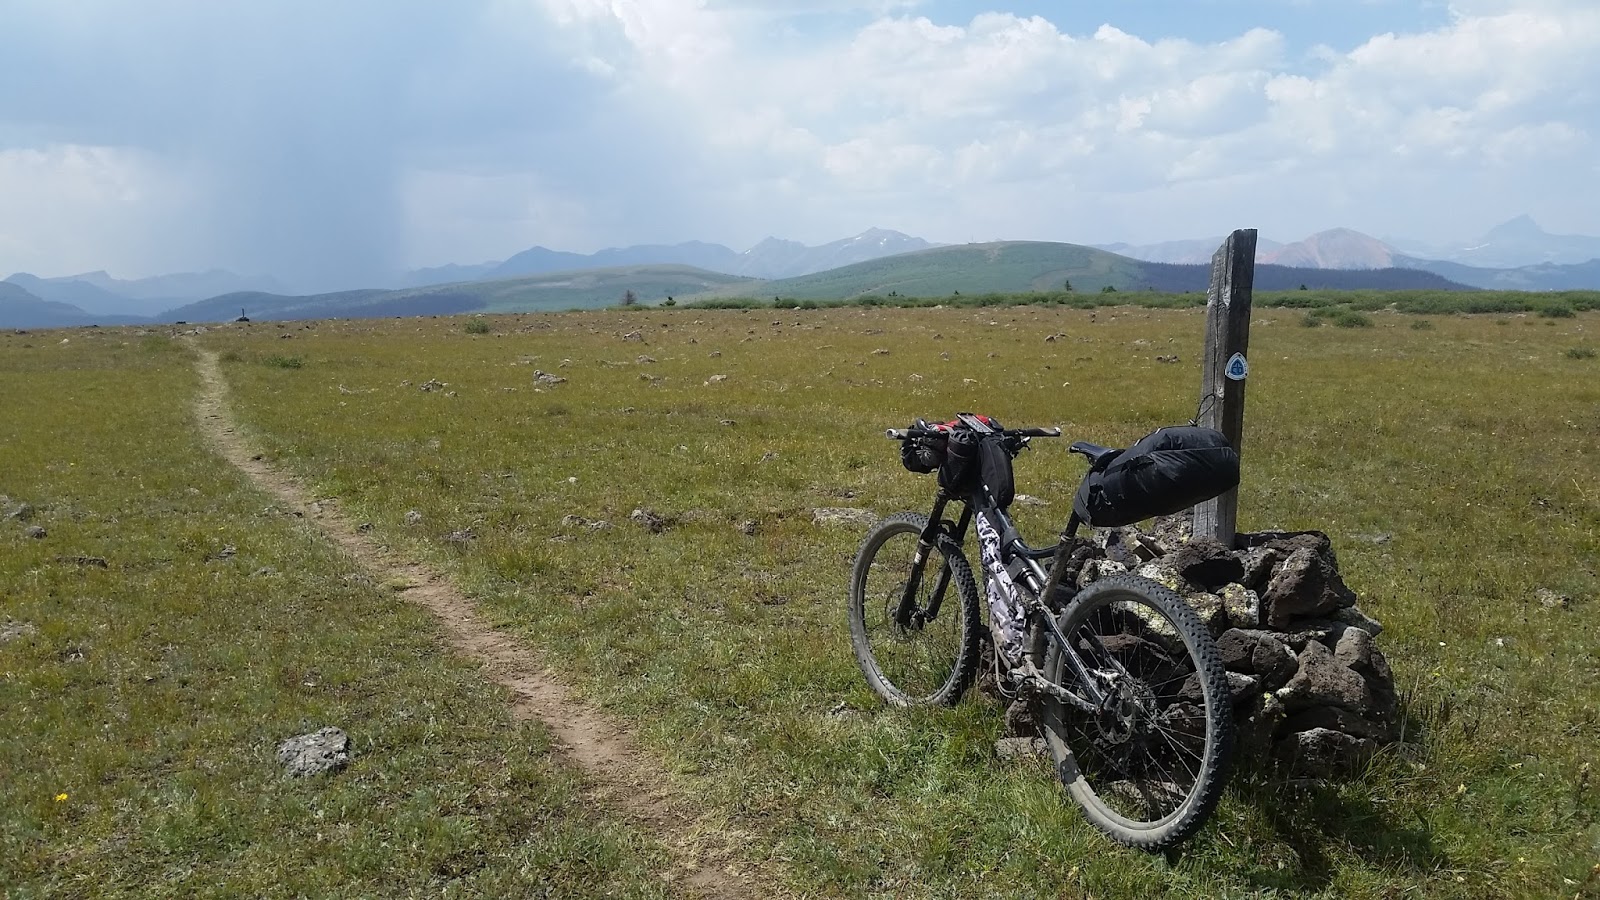
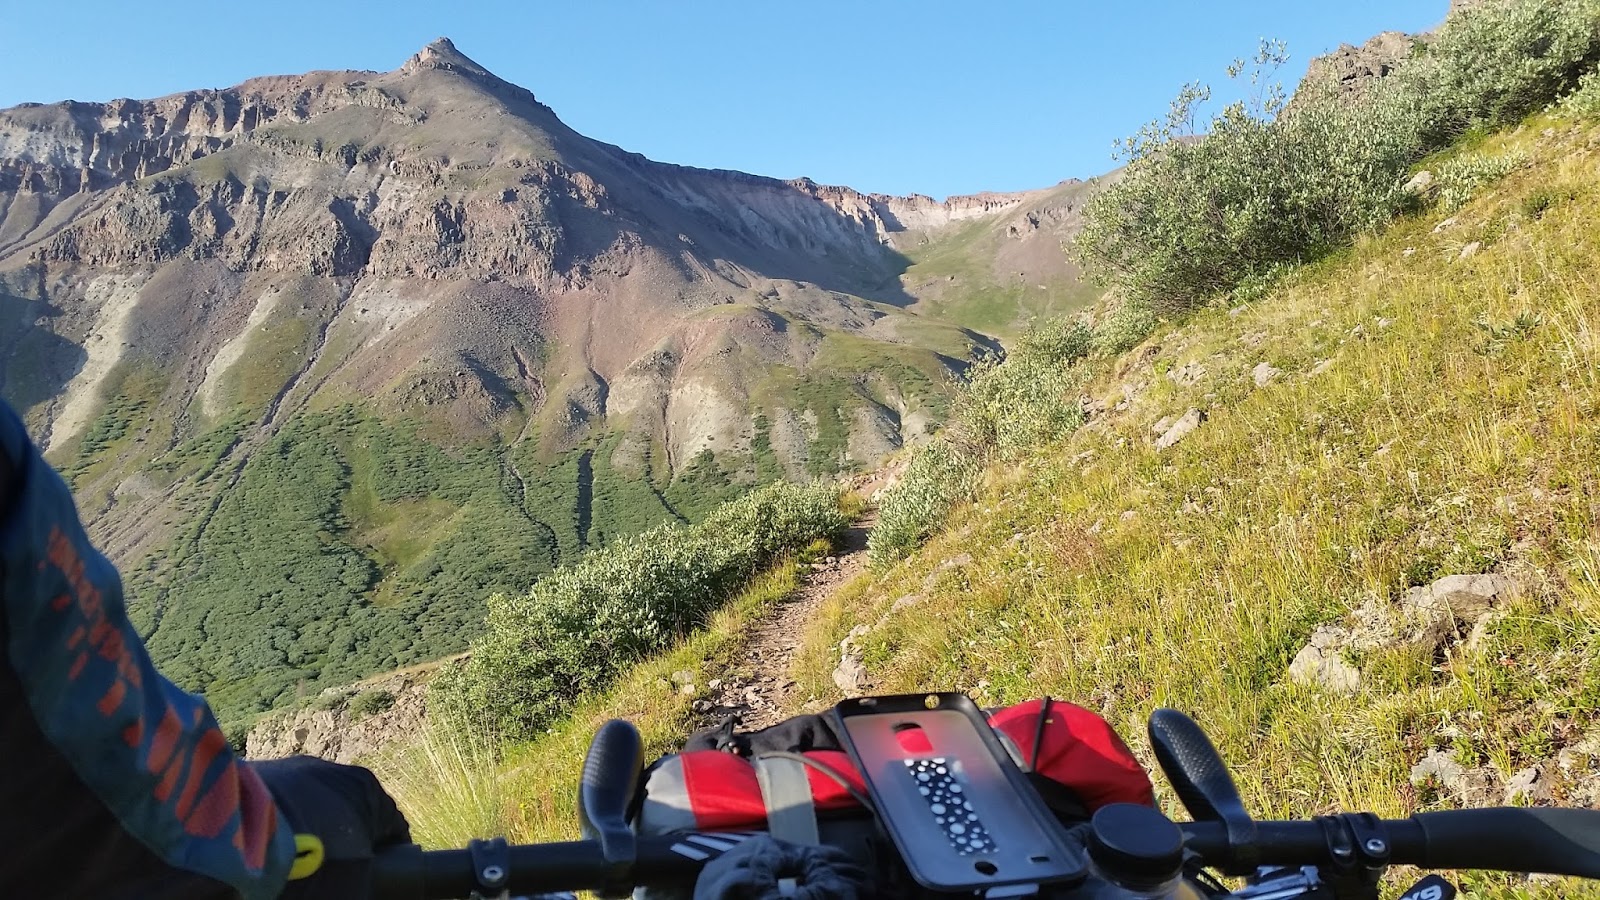
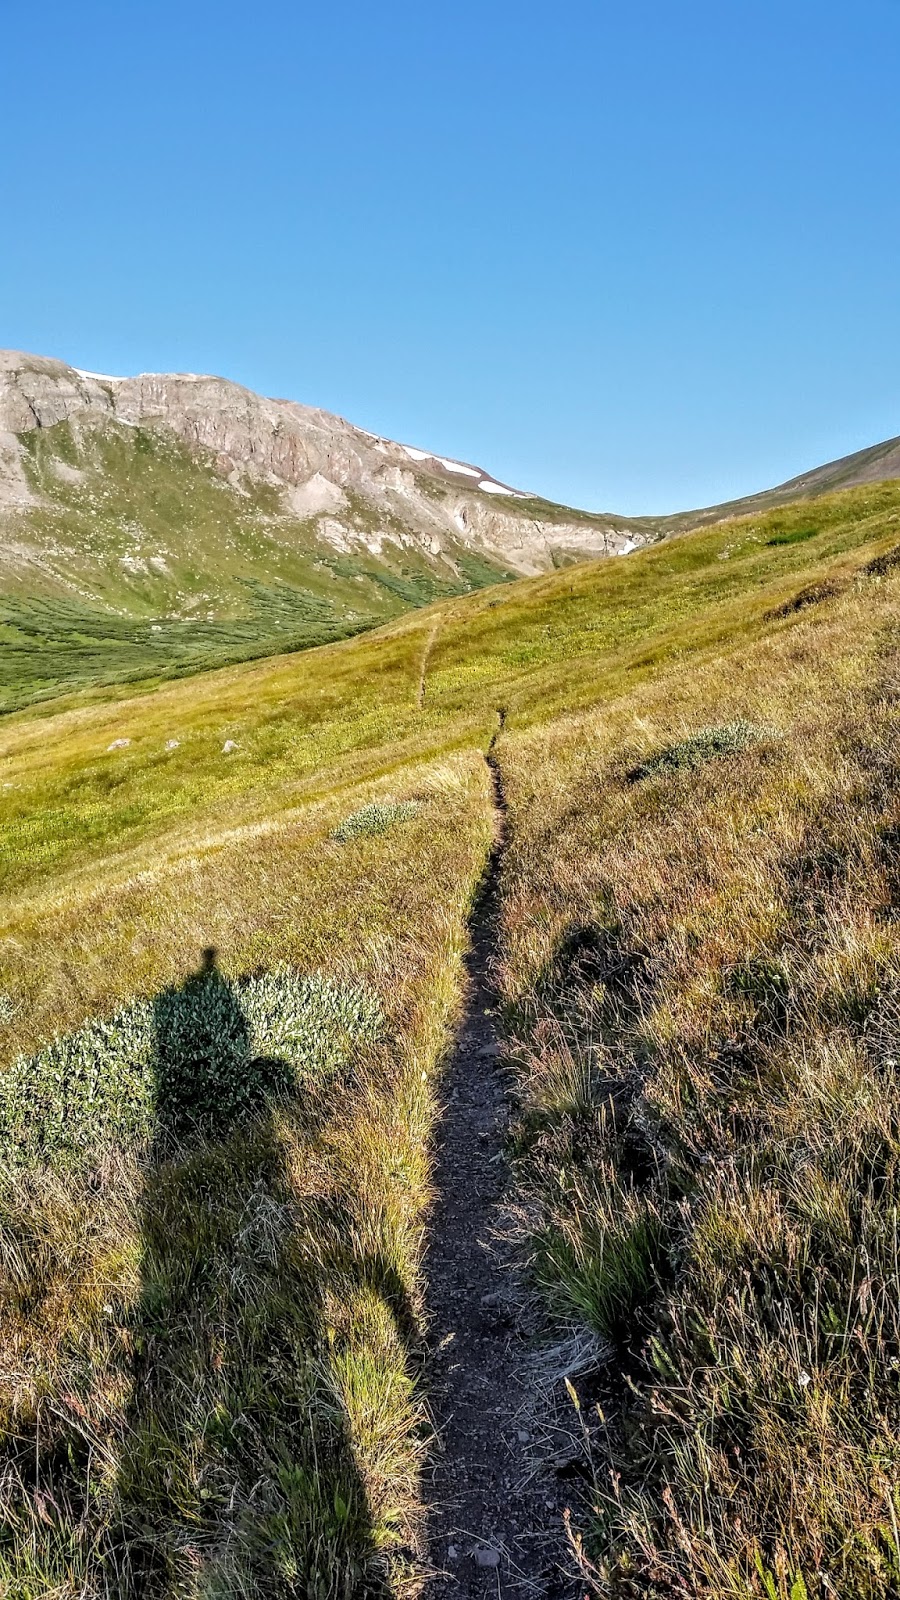
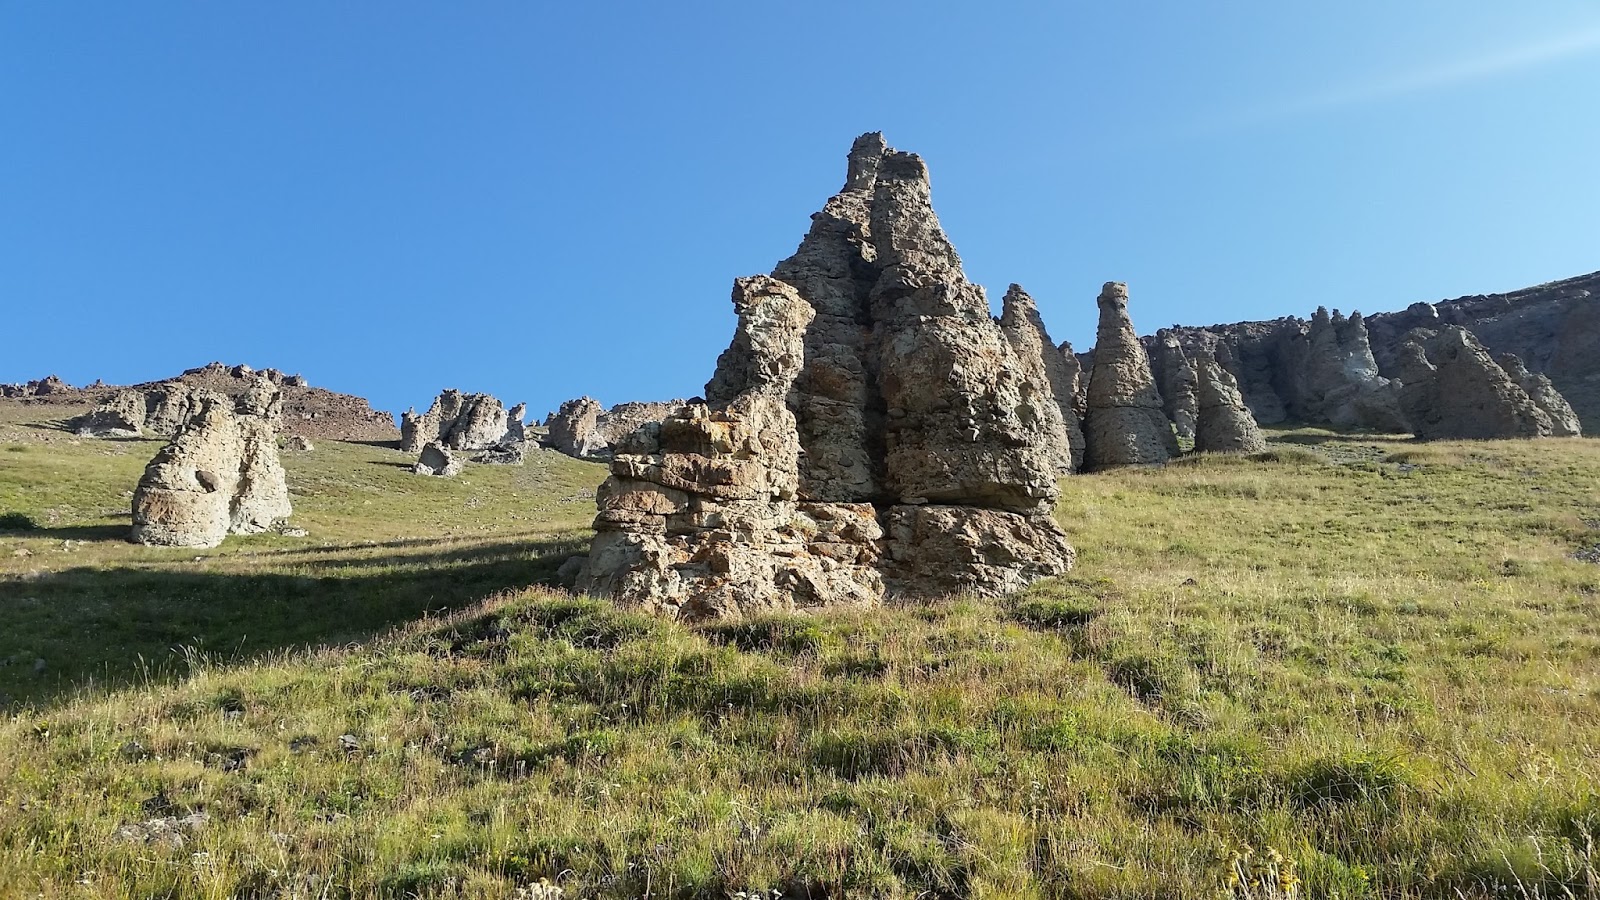
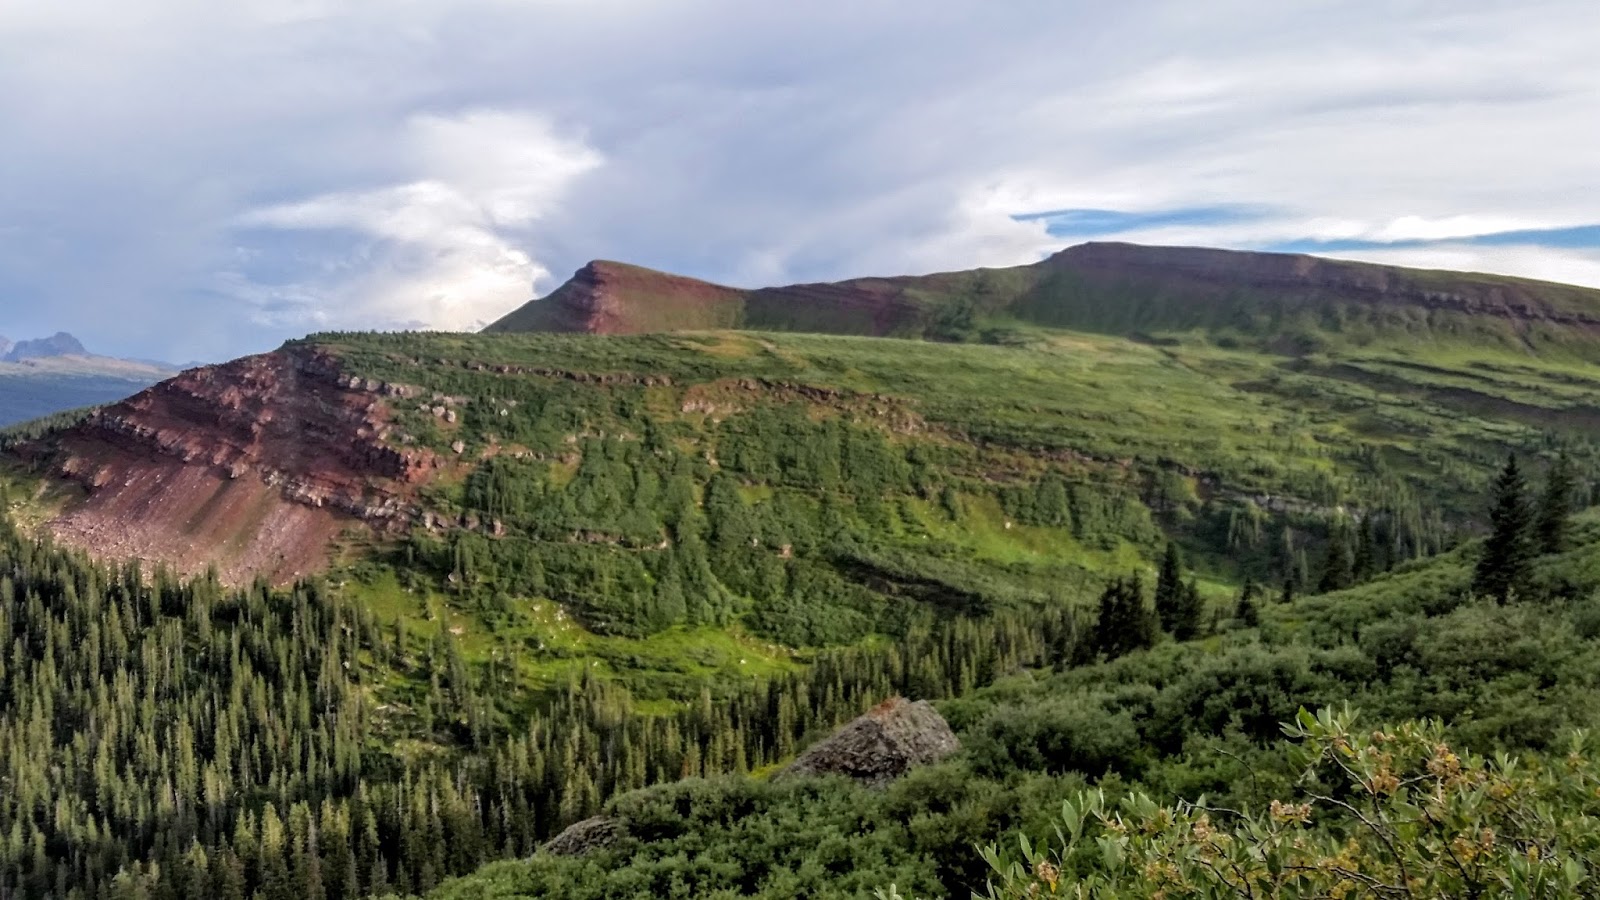
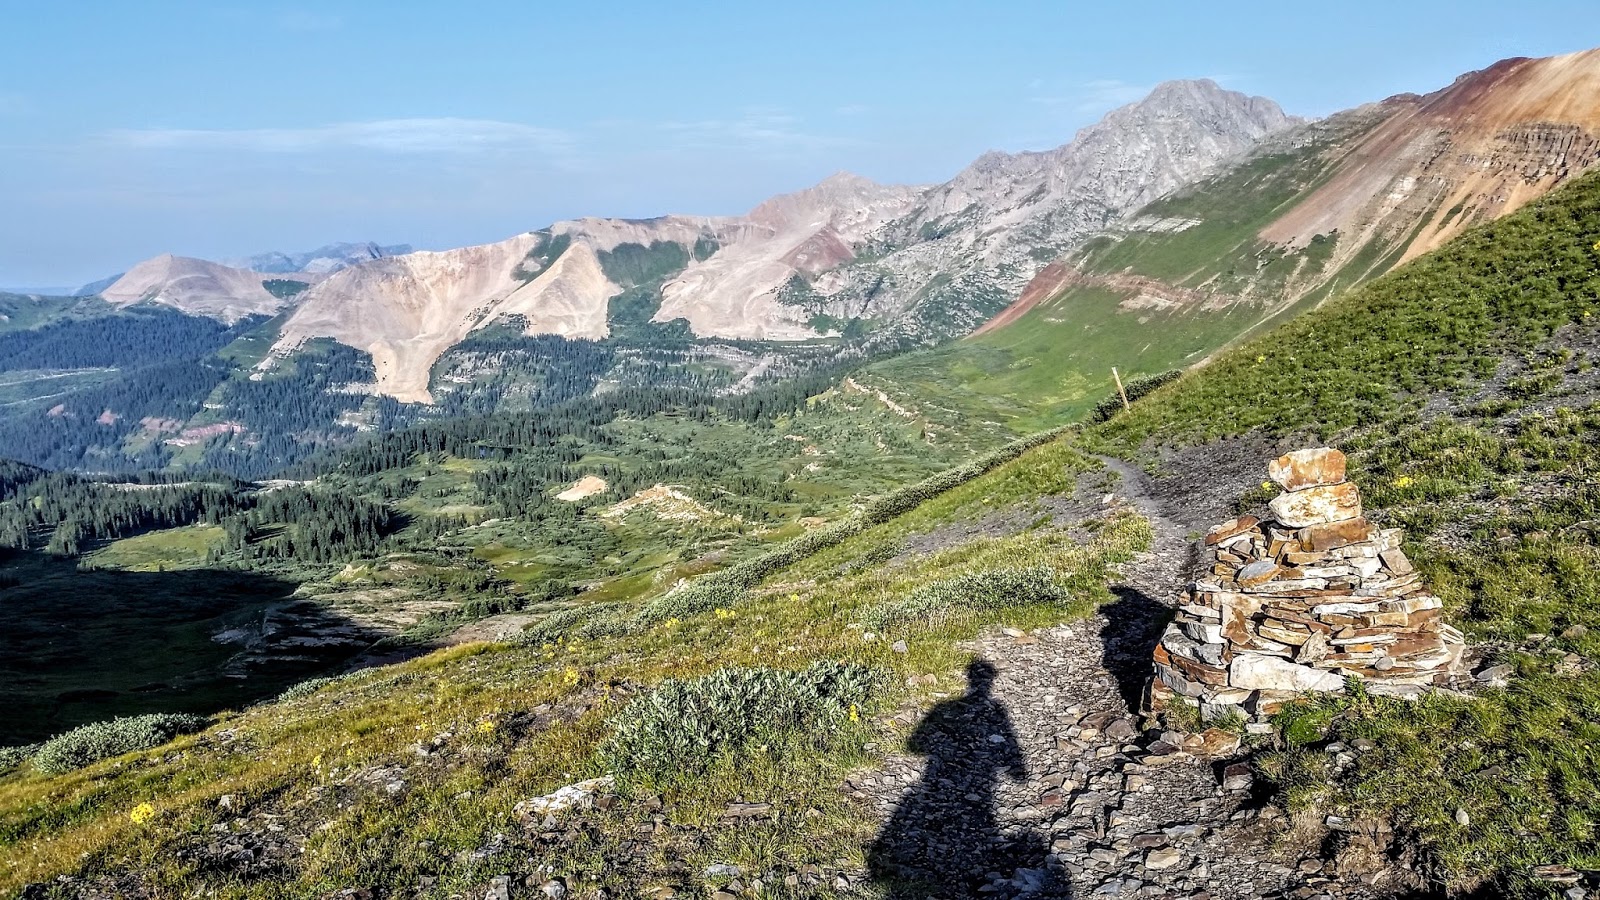
Pass number 1 of what seemed like 2 dozen that I had to cross this day. Segment 23 is an extremely special part of the Colorado Trail. Also extremely difficult.
Again Segment 23 is a VERY special piece of the Colorado Trail. Of course the pics do no justice. But lets just say i spent the entire day riding my bike between 12,000 and 13,000 feet crossing ridge after ridge, saddle after saddle.
More pics of Segment 23! I ran into the final two bike packers that I would end up seeing on the trail. It was a couple in their 30s from Durango that said they have been riding the area for years but never checked out segment 23 of the CT and couldn’t believe how epic EPIC it was.
Since my last picture. I had finished up the high alpine stretch of Segment 23, crossed Stony Pass, and descended down to my least favorite trail town of Silverton. I had a crappy lunch in in Silverton and this town that reminded me of Cripple Creek. Then proceeded to climb several miles up Hy 550 to reconnect with the CT… It was a big day!
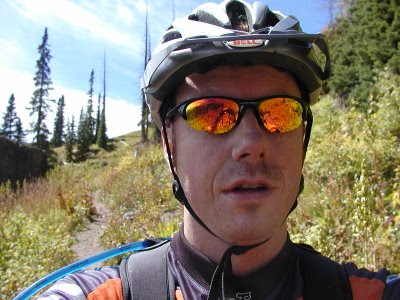
This selfie of me was on the left is a tribute to one I took on this trip many years before (hence the side by side: 2015 left, 2006 right) on Segment 25 almost 10 years ago. You can read the trip report of my buddy Mike and I riding this segment back in 2006 HERE. This is the year I got Lasik surgery done. I think I turned and faced the wrong way in this selfie but have a feeling I was close to the exact same spot.

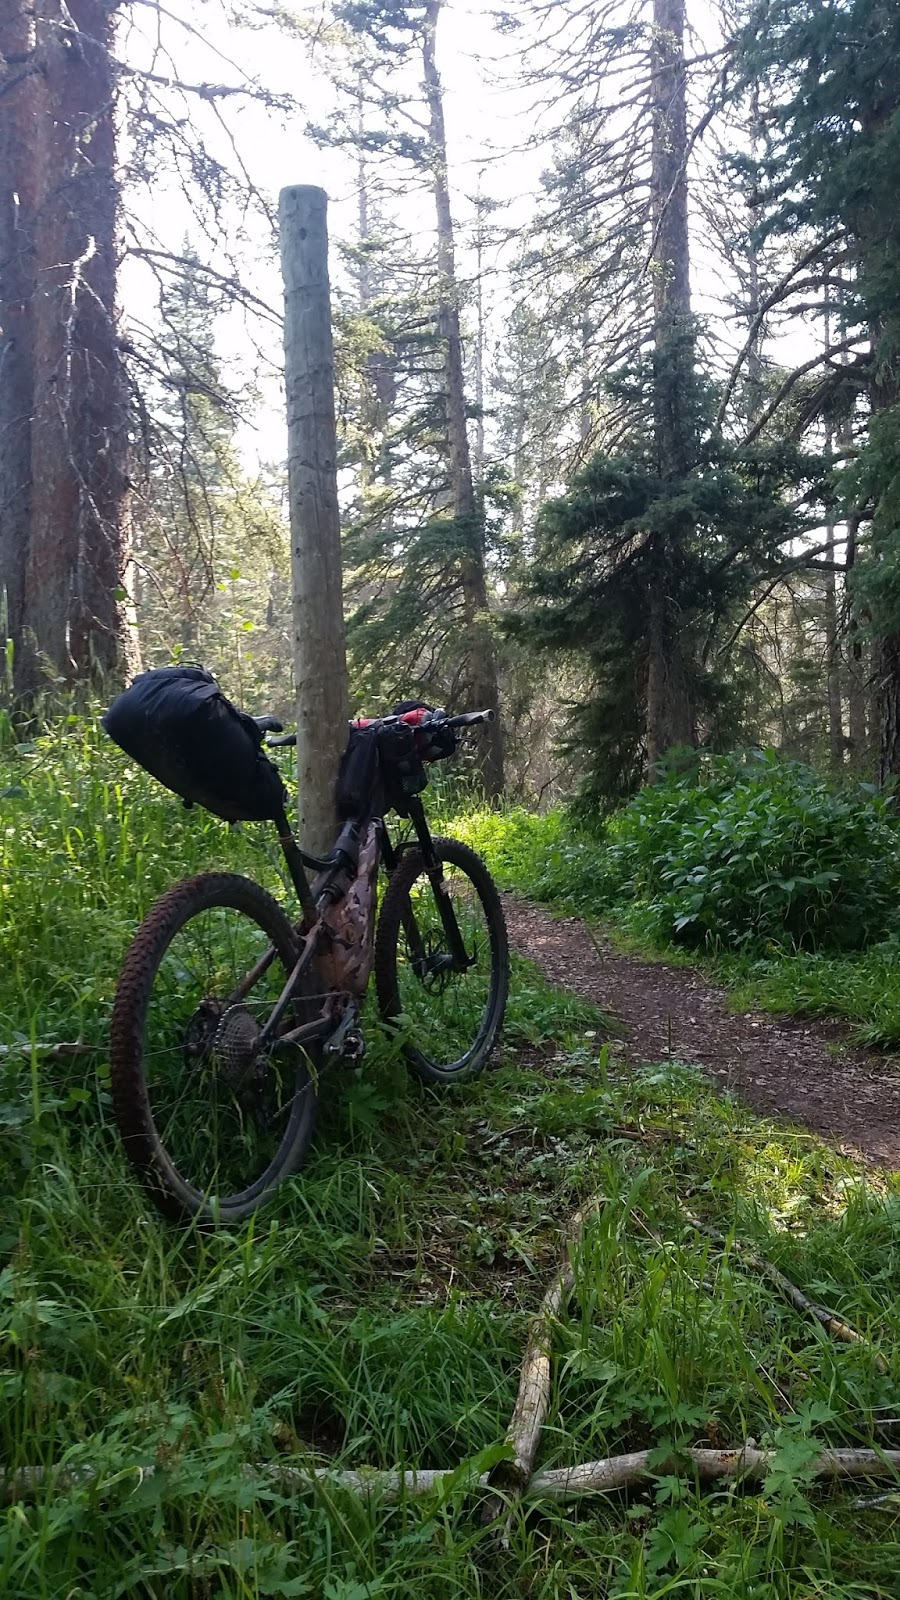
The Molas Pass to Bolam Pass Rd is another one of the best sections of the CT.
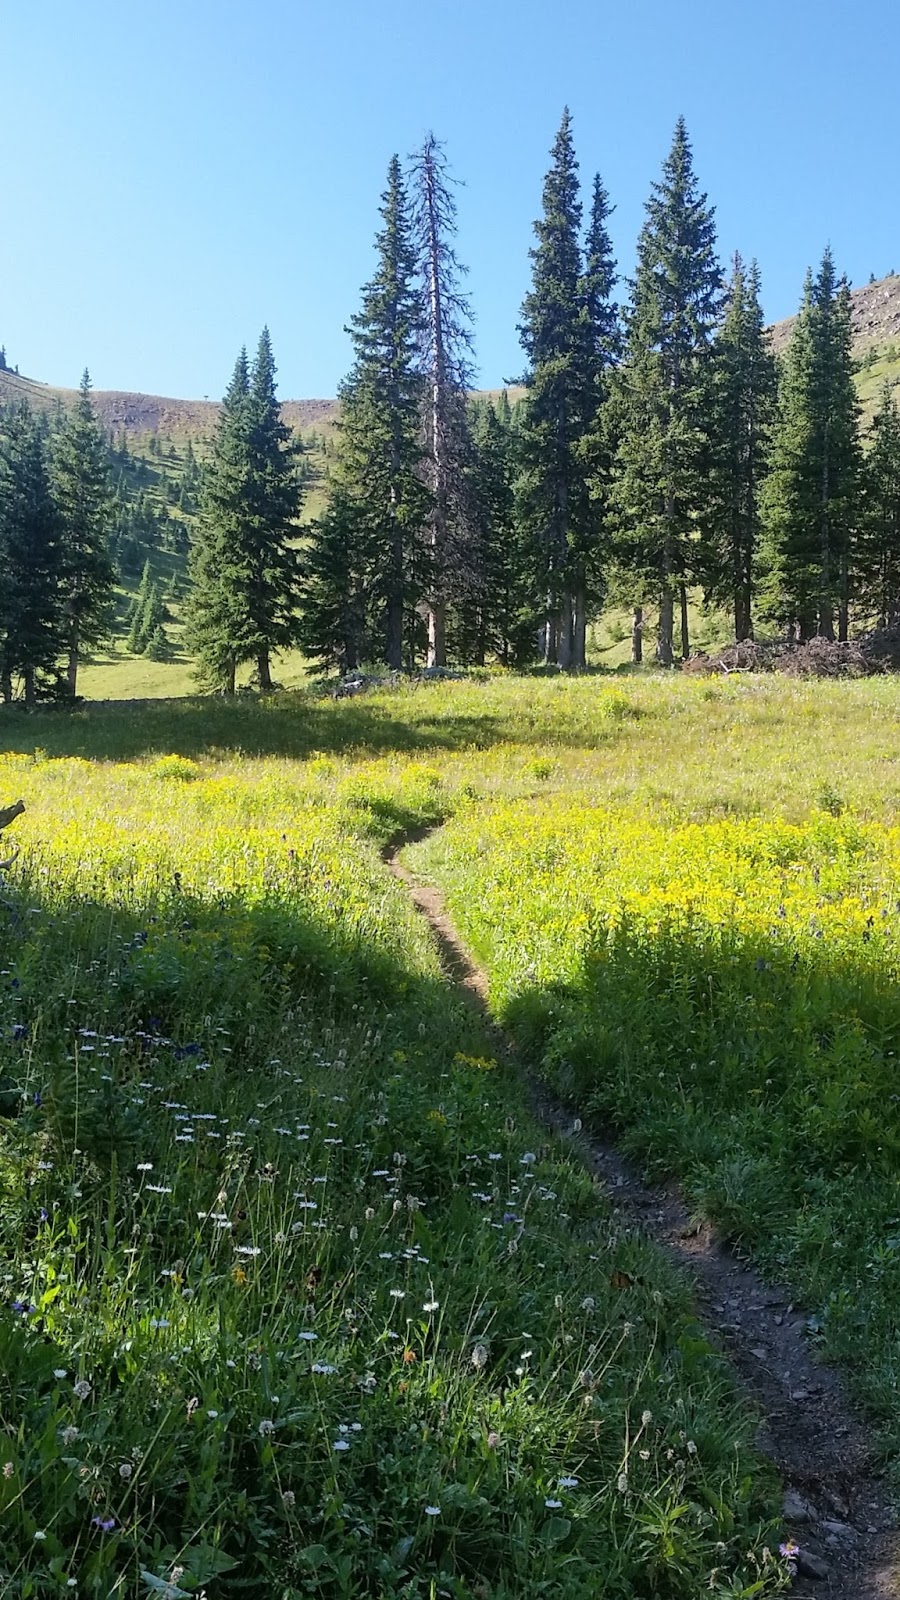
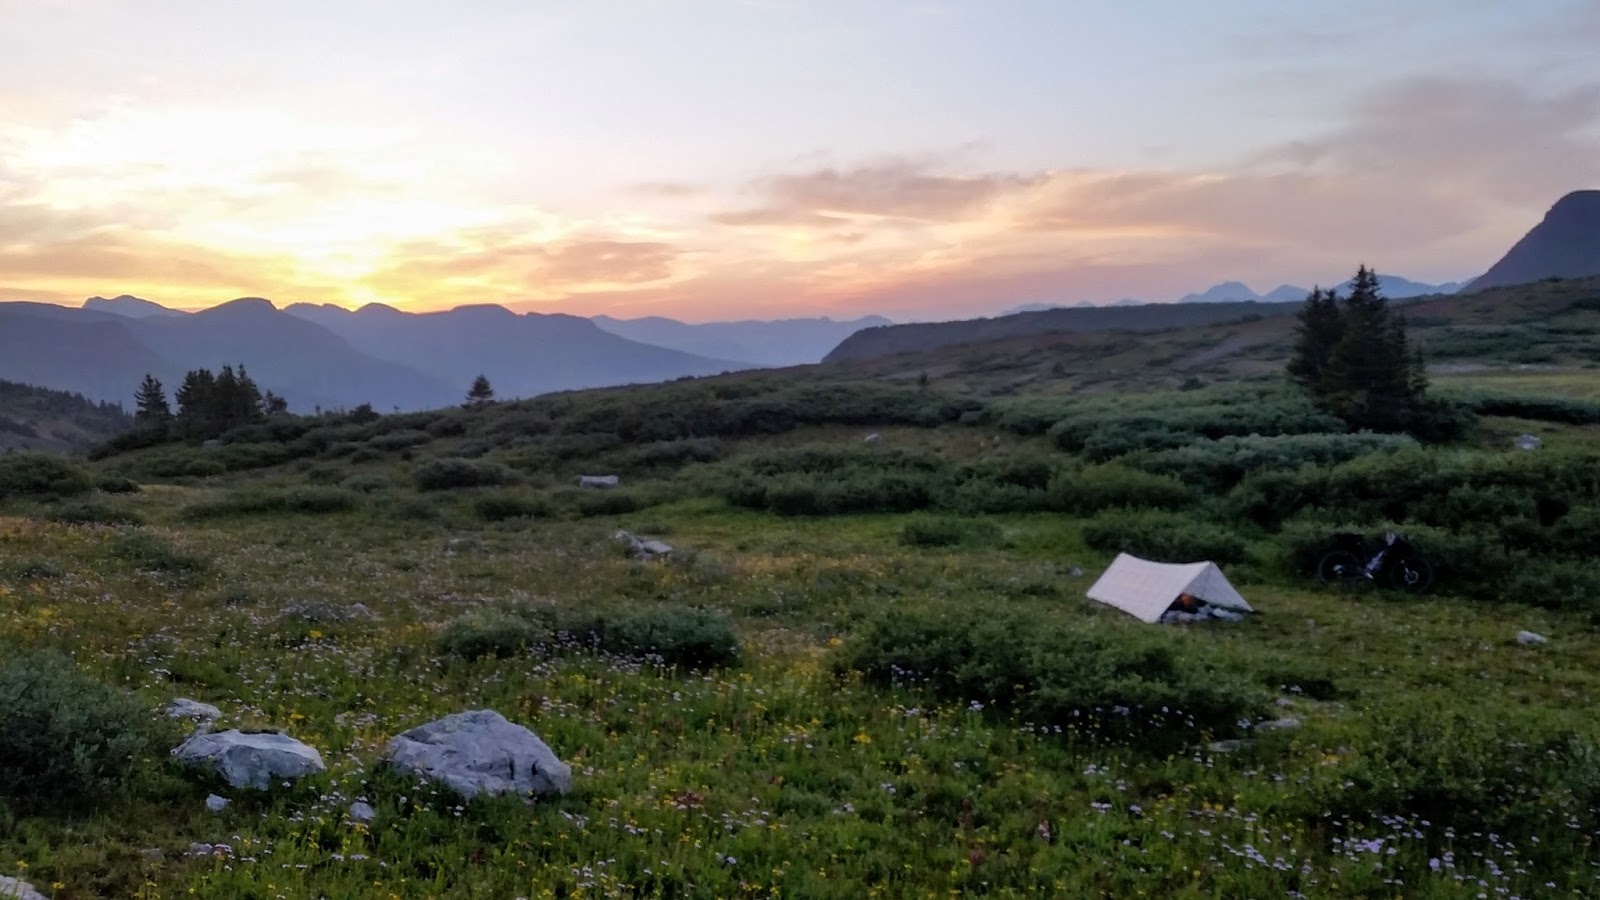
WOW… just look at it! Don’t you want to camp there and watch the sunset with wild flowers under your tarp? I knew this moment was awesome but in this moment, I was fucking tired.
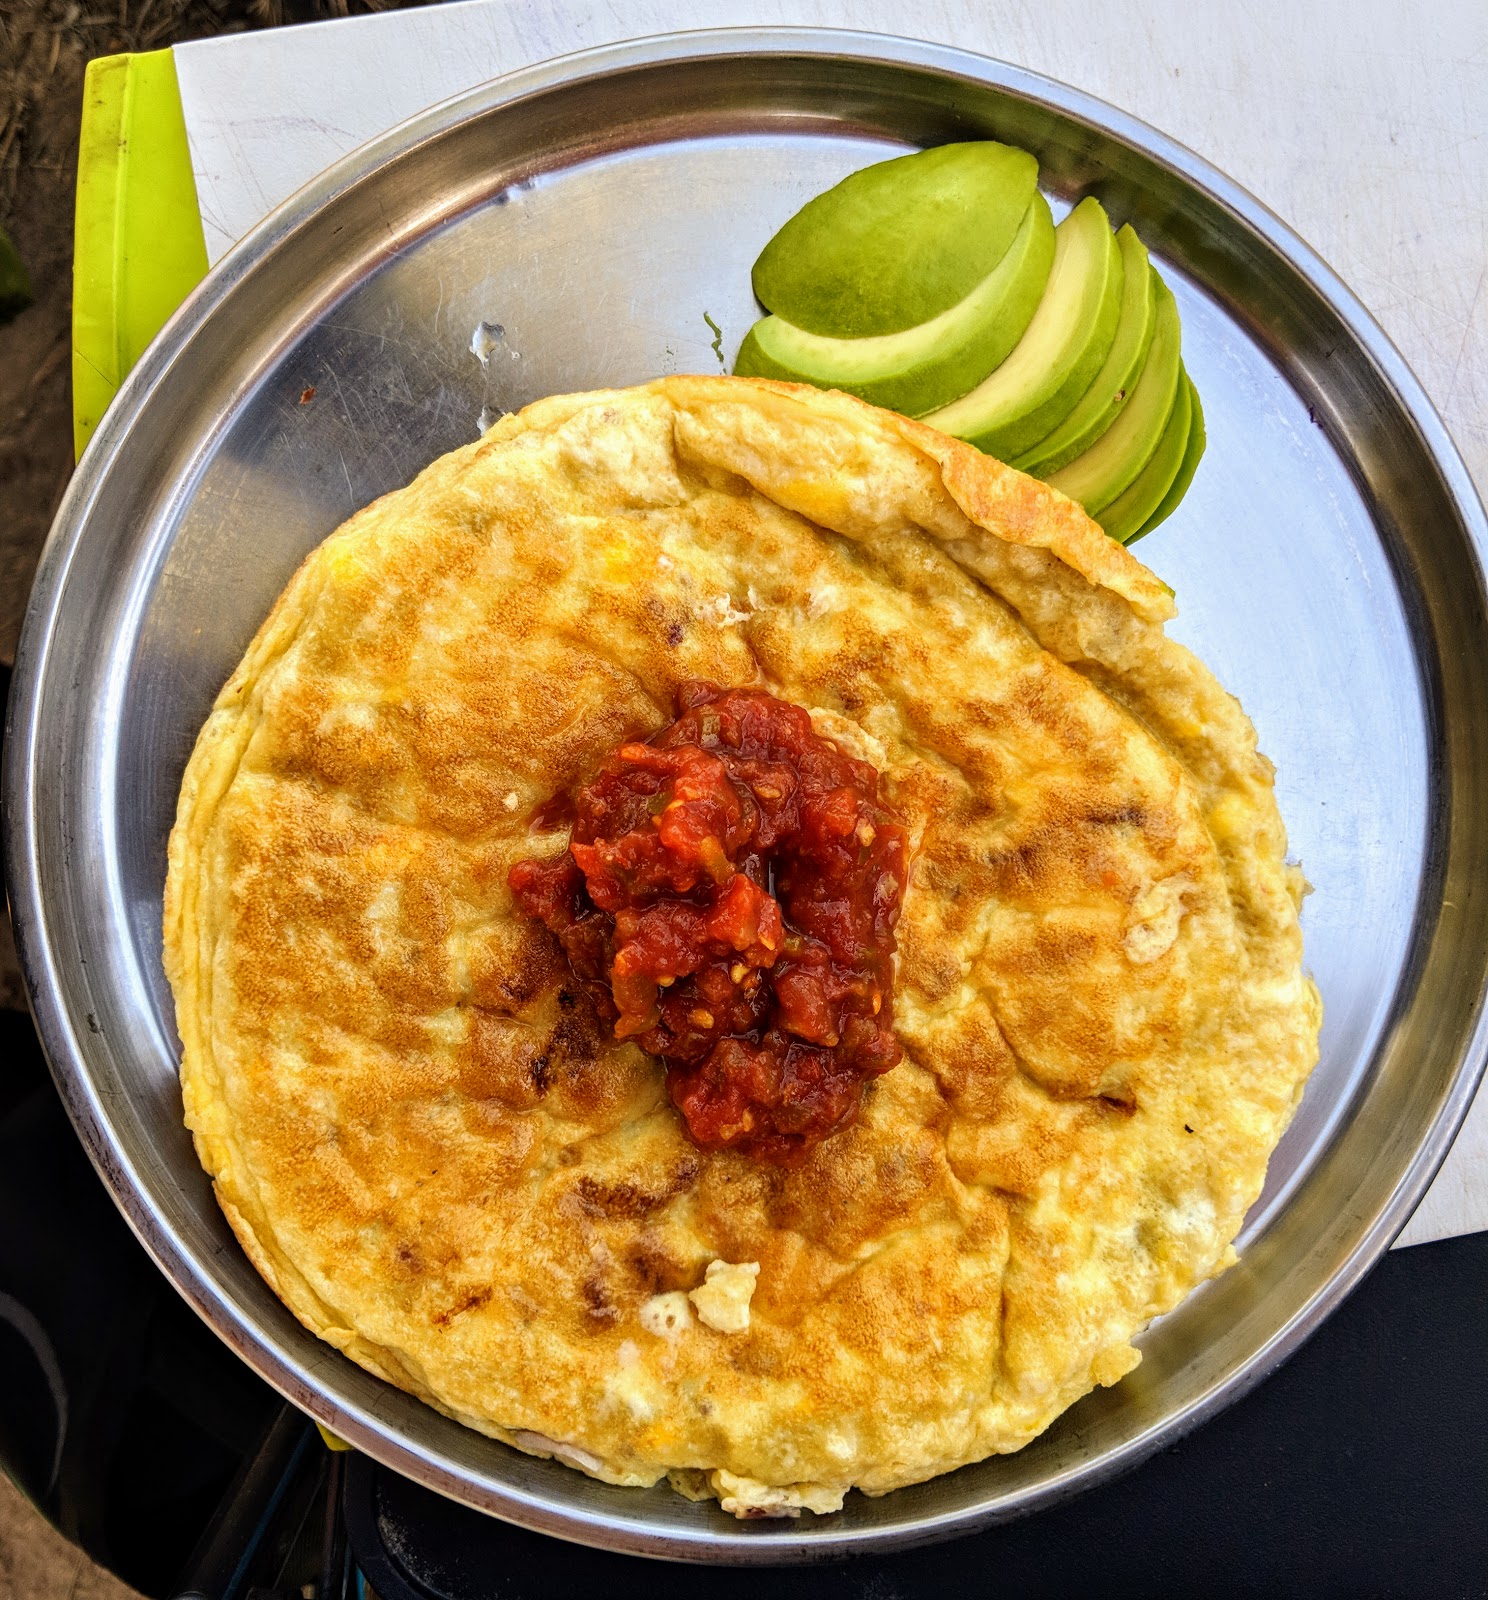
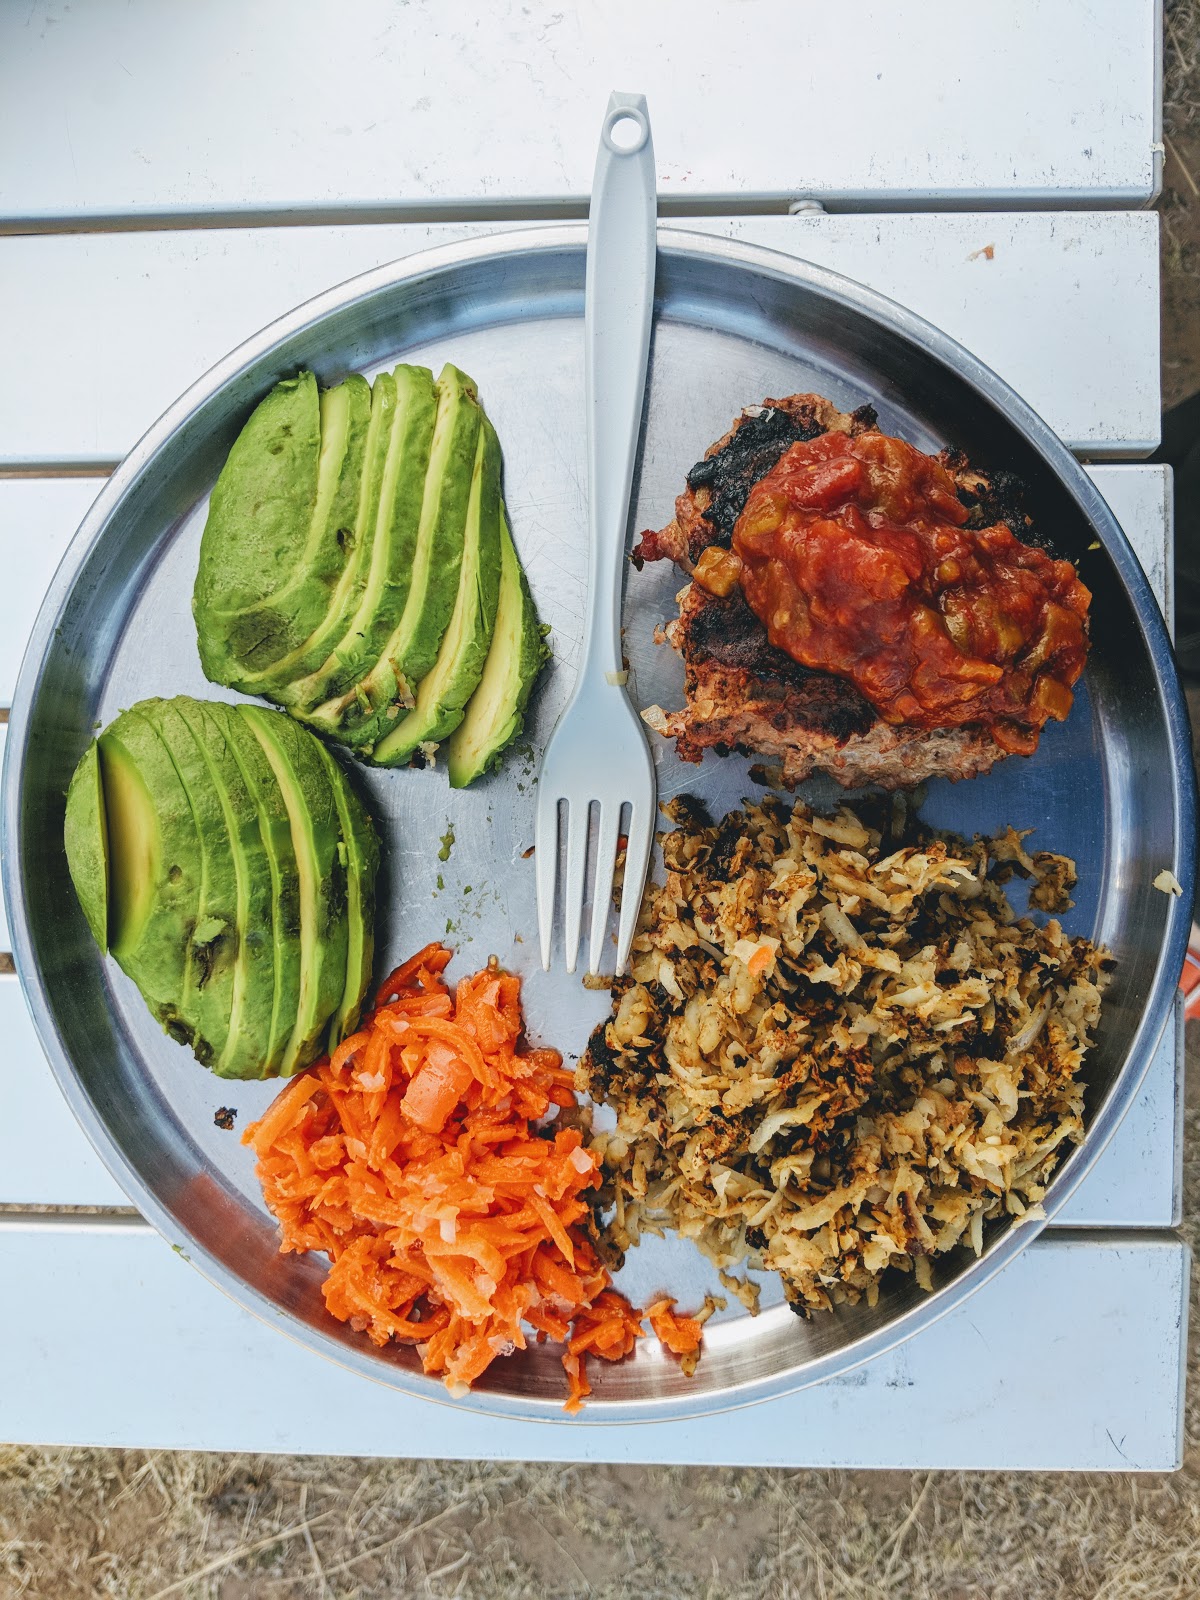
Before you knew it, it was sunrise again. Here I am having my daily oats and whatnot. It was the only thing I actually enjoyed eating on the trail. Oh yeah, my daily coffee routine was pretty sweet also.

Ok another side by side on top of the same pass from my 2006 trip with Mike. Not quite the same angle but whatever, I tired to be creative……. 2015 Left, 2006 on the right.
Descending the un-named pass on segment 25
2015 on the top, 2006 with Mike on the bottom. Last side by side I promise……
Celebration Lake where Mike and I exited the CT on our day ride back in 2006
New CT shit that I have never seen before! Oh and I have not said this yet. The San Juans are the best Colorado mountains I have seen by far!!!
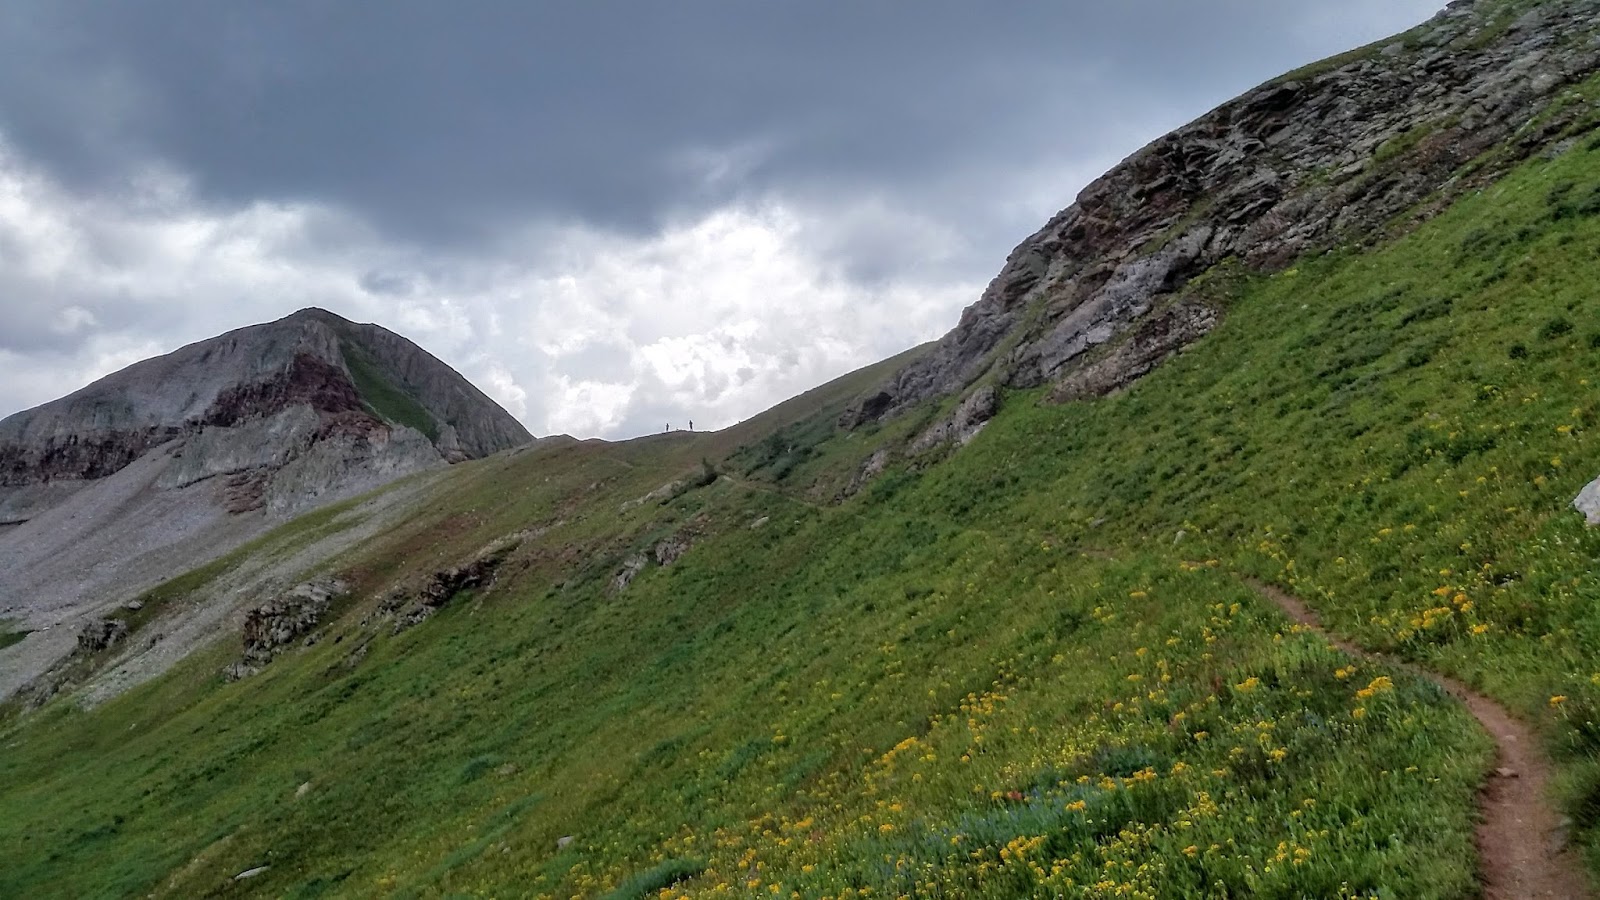
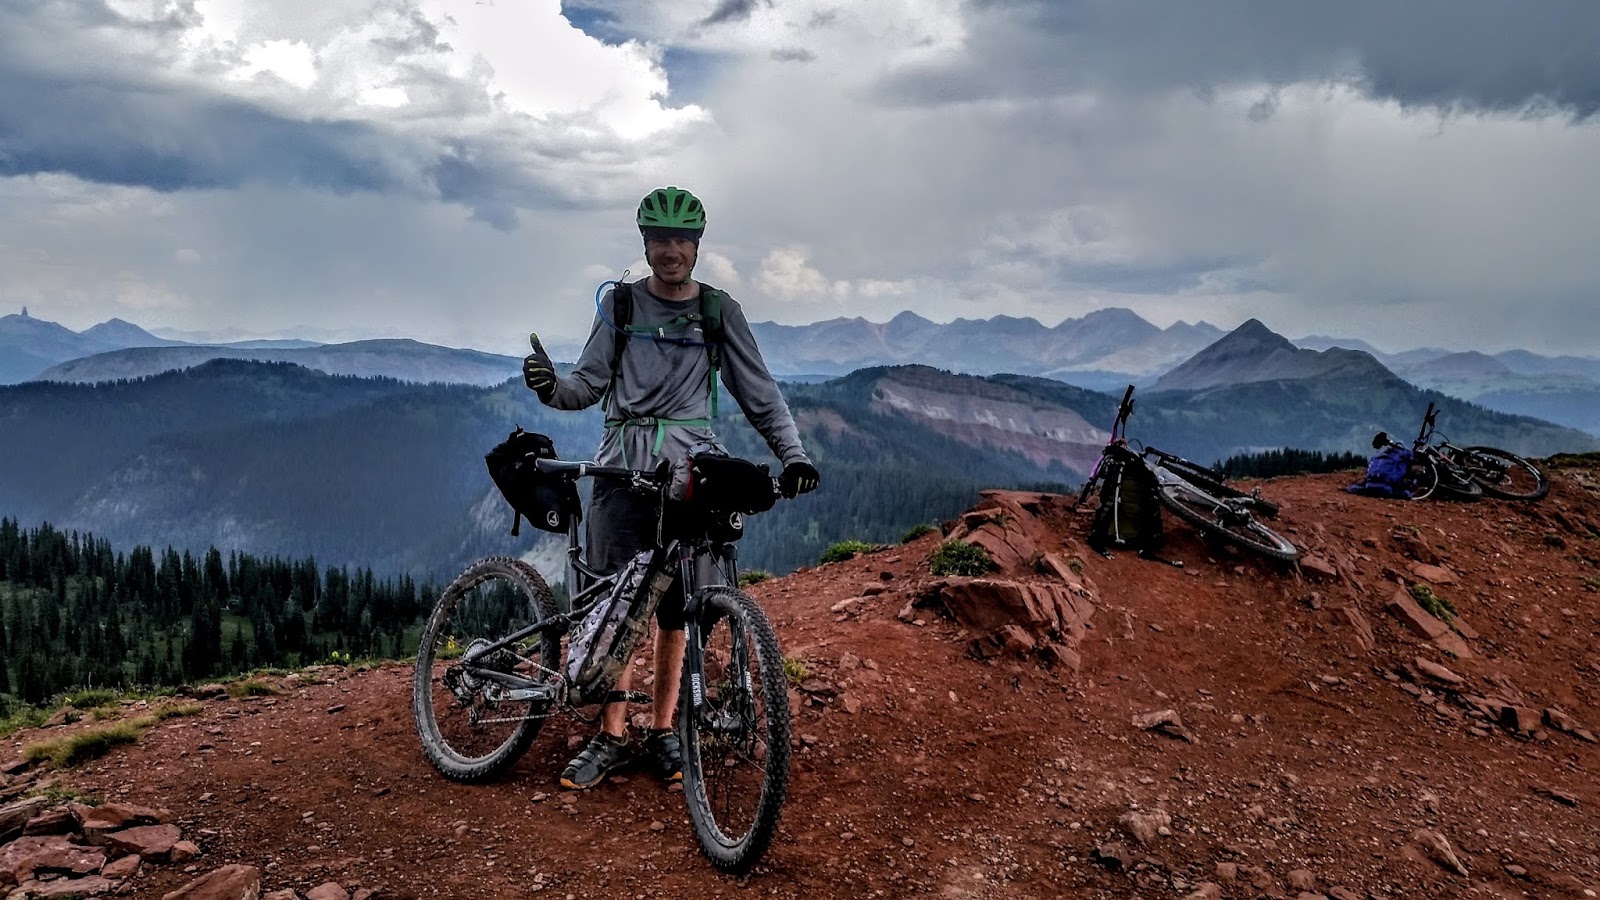
Blackhawk Pass. Let me take a minute to reflect on this moment. I had been riding most of the day up unit about noon when the thunder heads start to build. I ran across a CT hiker before crossing this pass and he warned me about crossing with the lightning near by. You cant tell but it was sunny and there was a break in the clouds up until I got to this point where two thunder heads collided and what later became a massive downpour. If you look closely you can see two stick figures of mountain bikers at the summit.

Here I am at the summit of Blackhawk pass and I have a lot to say about this moment in time…… First: I made it to the top without getting rained on and met two very nice lady mountain bikers that took my pic that were doing a day ride on this segment. Second: I can see it on my face in this photo that I am not giving 2 fucks about much on this trip any more and its about time I got my confidence! Lastly: All hell broke loose and me and the lady MTB couple bombed down the backside of the pass and got rained/hailed on hard for the next 2 hours. I remember thinking how thrilled I was to ride with some peeps for once as we descended until I decided to stop and put the rest of my rain gear on as they carried on in the pouring rain and gropple. .
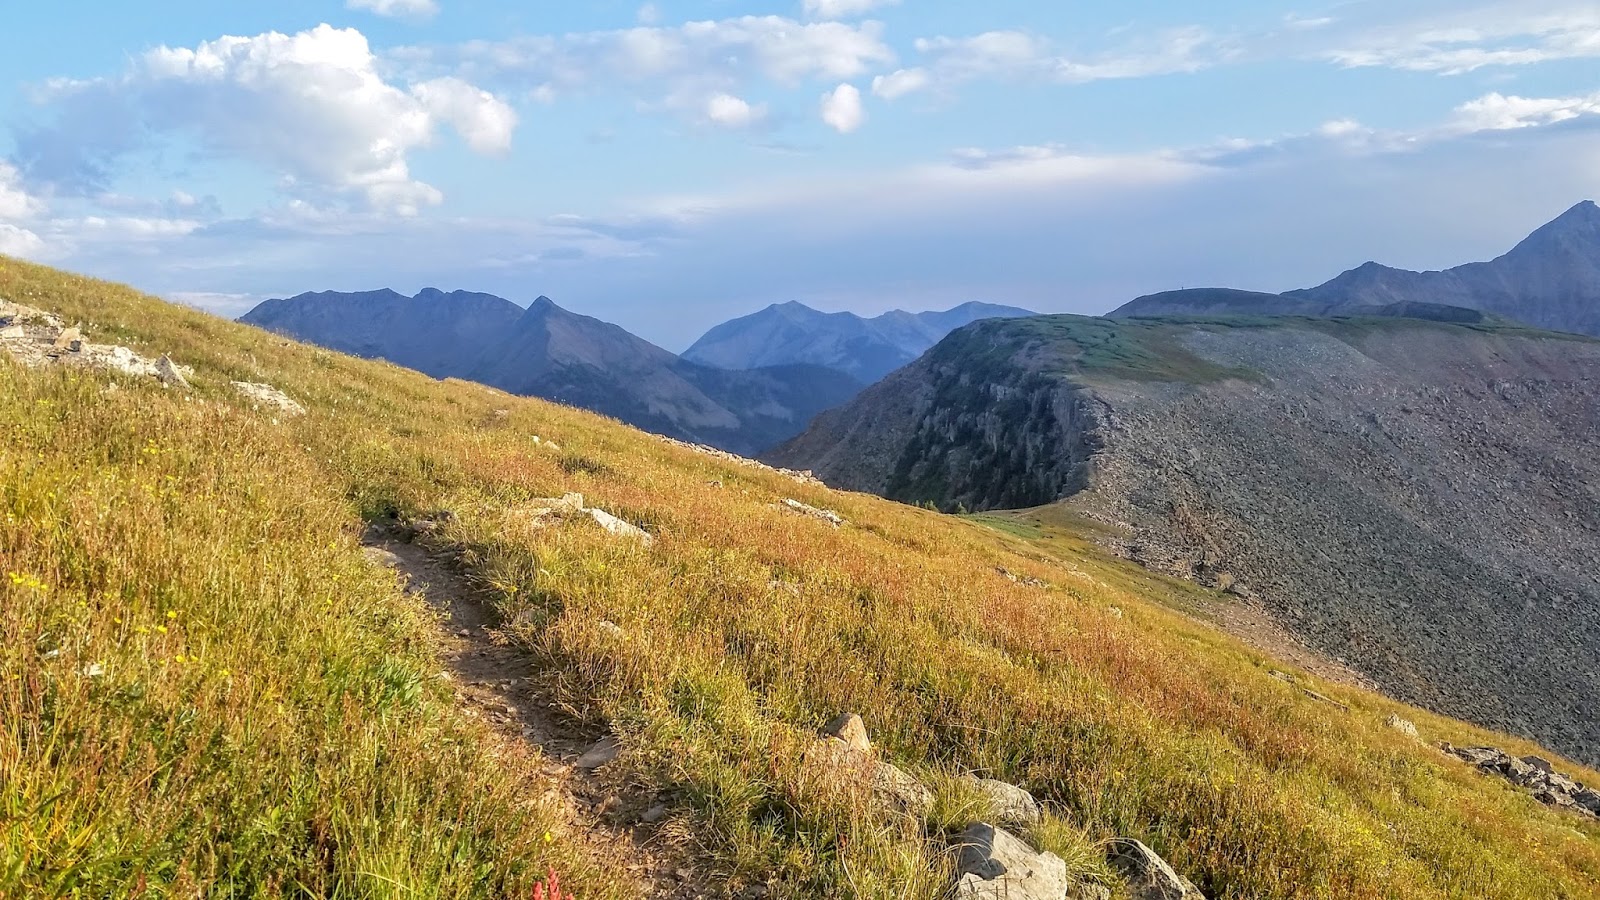
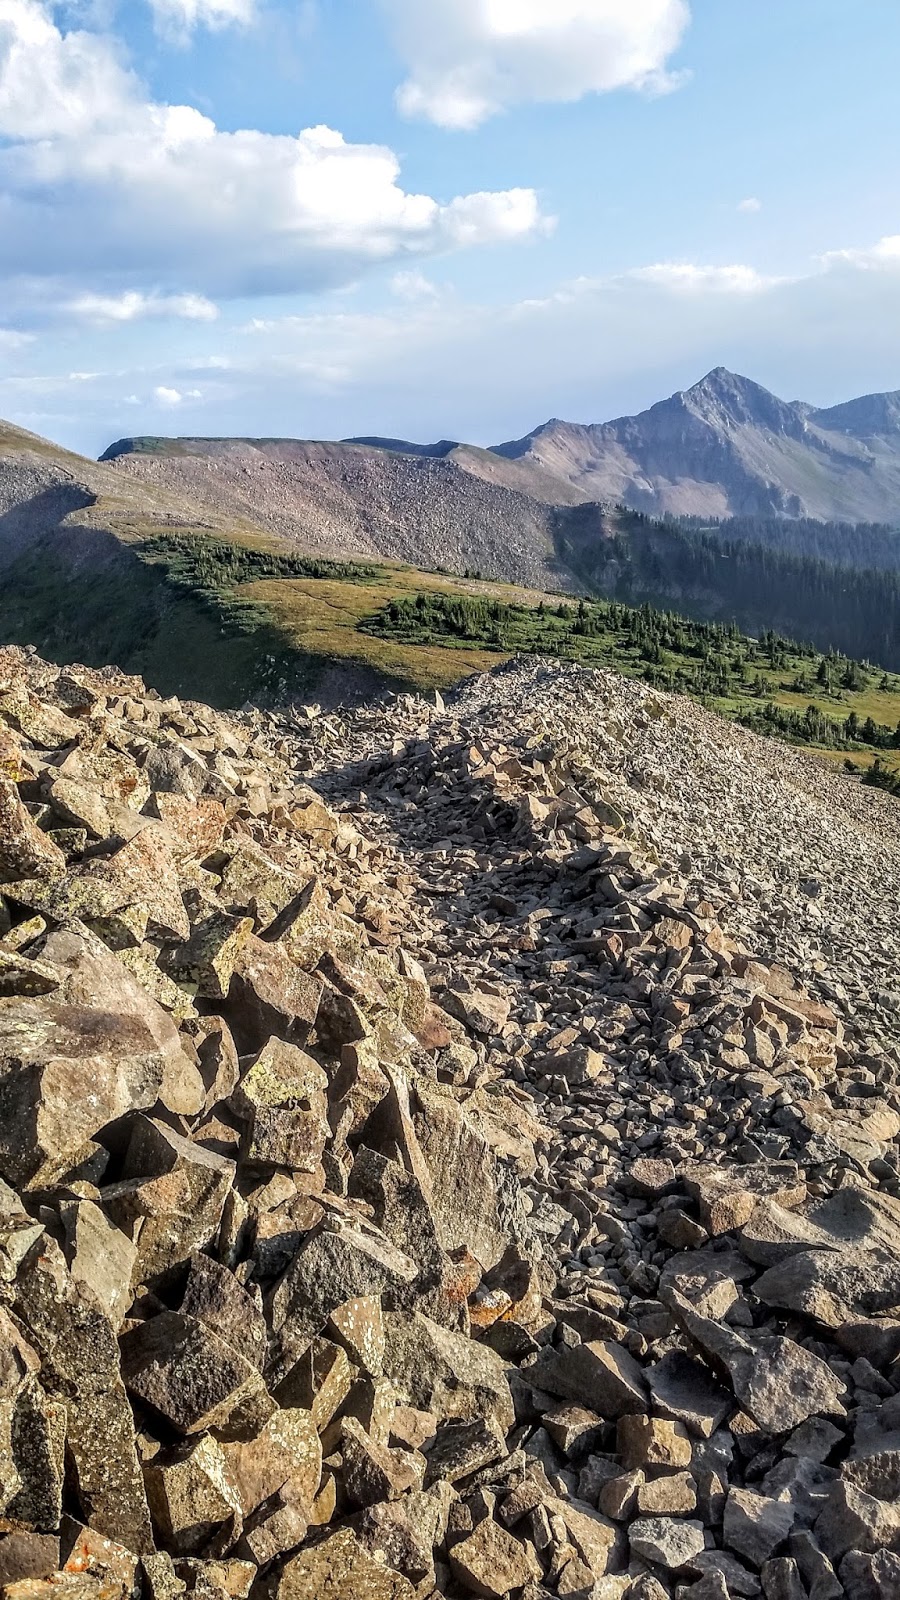
The following pics are of Segment 27 on the Indian Ridge Trail section. And in my opinion, this was one of the most intense section of the entire CT MTB Route. Incredibly high elevation, exposed ridges, rocky traverses, narrow slick off camber trail, just to name a few of the challenges. Along the way the views were absolutely breathtaking and I knew this was the last difficult high alpine challenge left in the adventure.
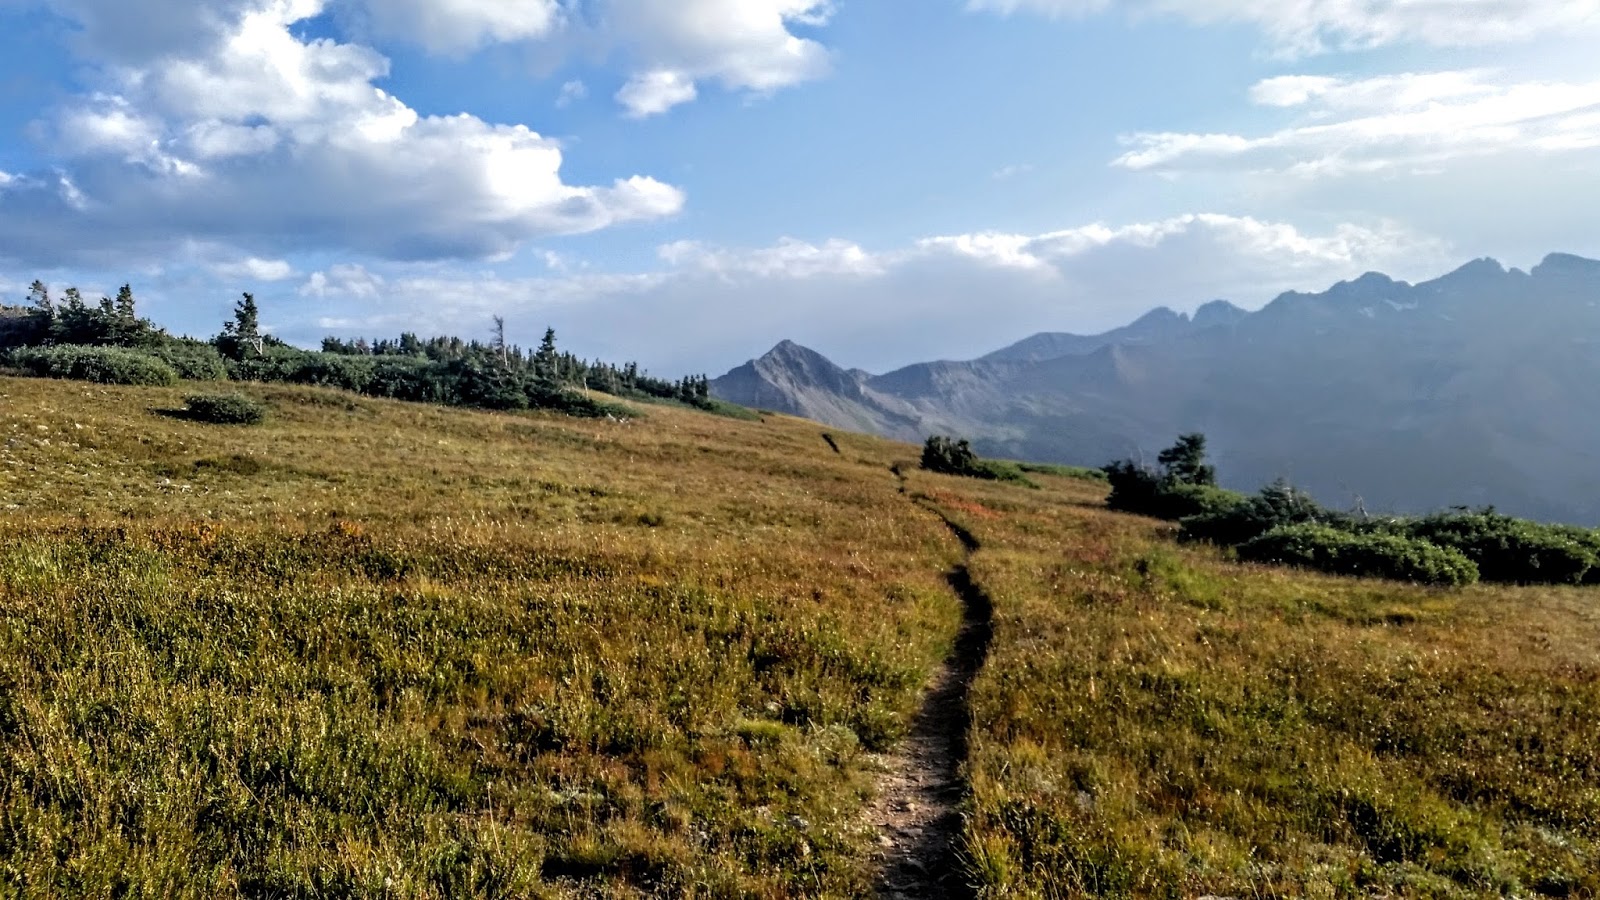
I was really proud of completing this exposed section with such vigor. Camp is just on the other side of that ridge.
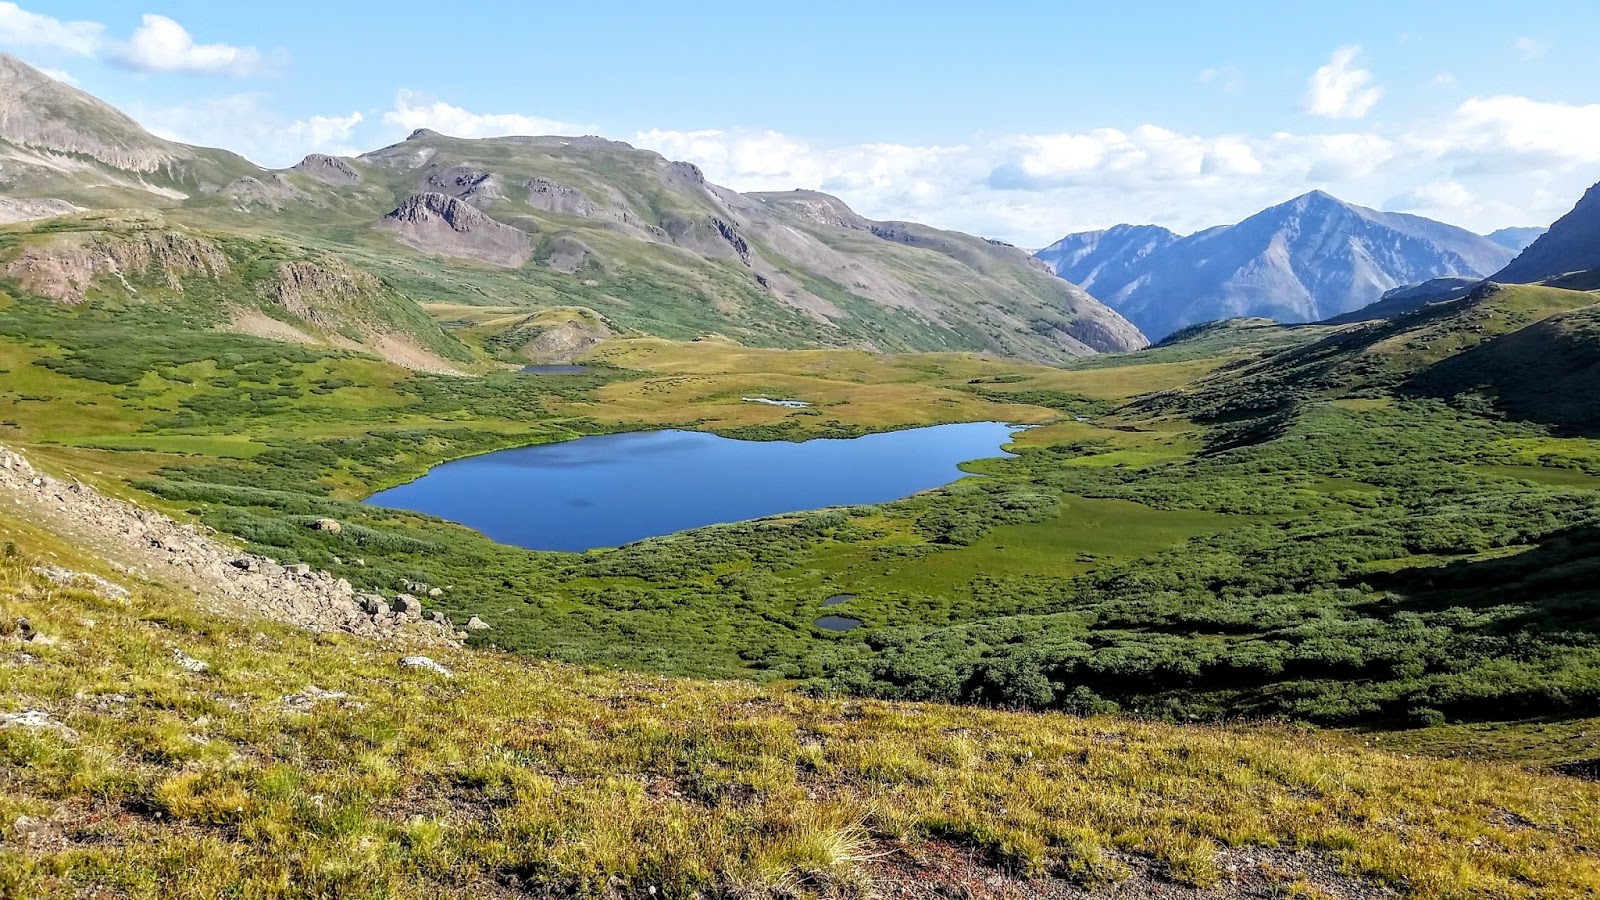
This is the view down below after you cross the Indian Trail Ridge section. Phewwww. just a short descent down to this awesome alpine lake where I set up camp for the night. I believe this lake is Taylor Lake.
Camp for the last night and another awesome pic! This is another one of the high points on the trip. You cant see it but the lake from the previous picture is on the other side of my tarp.
The last morning of #coffeeoutside
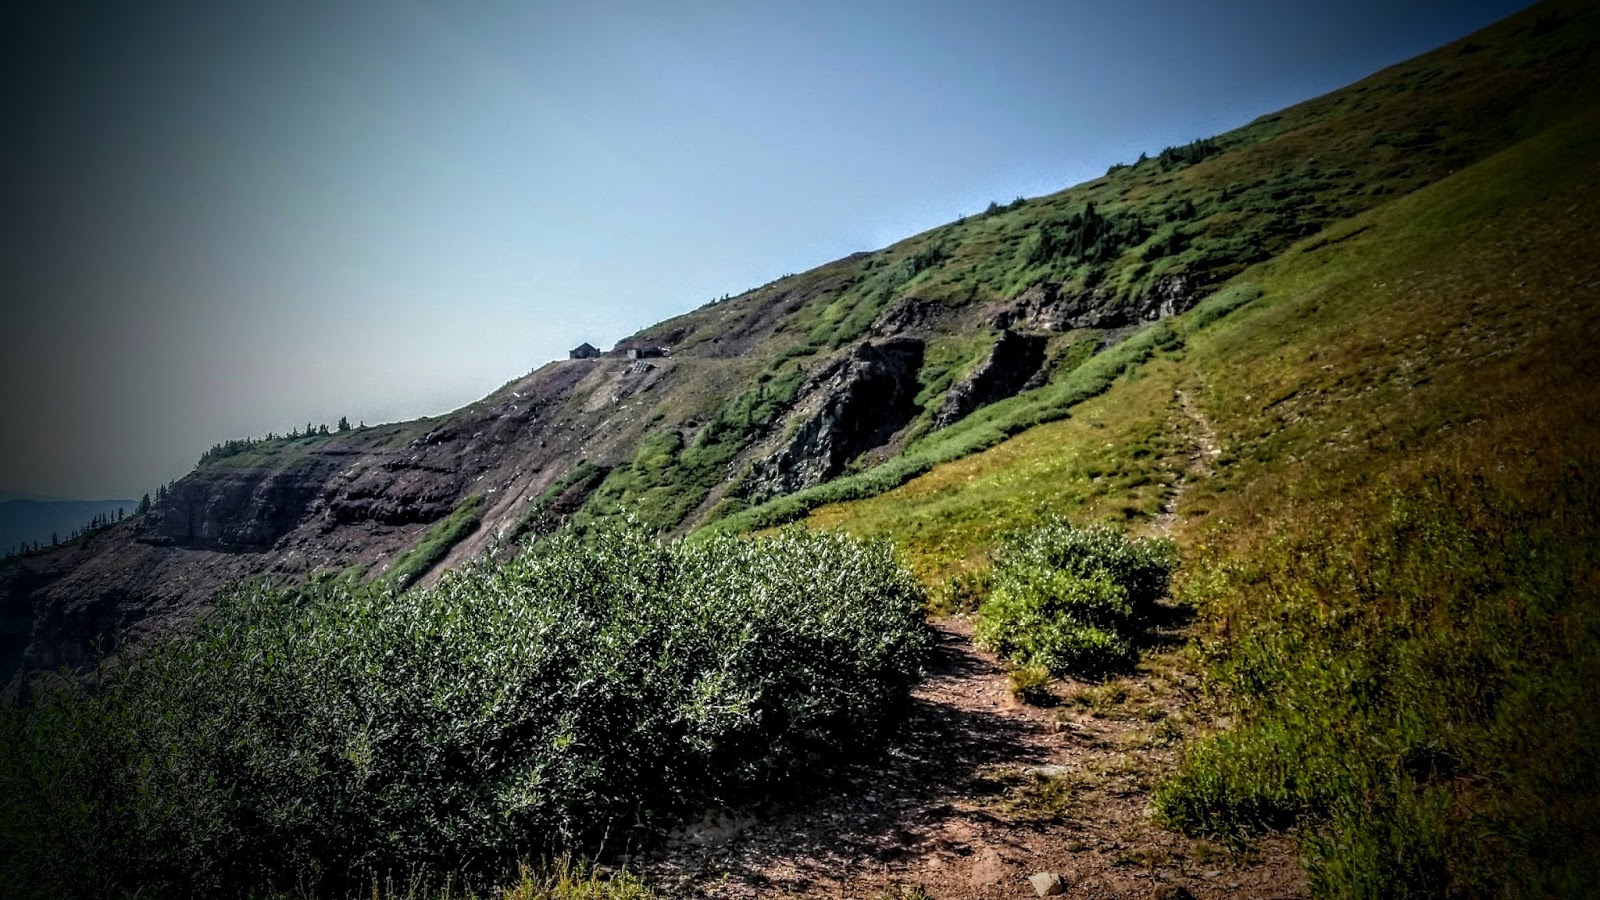
You cant tell in the picture but there is a old mining structure on the edge of that ridge just to the left. From here you turn left on the fork and the trail descends down for an incredible amount of vertical from here on out! (except for that one climb before the end)
After what seemed like 3 full days spent above treeline. I descended down into the forrest to dense growth. I loved and missed this thing called the forest!!!! It was a huge descent. Maybe close to 20 miles, but don’t be fooled. There is a fairly significant climb in the middle of it that reminds you that there are final bits of vertical feet to be attained before you can finish…..
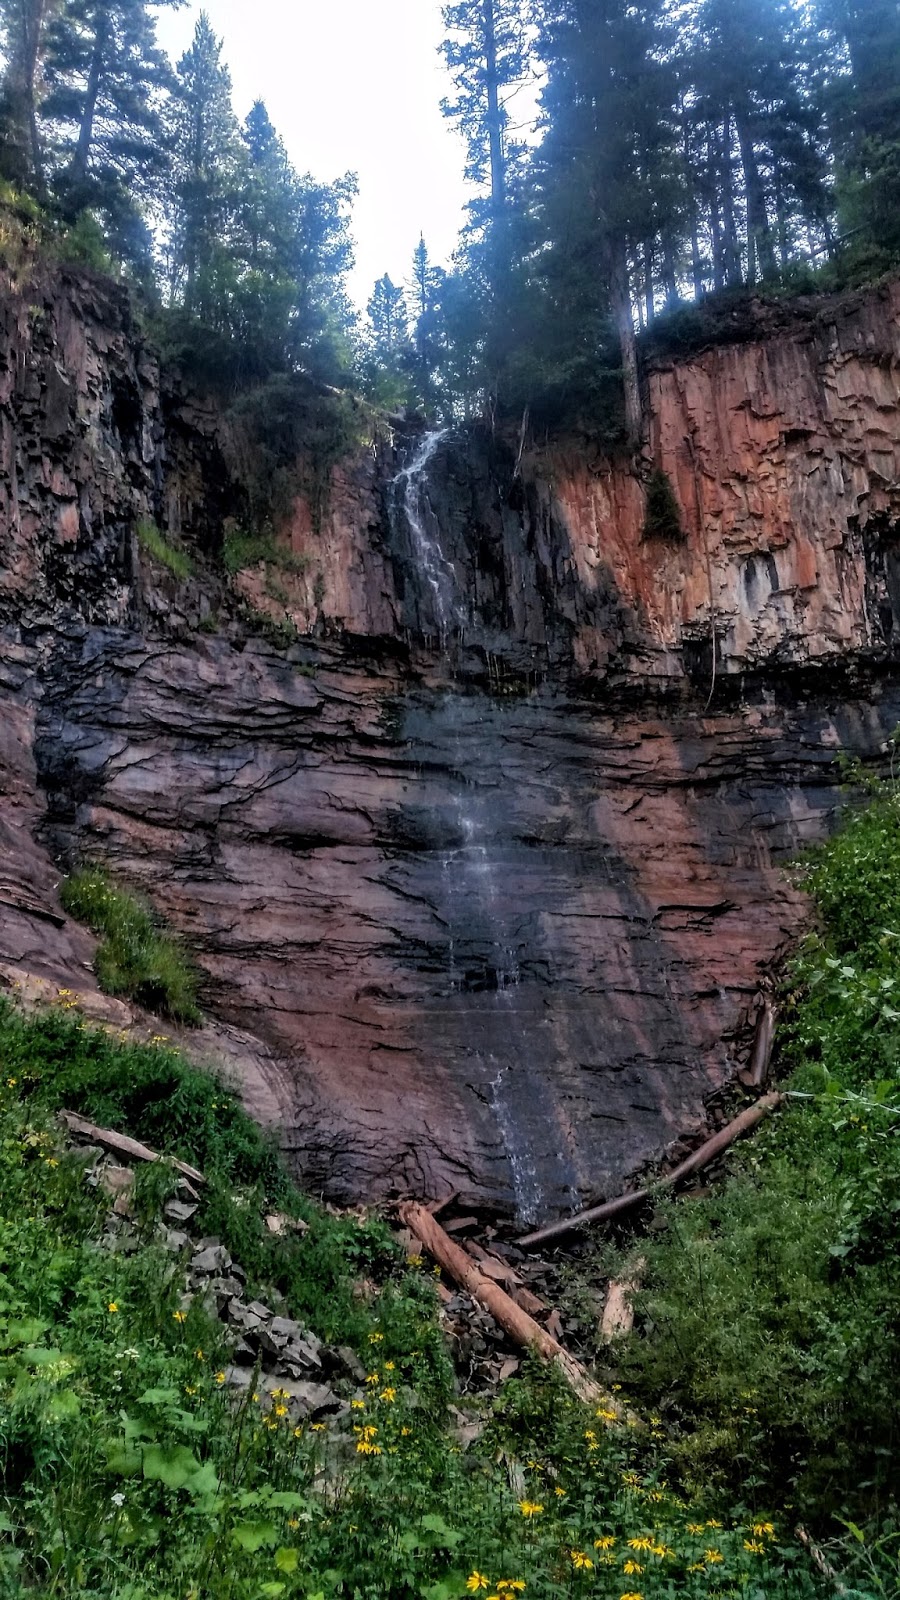
I tried to grab a quick touristy shot of these falls. In person they were much cooler. I promise! (:
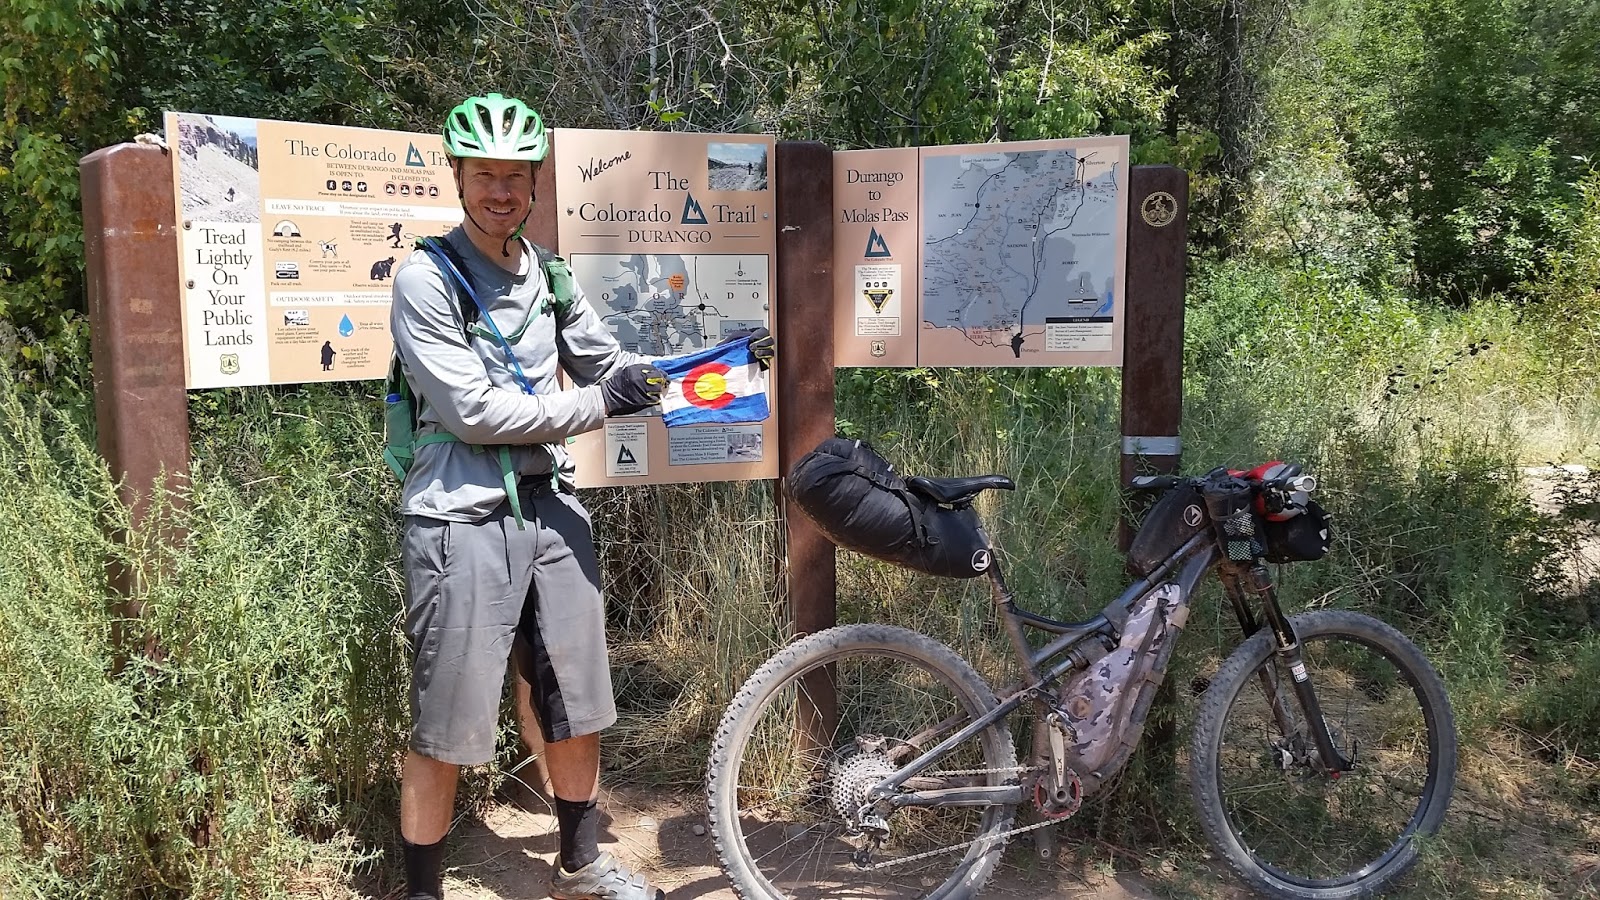
Here it is the final shot of me on the trail. I was thrilled to have completed the route and loved every second of it. Looking back there is not much I would have done different except for replacing my pedals and sleeping bag prior to departure. My sleeping bag had a hard time keeping me warm above treeline after 9 seasons of use, and I should have replaced my worn out pedals too..
Once you leave this TH marker its a 5 mile paved road descent into the town of Durango where I dropped my bike off at
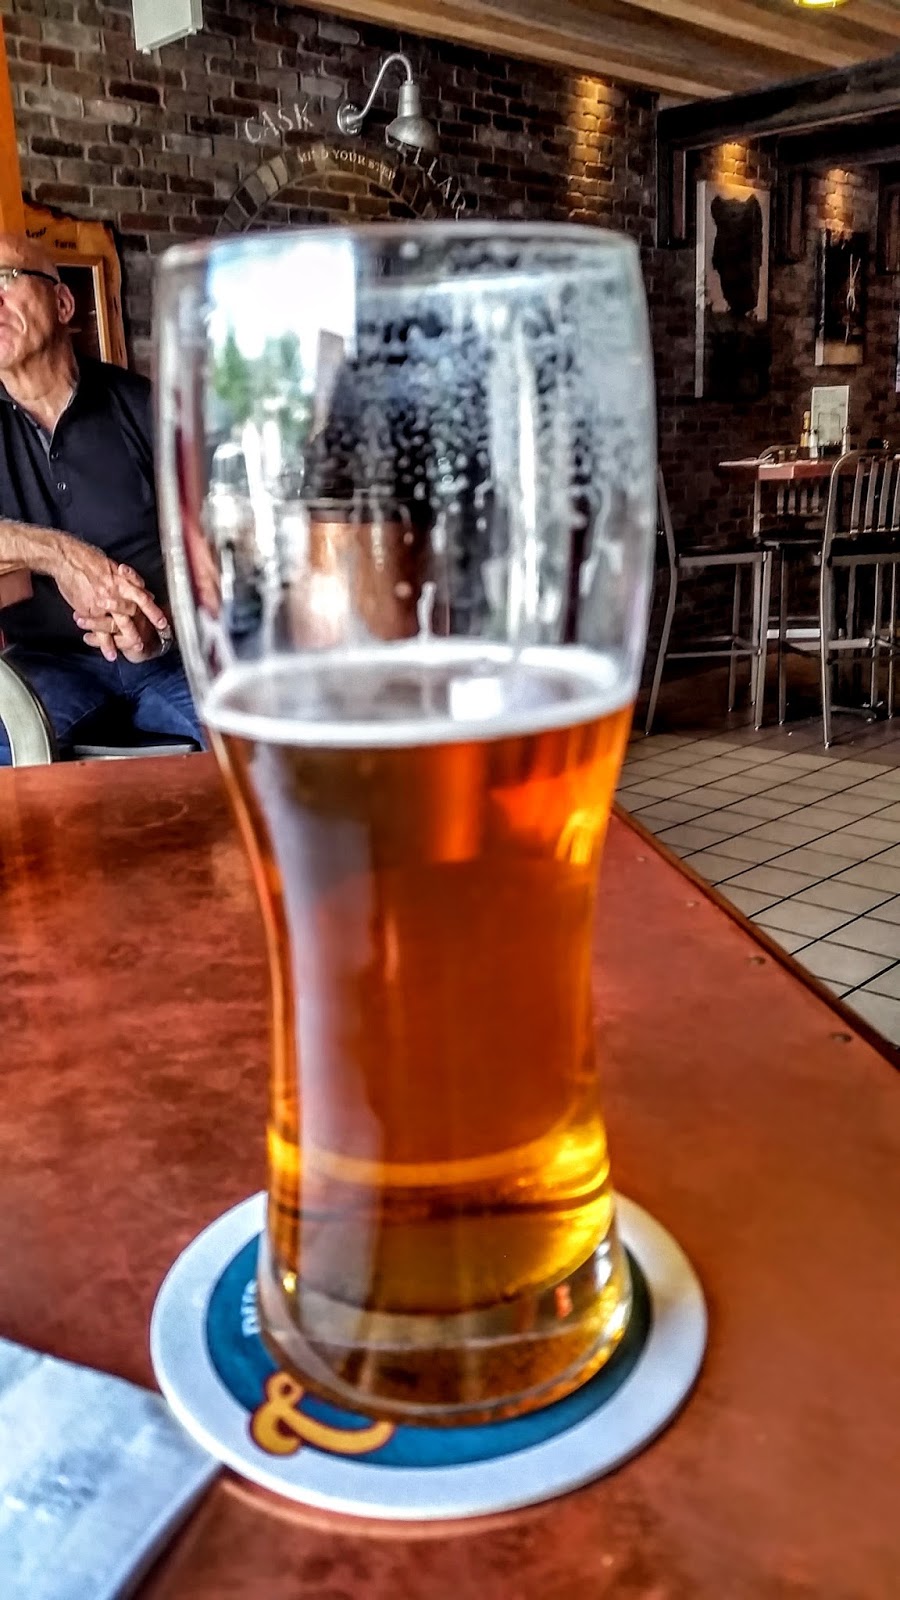
Pedal the Peaks LBS that did a remarkable job of packing up my bike and gear then shipping it back to my home town of Colorado Springs. After dropping off my bike I picked up some thrift store clothes, checked into a hotel, took a shower, then proceeded to Carver Brewing for some well deserved beer and town food. I got a bit wild this night and had a really good time celebrating my CT victory in Durango!!! I thought Durango was an amazing town and would love to go back some day.
Cheers!!! Free beer at Carver Brewing for completing the CT!
@CarverBrewing in Durango CO.

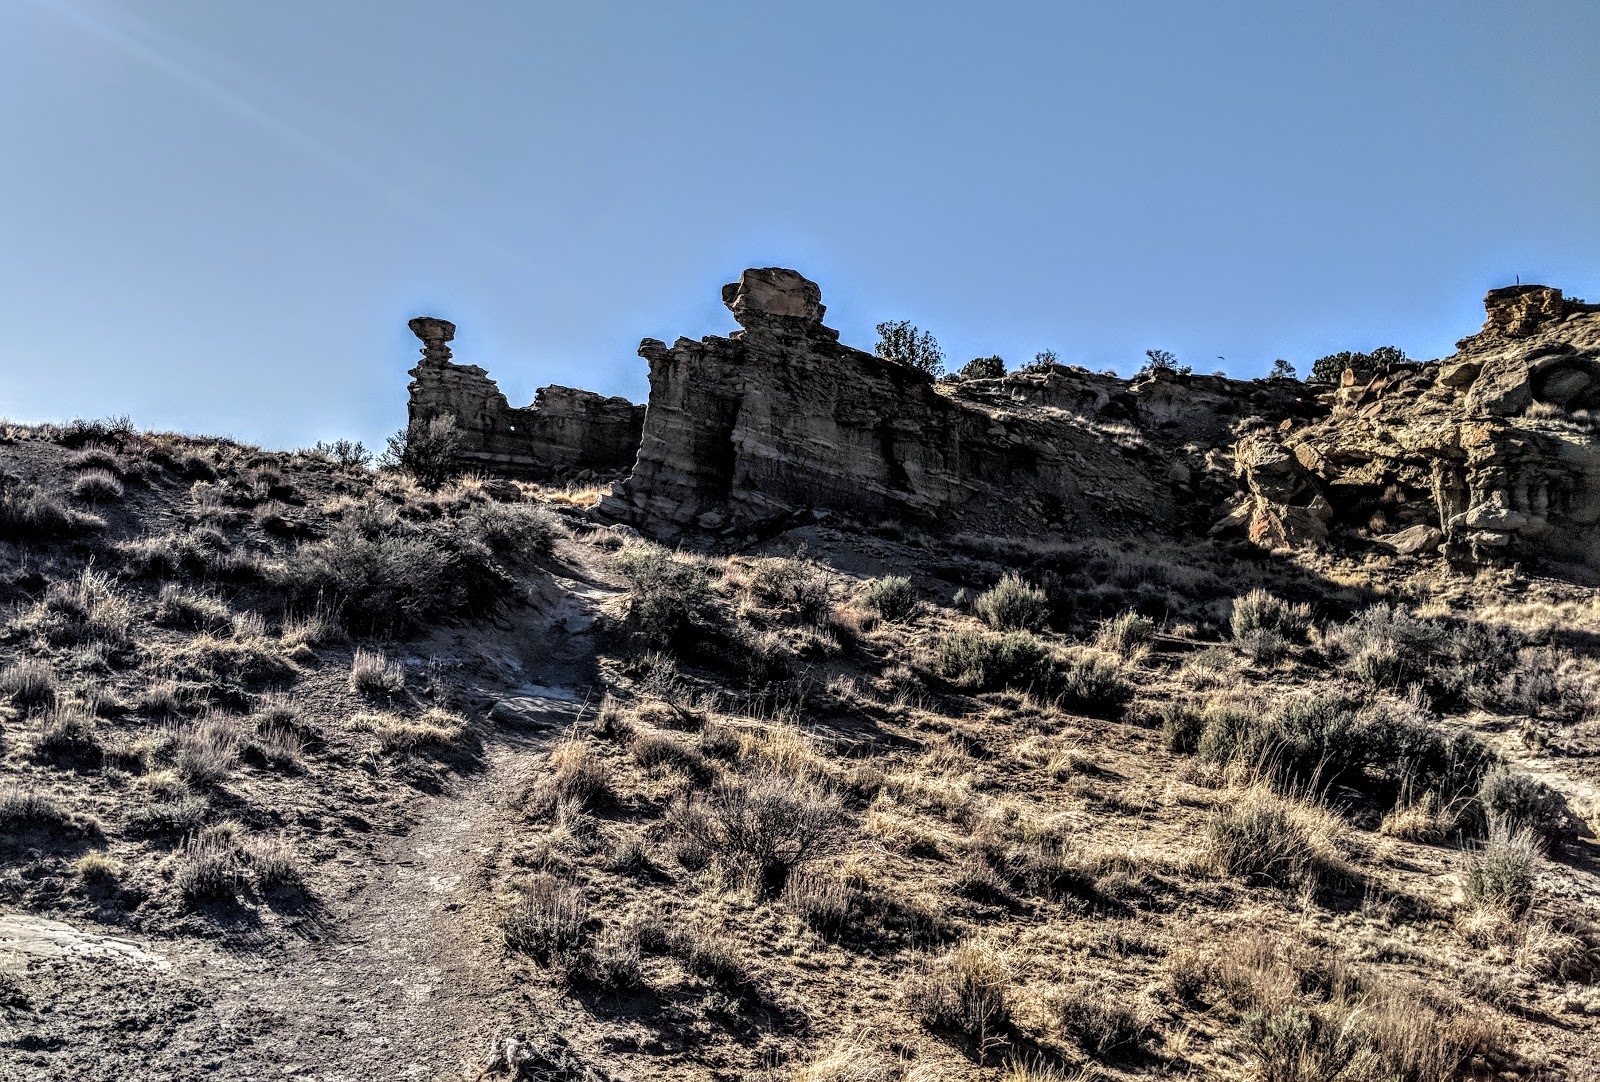
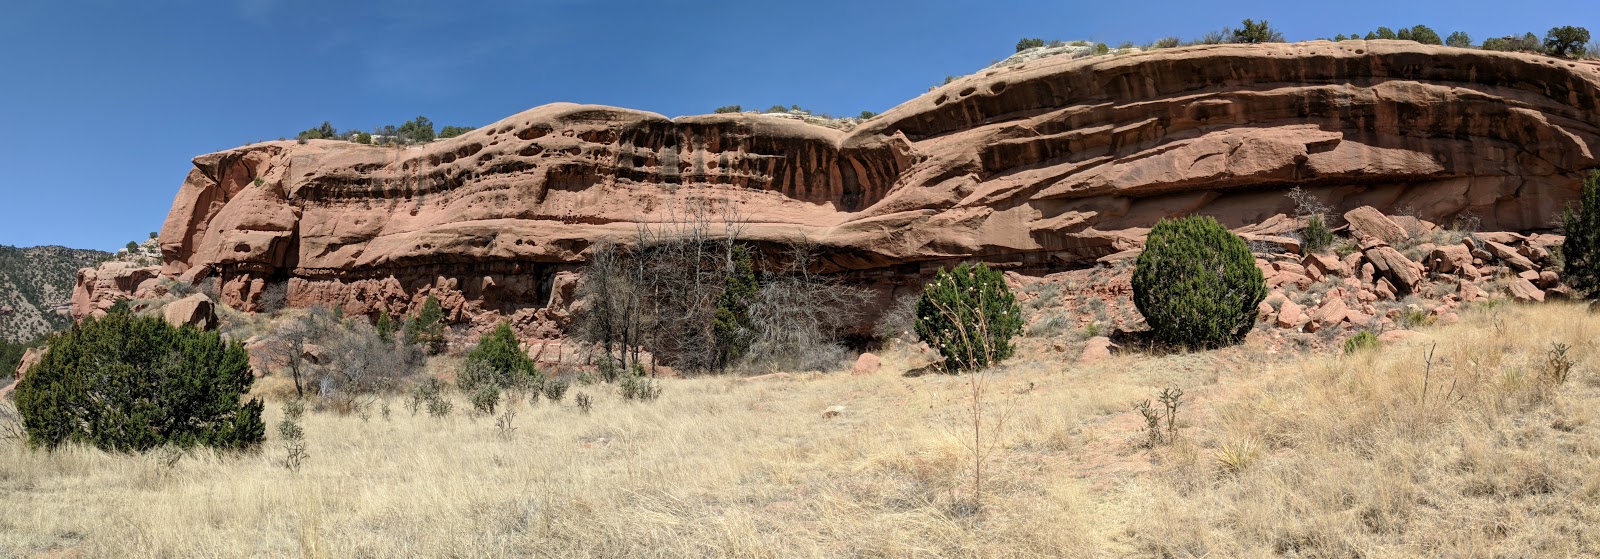
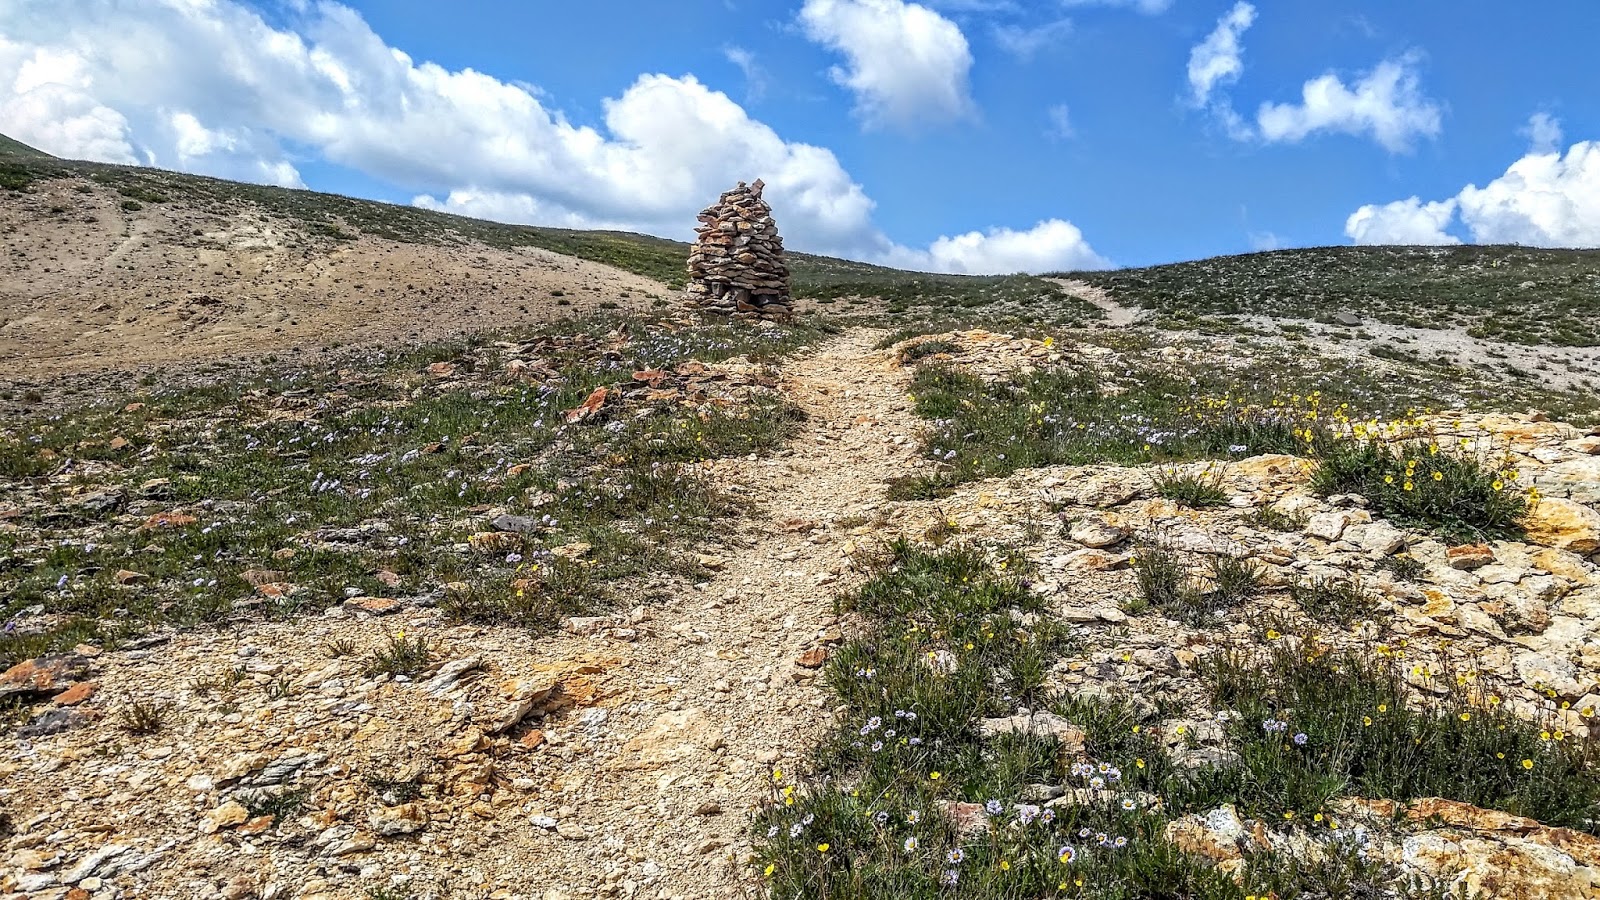
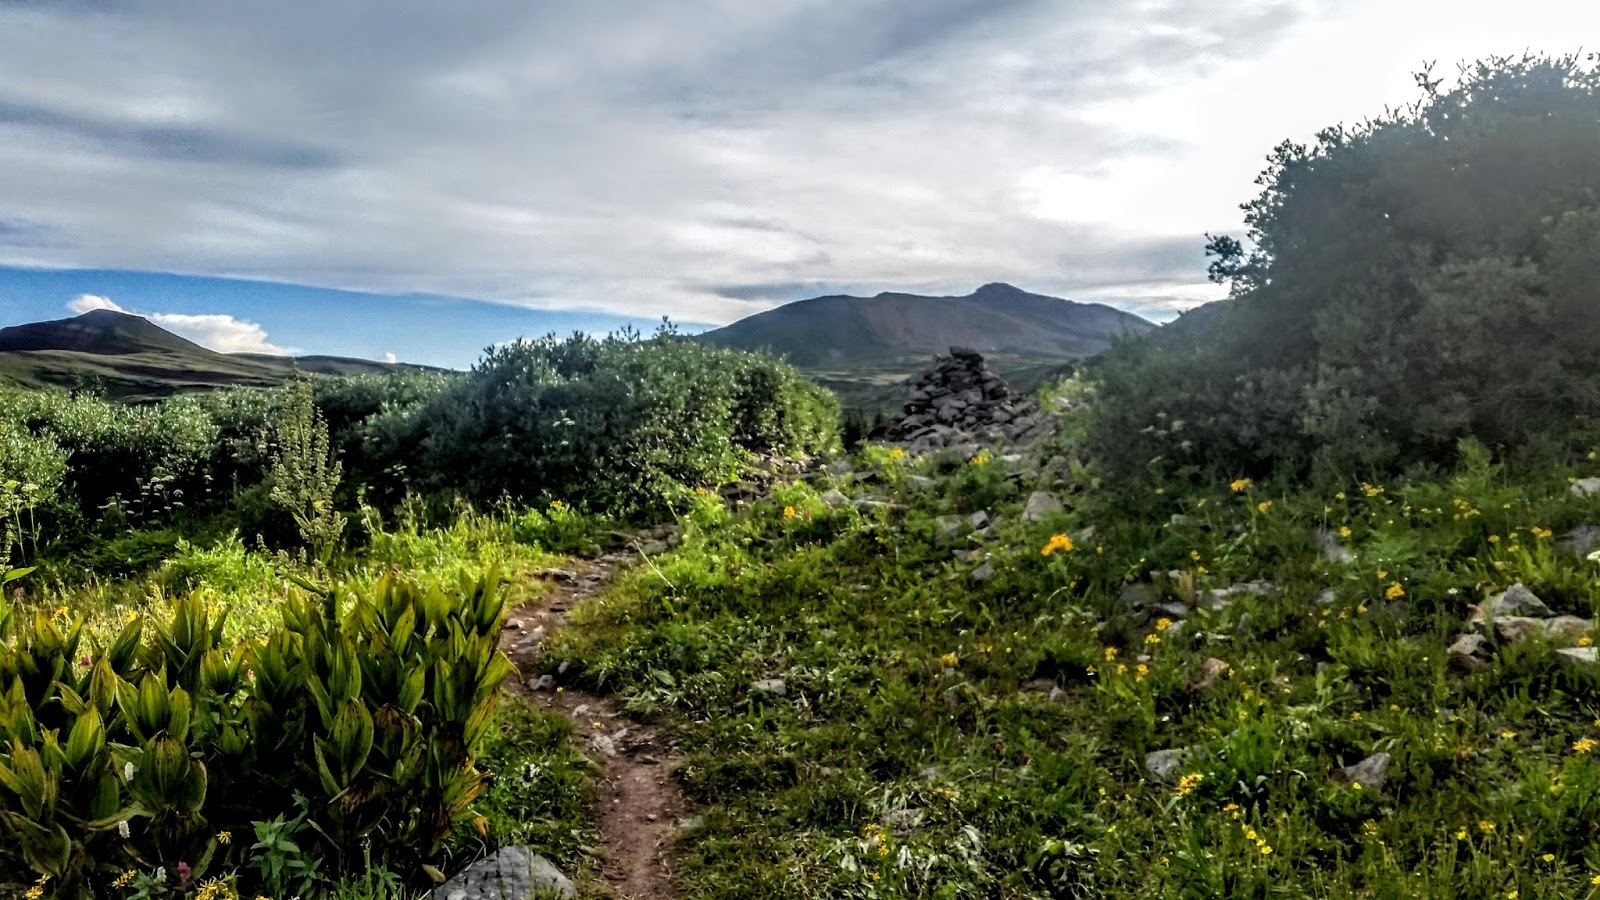
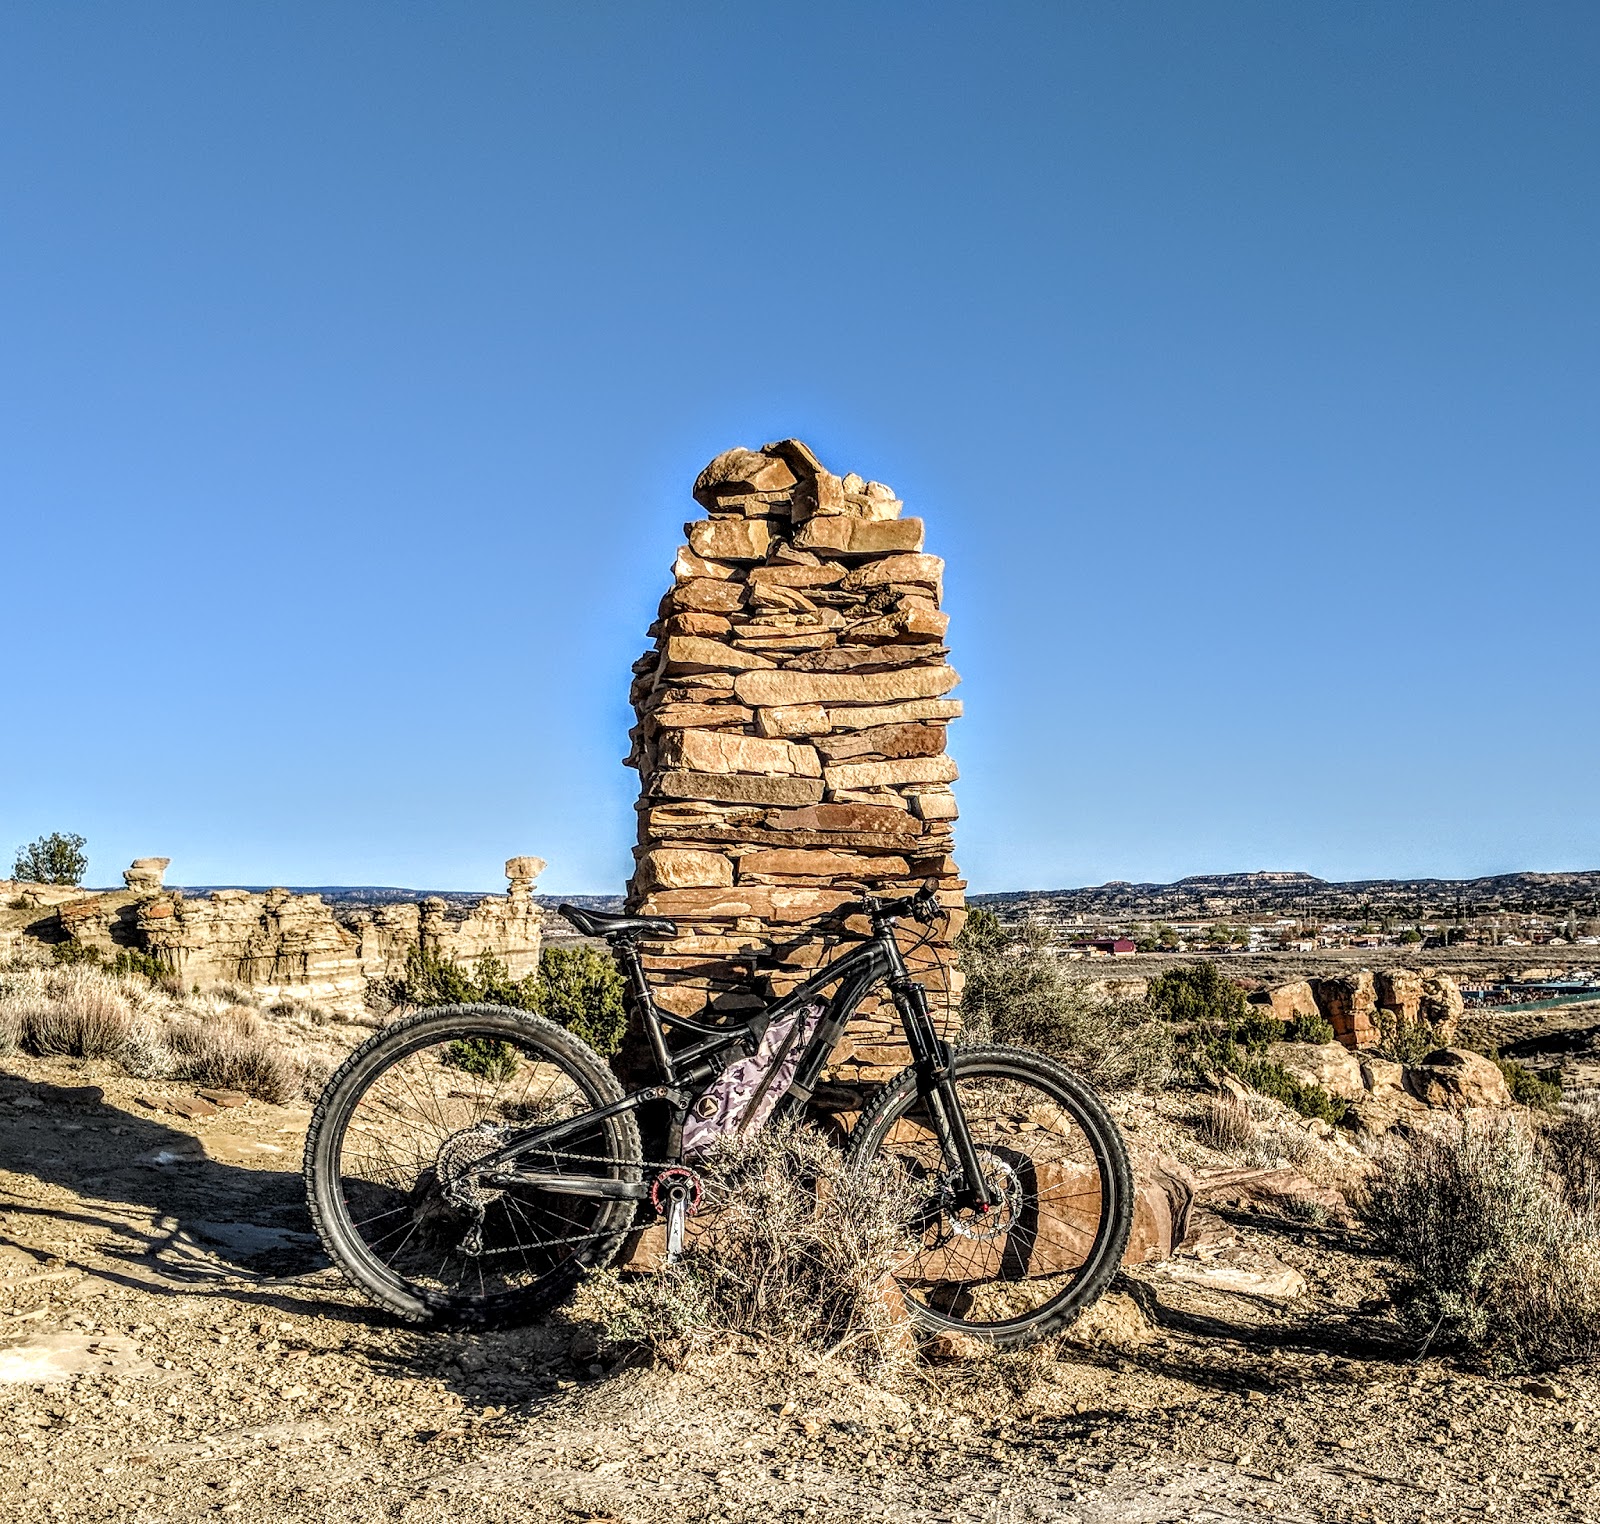 One thing I learned while my stay in the New Mexico is that they love their carins. This one was extra tall and stacked with care.


