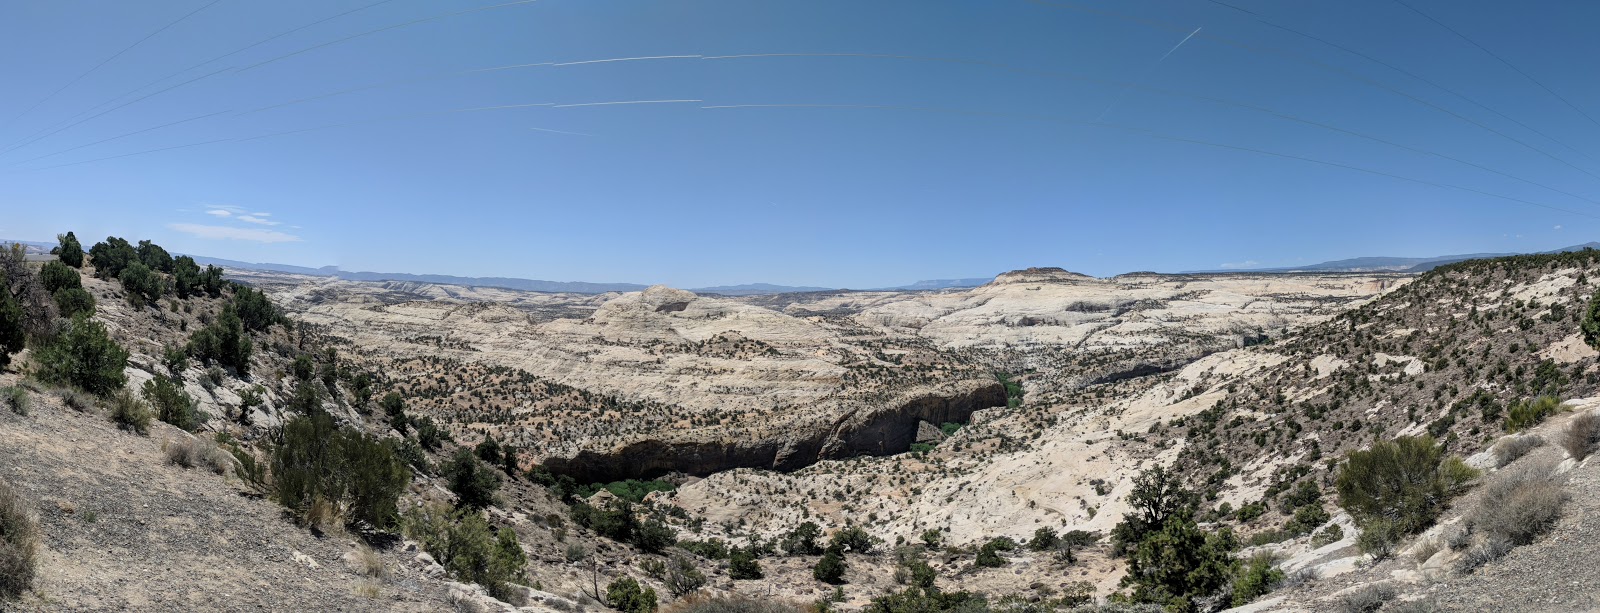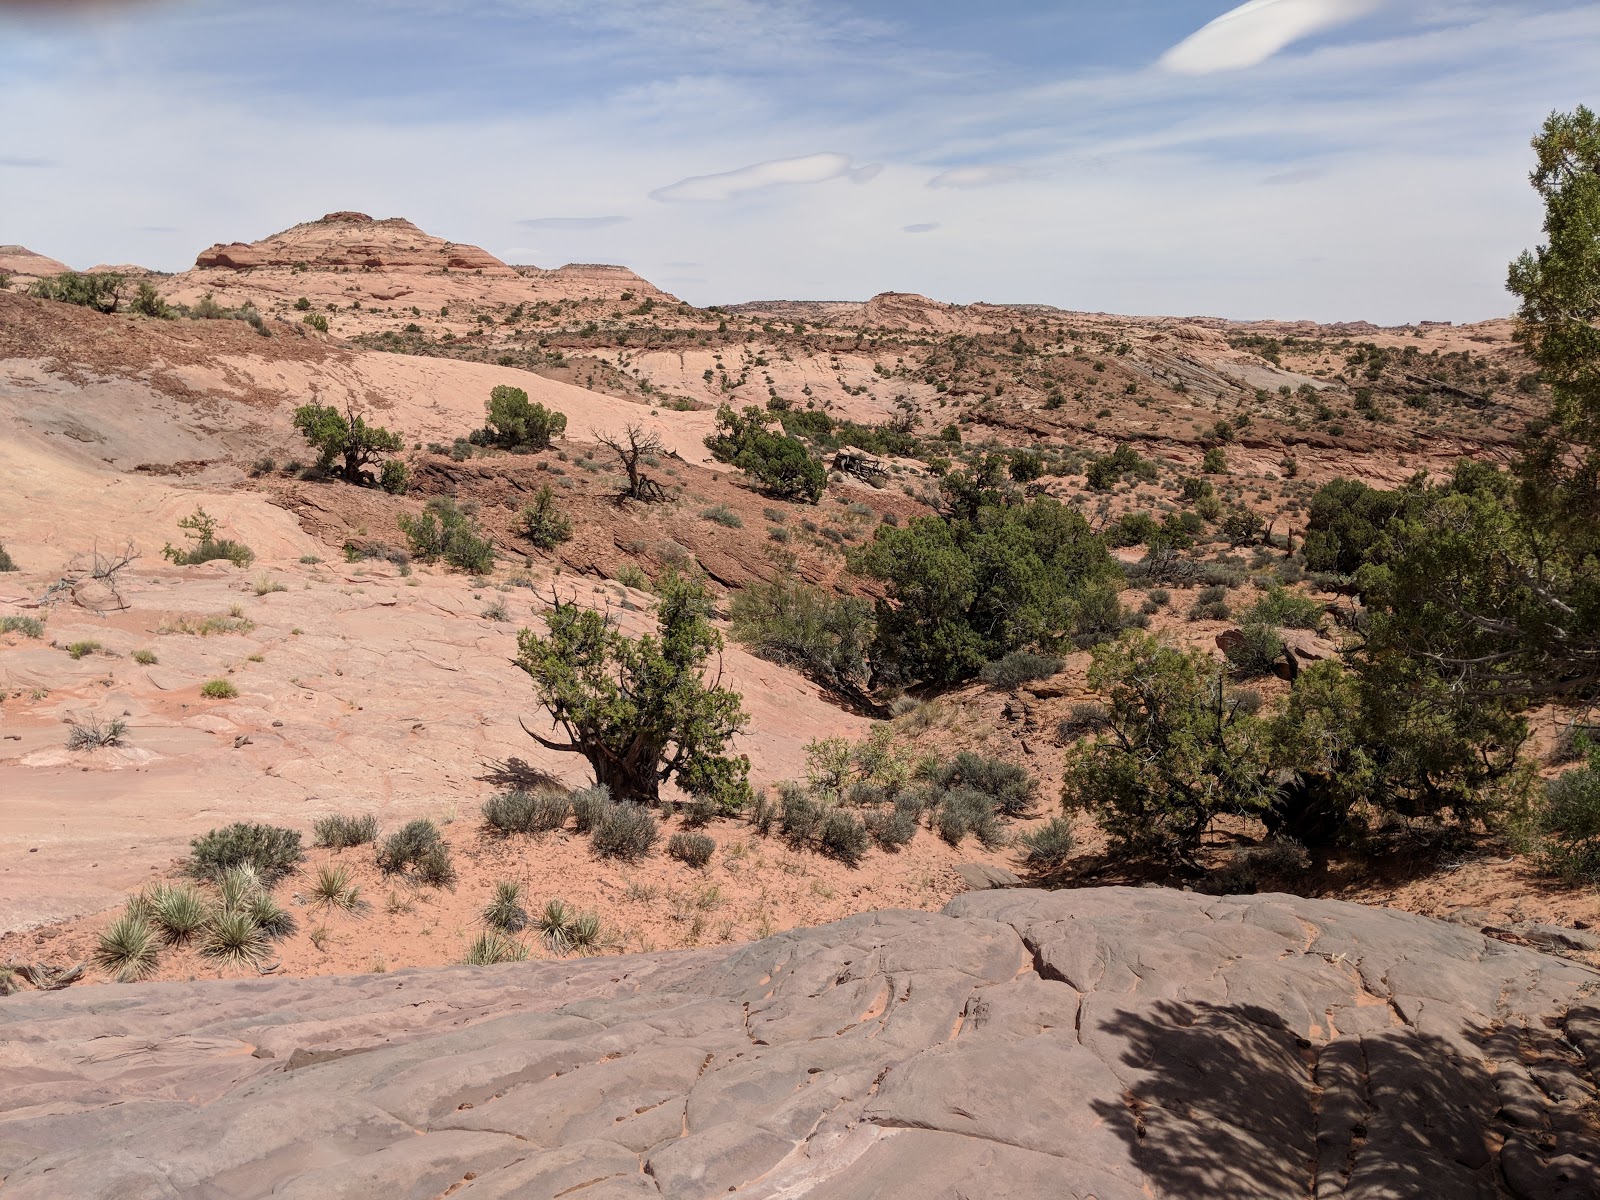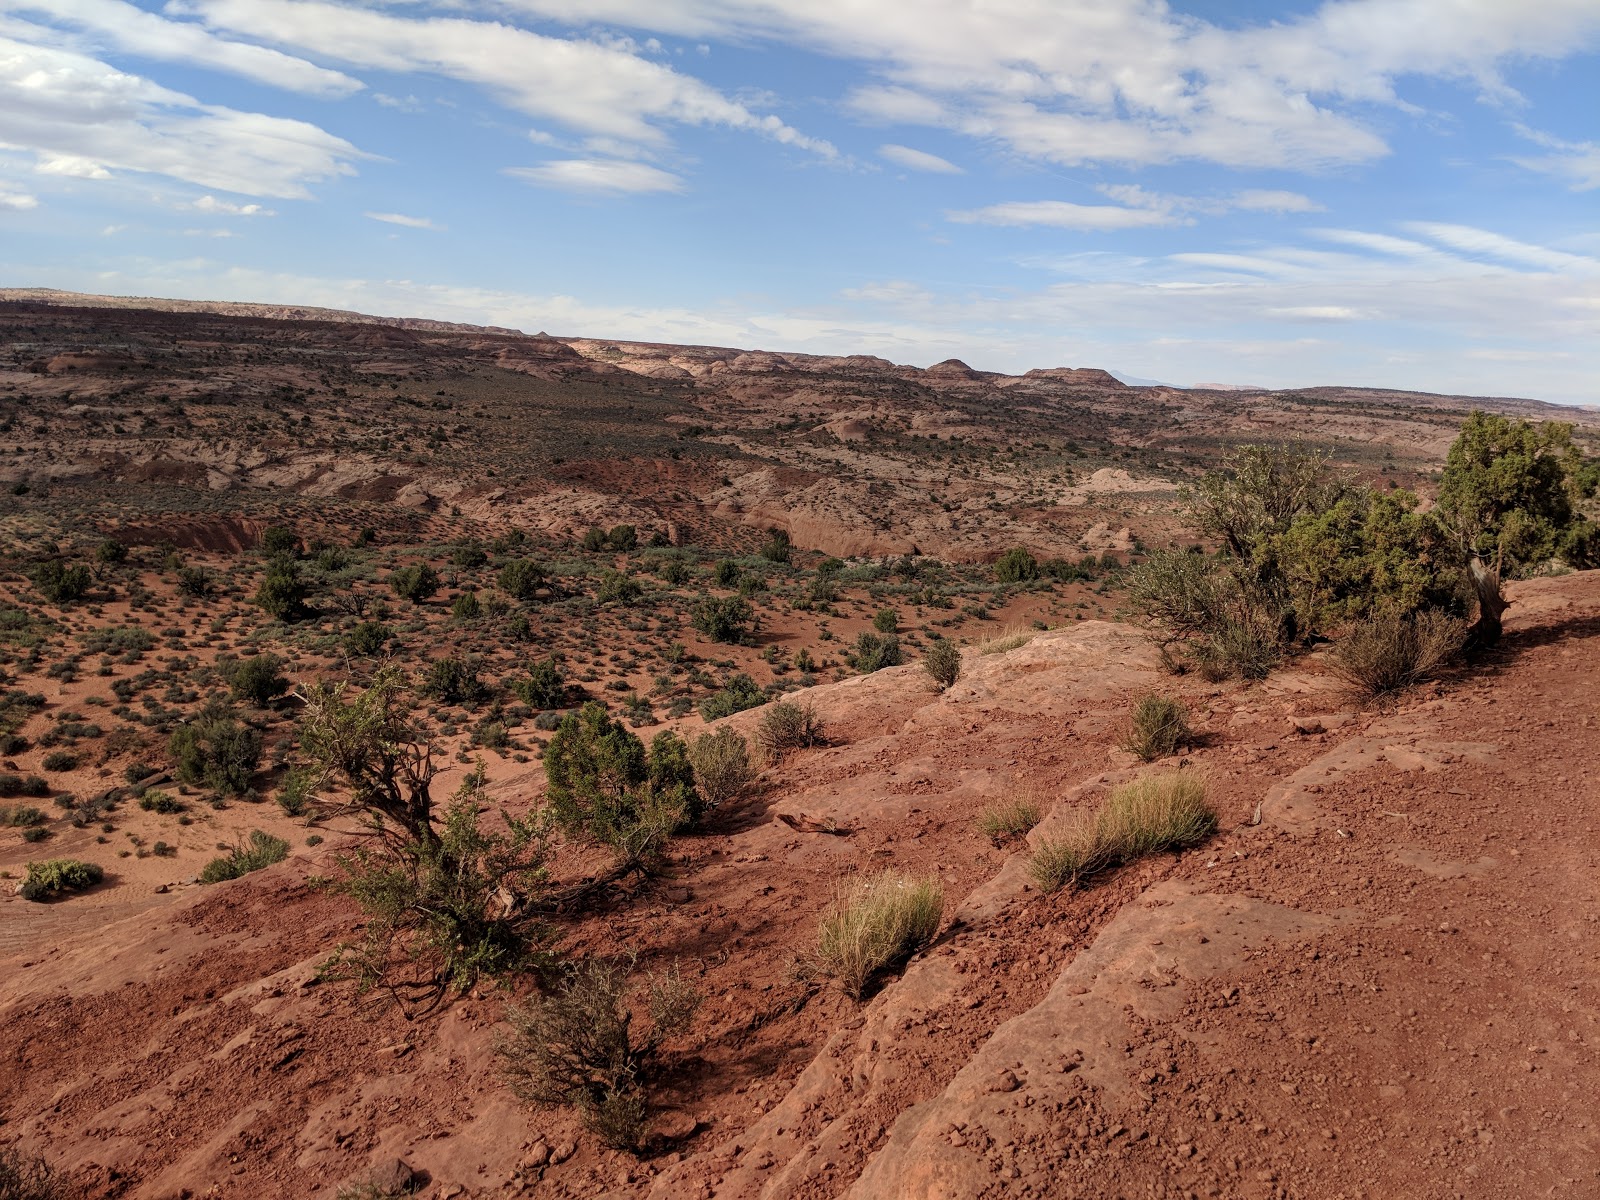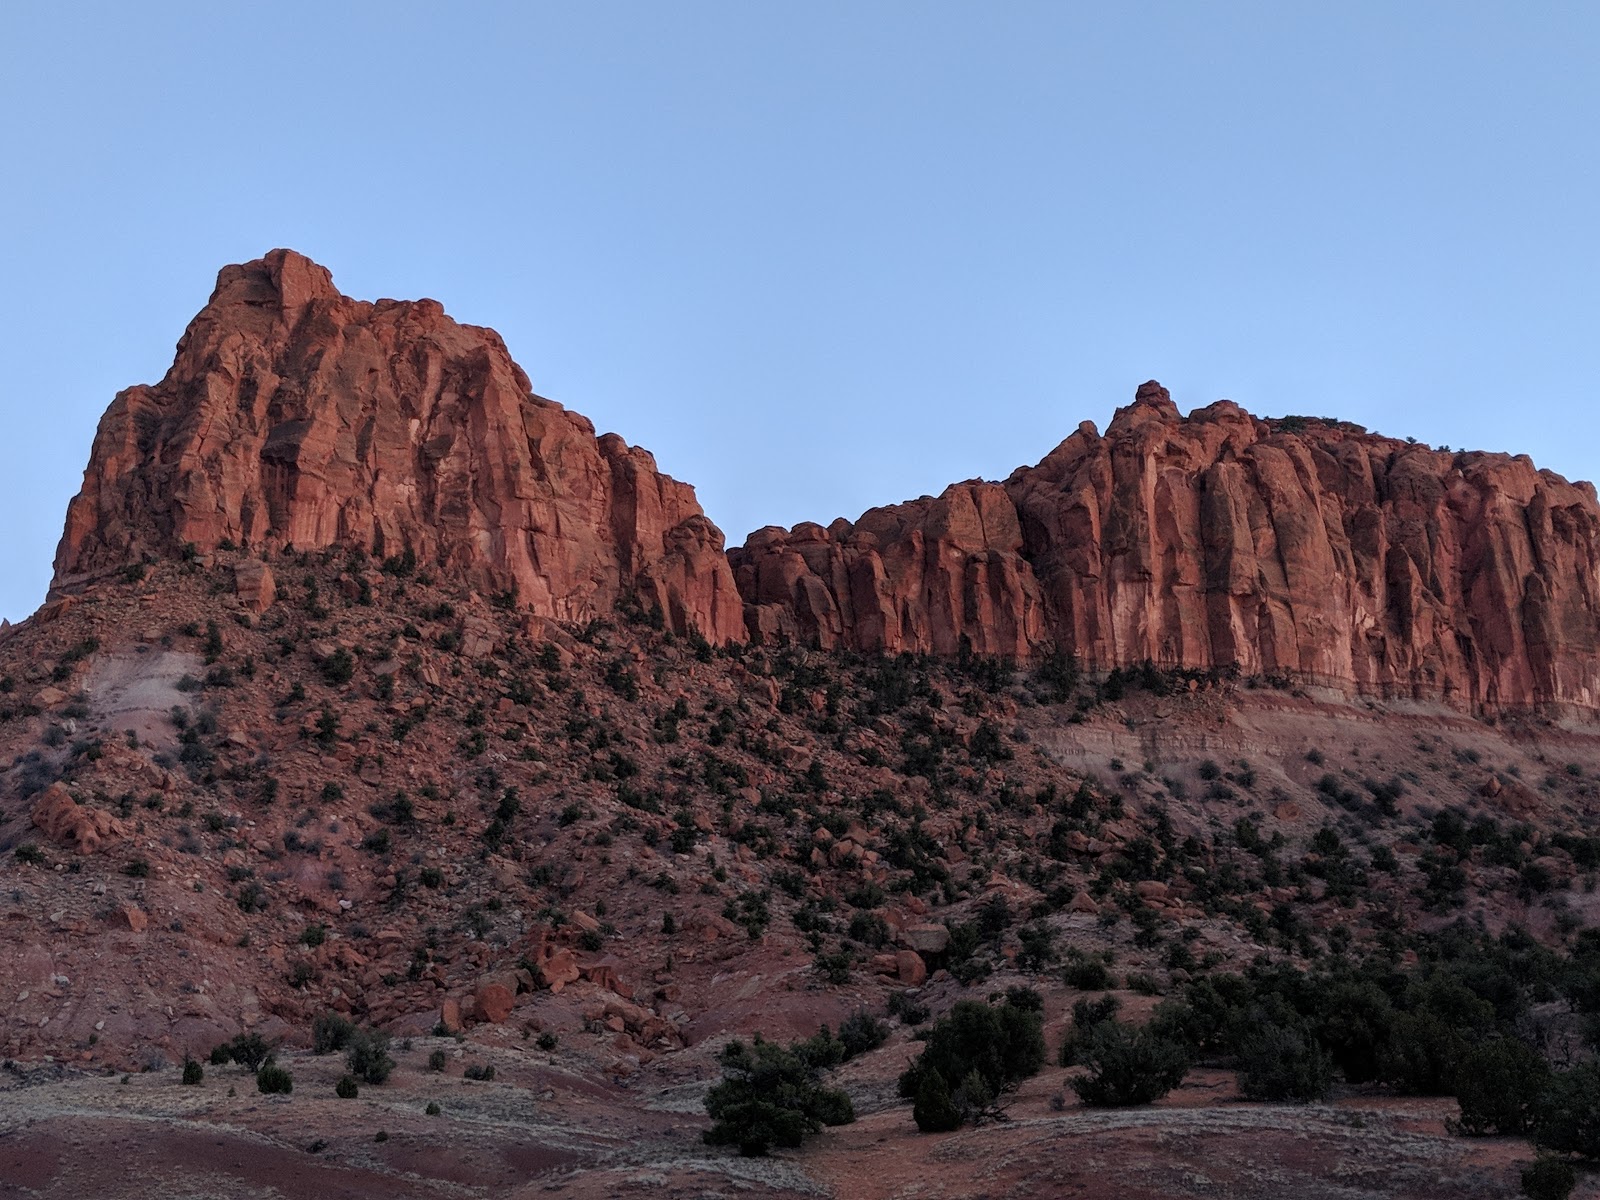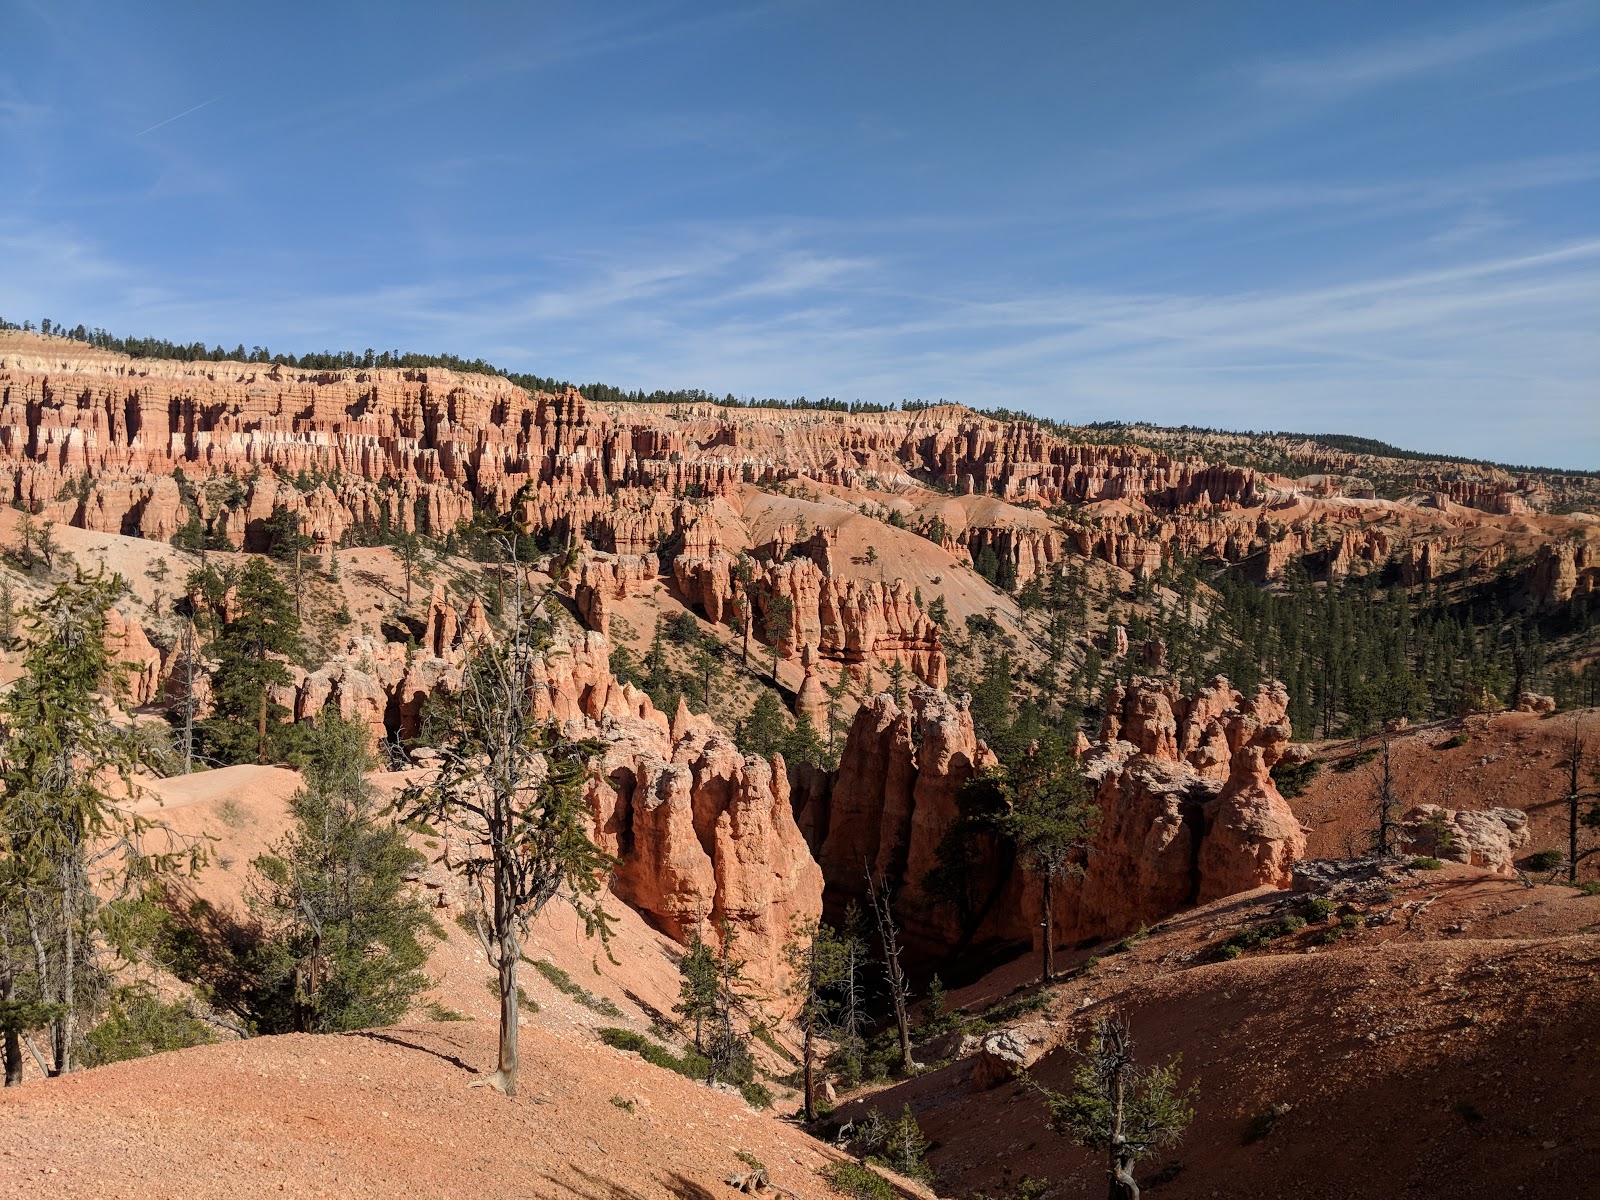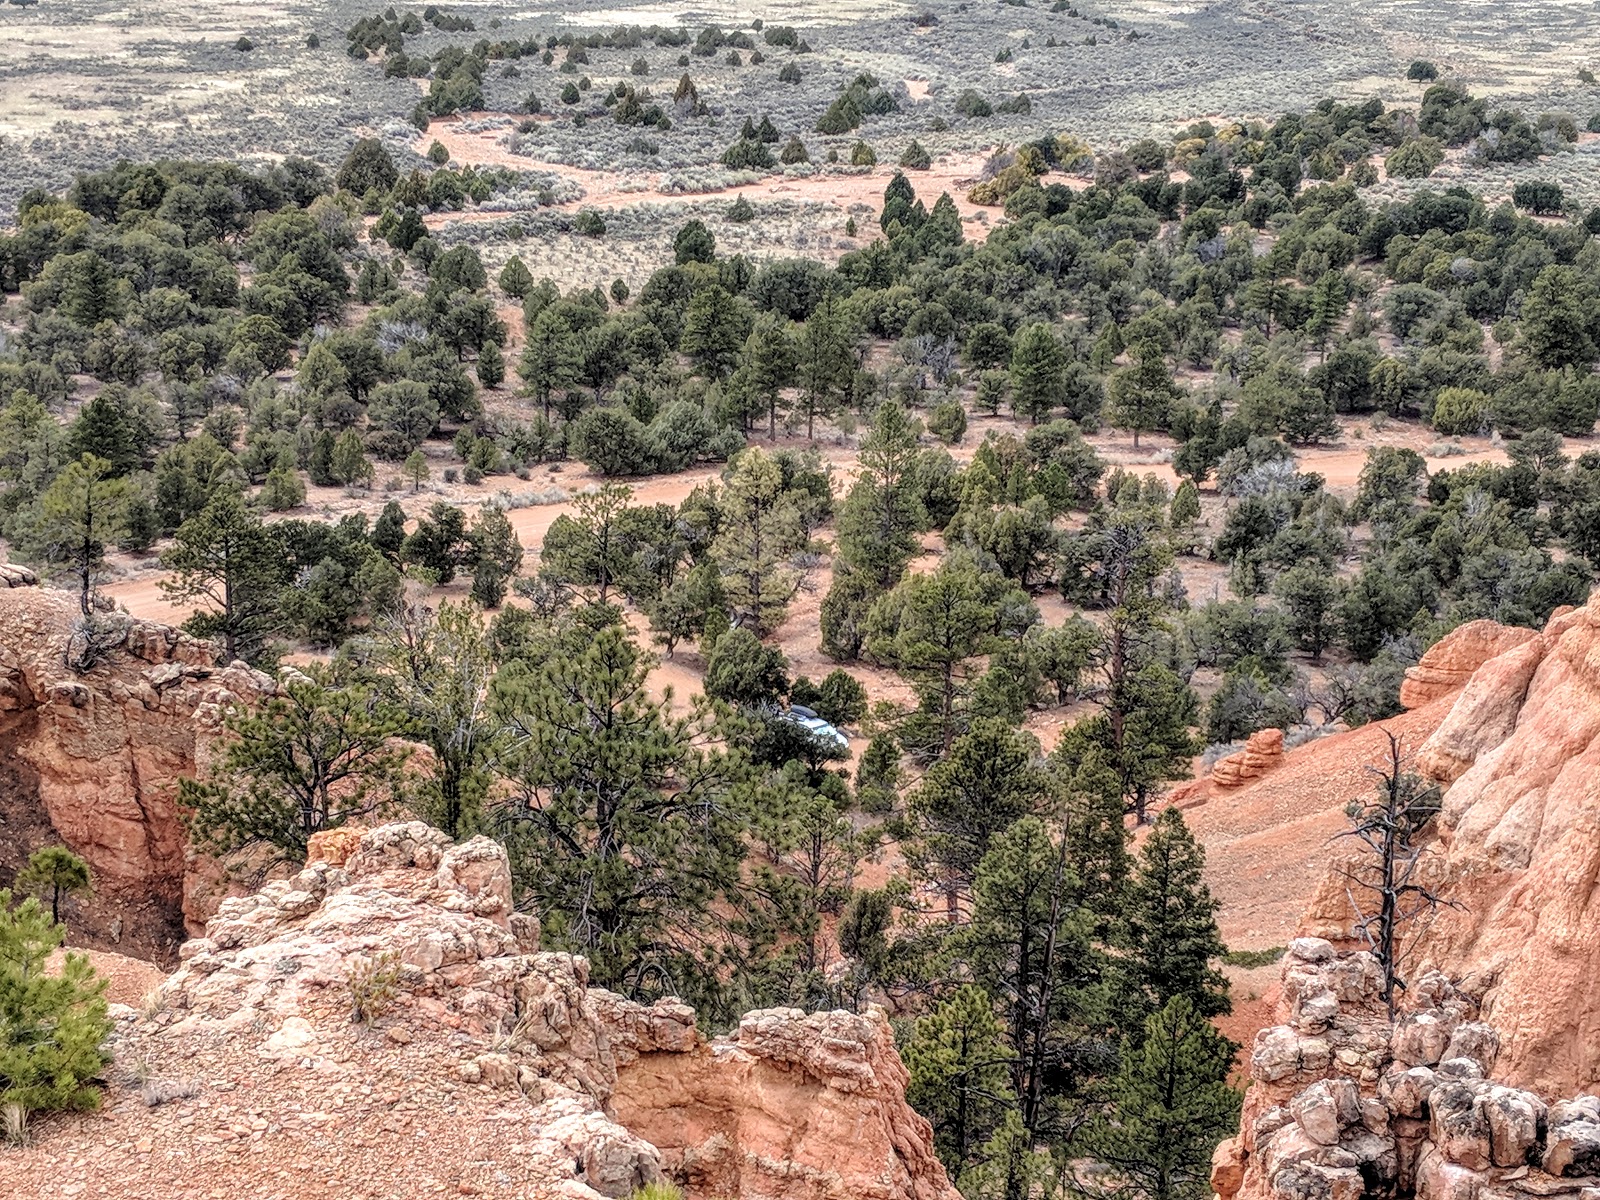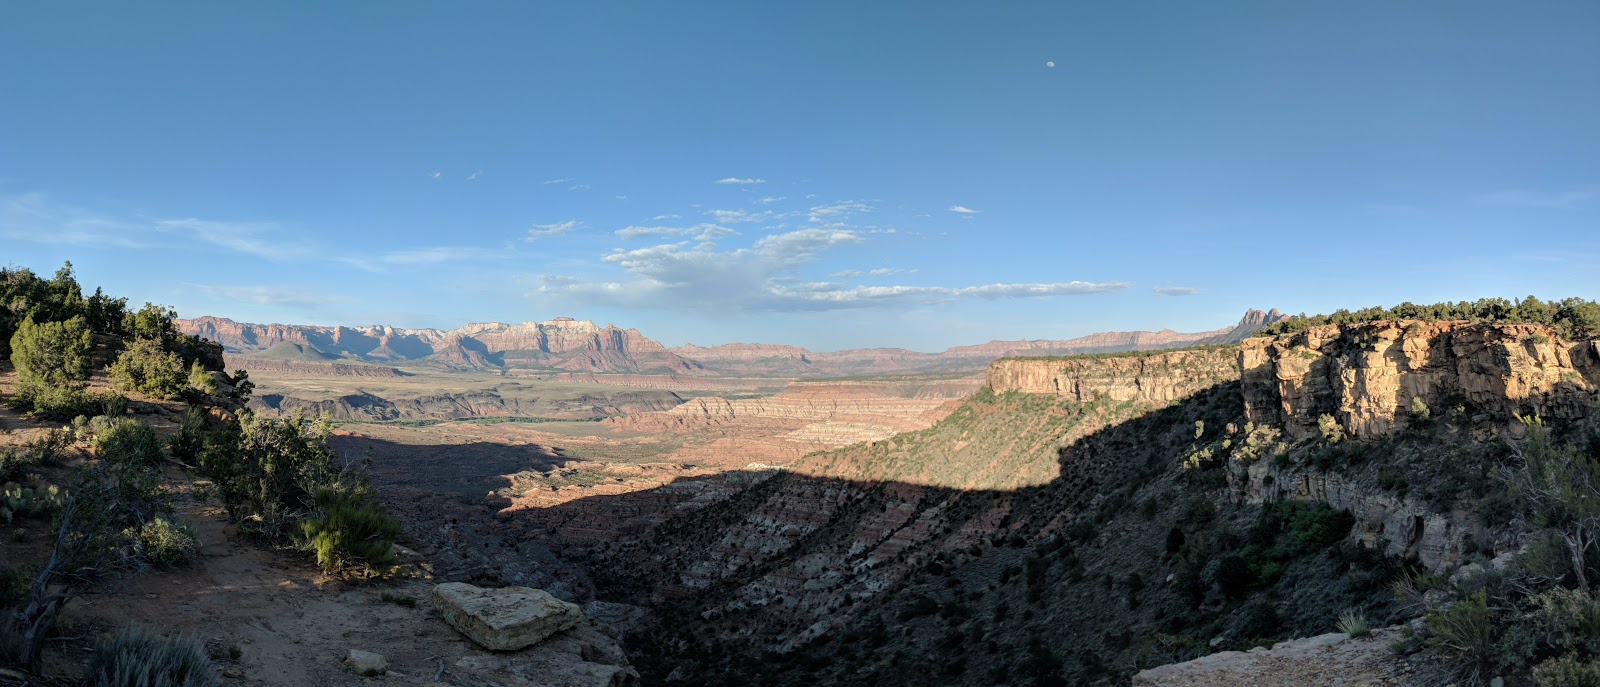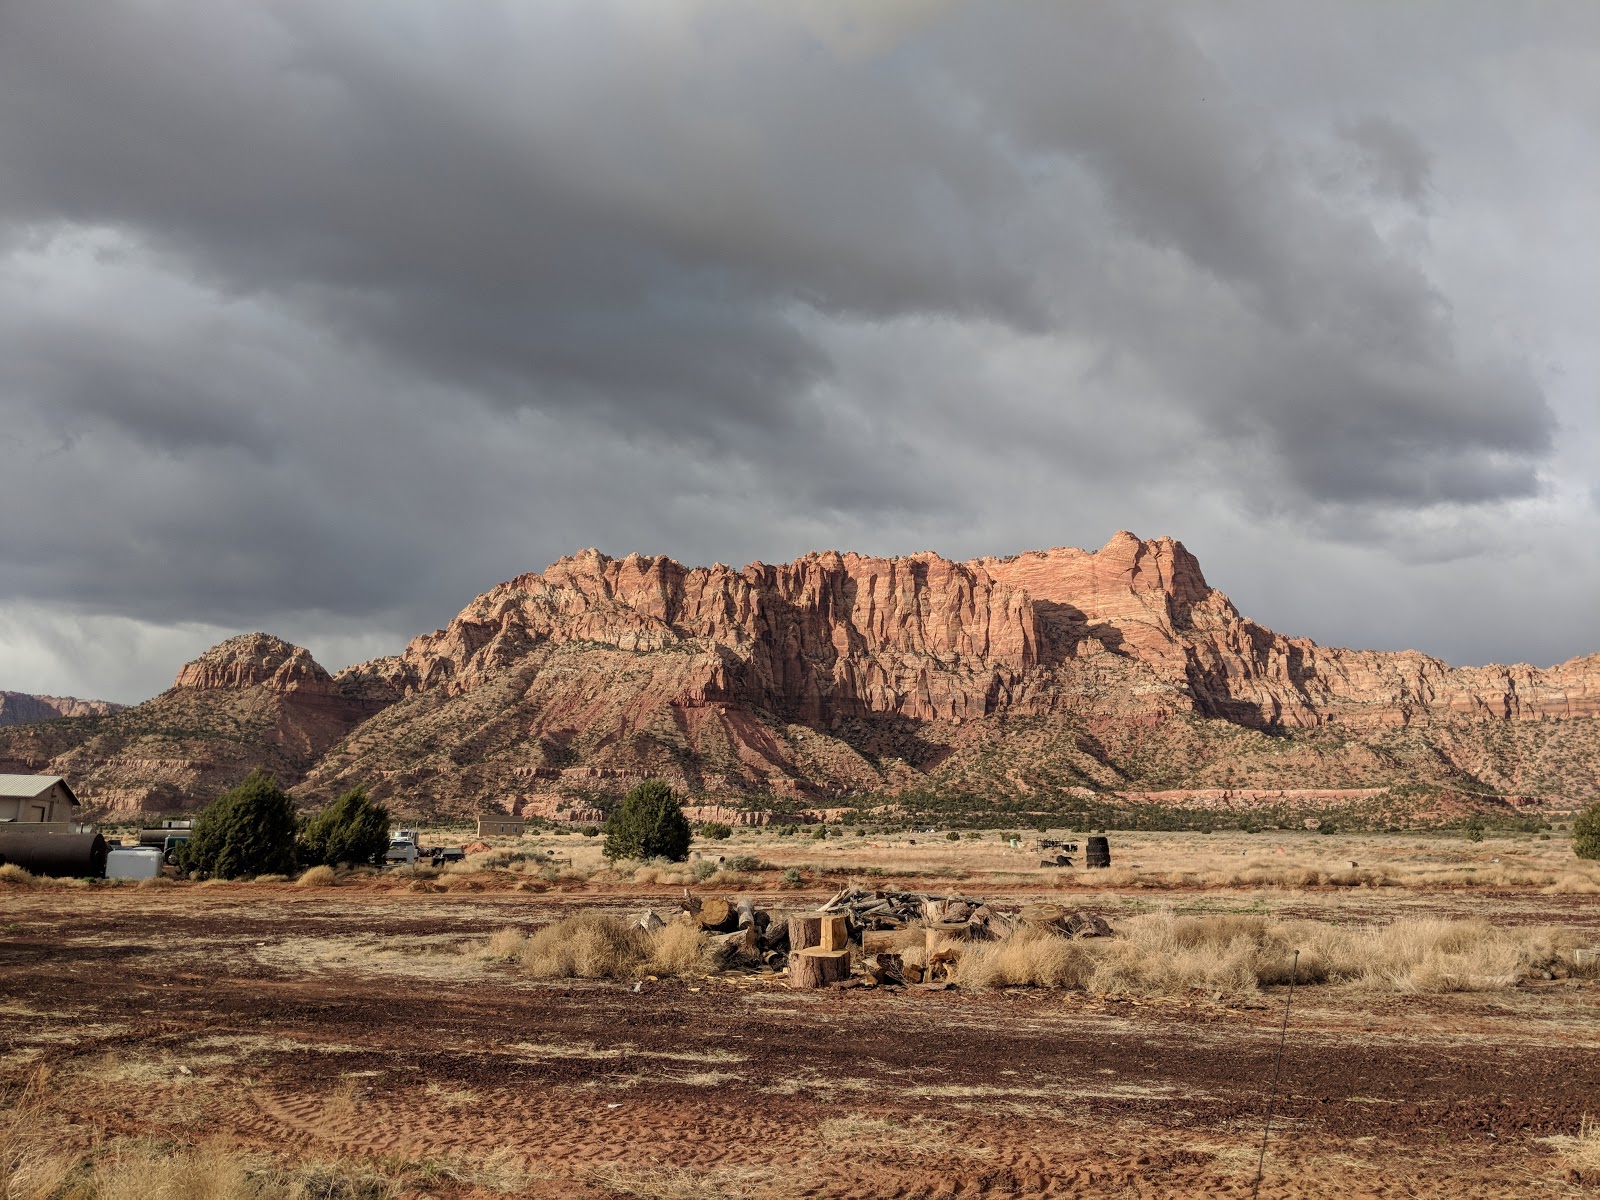
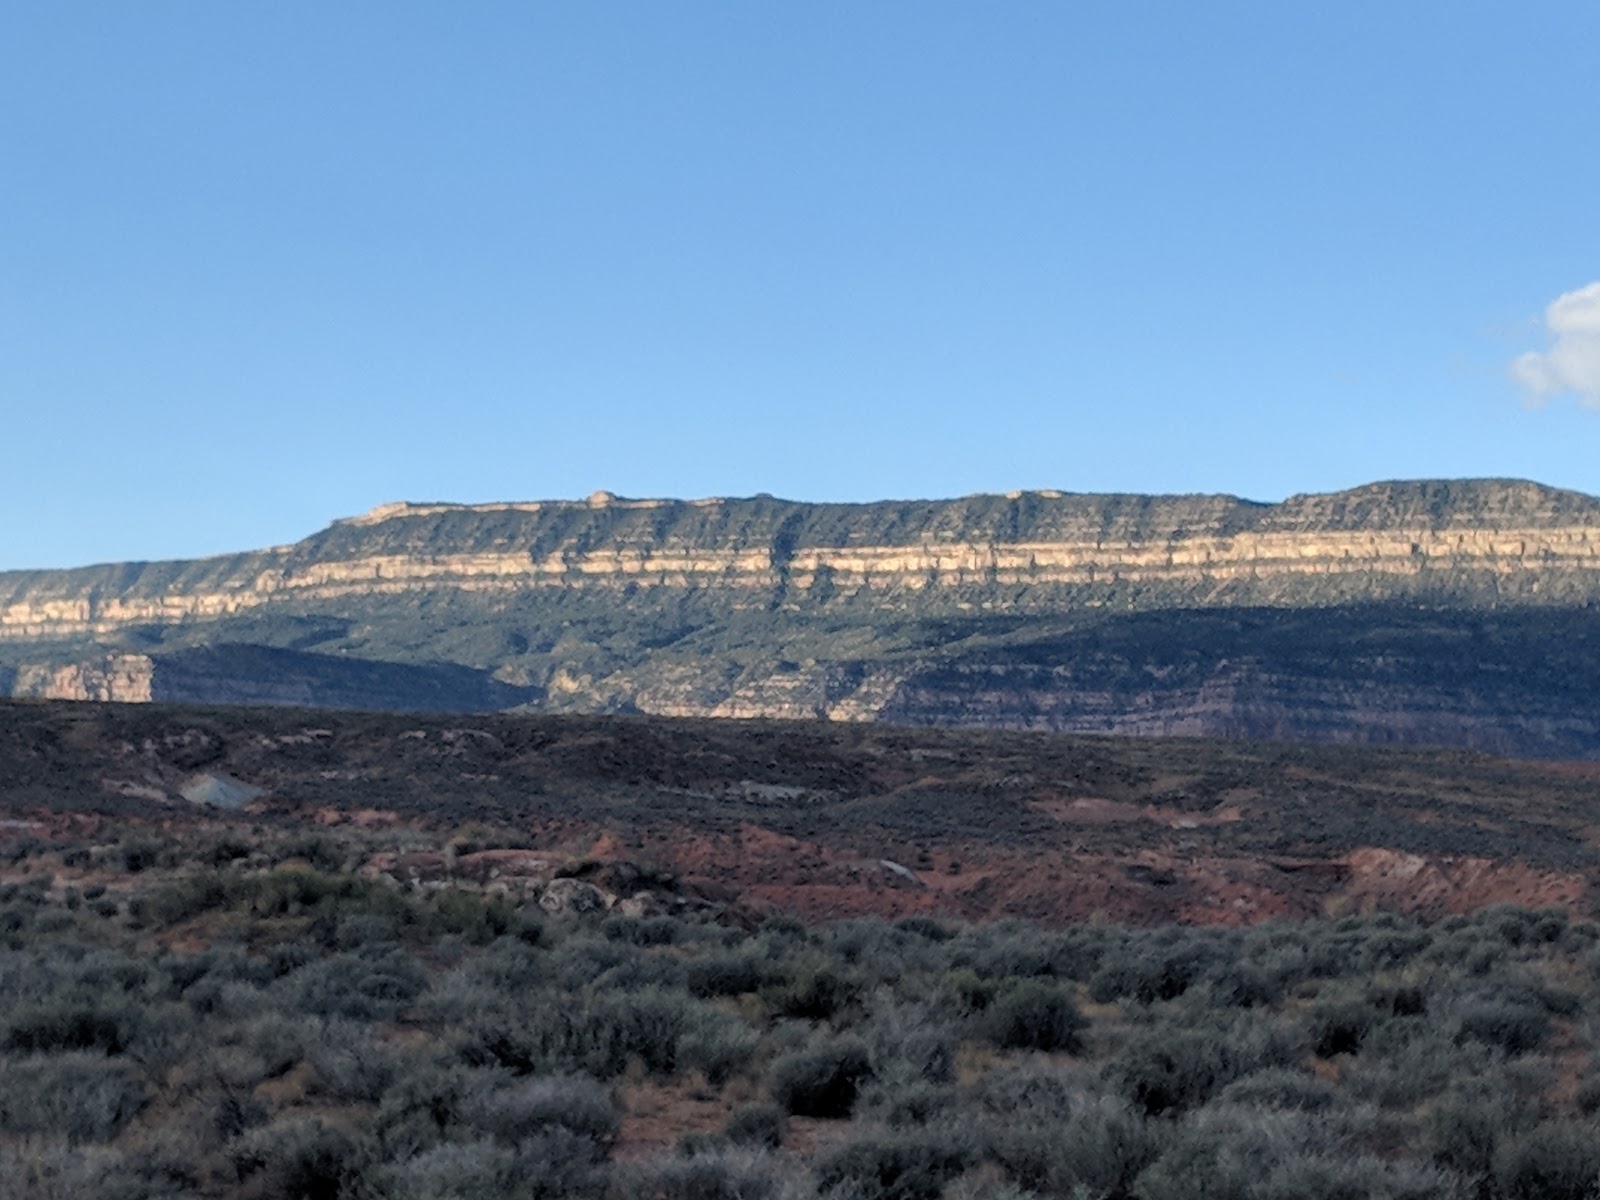
Every day I camped off of the Hole in the Rock Road I was greeted with views of the the Grand Staircase in the Escalante National Monument. After staring at it for awhile it really looked like a staircase and began to appreciate it subtle beauty.
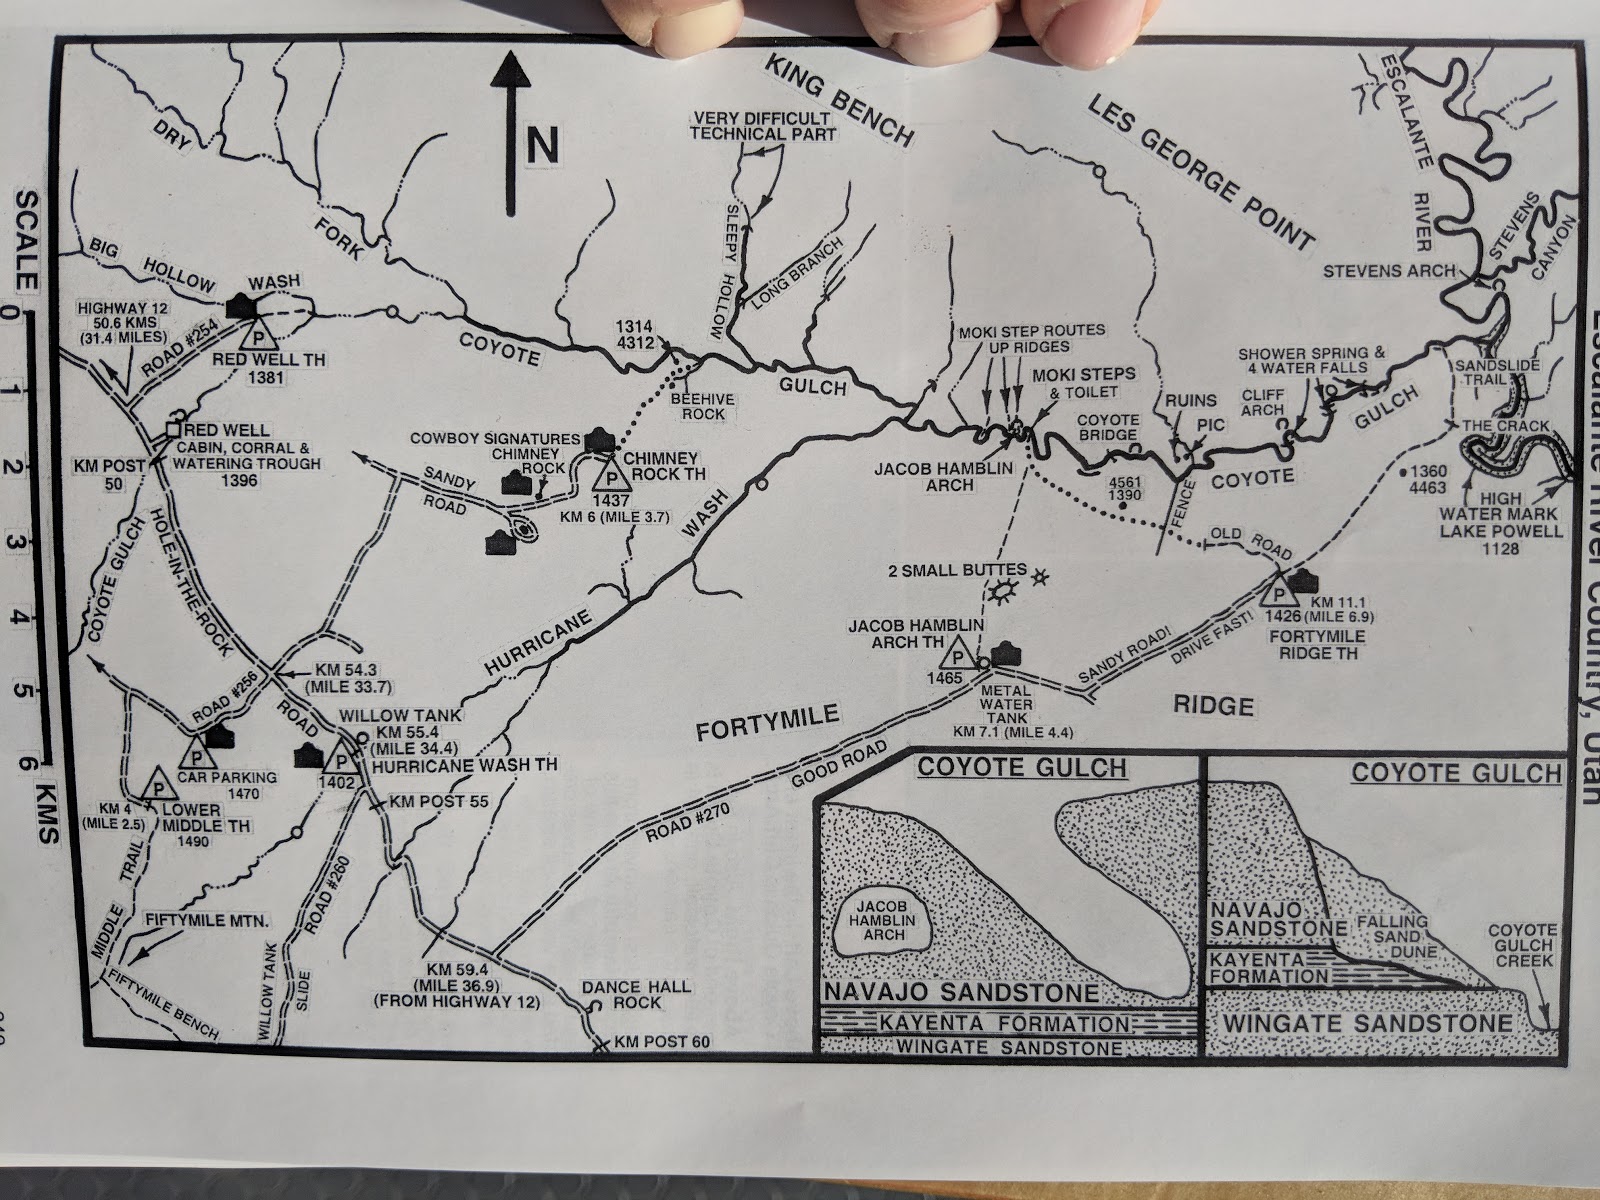
Illustrated map from the Non Technical Colorado Plateau Hiking Guide. This guide was both highly informative and wacky! It proved to be invaluable for my time in Escalante. I originally bought the guide a few years back because I was interested in hiking Knowles/Mee canyon loop in the Colorado National Monument outside of Grand Junction. I never did use it for that hike but was able to use if for several hikes in Escalante.
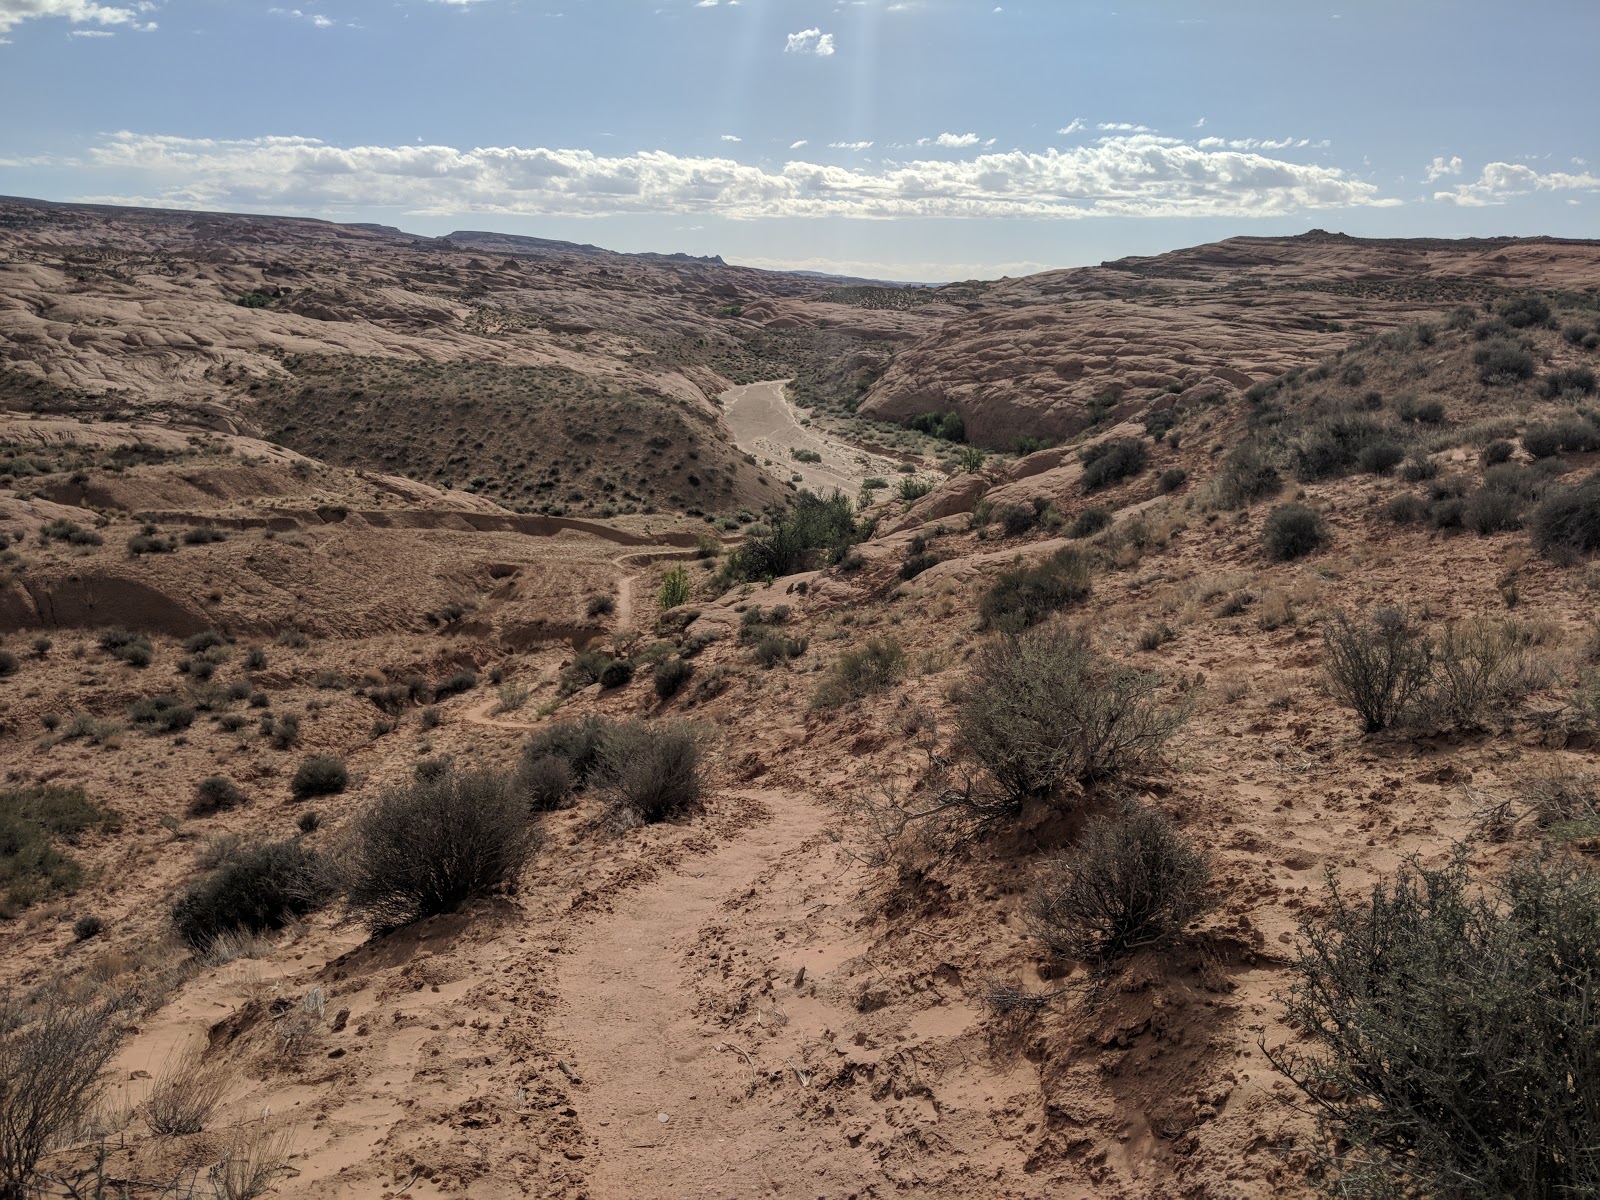
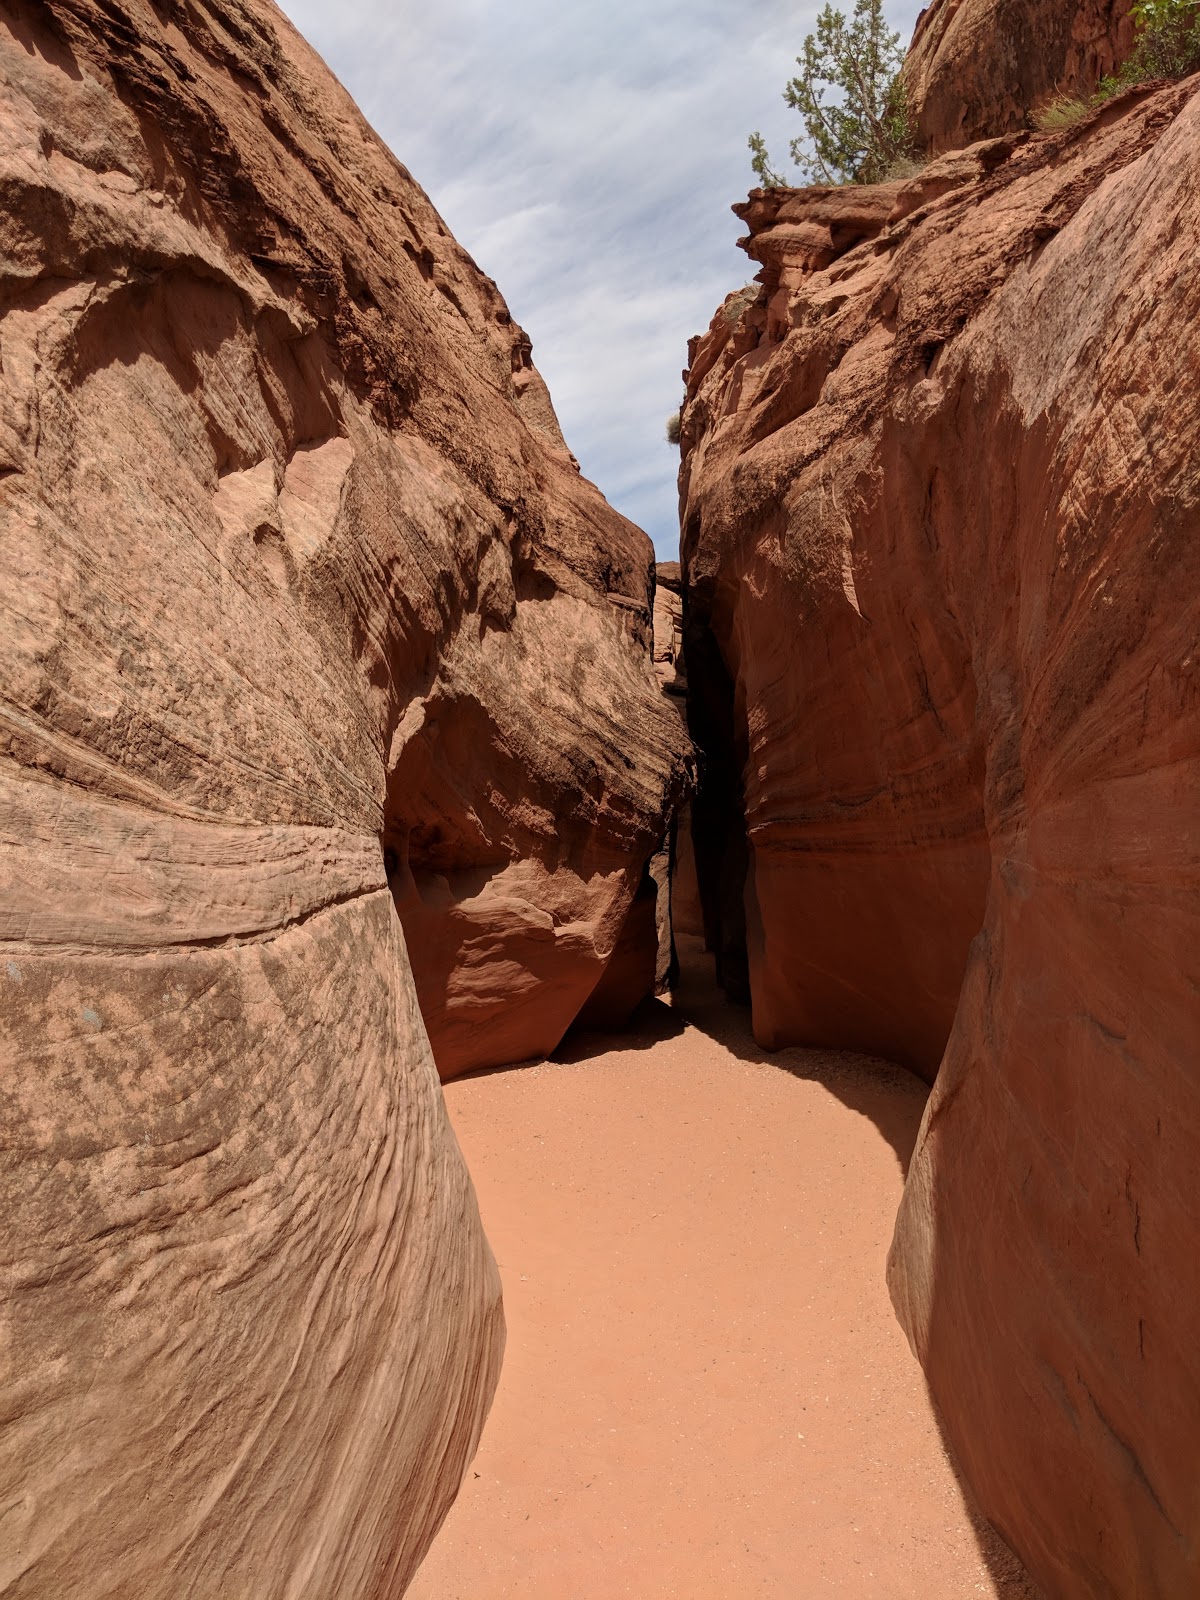
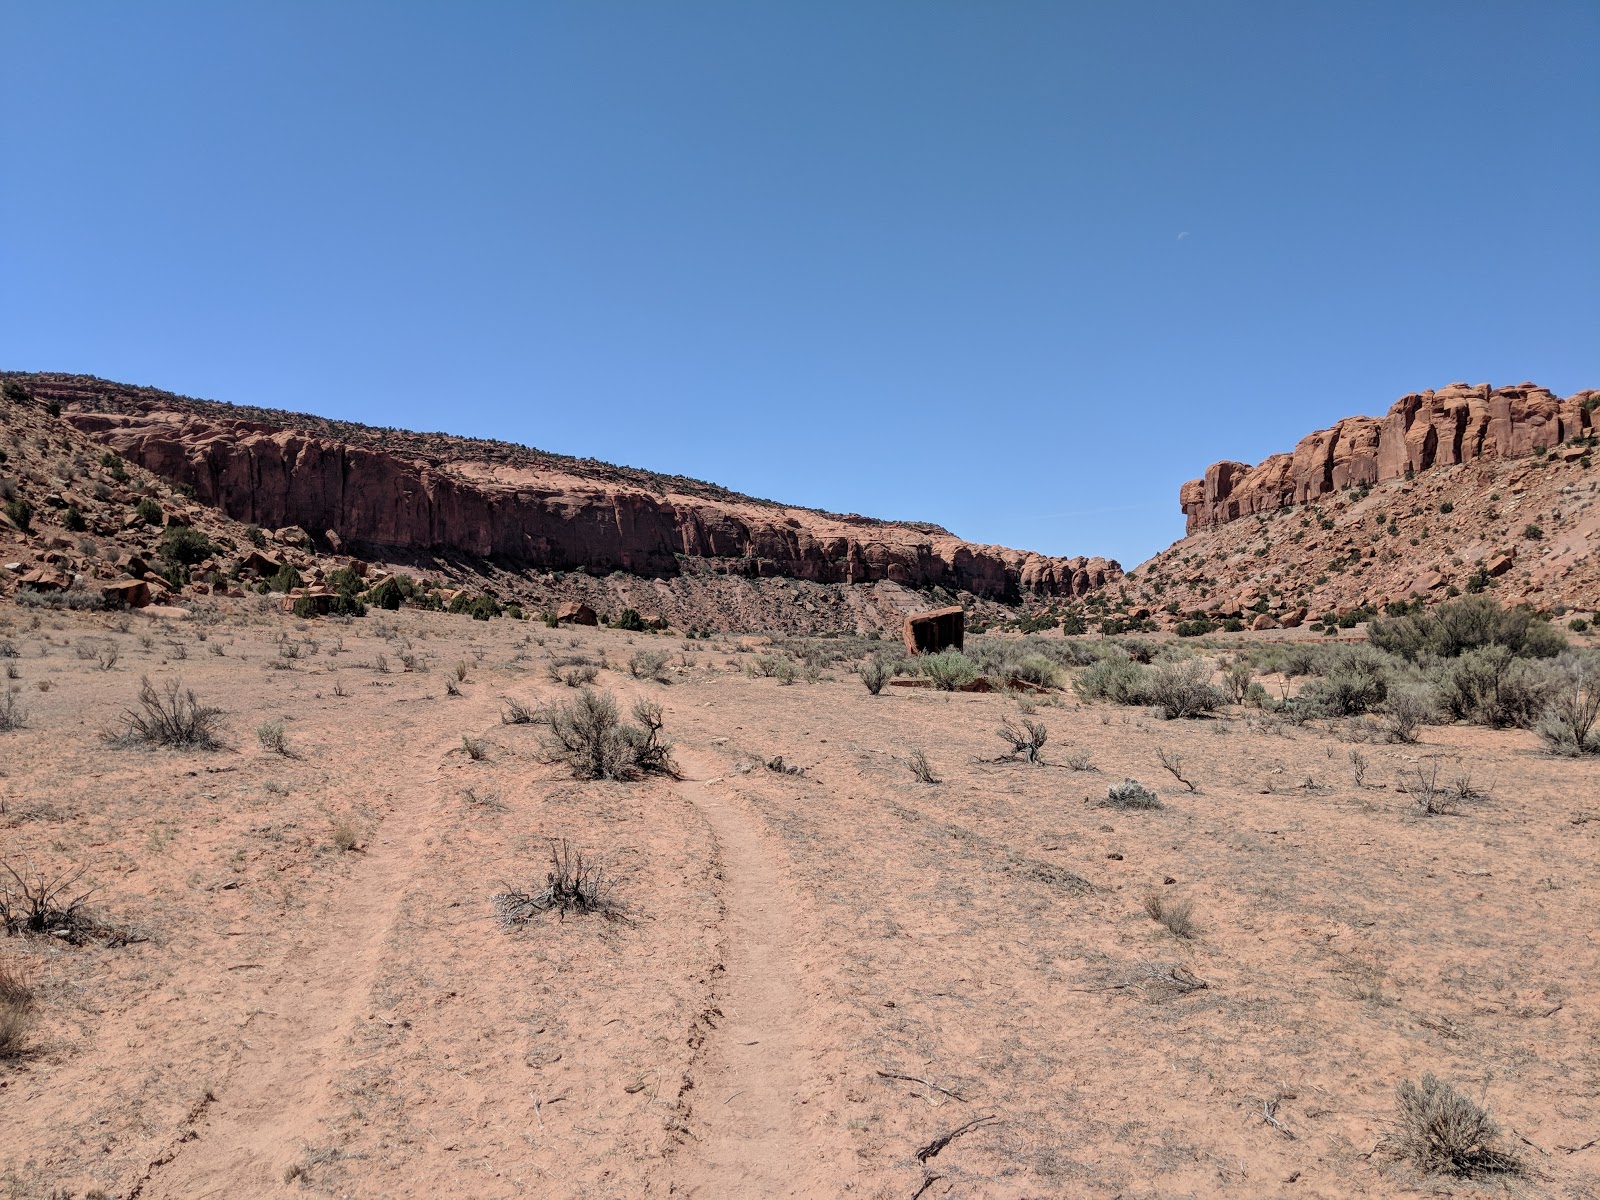
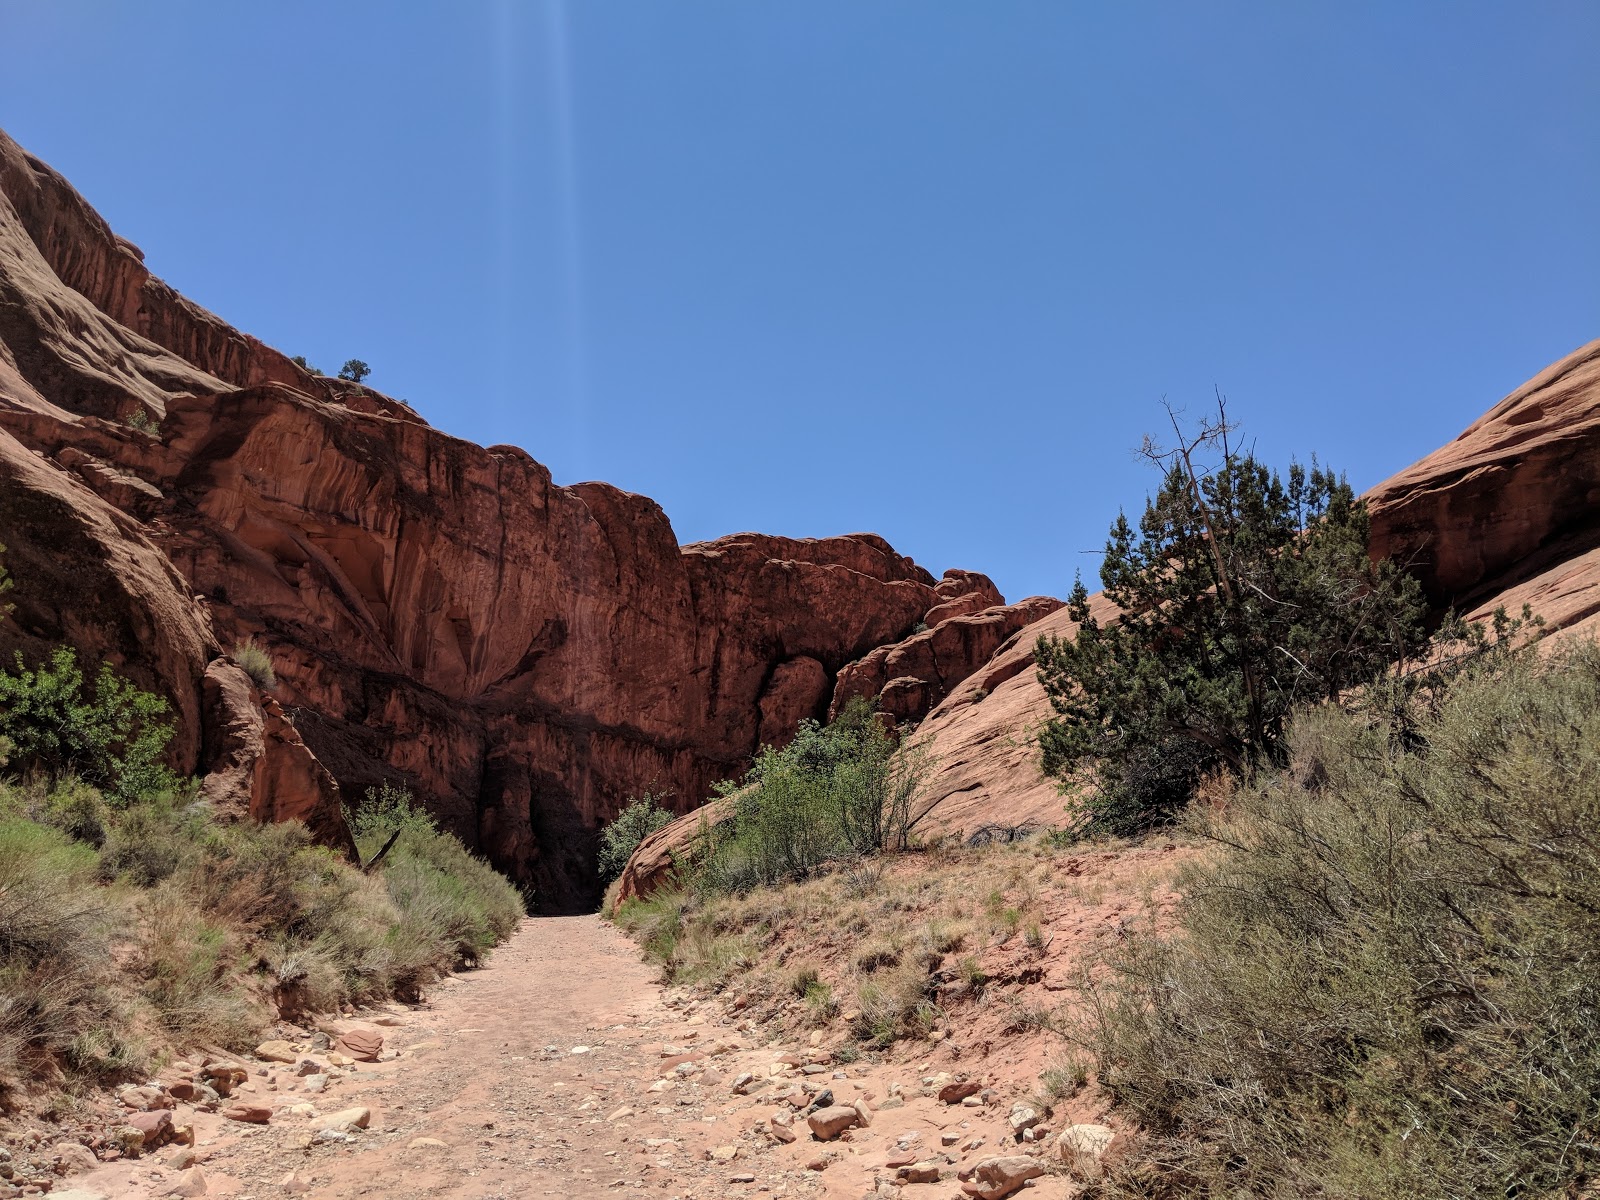
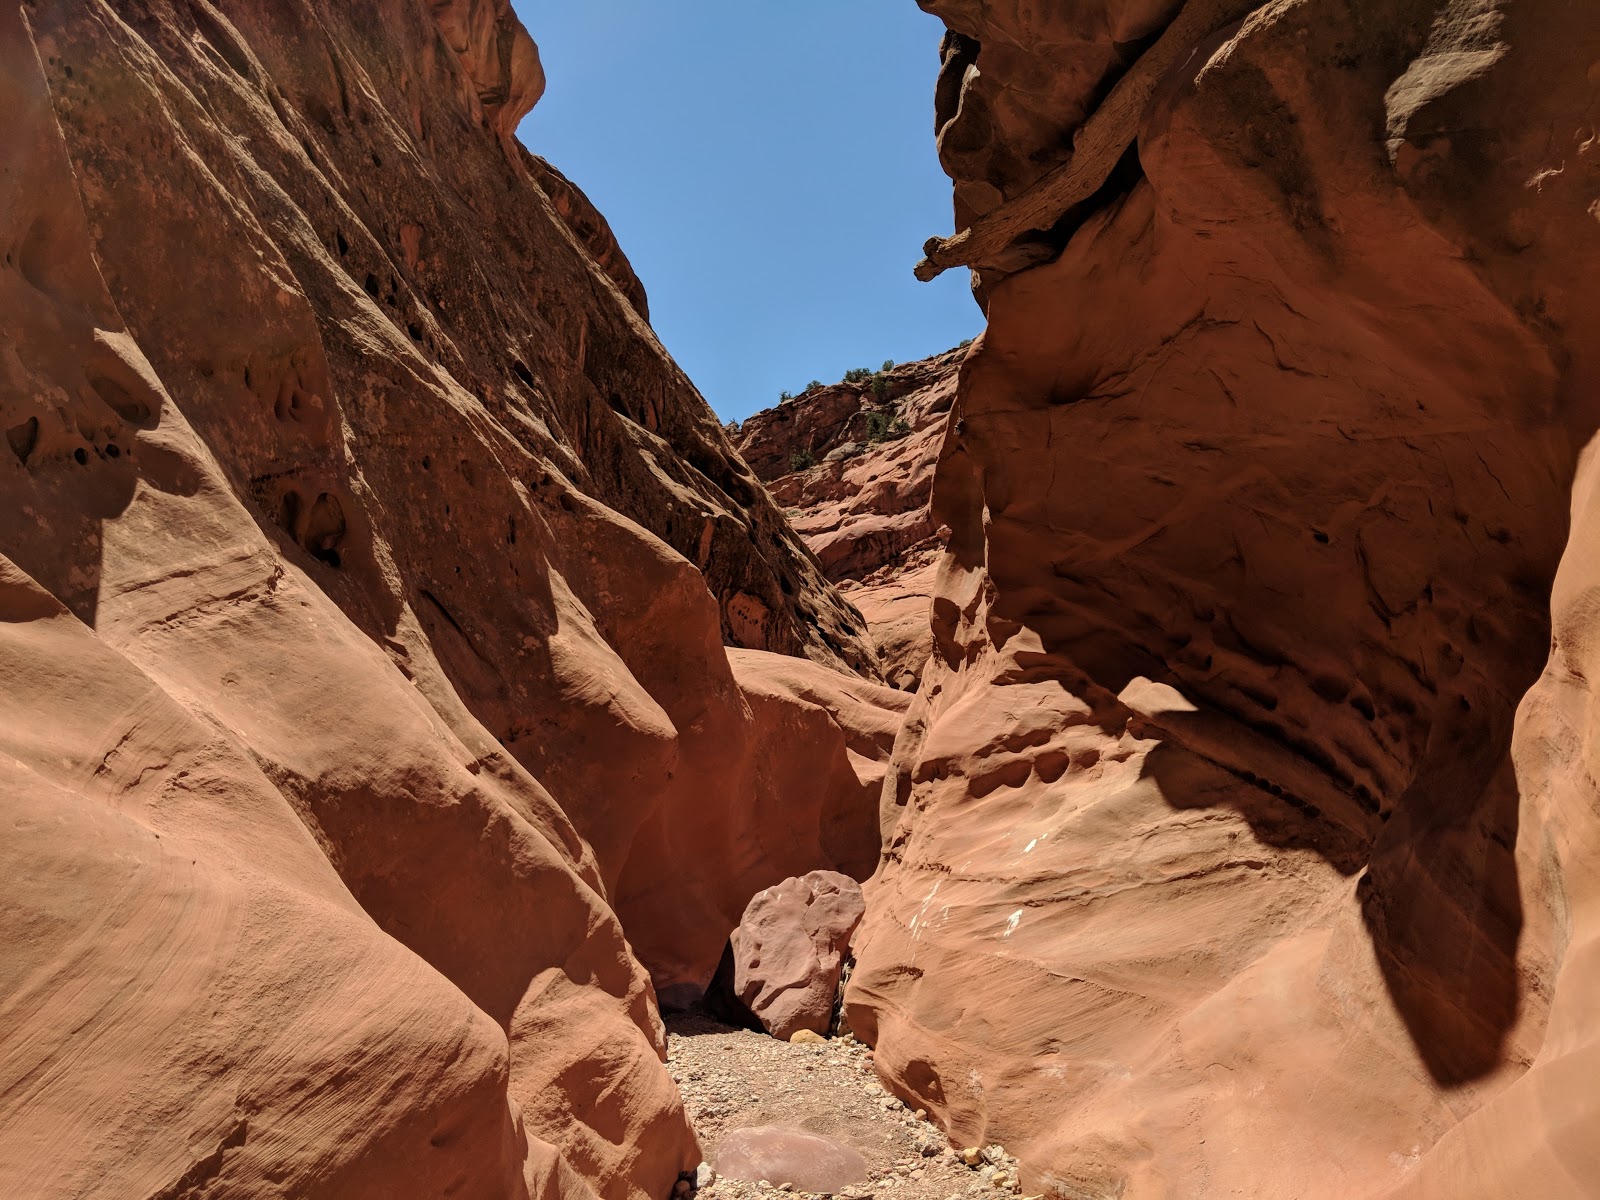
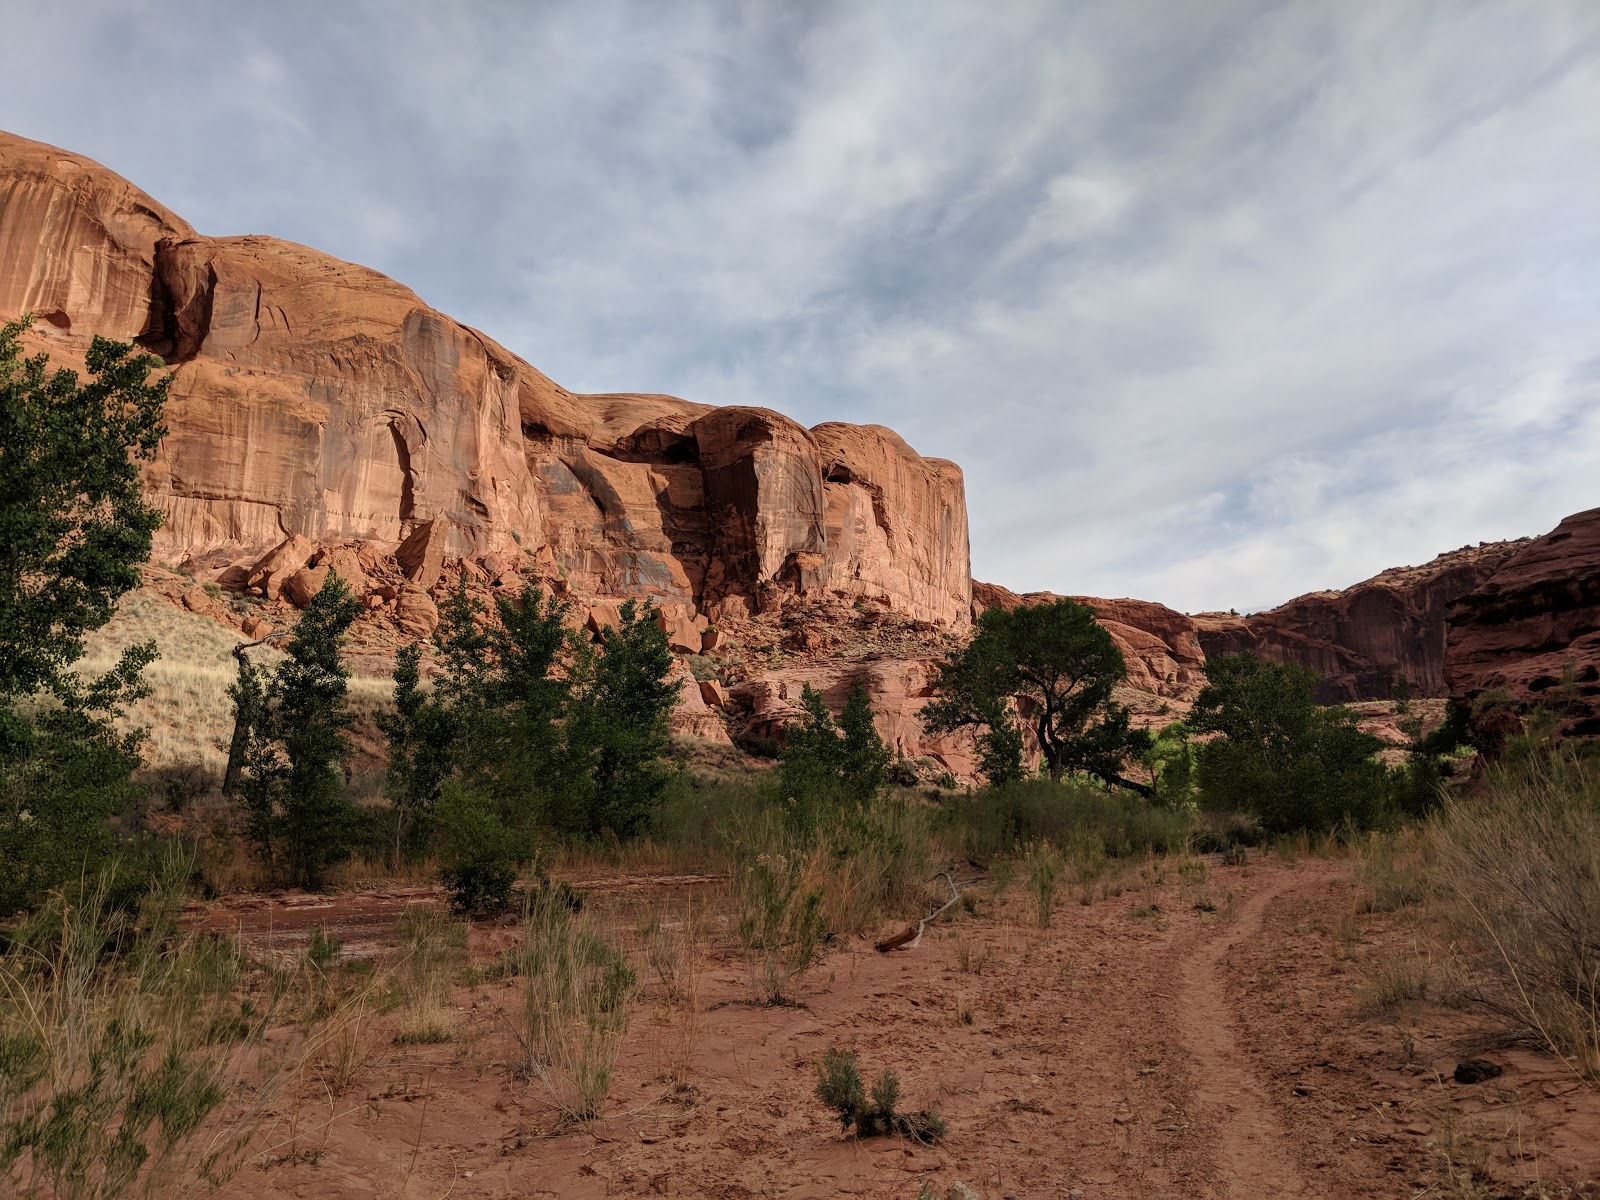
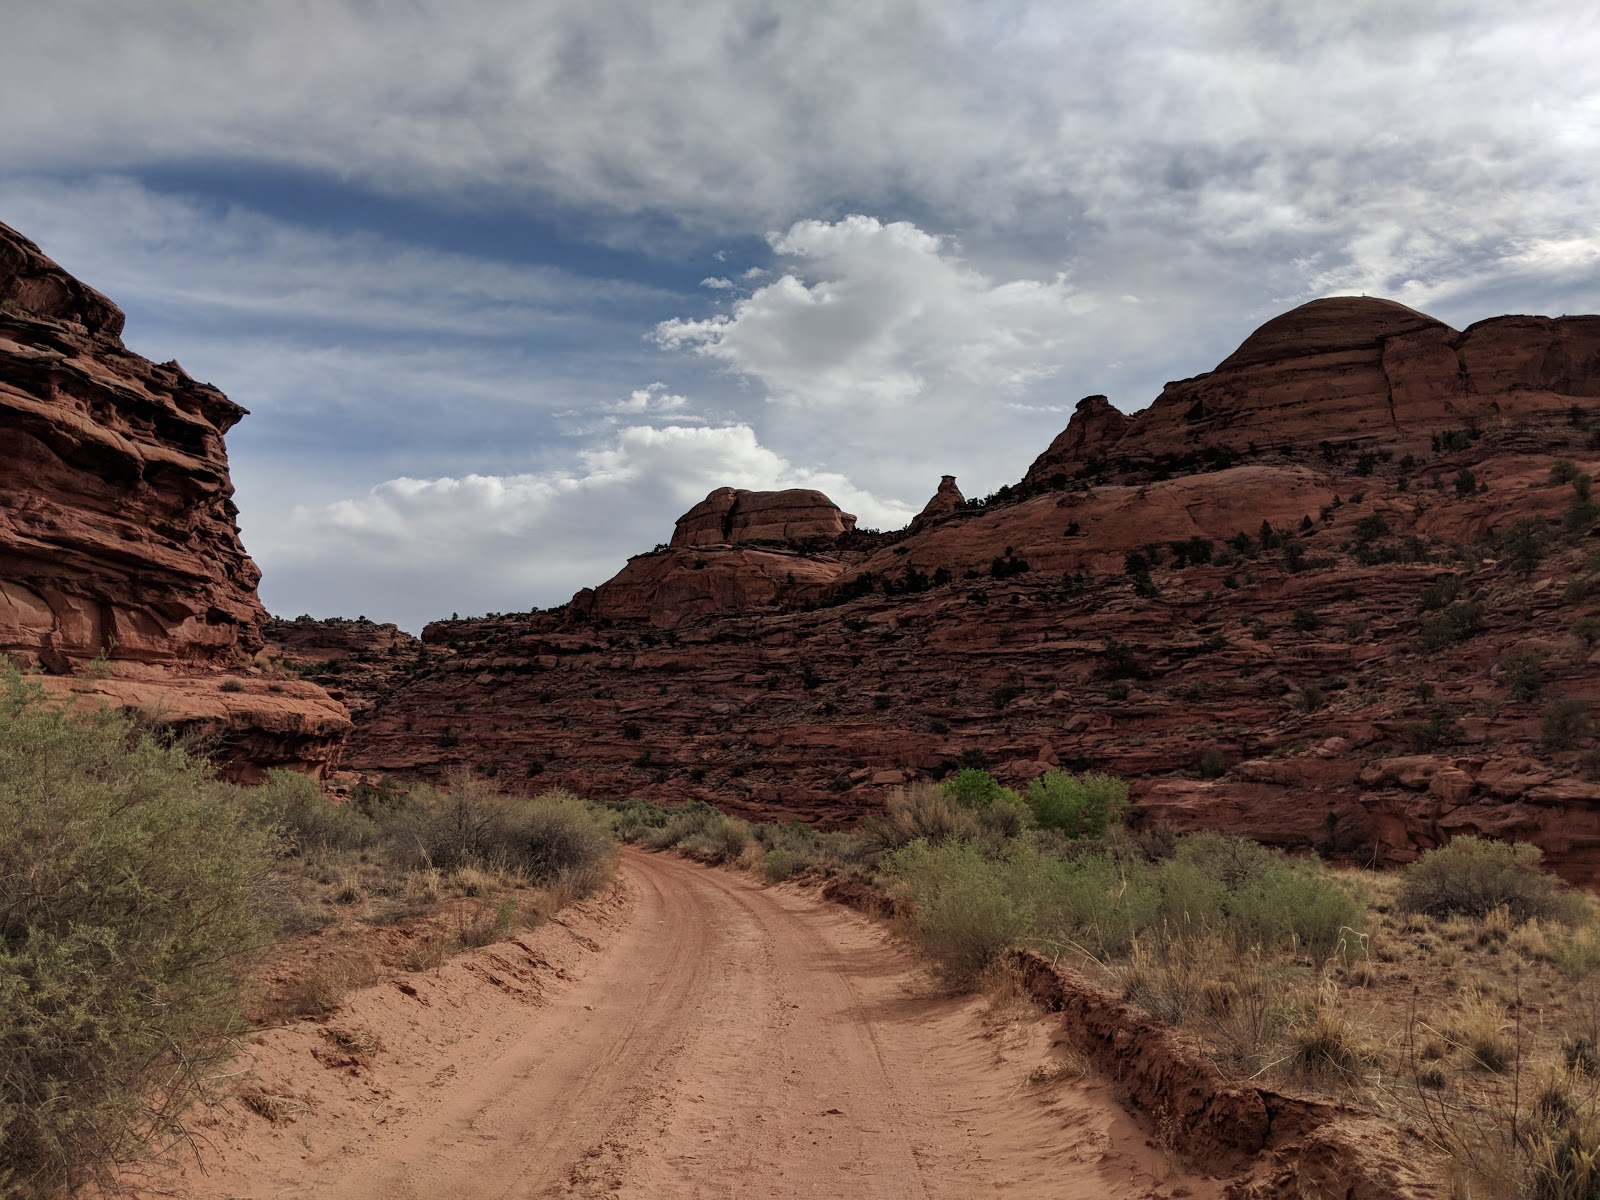
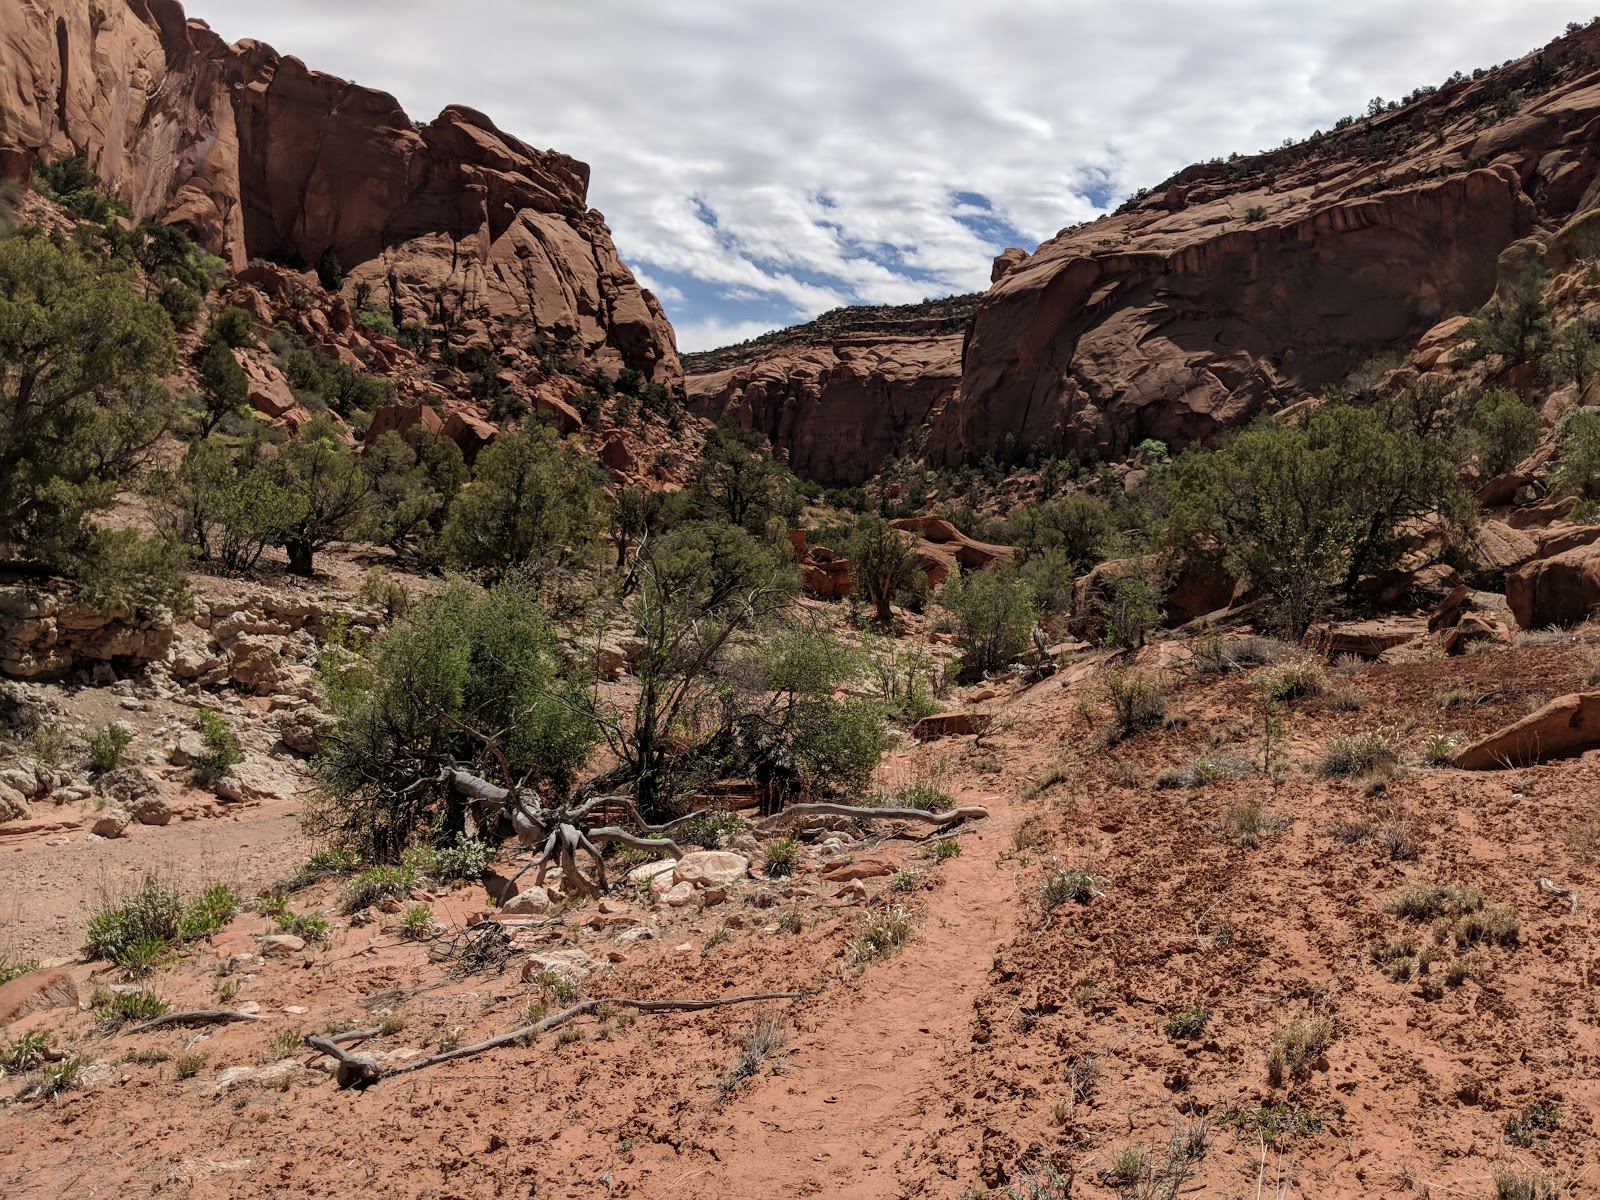
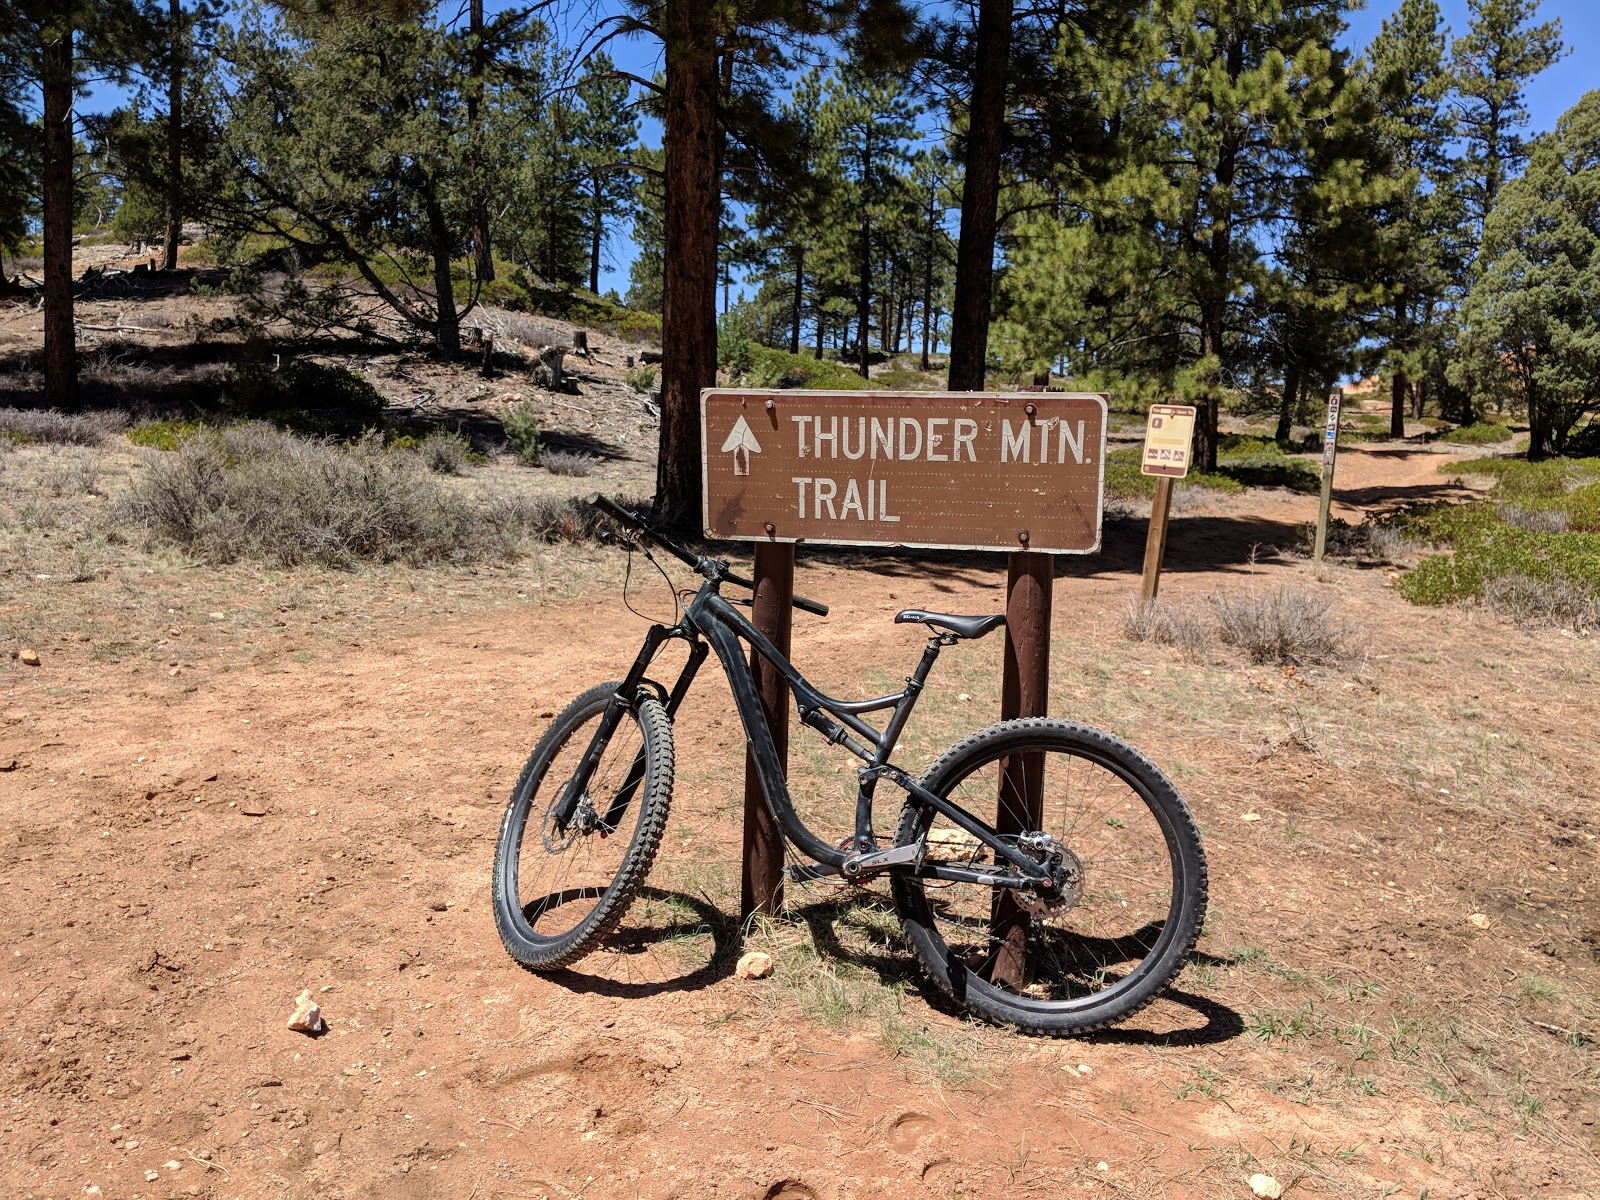
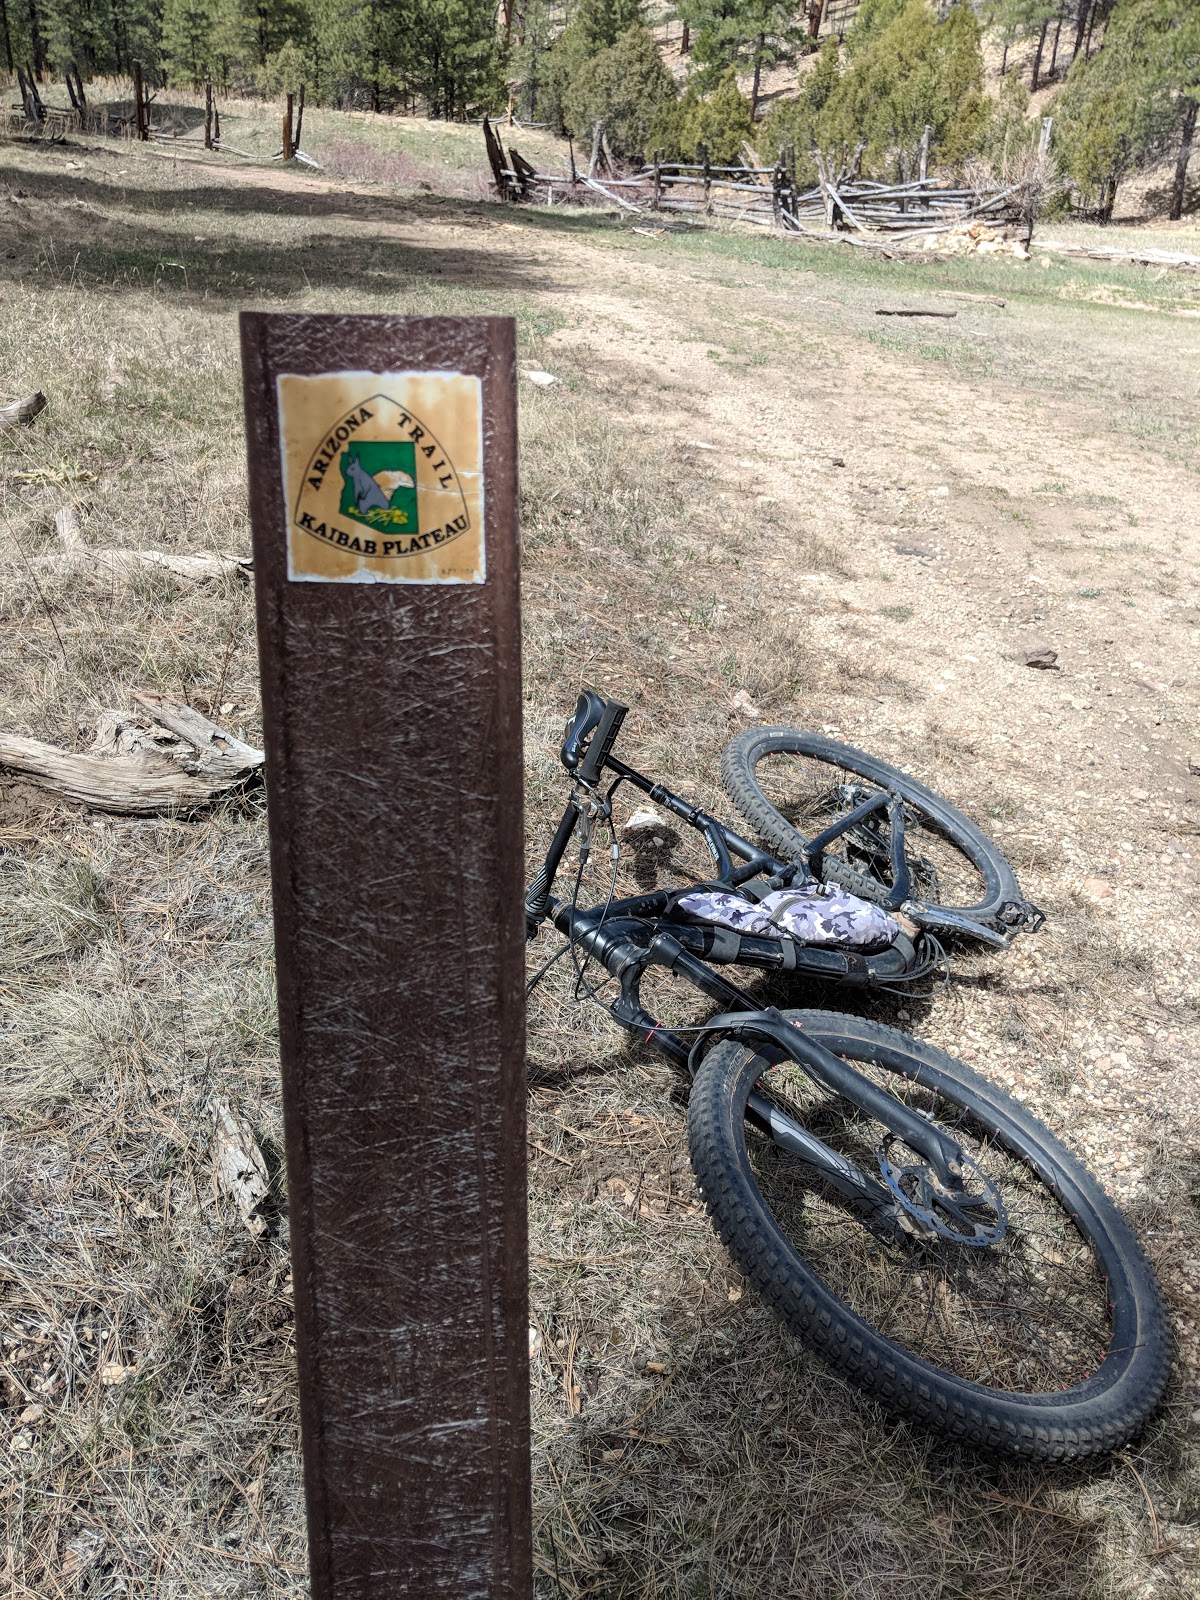
Here is the start of the trail into Coyote Gulch.
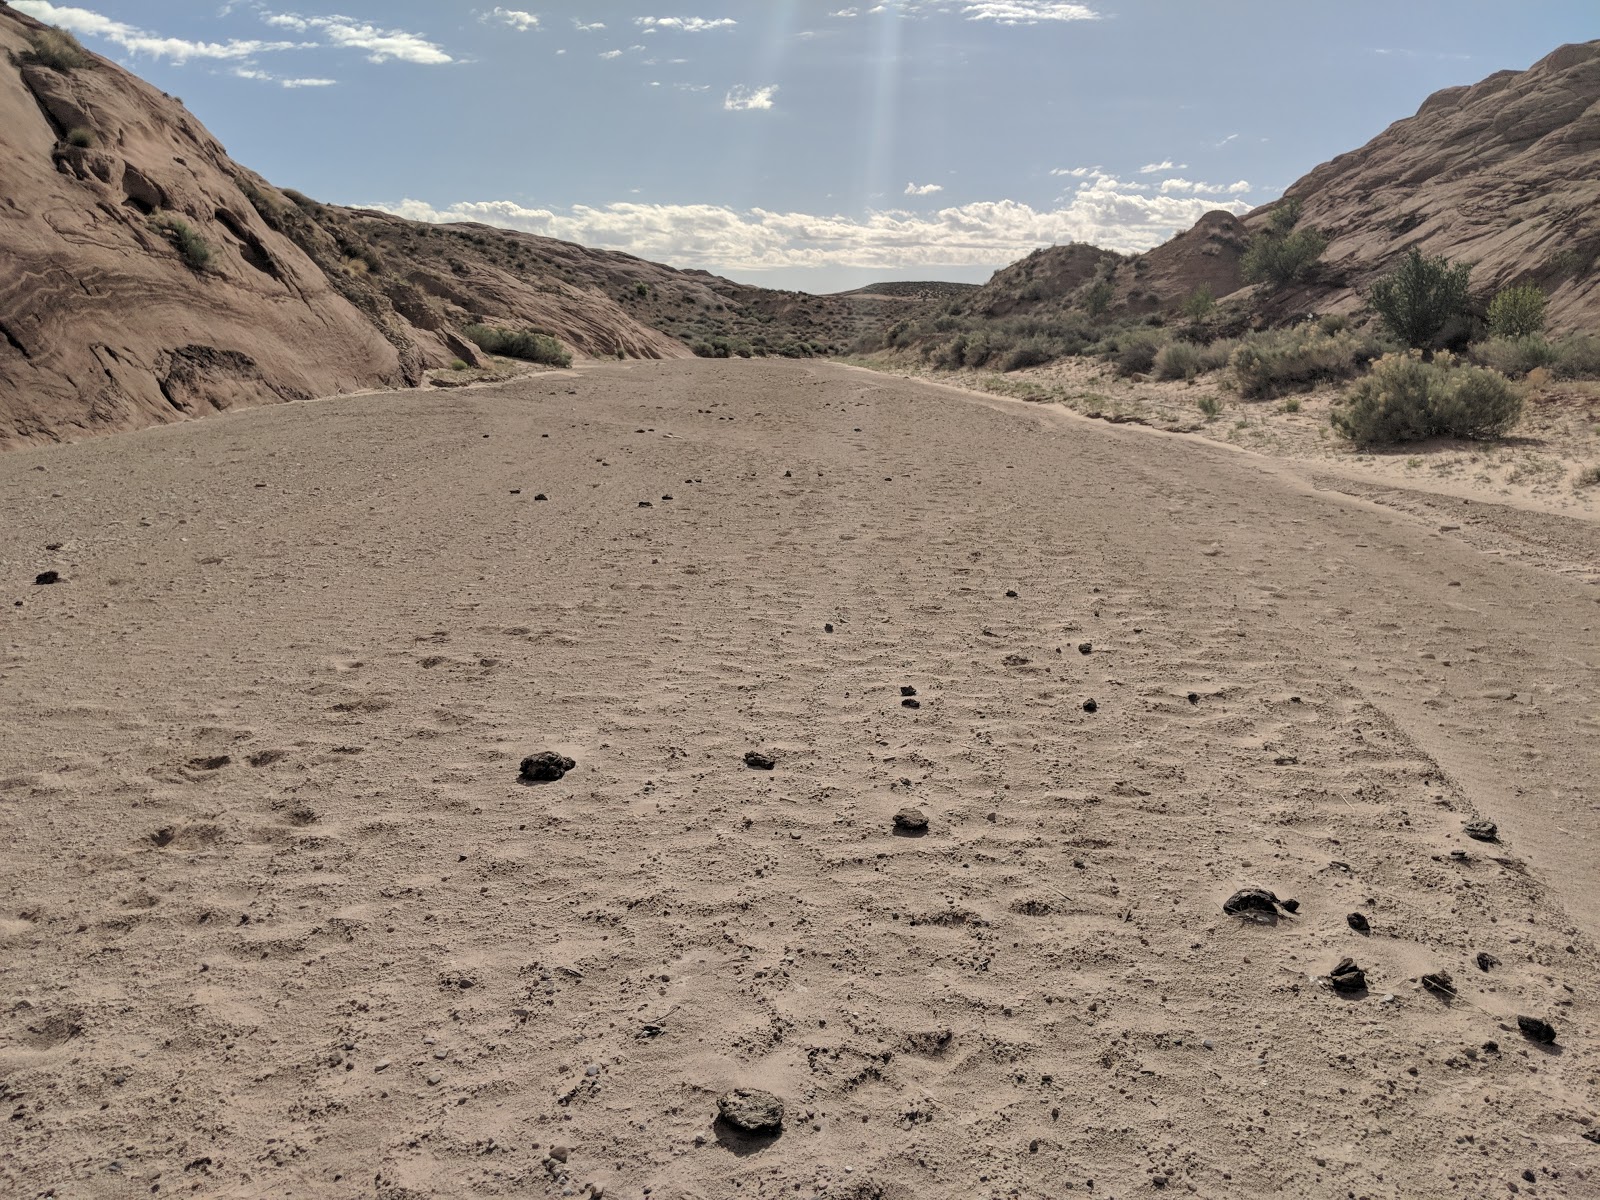
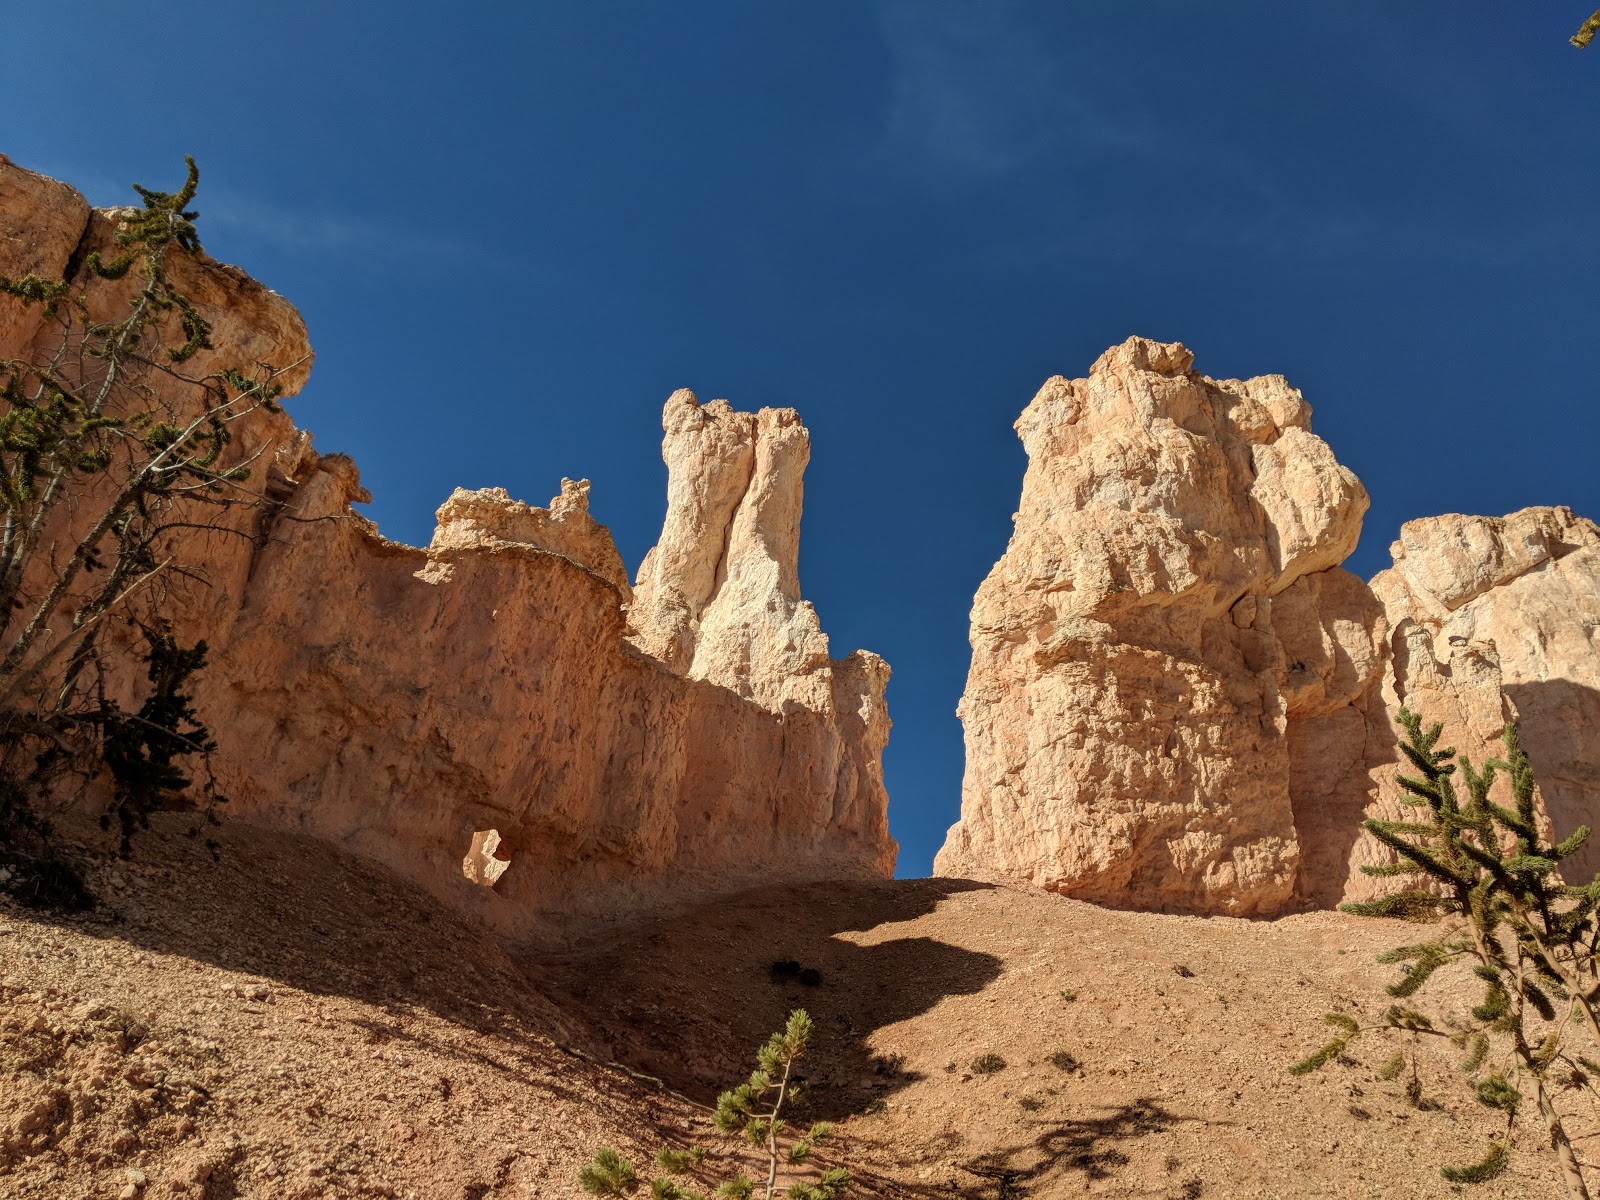
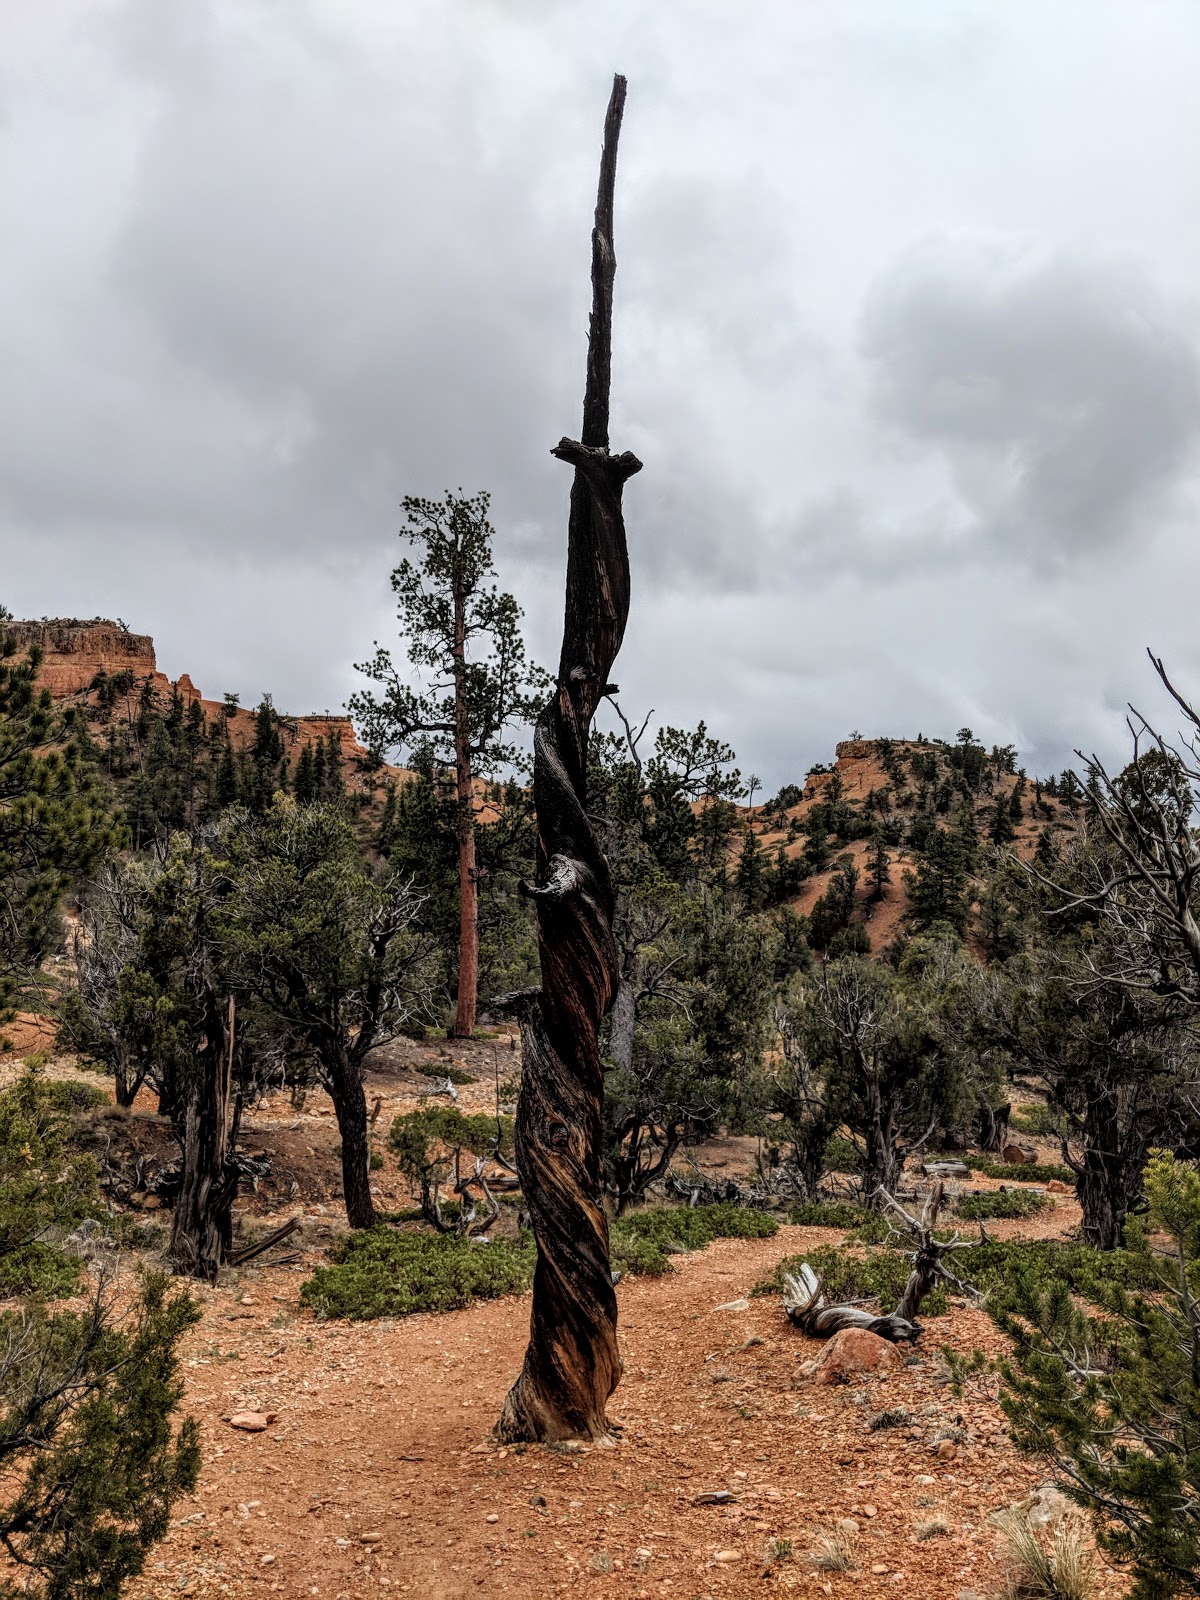
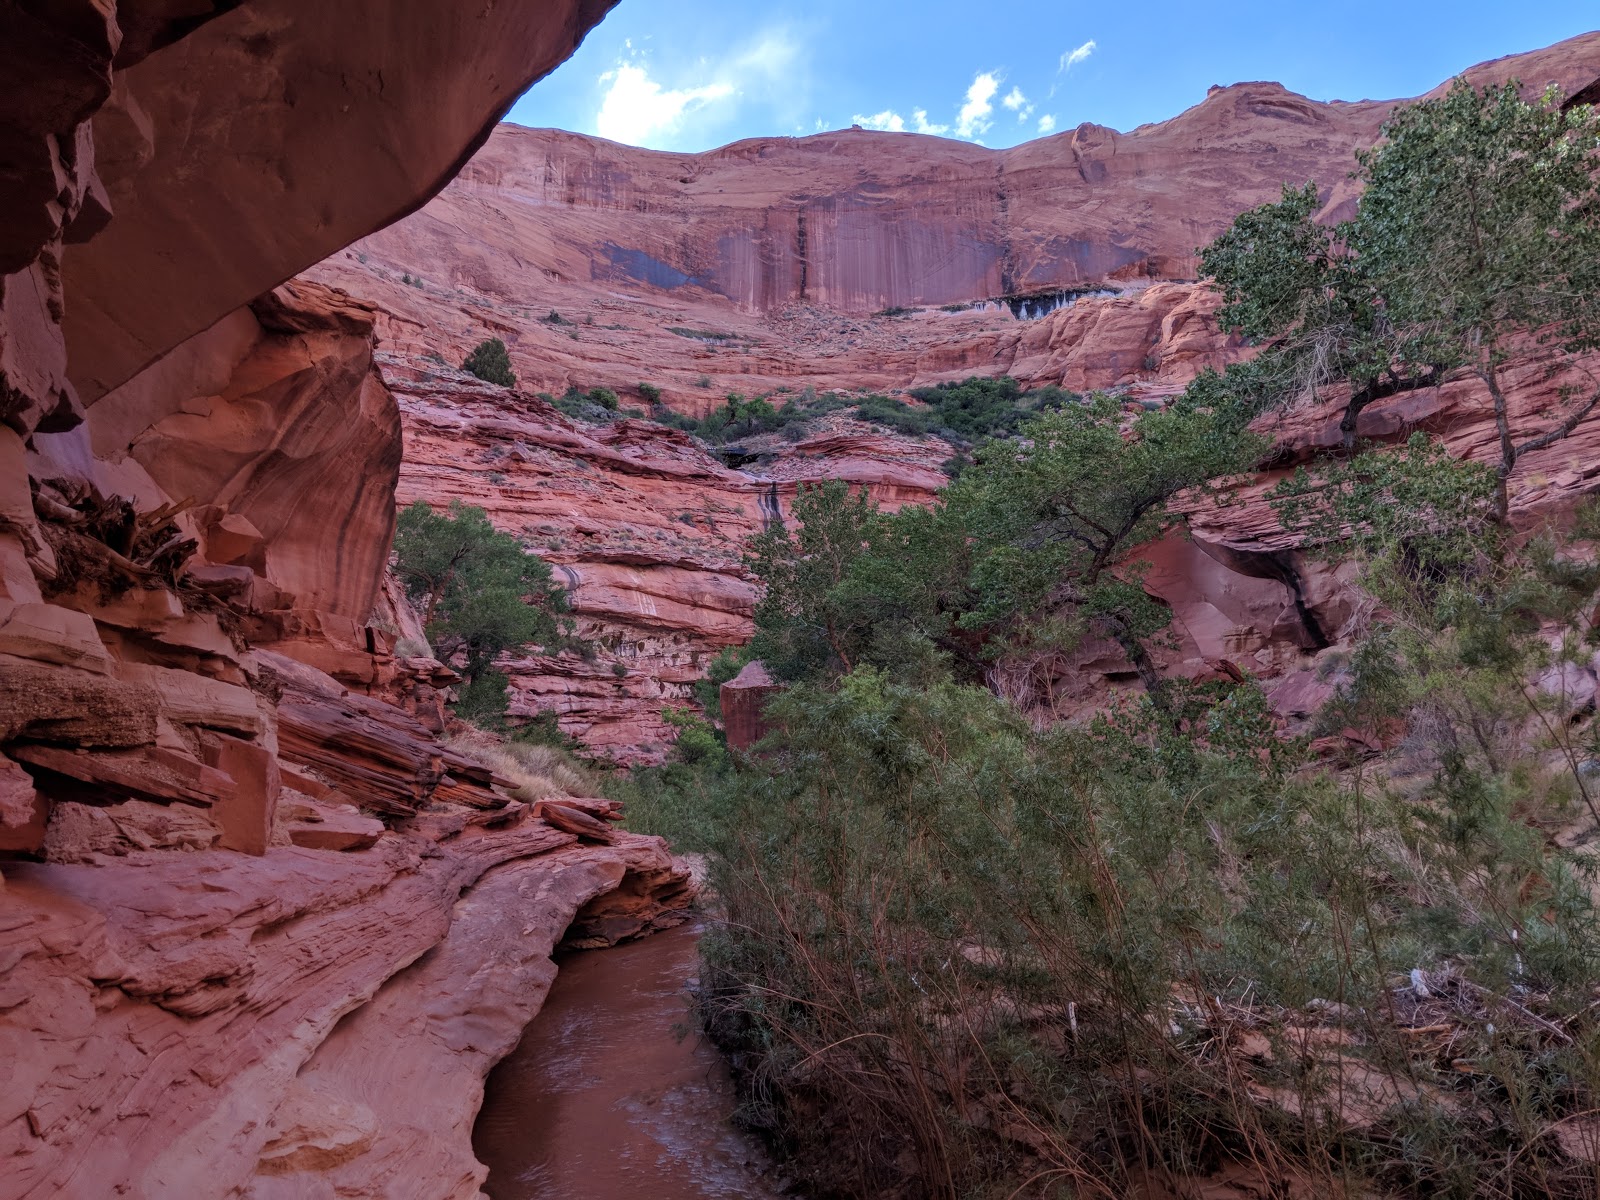
One of my favorite parts of this hike was the contract in climates. The first 3 miles or so were completely dry.
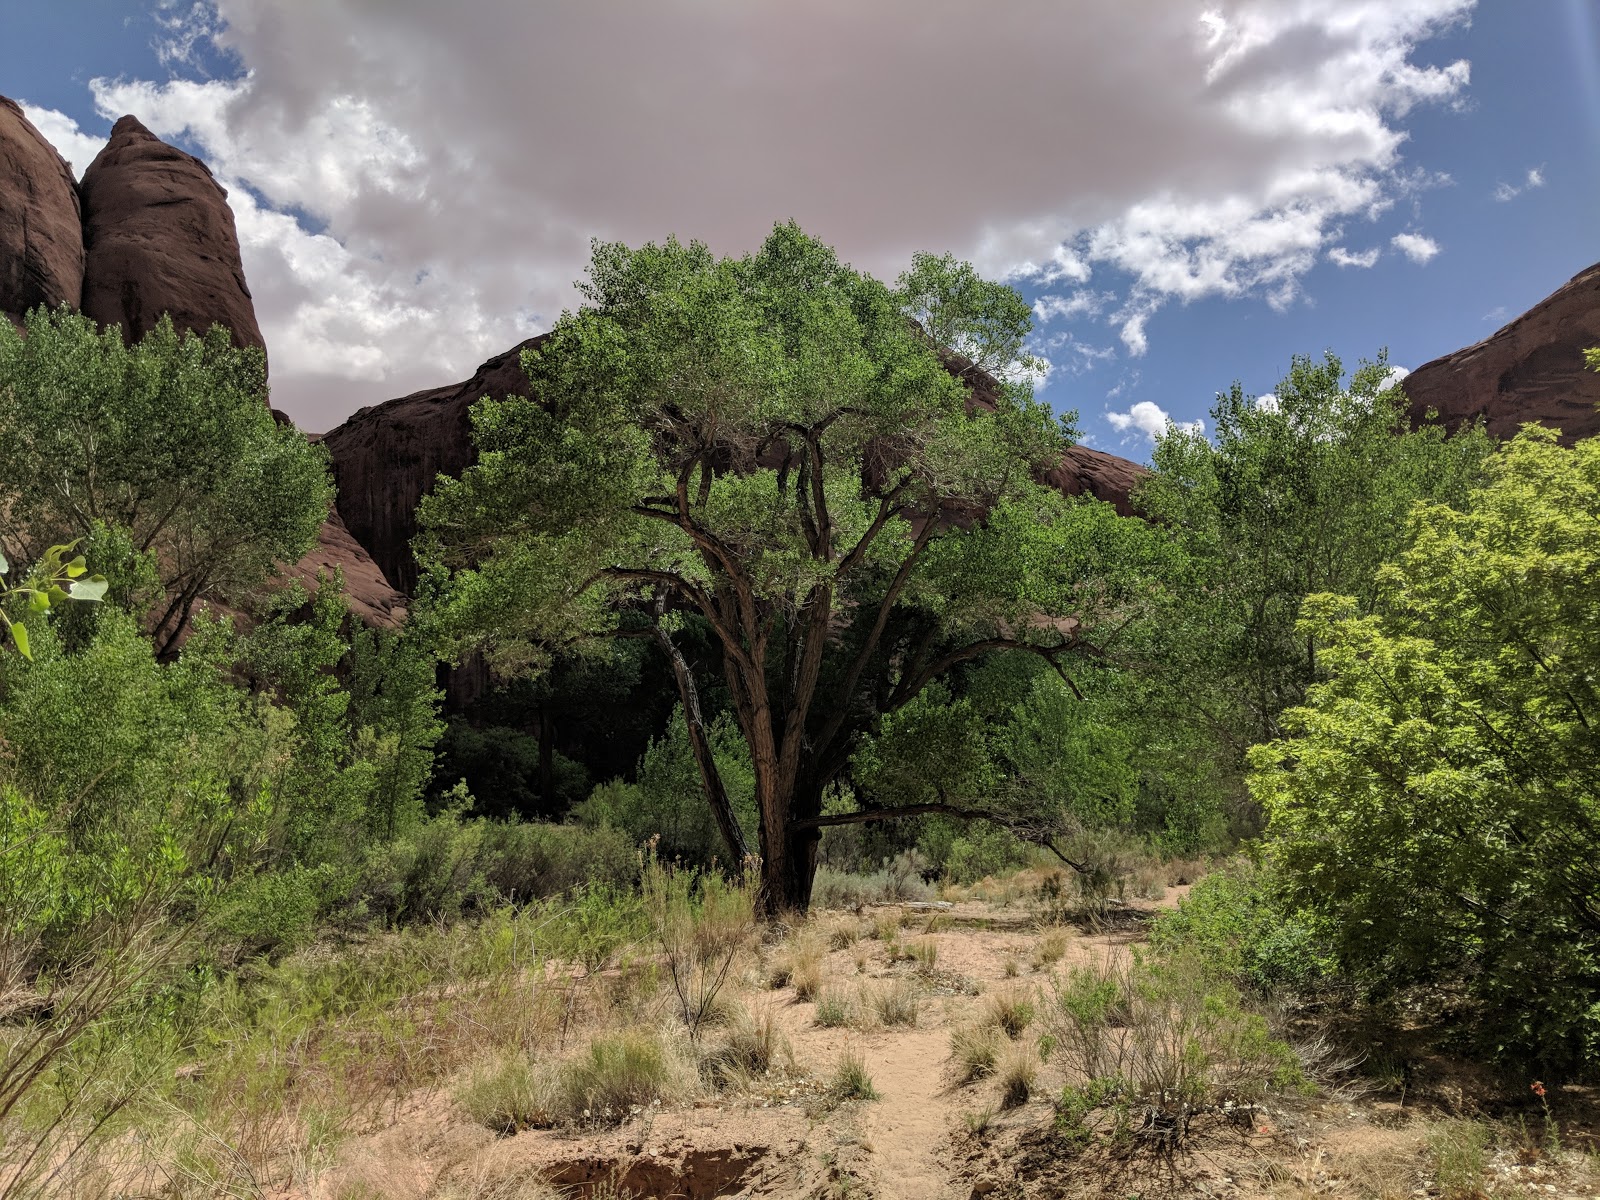
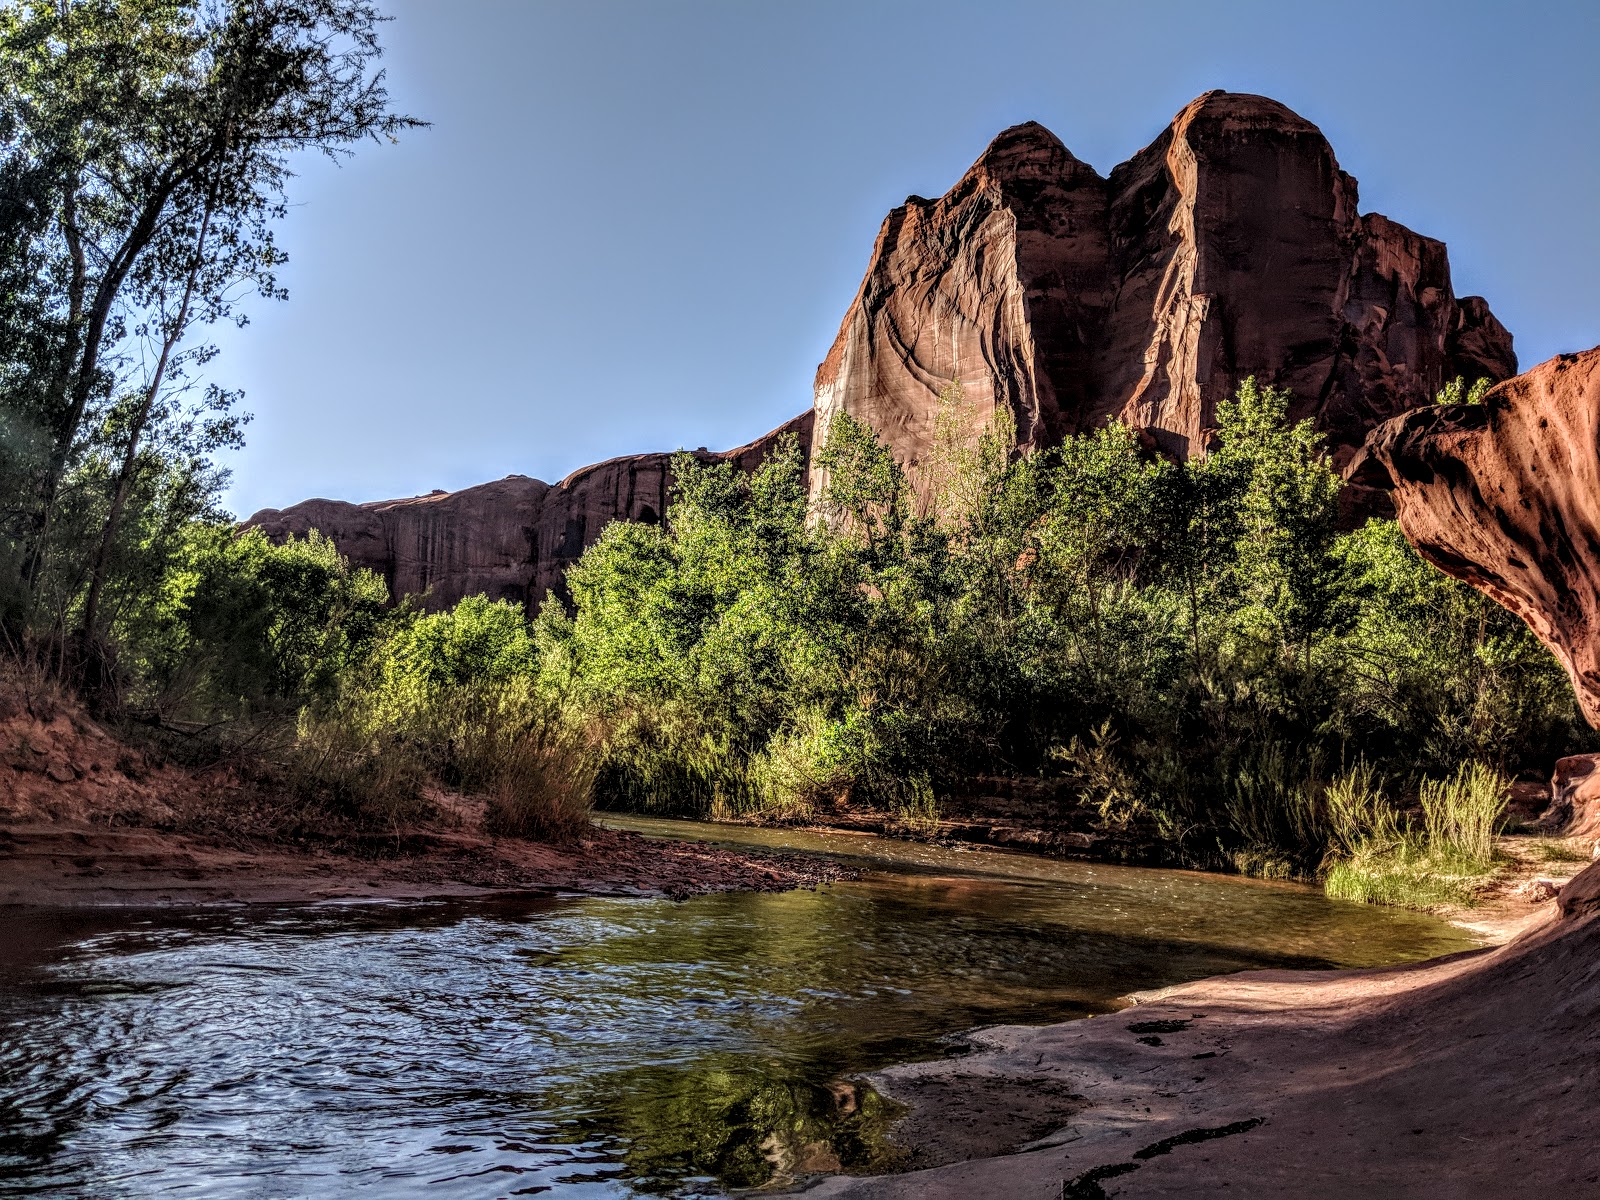
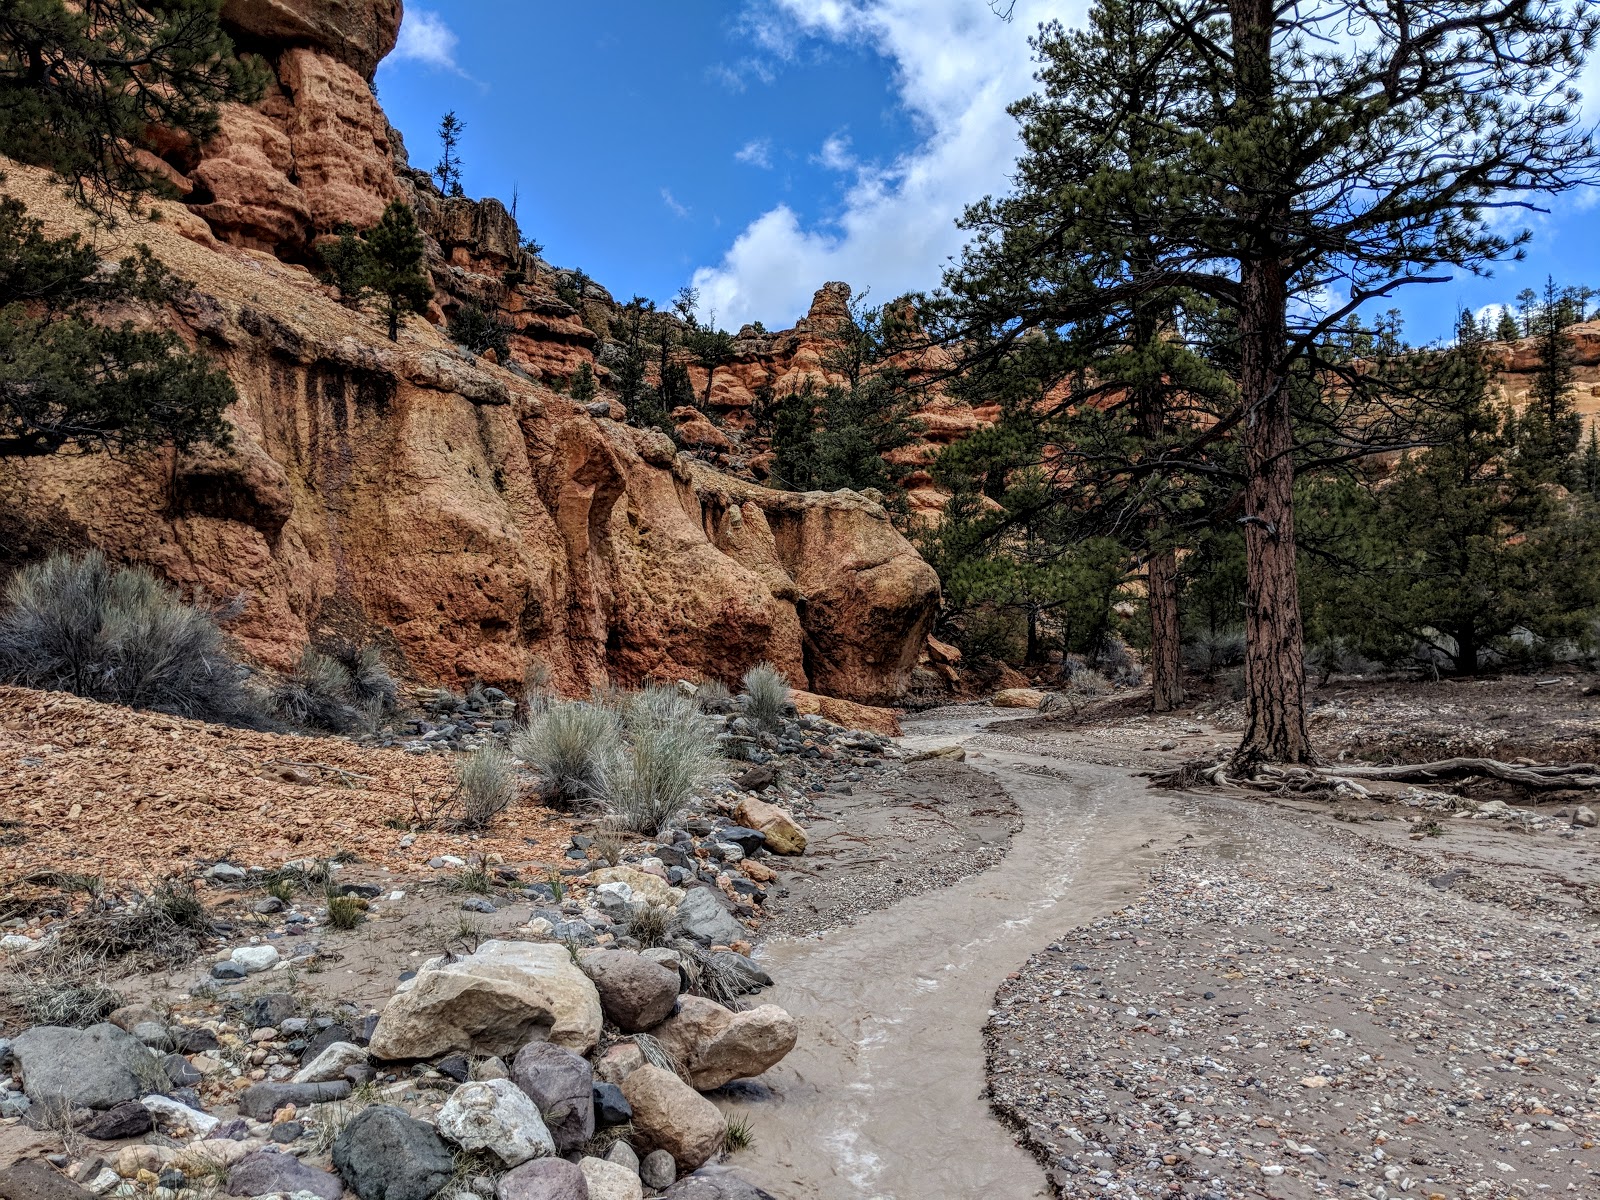
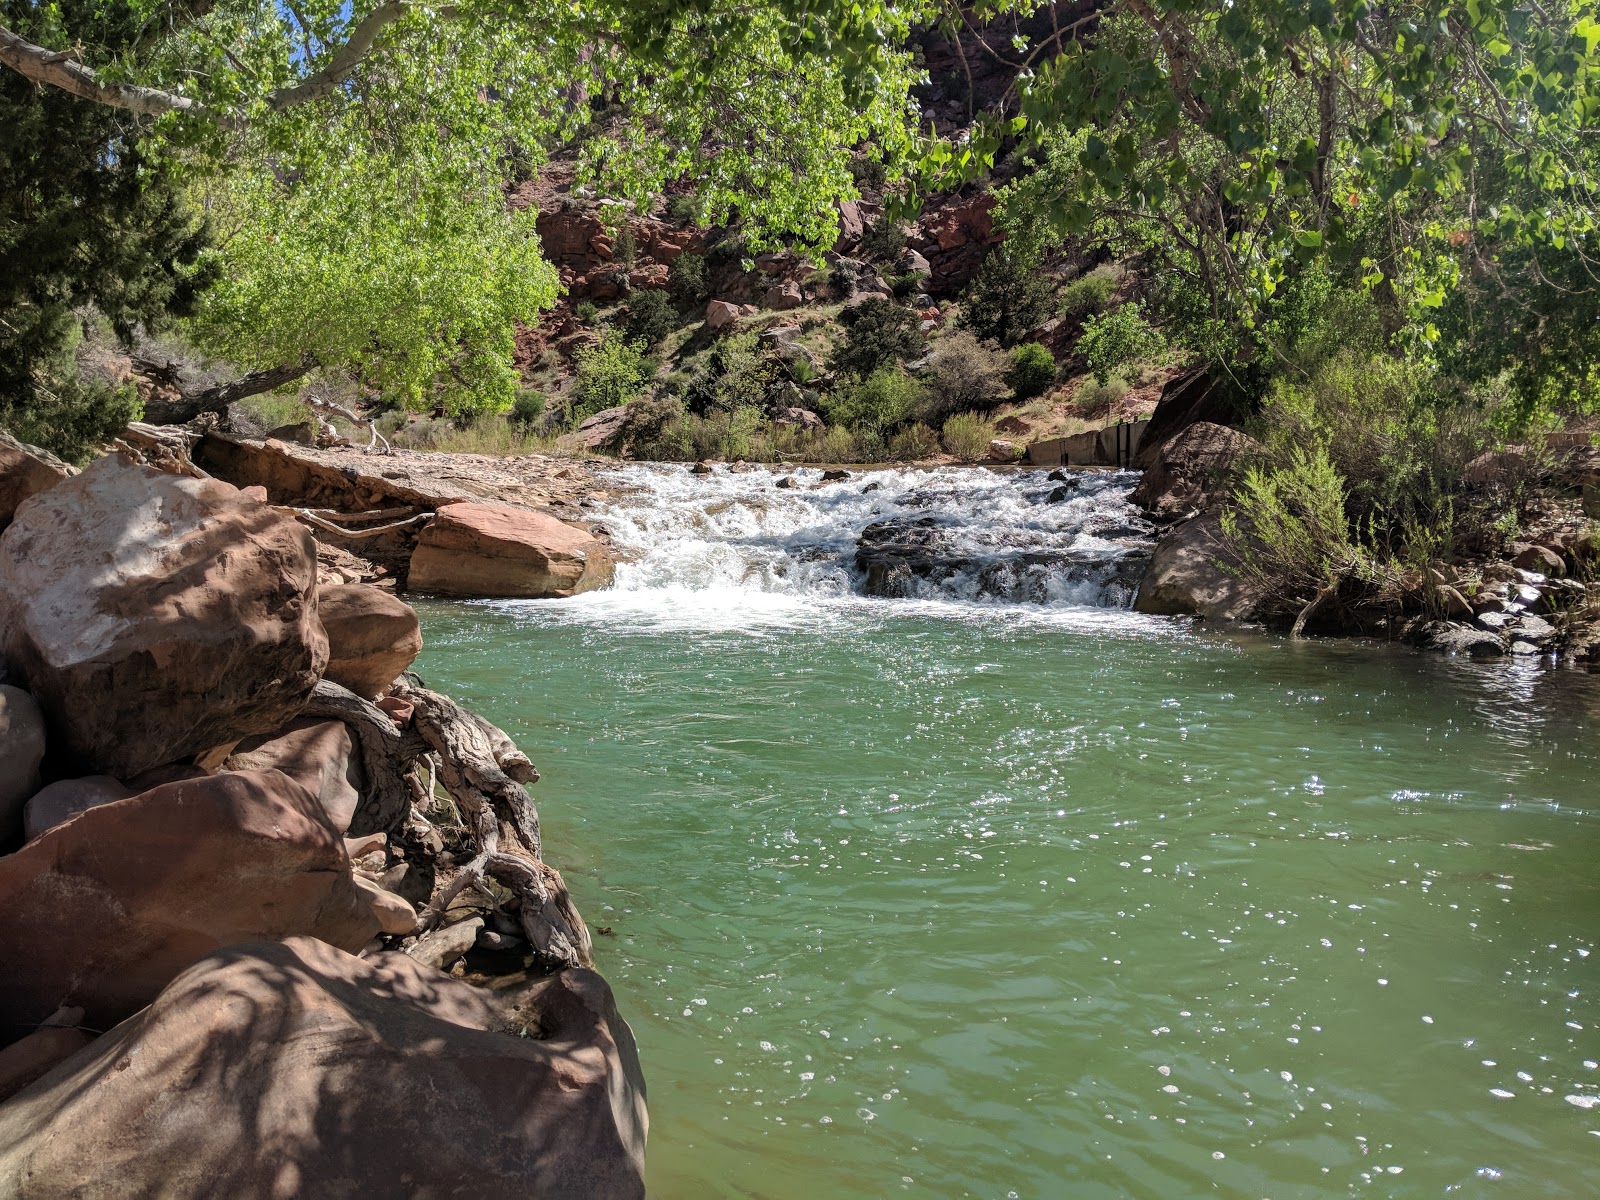
After a while you cross the Coyote Gulch stream that is fed by a spring. The canyon quickly becomes saturated with foliage.
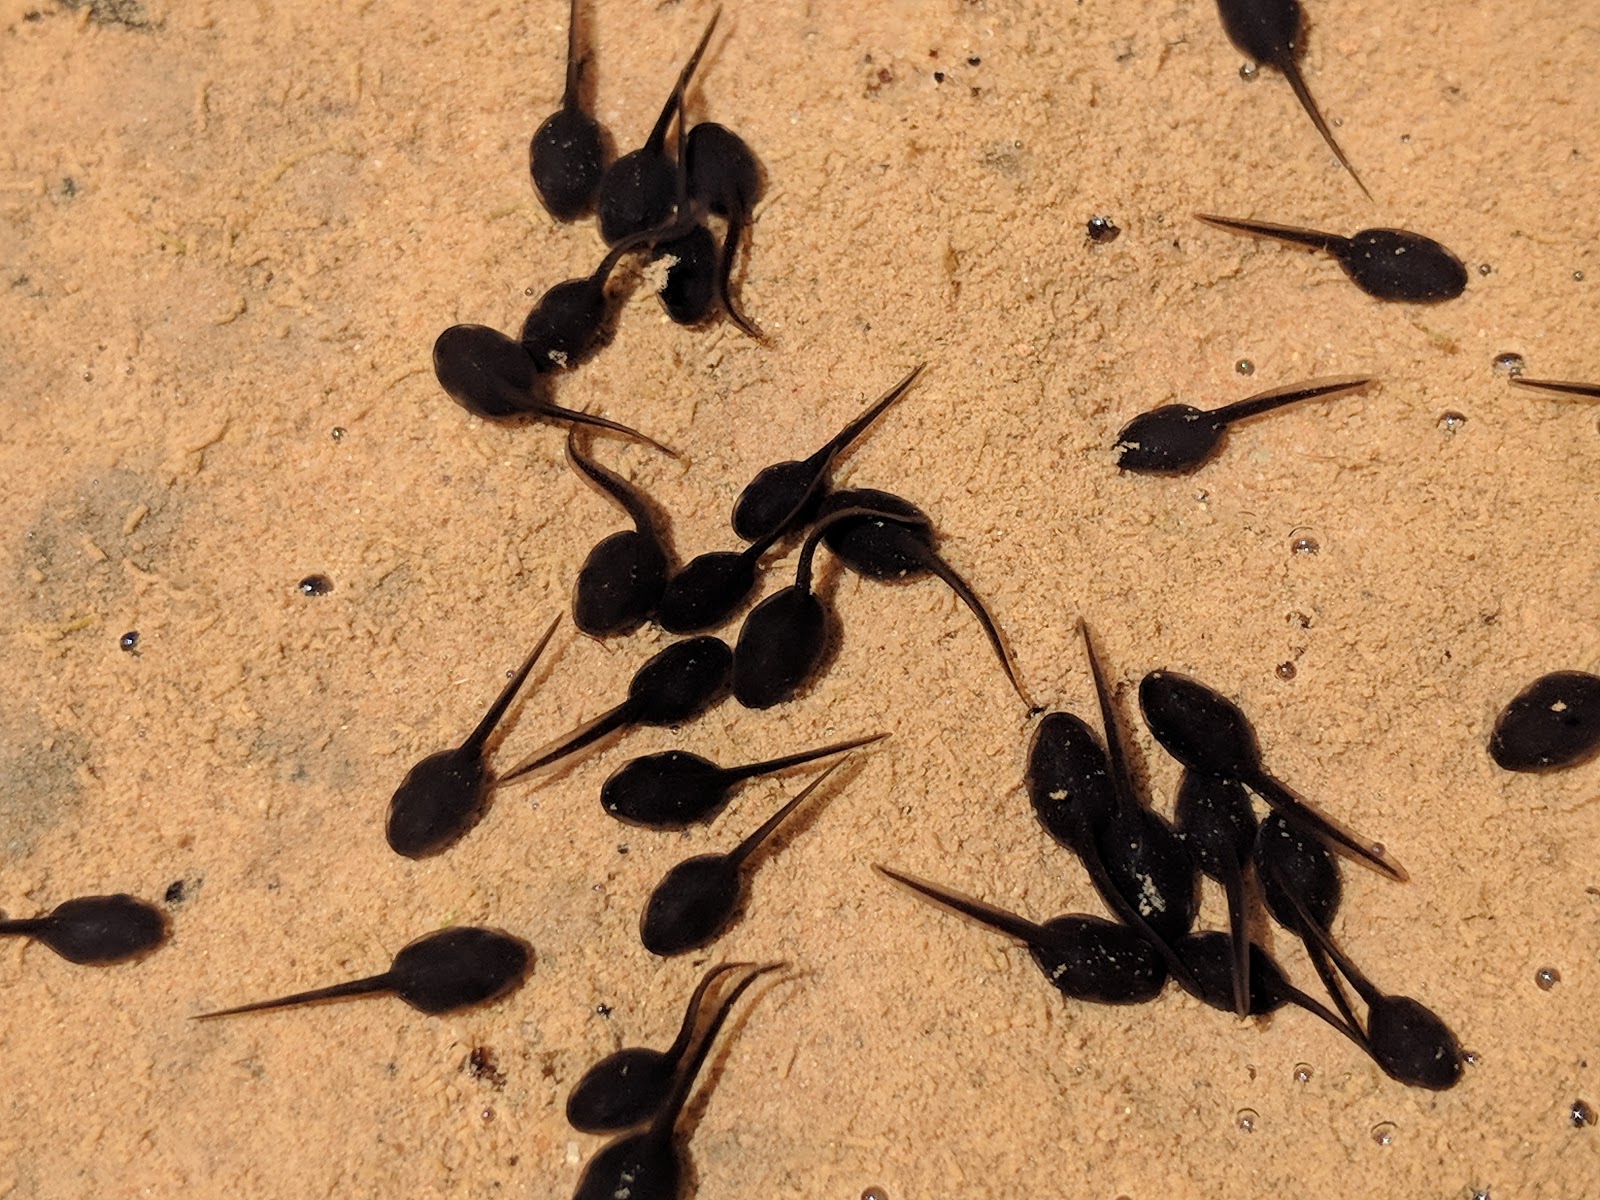
There were lots of frogs and tadpoles….
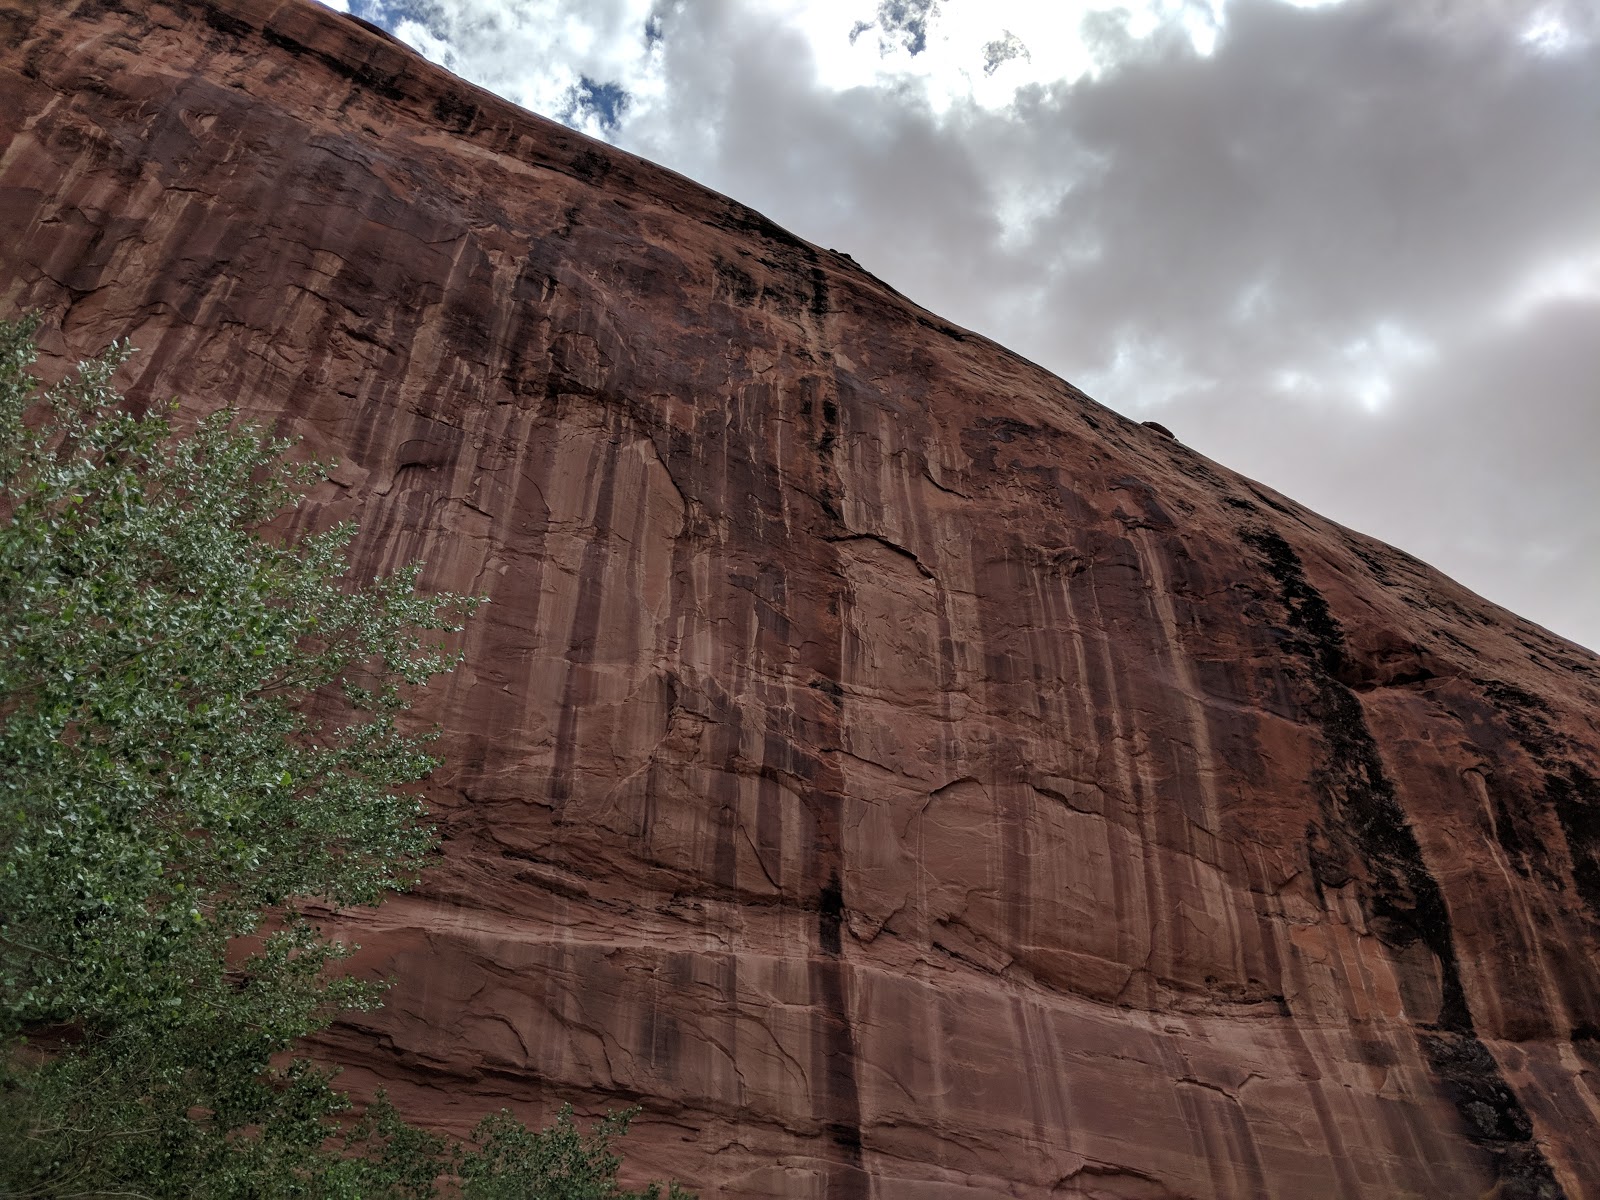
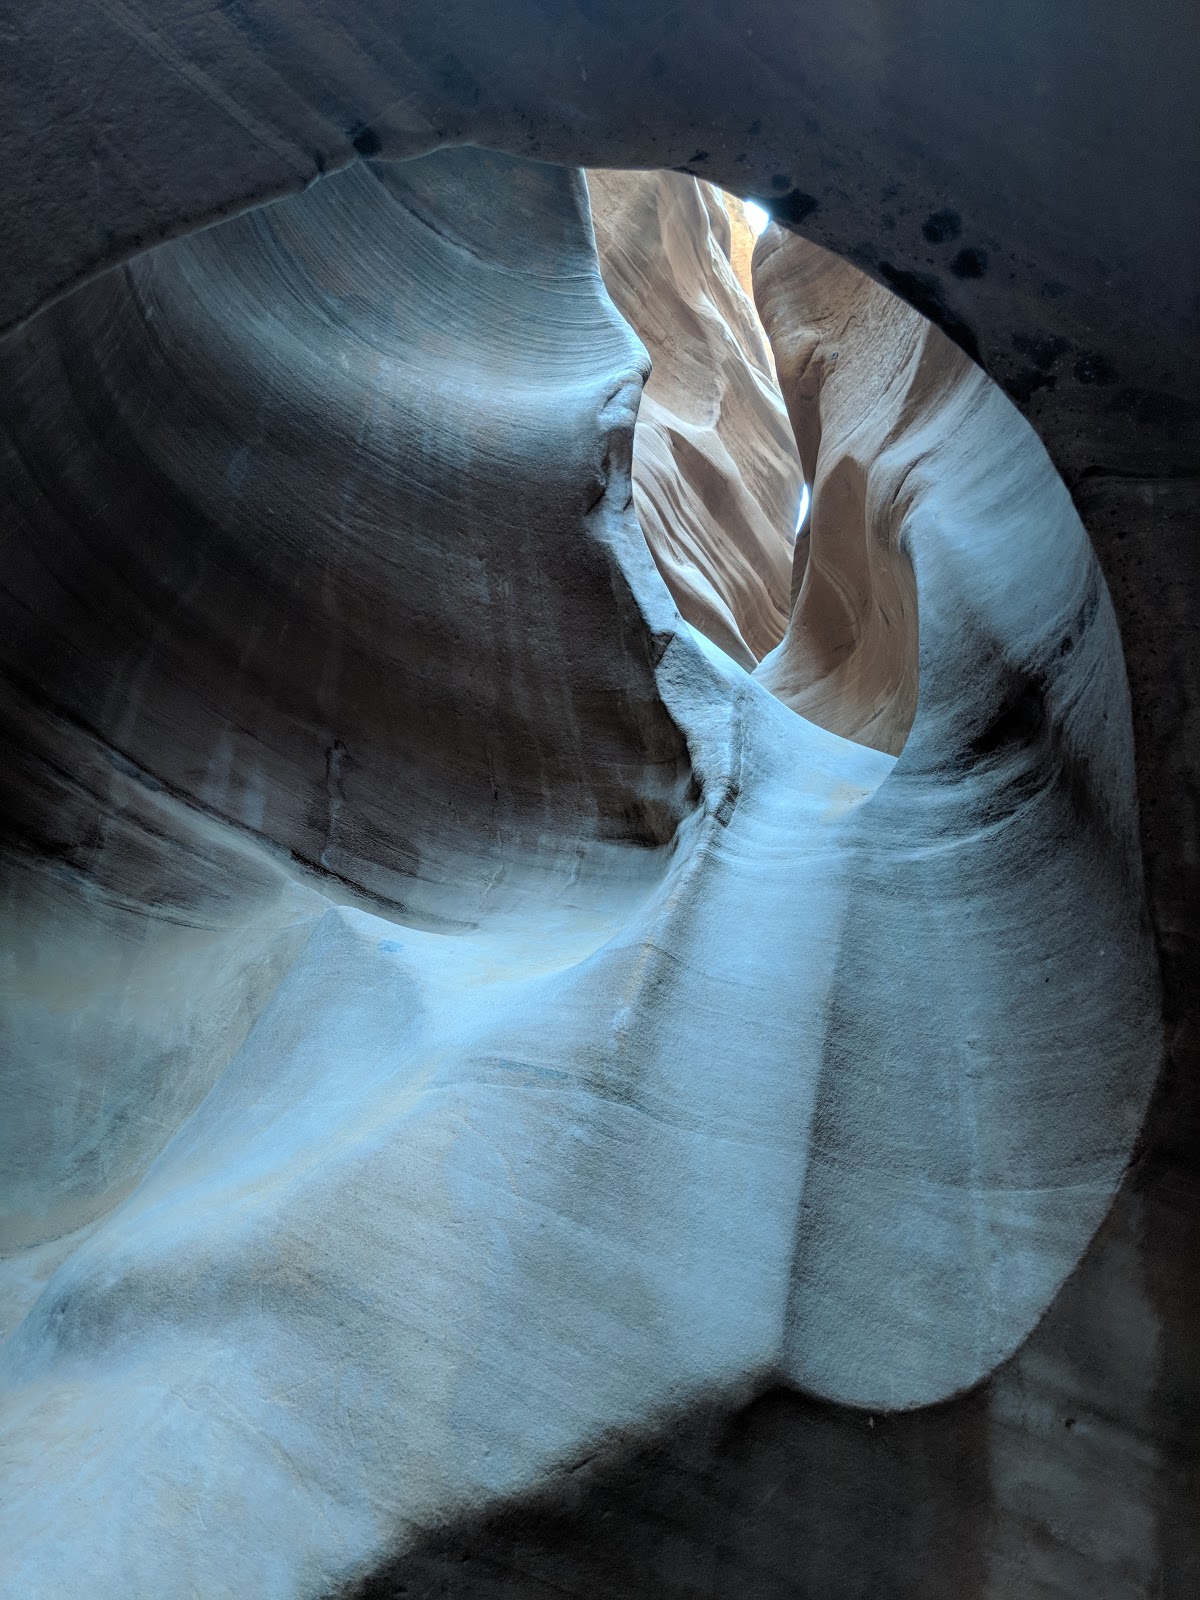
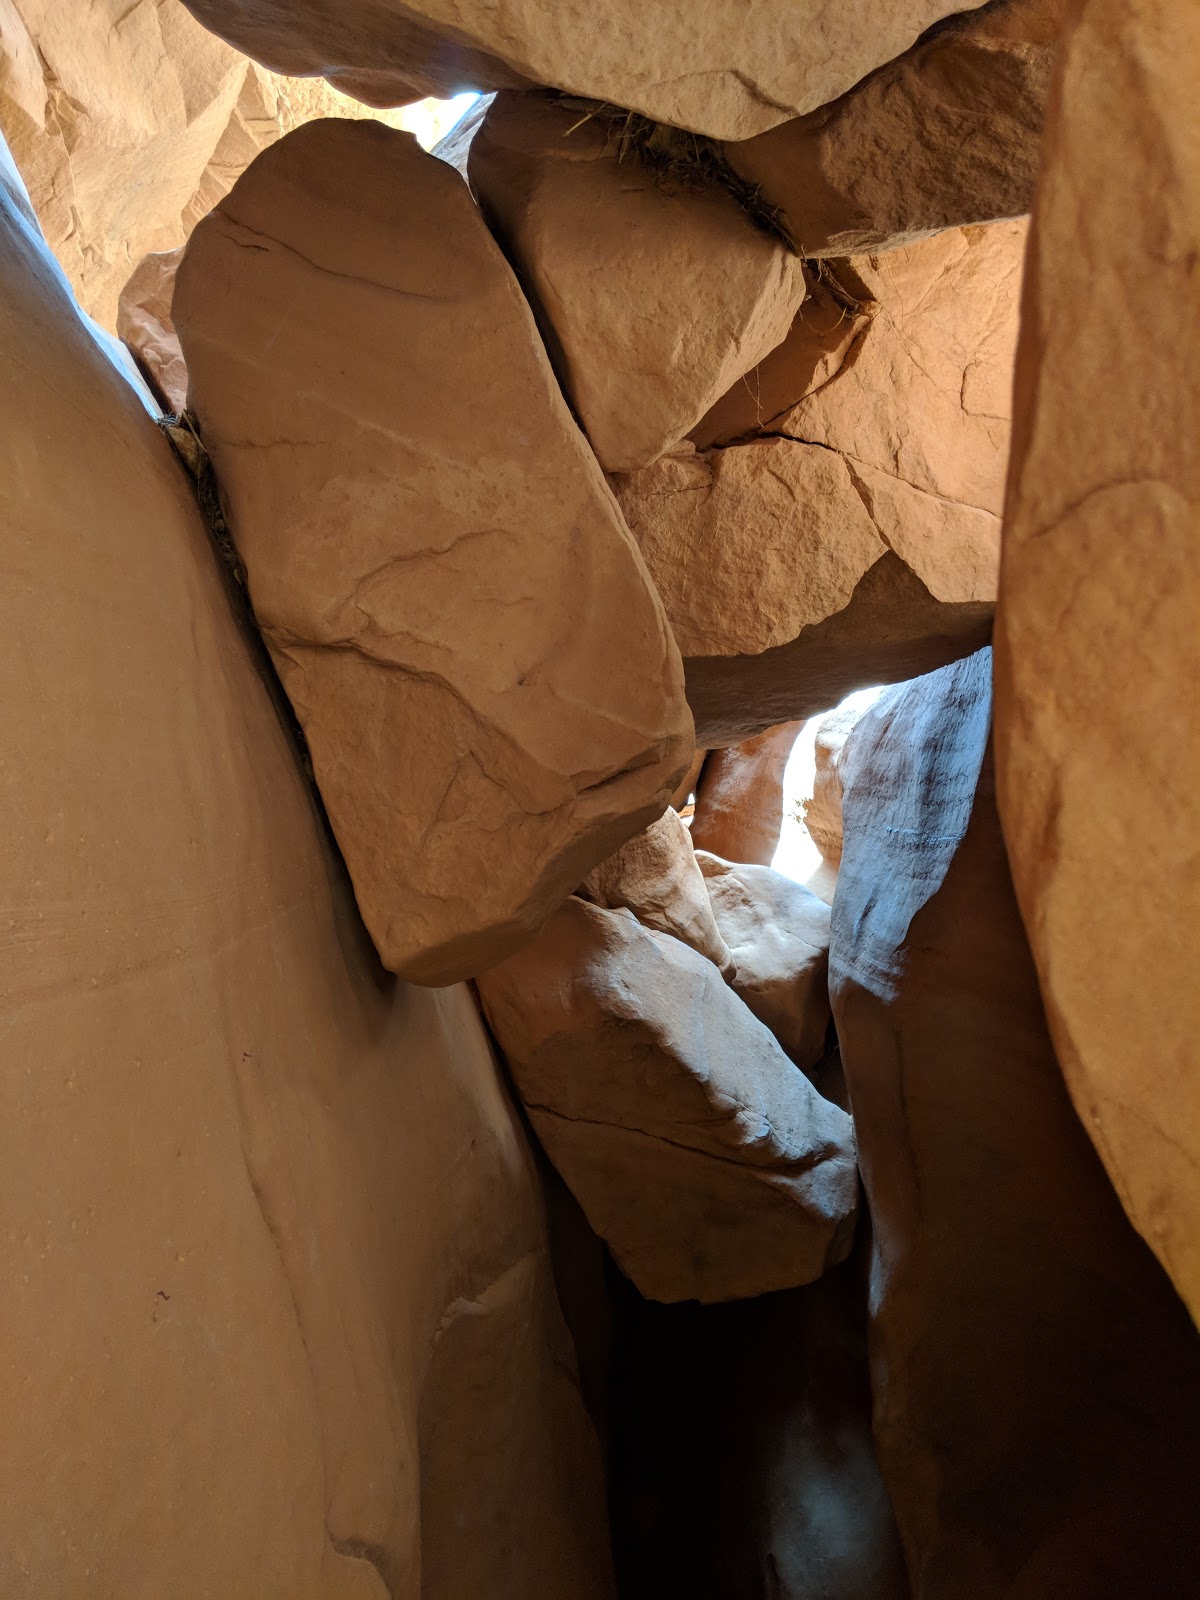
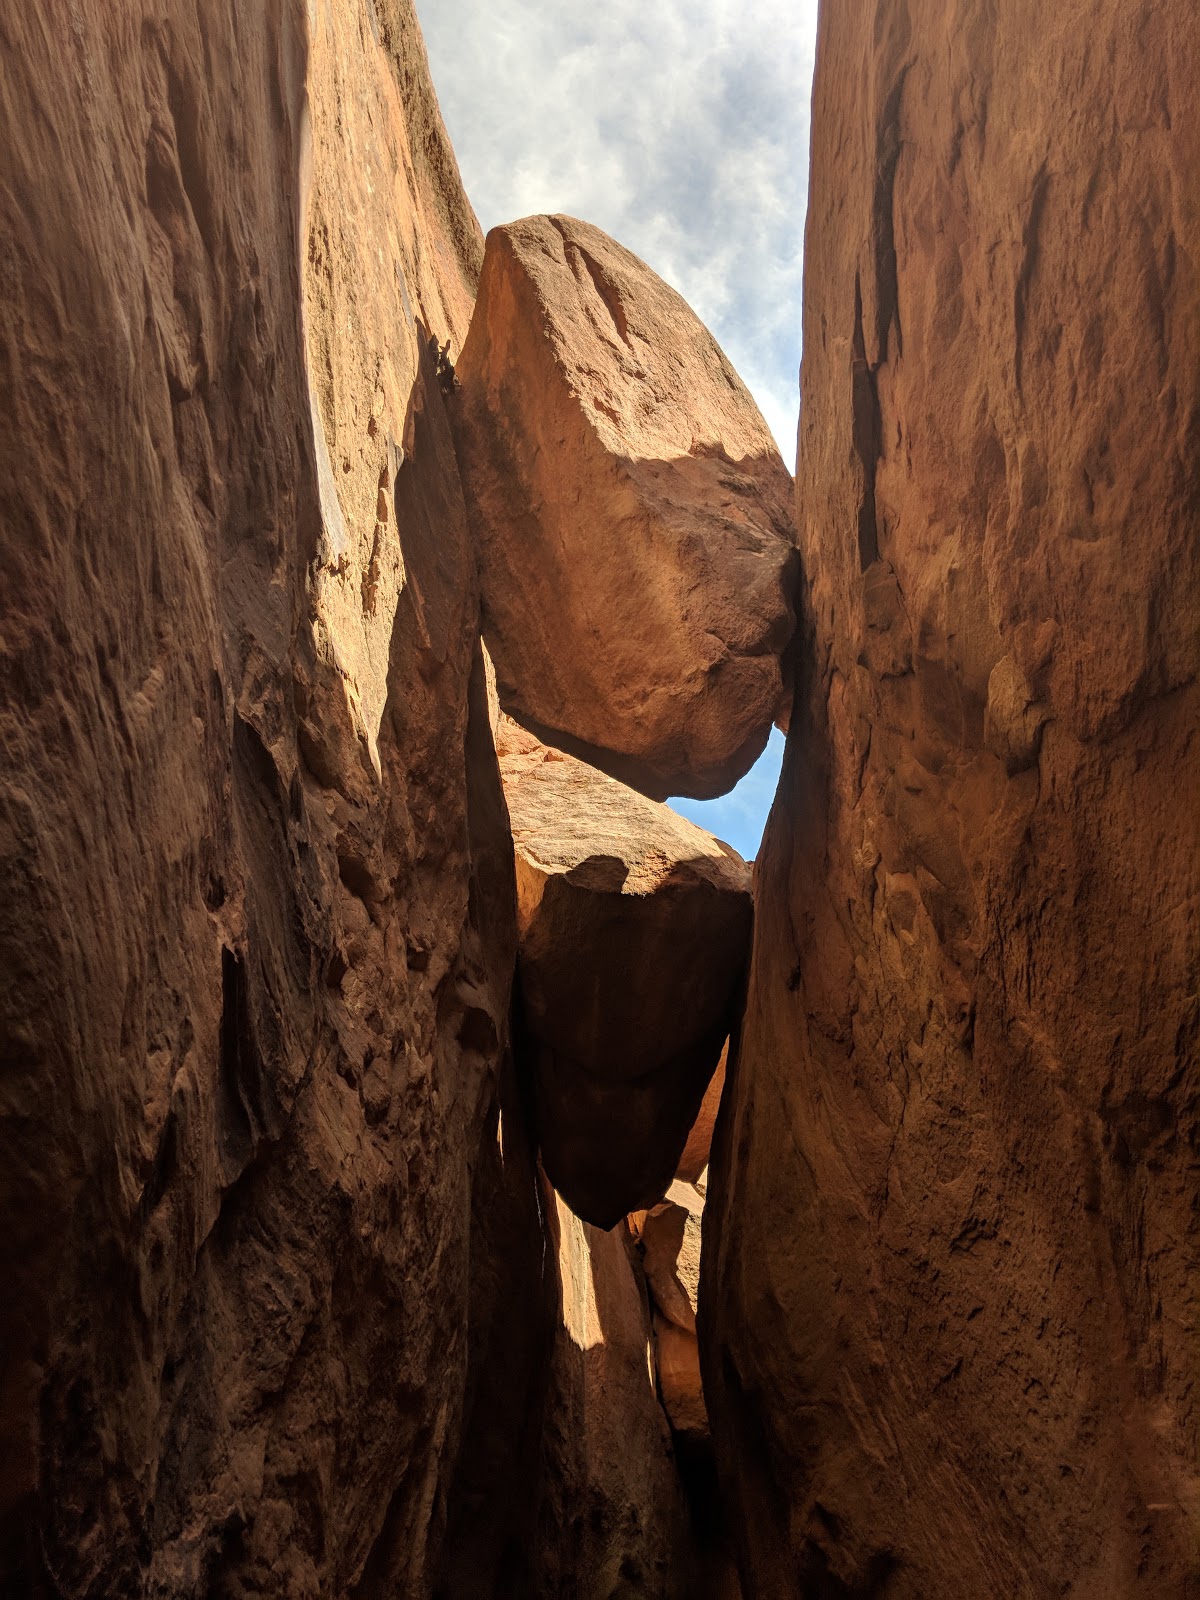
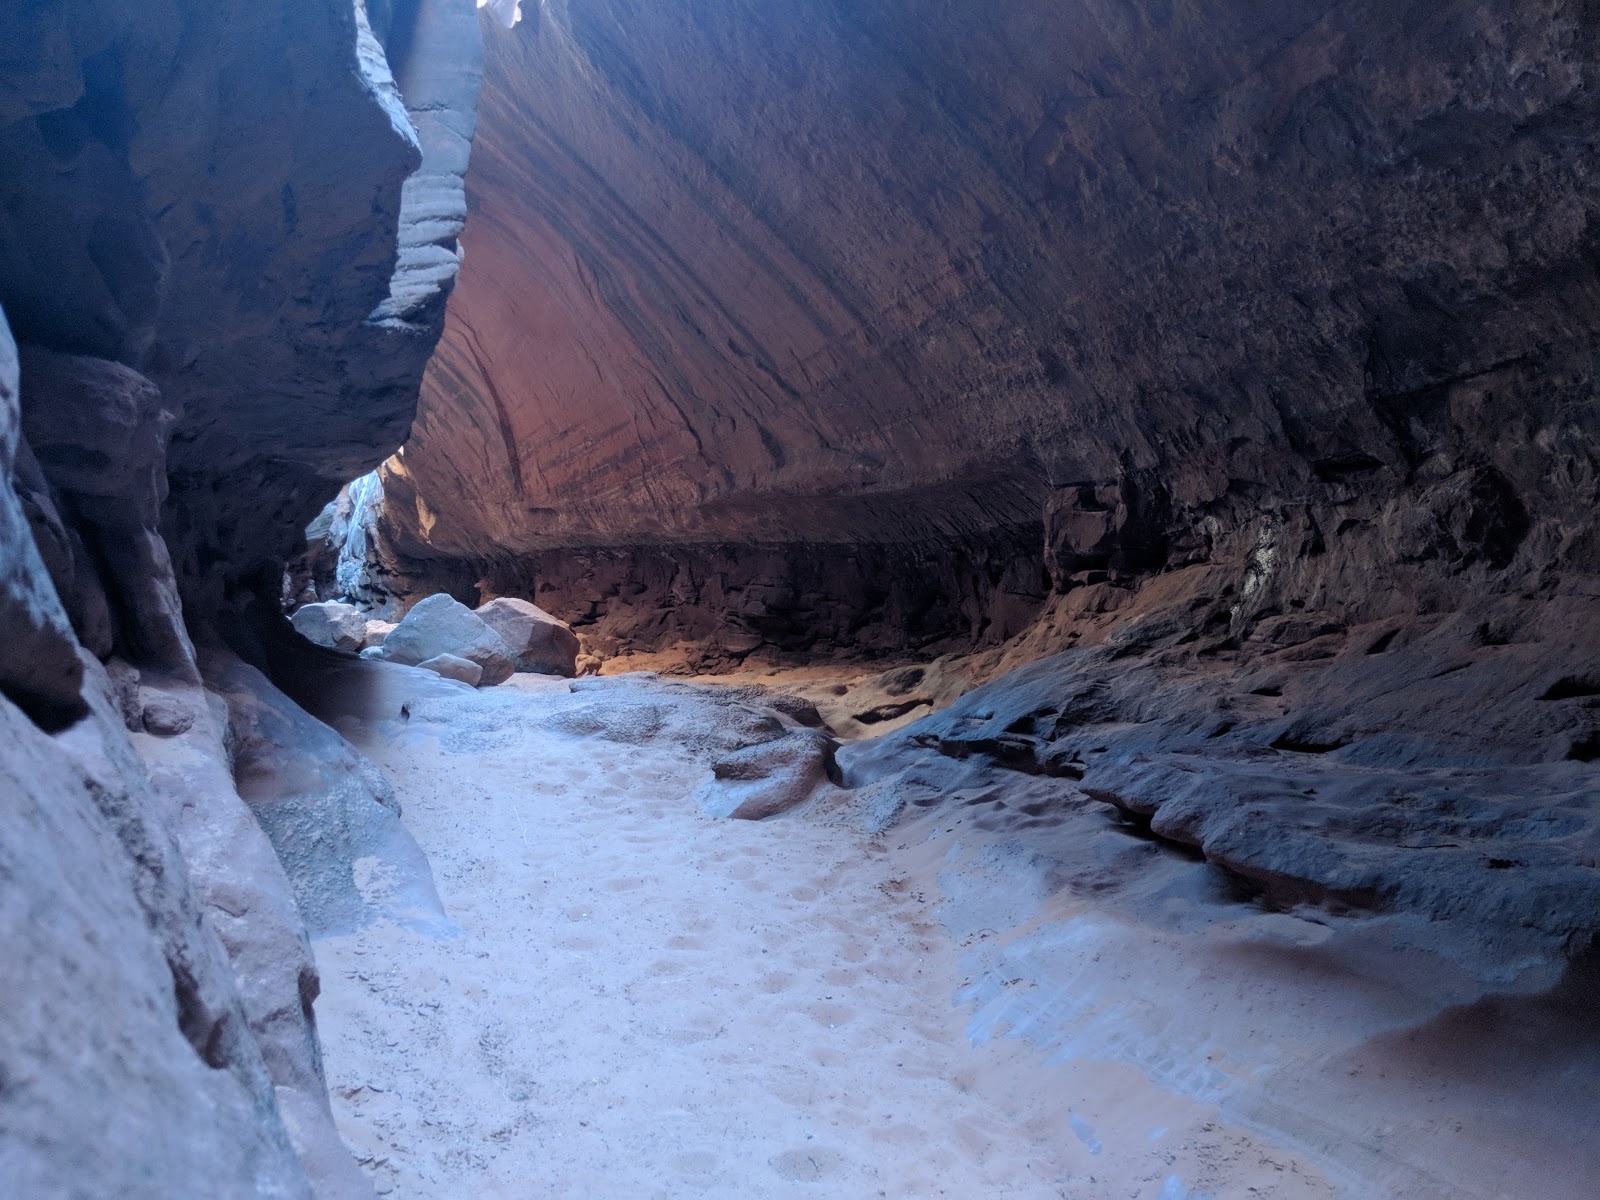
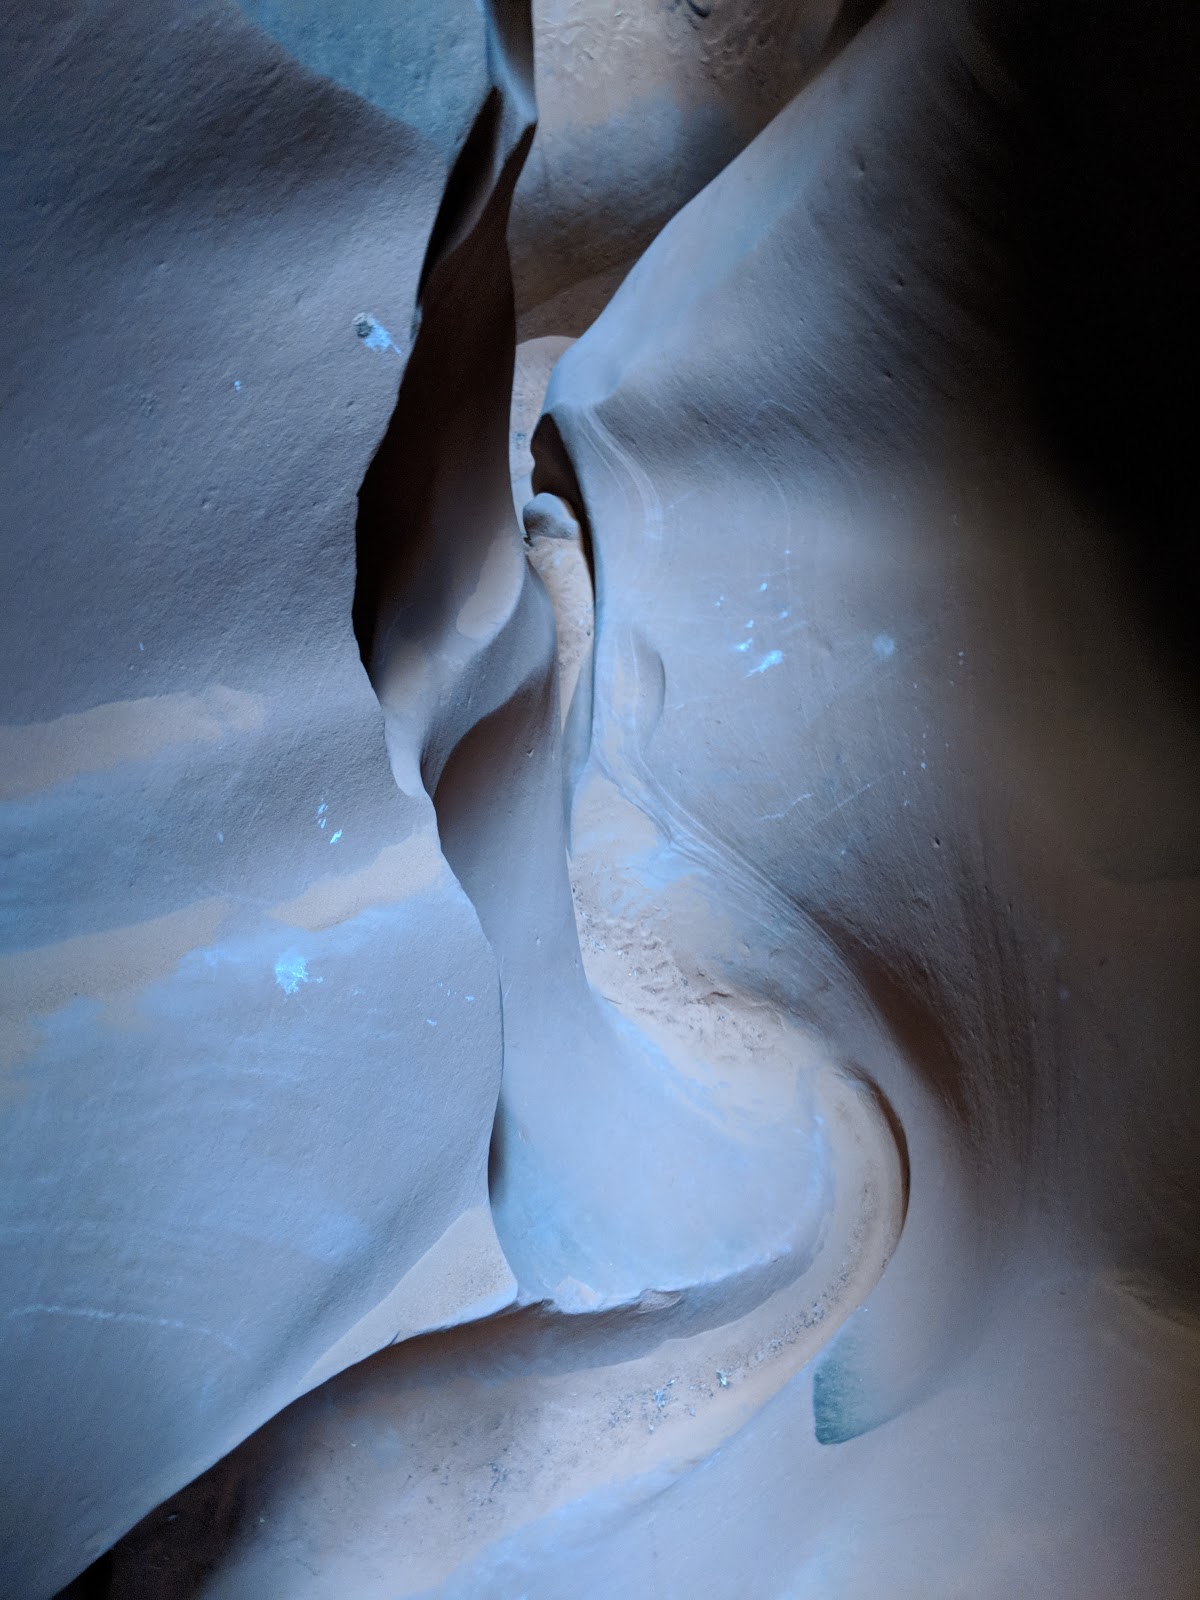
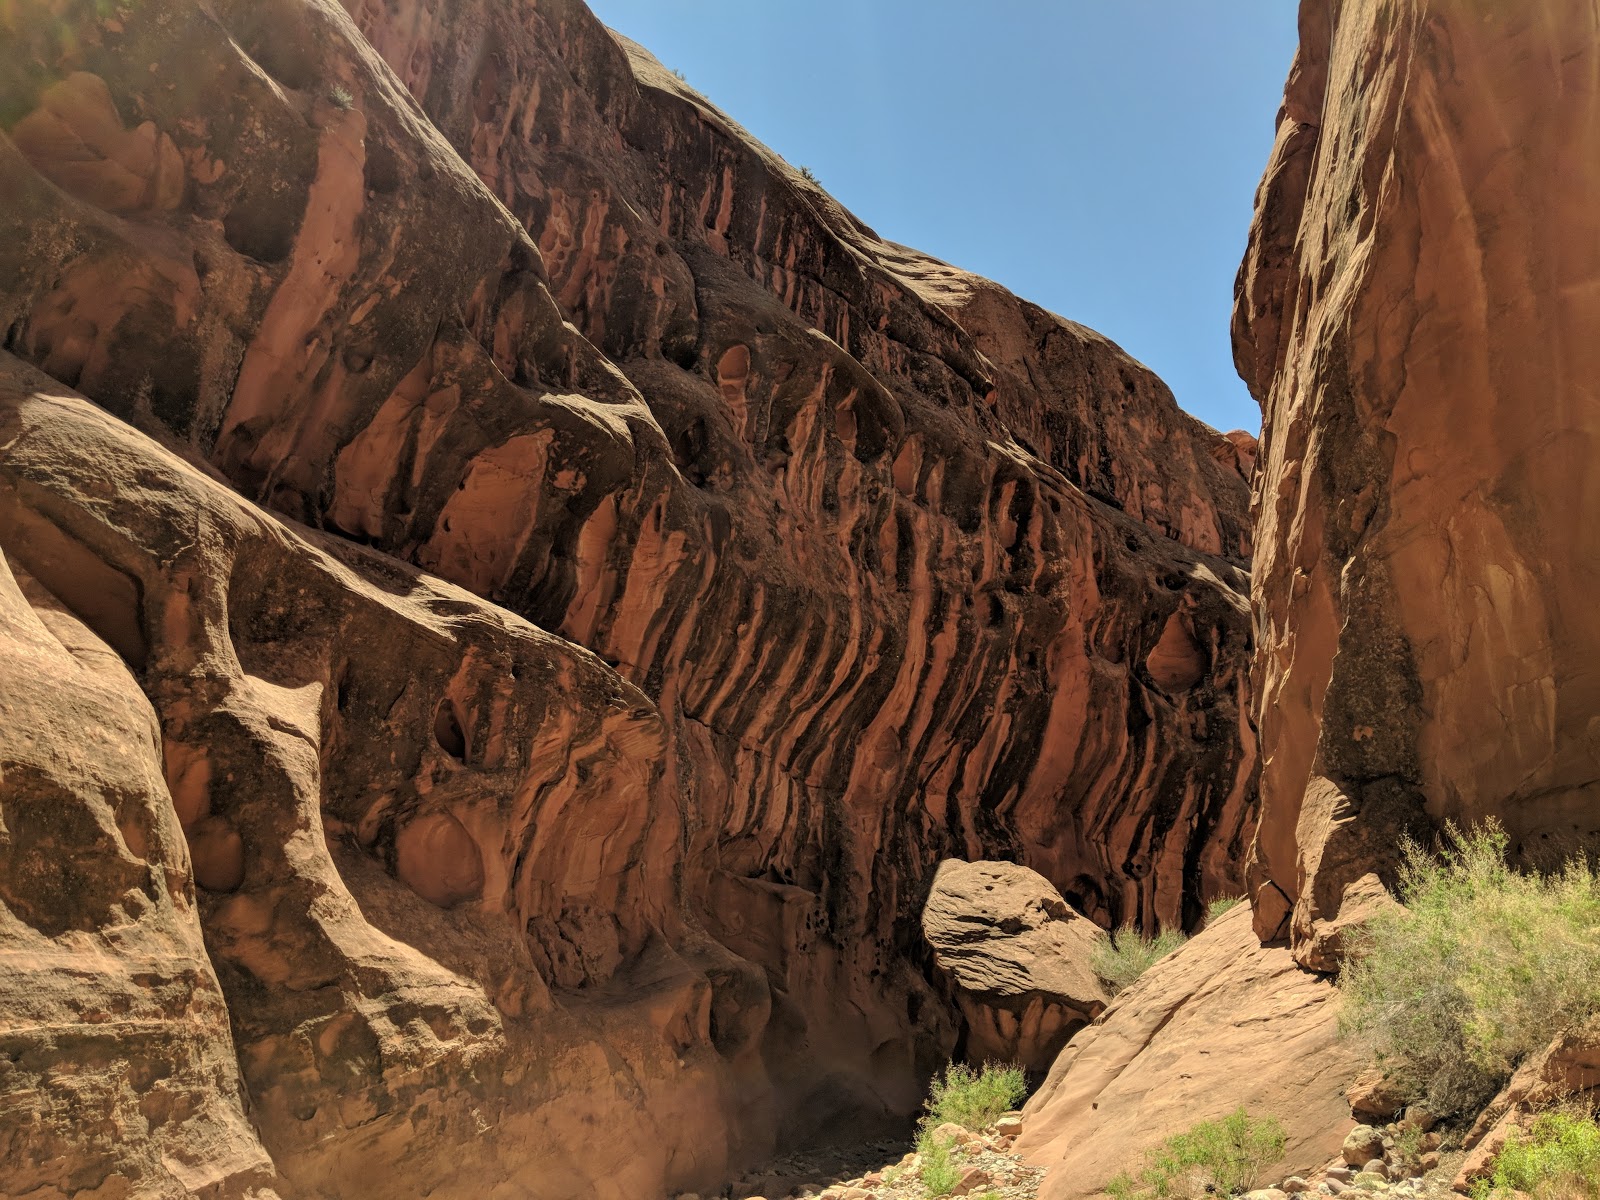
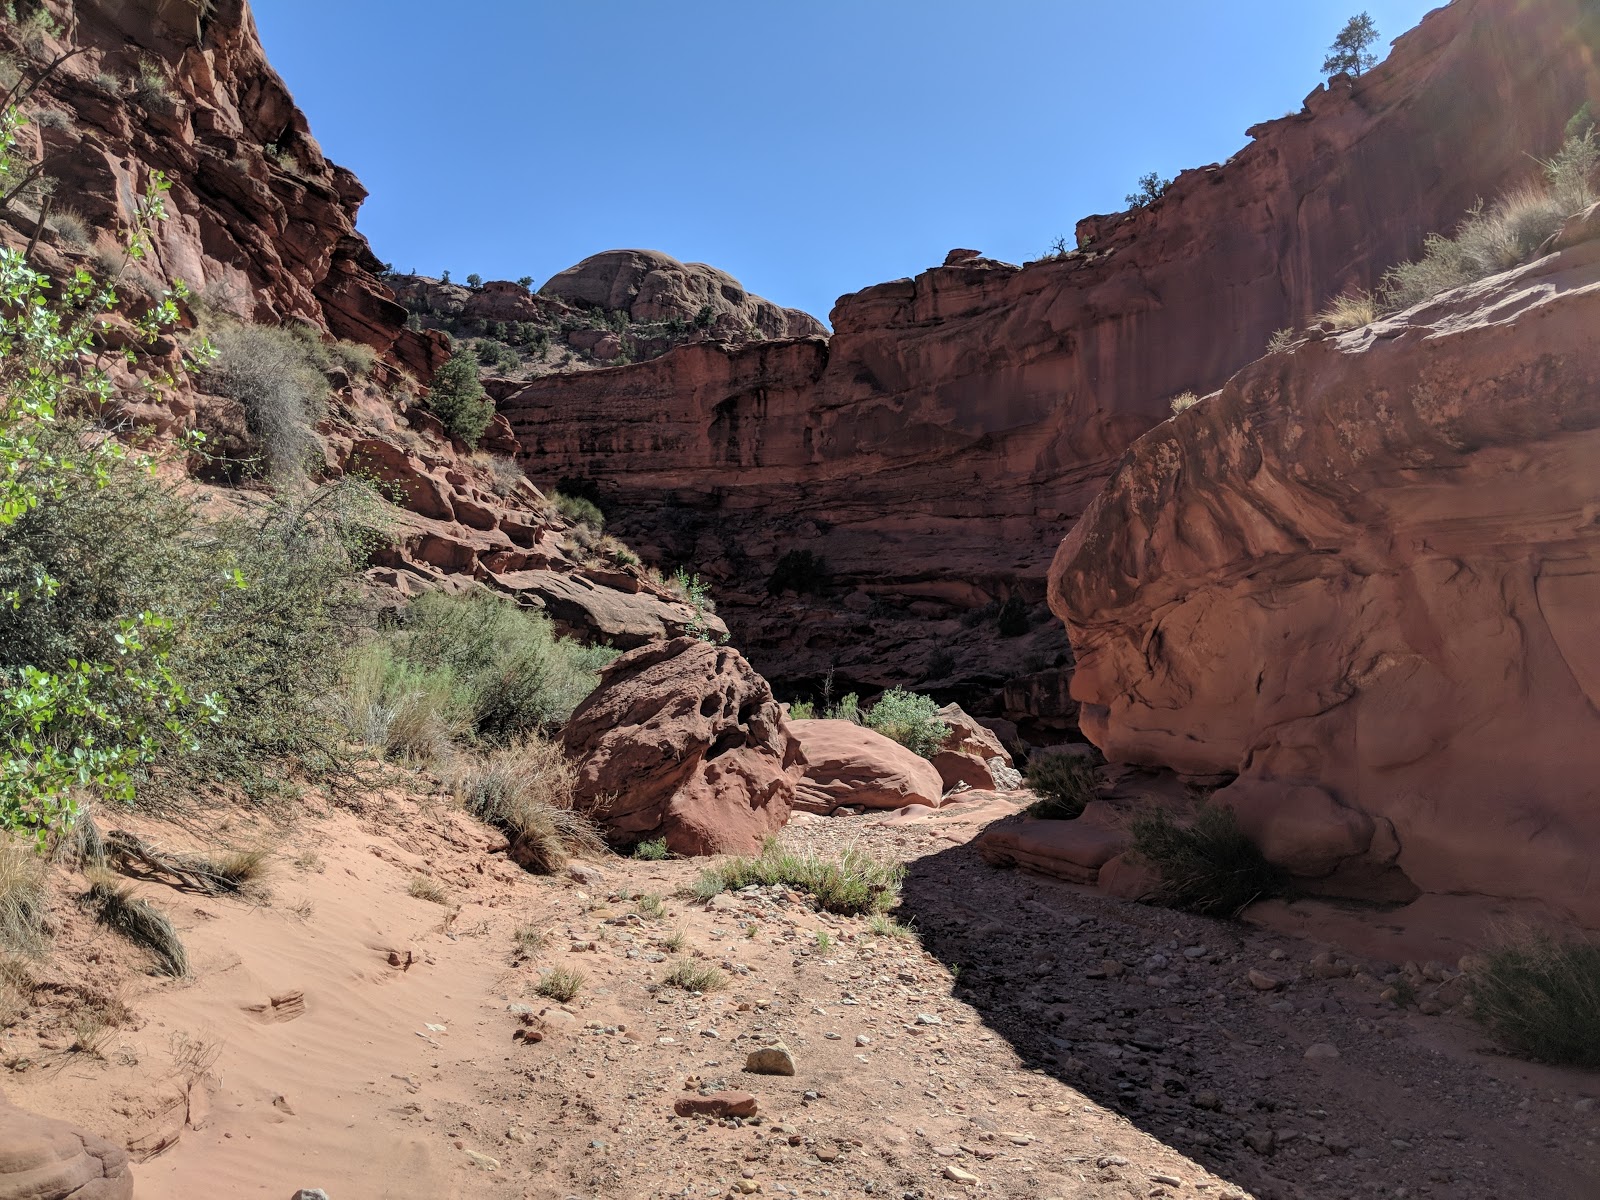
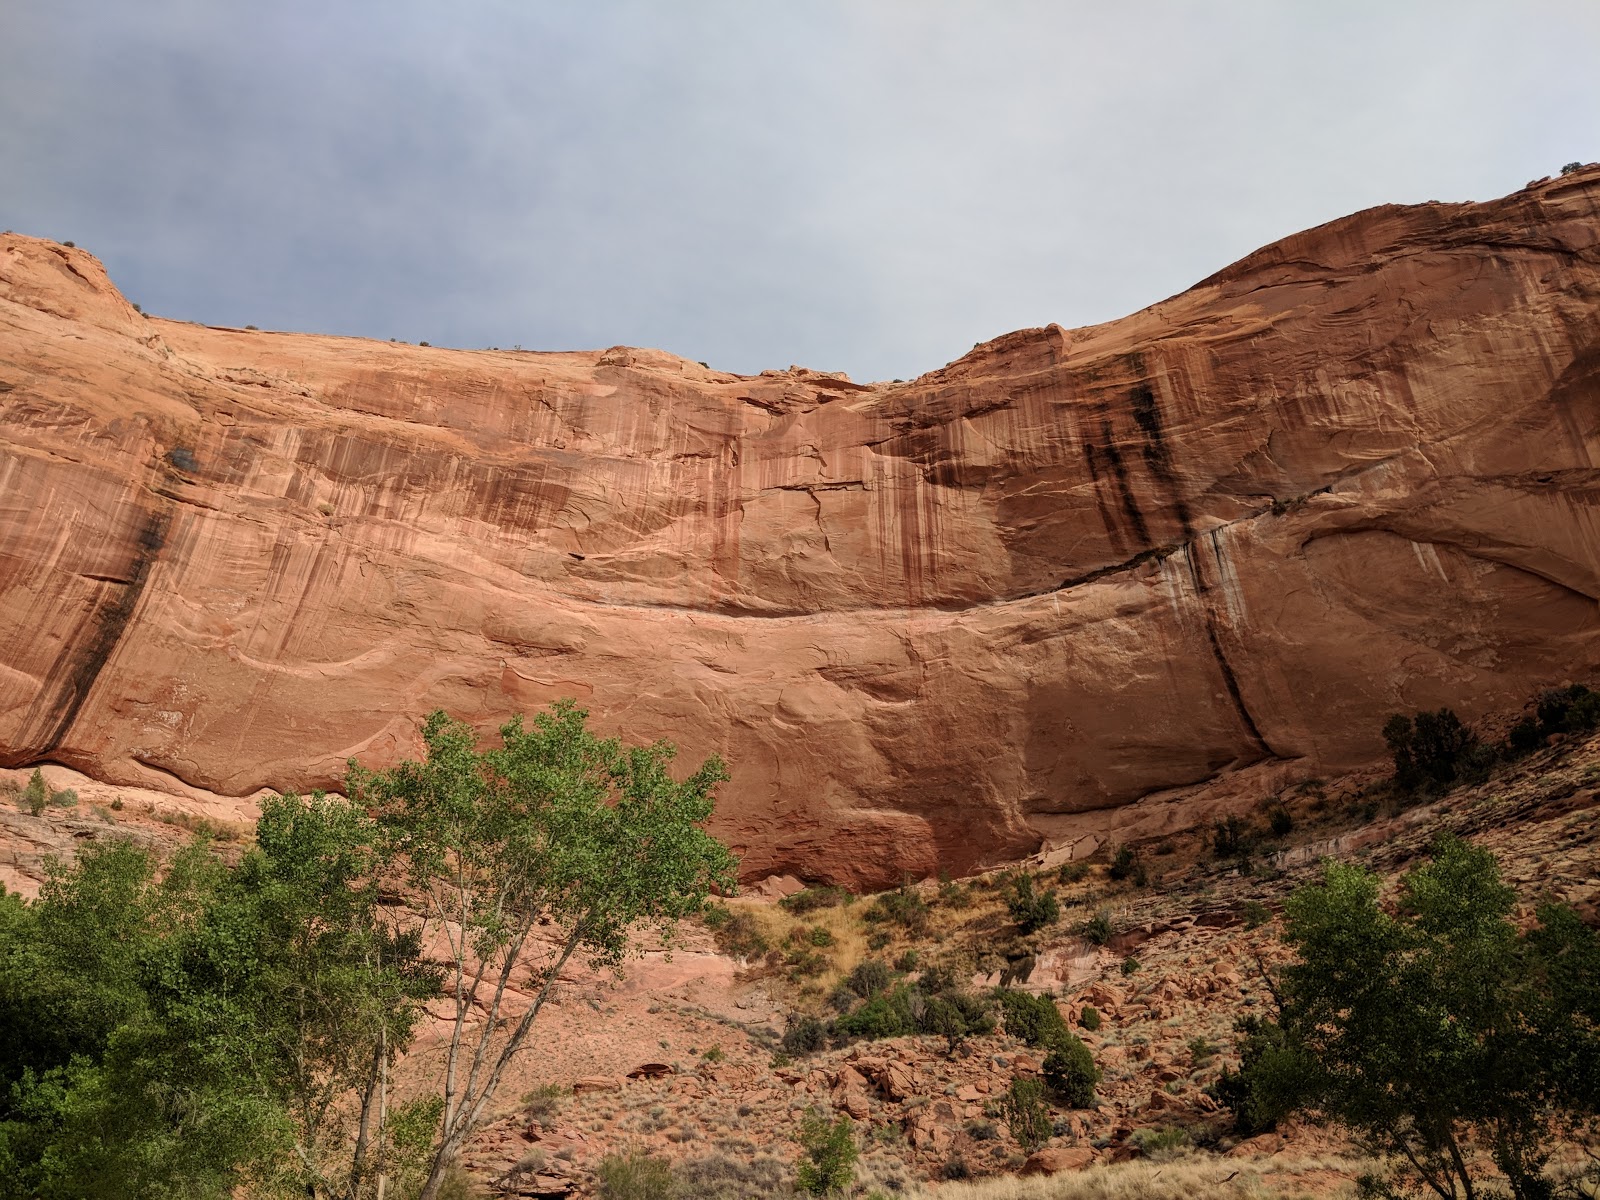
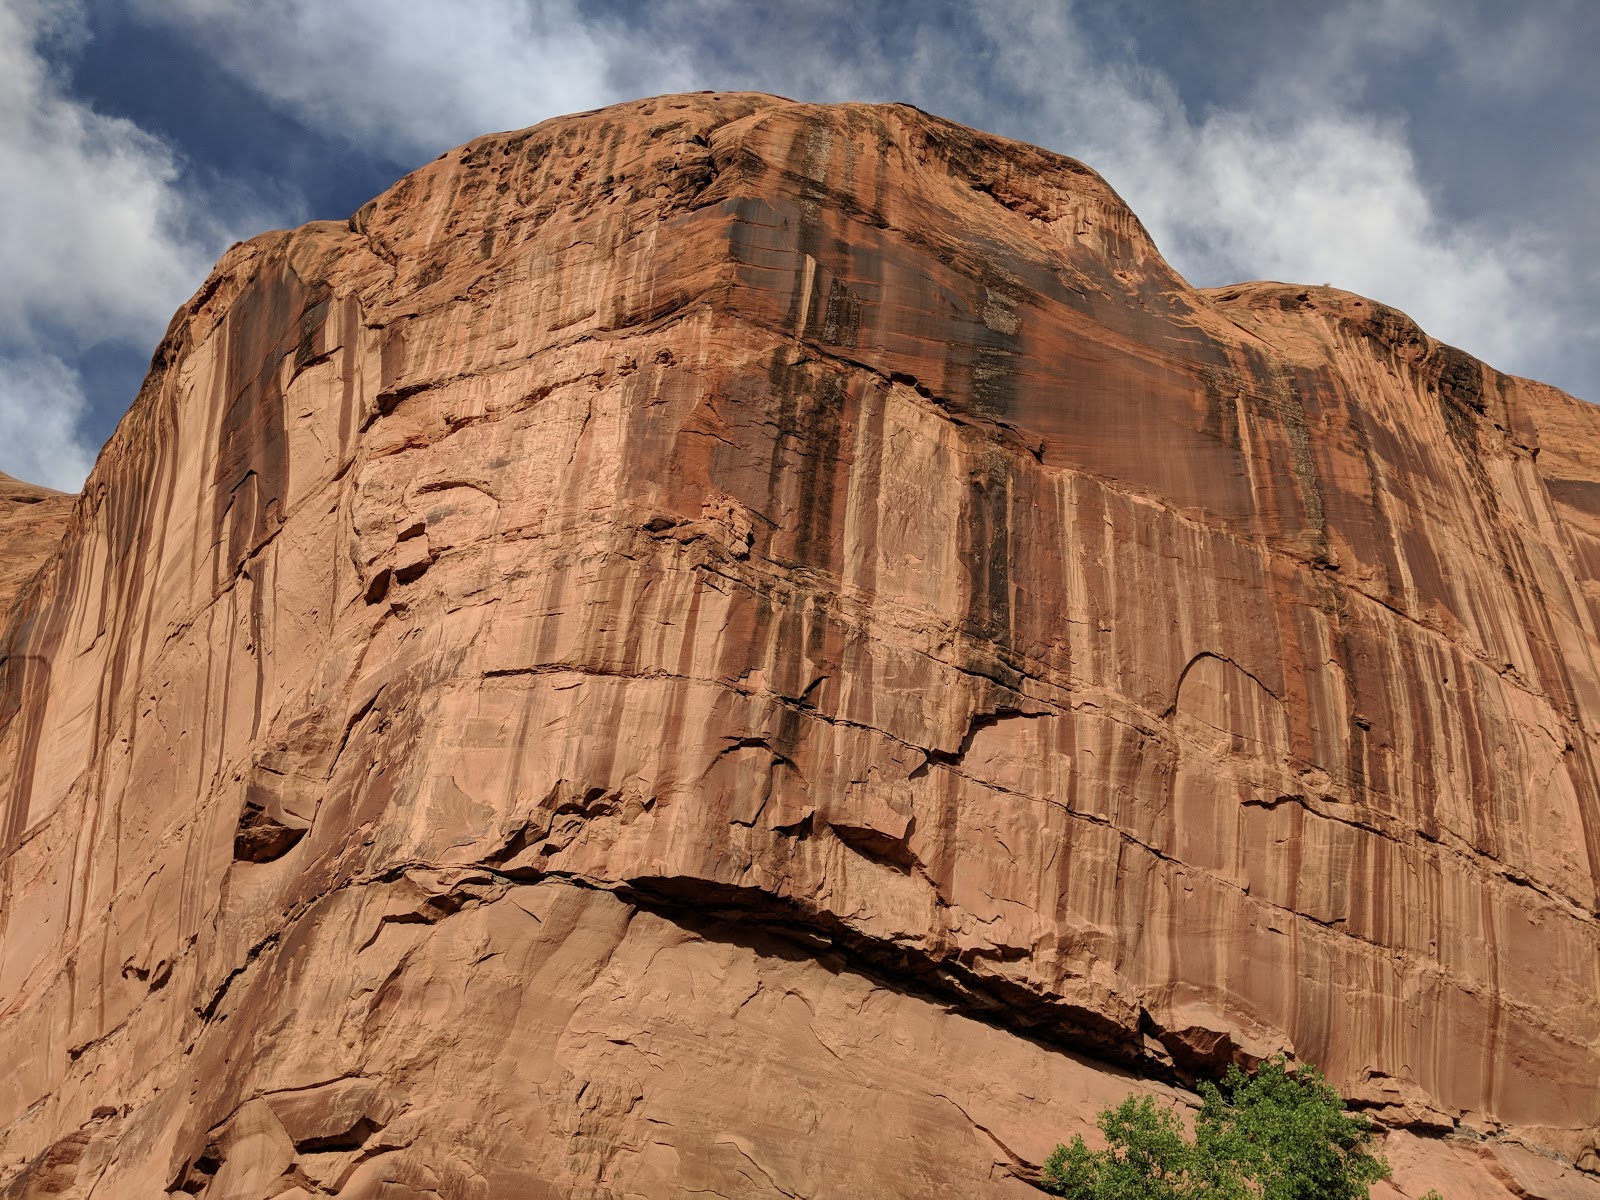
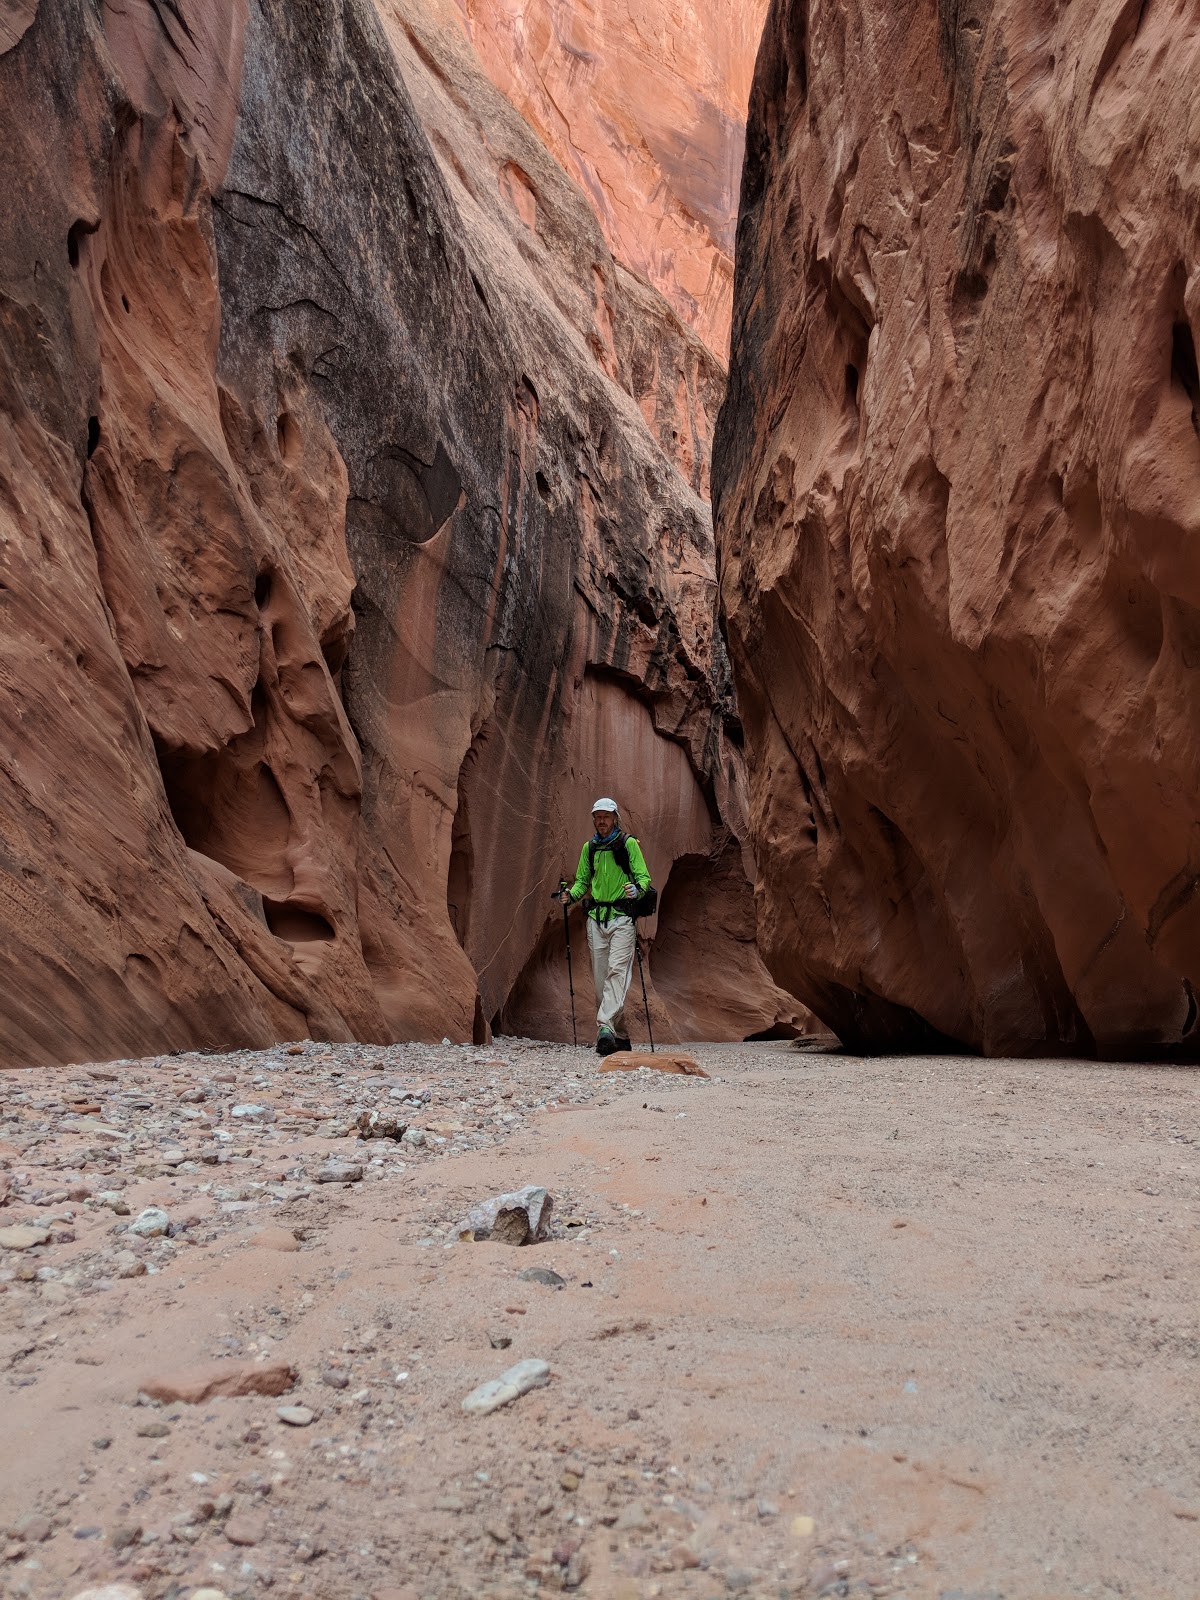
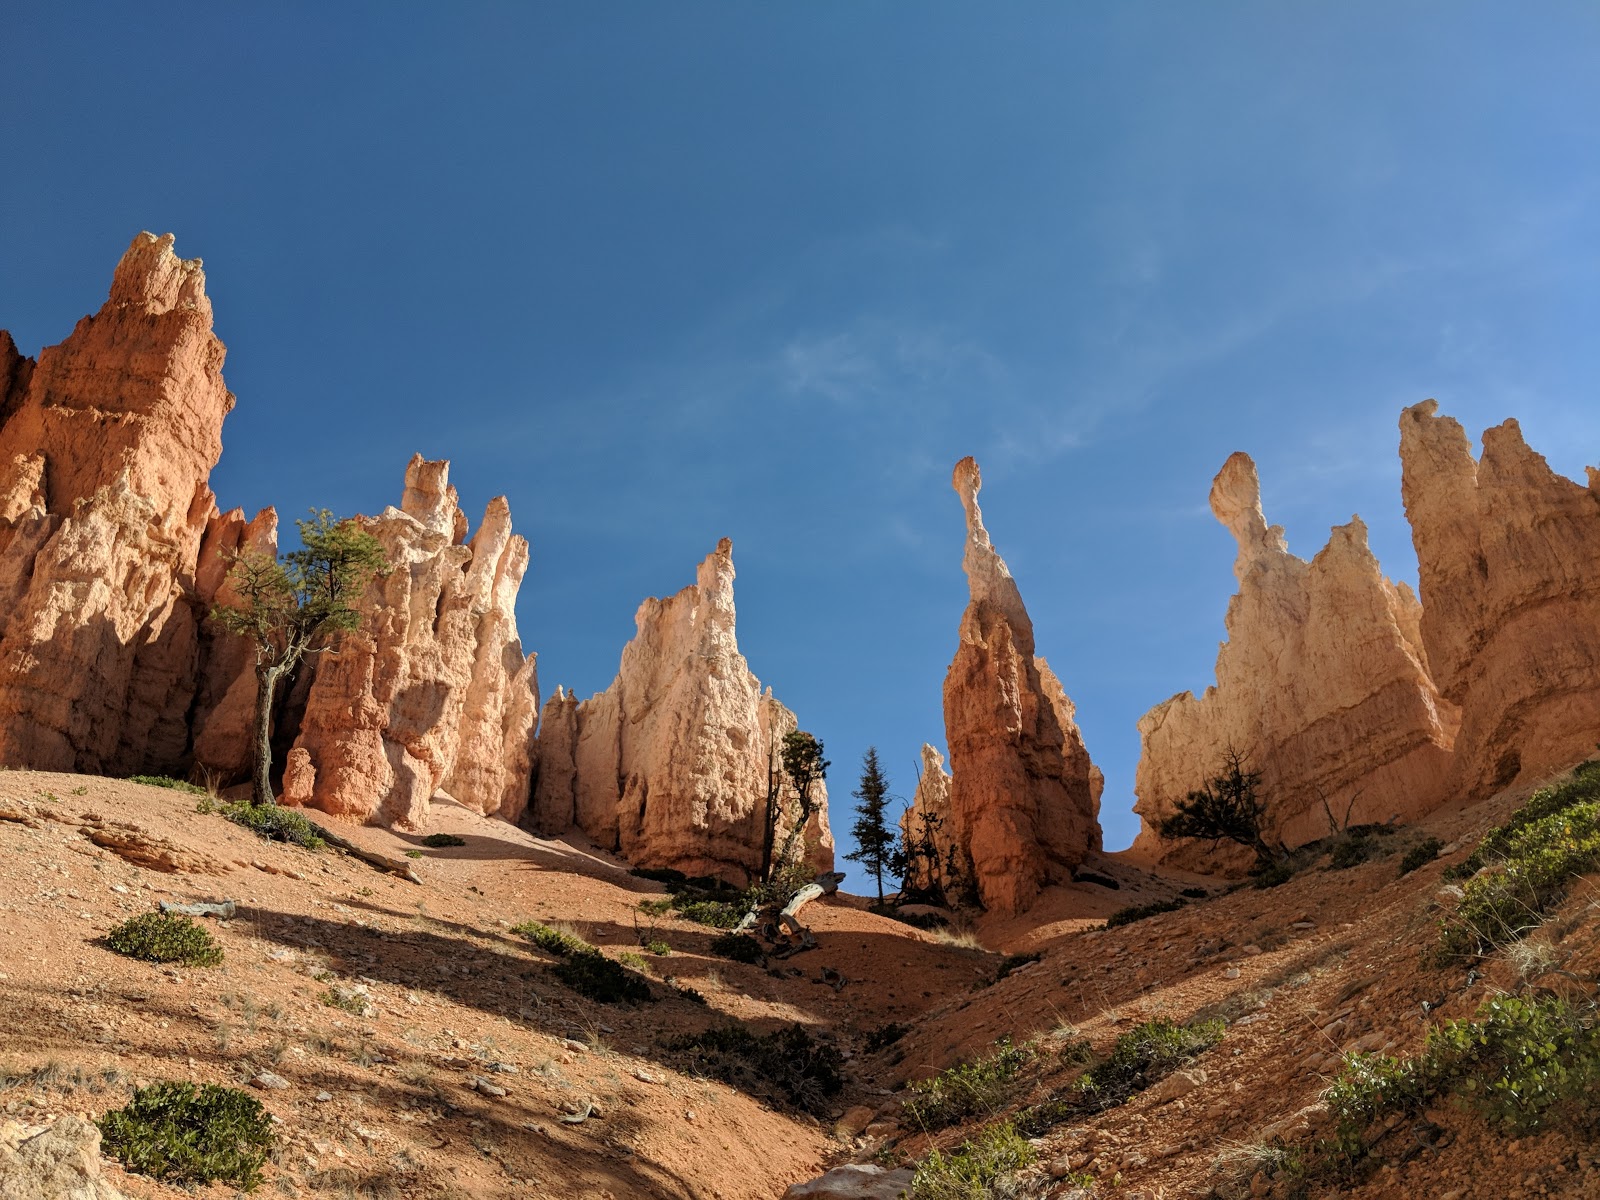
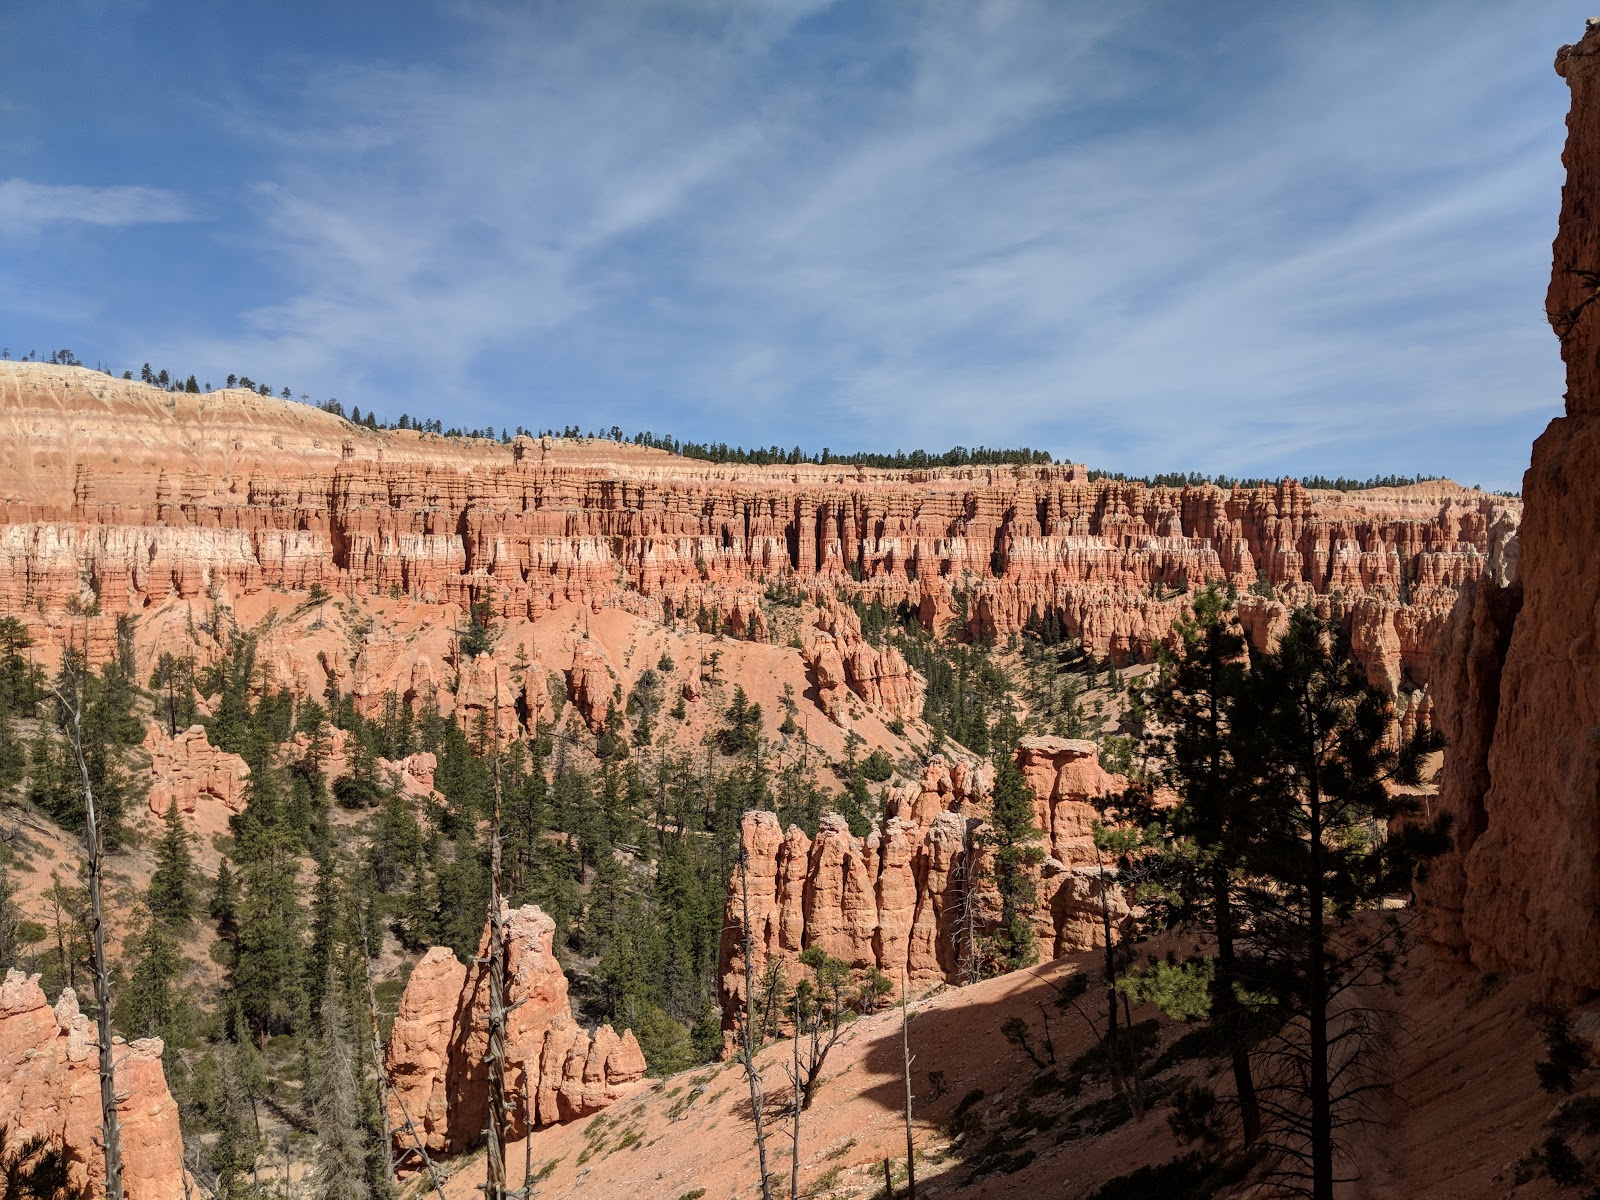
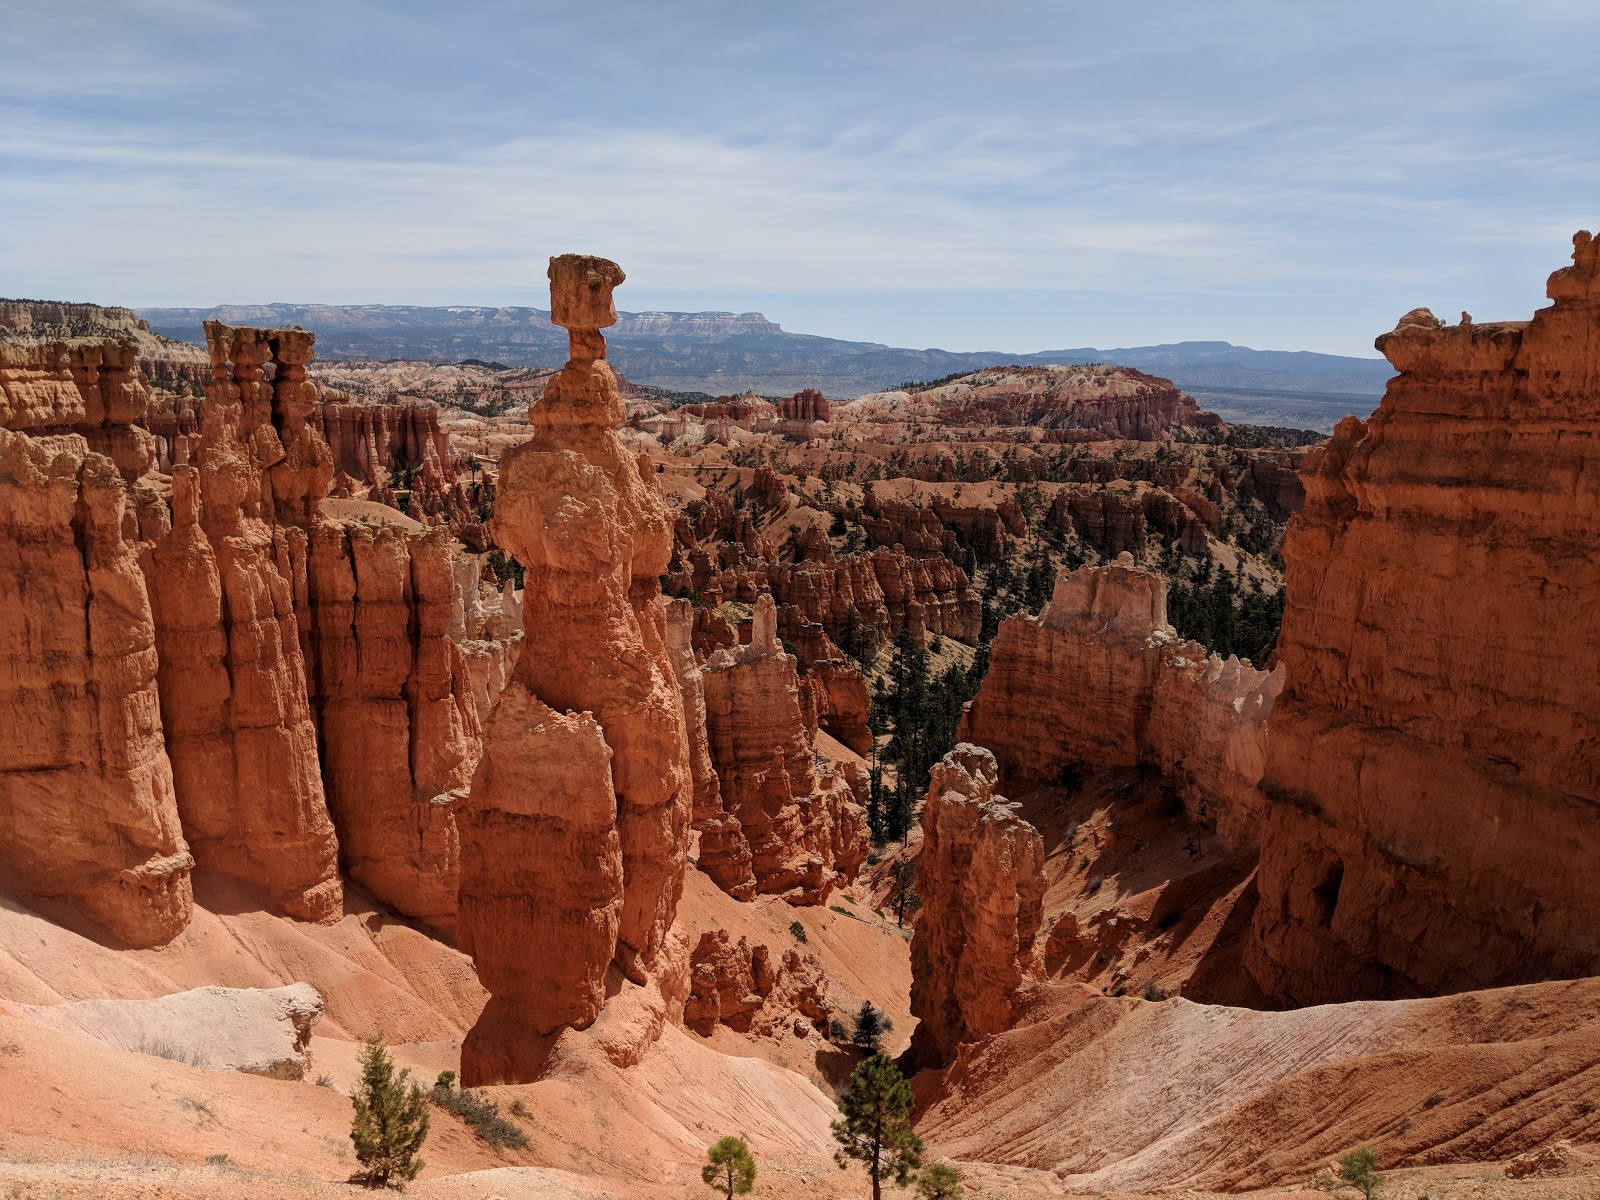
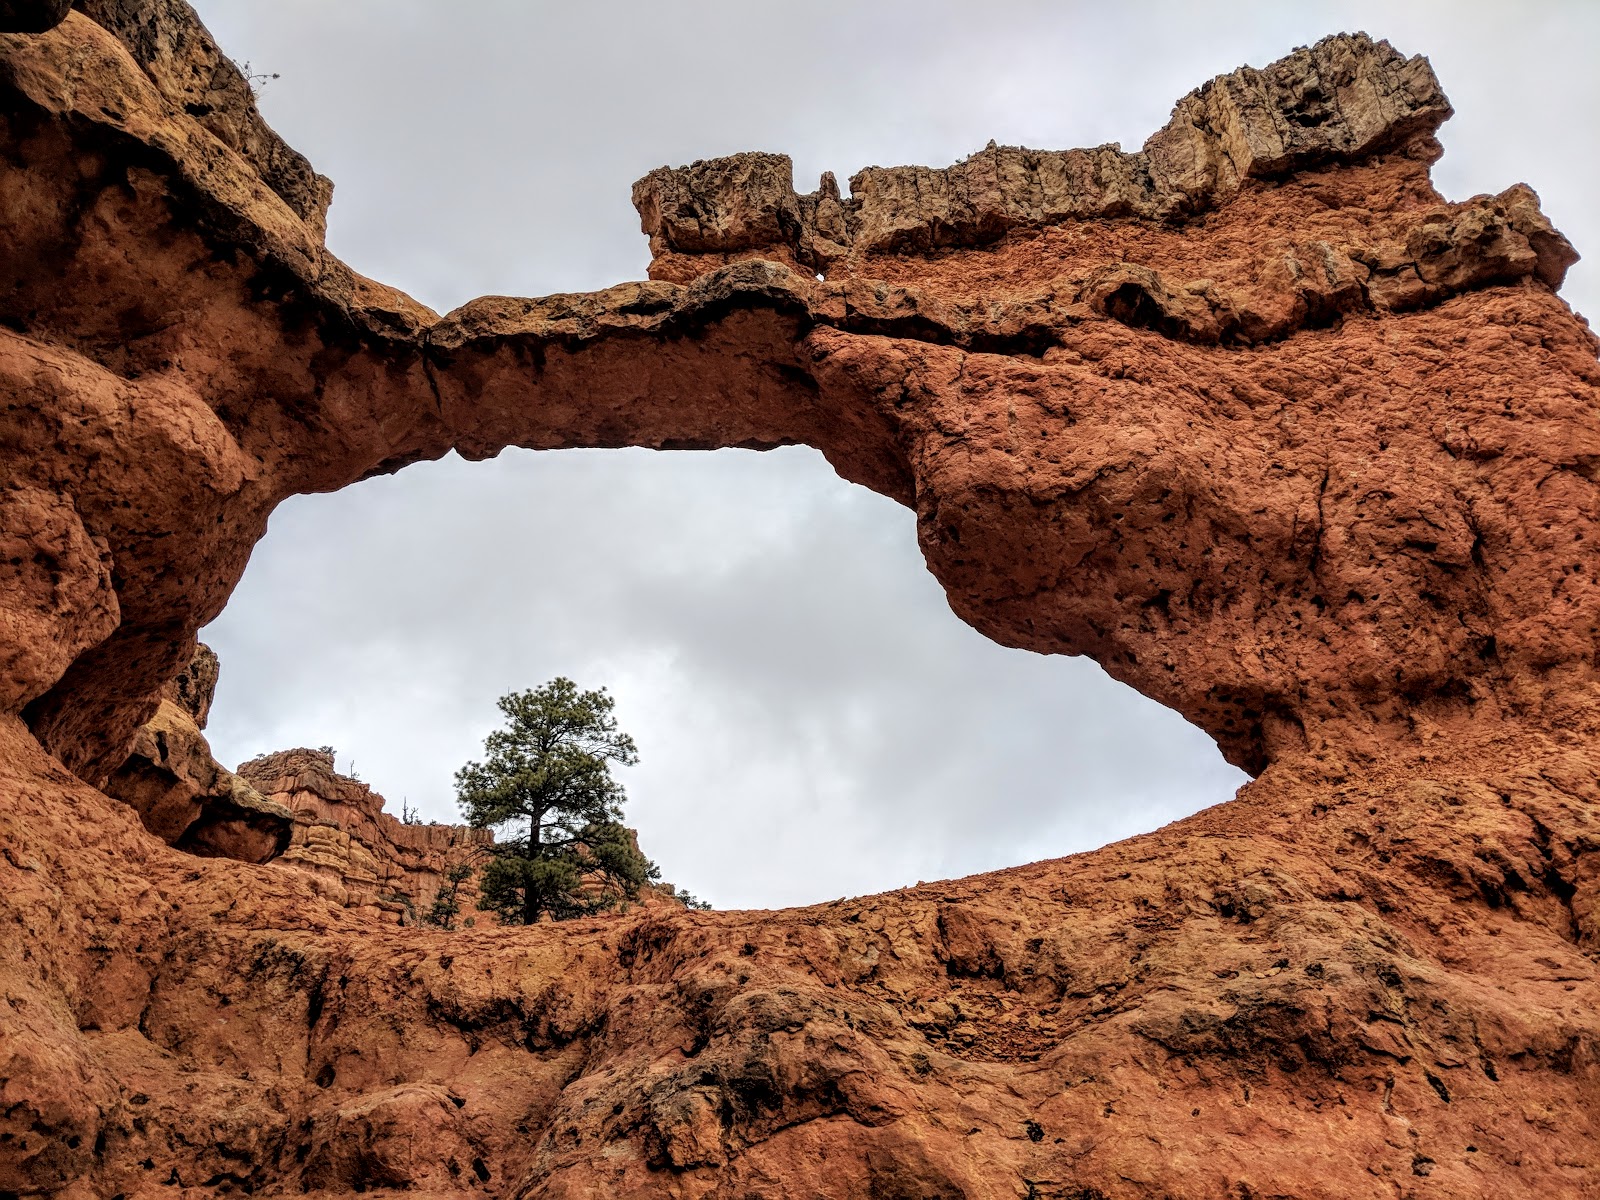
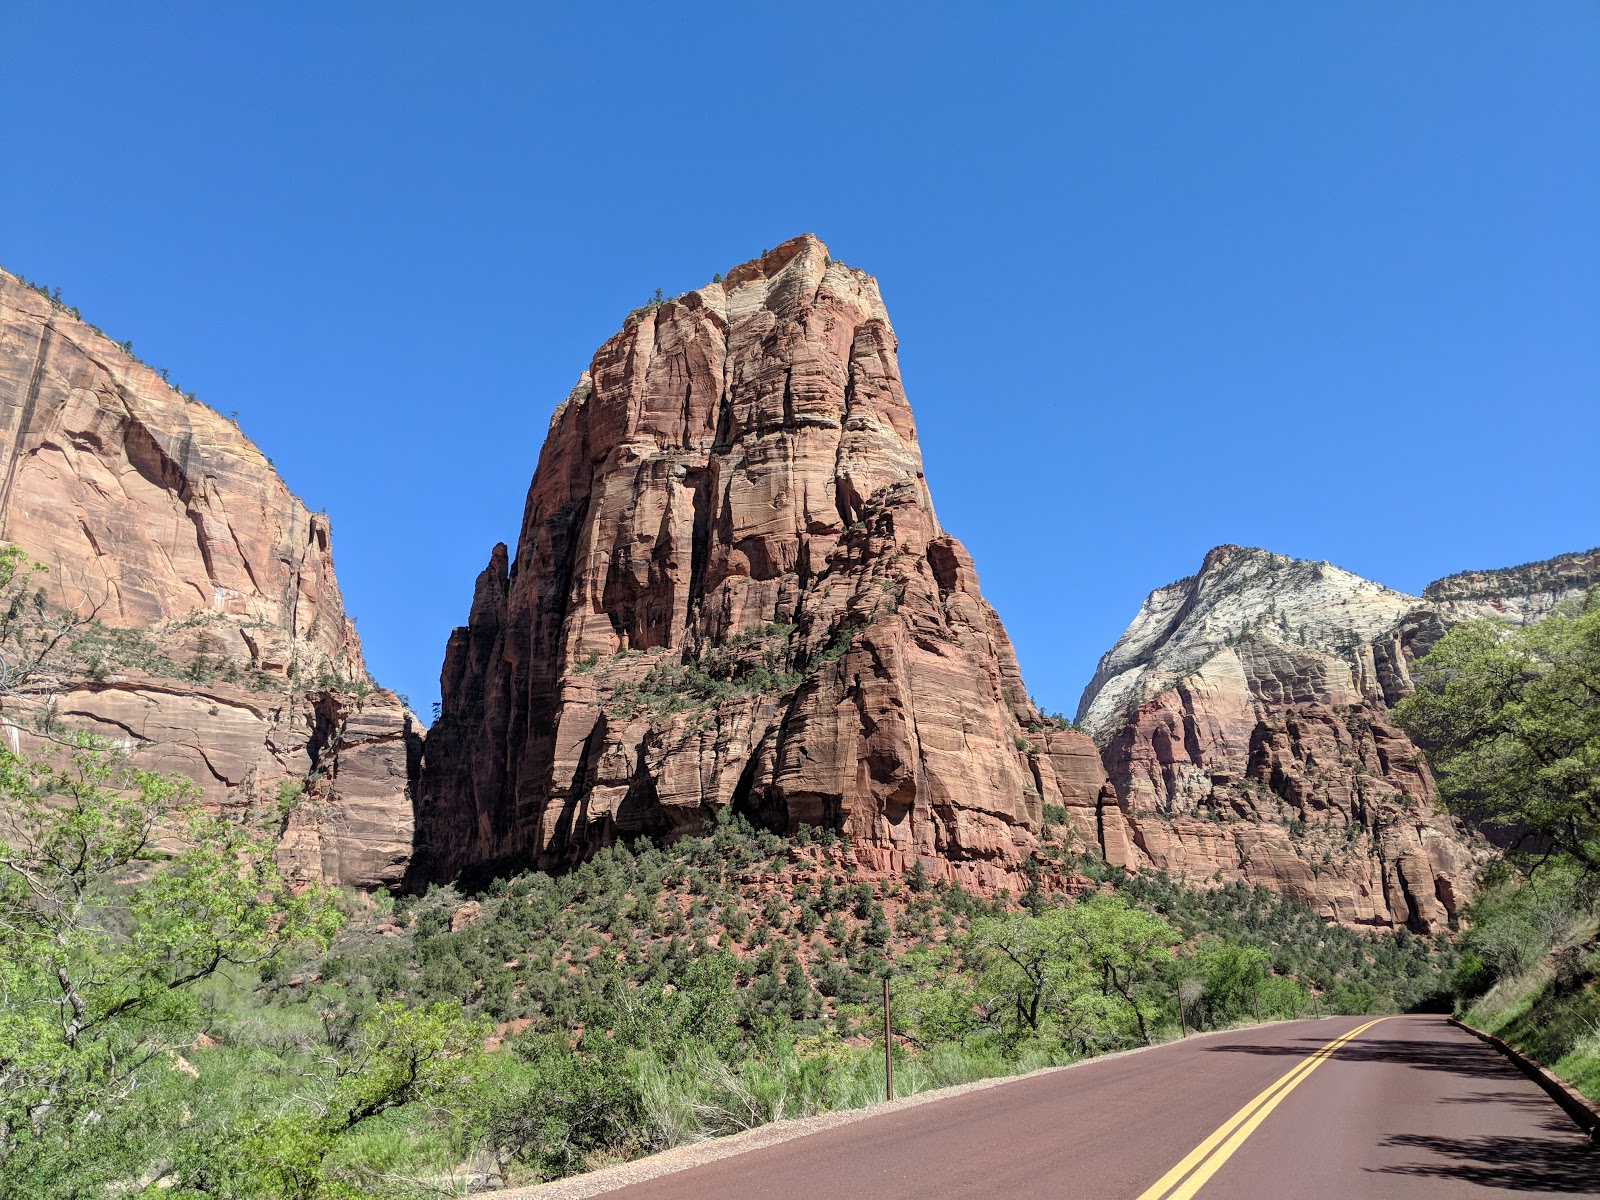
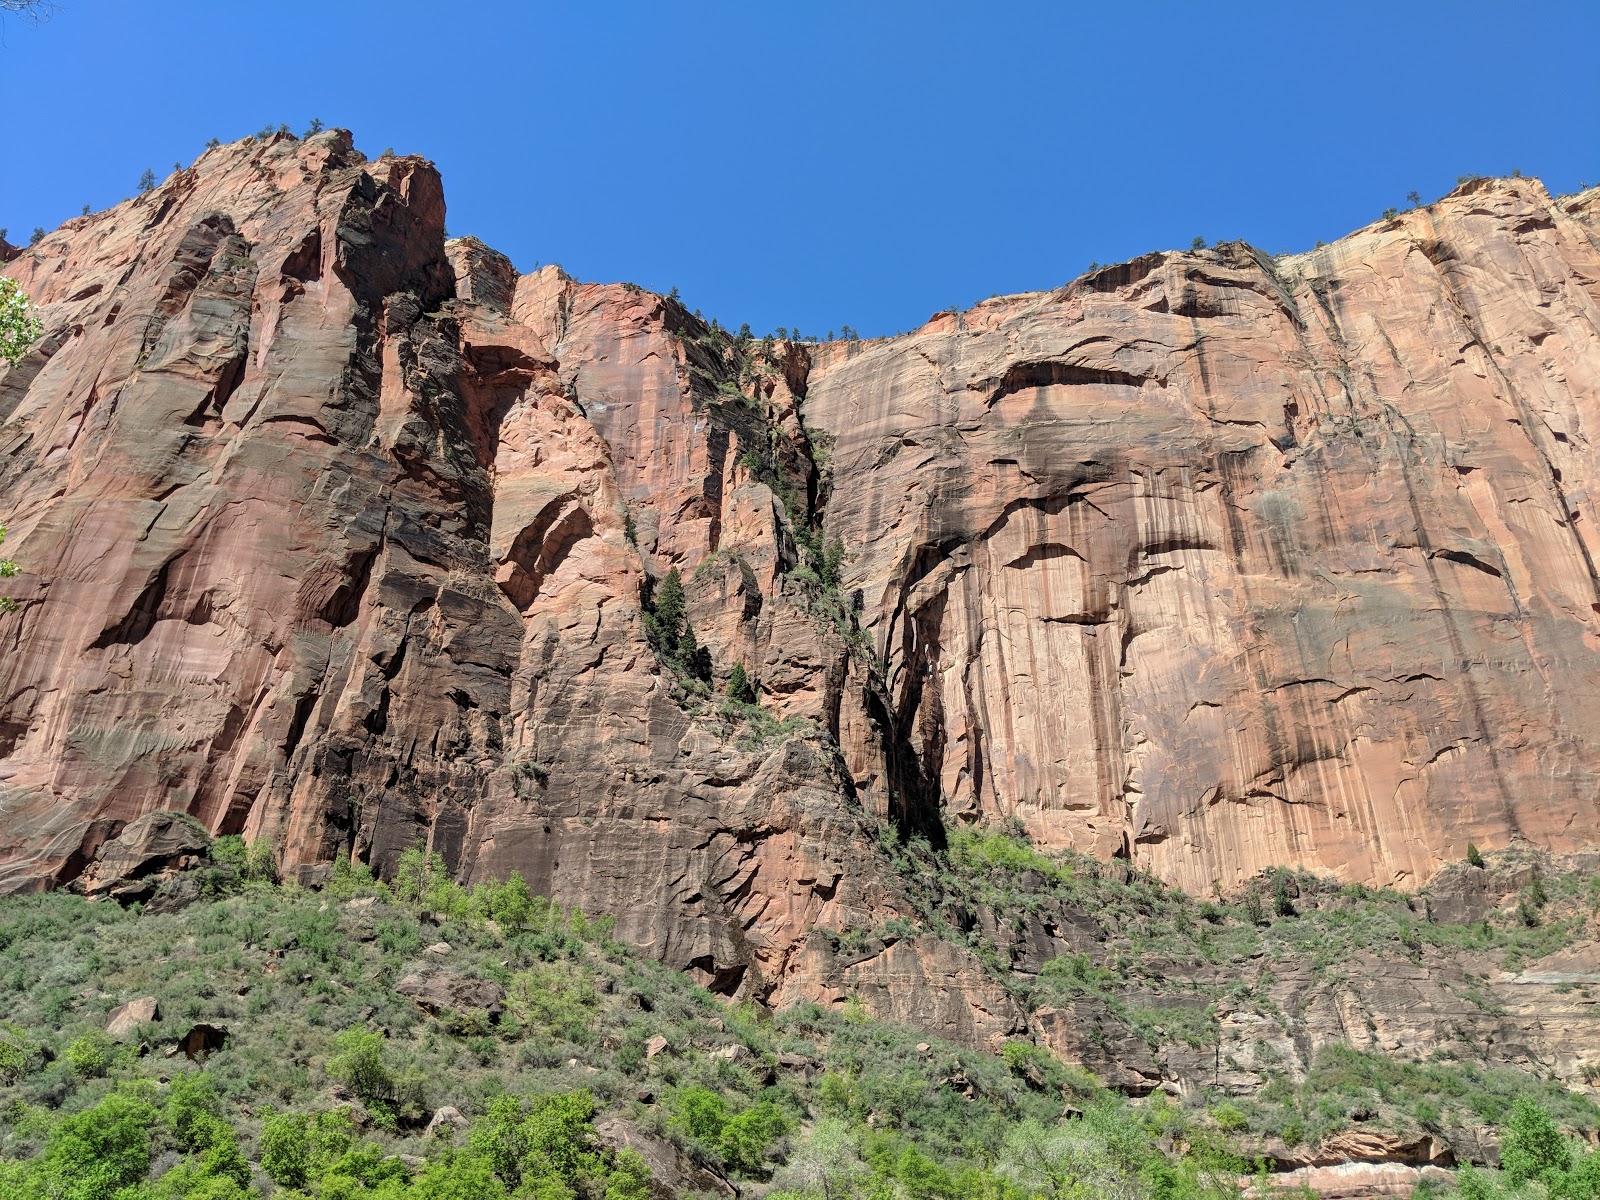
As I made my way down the canyon the cliff walls became more dramatic.
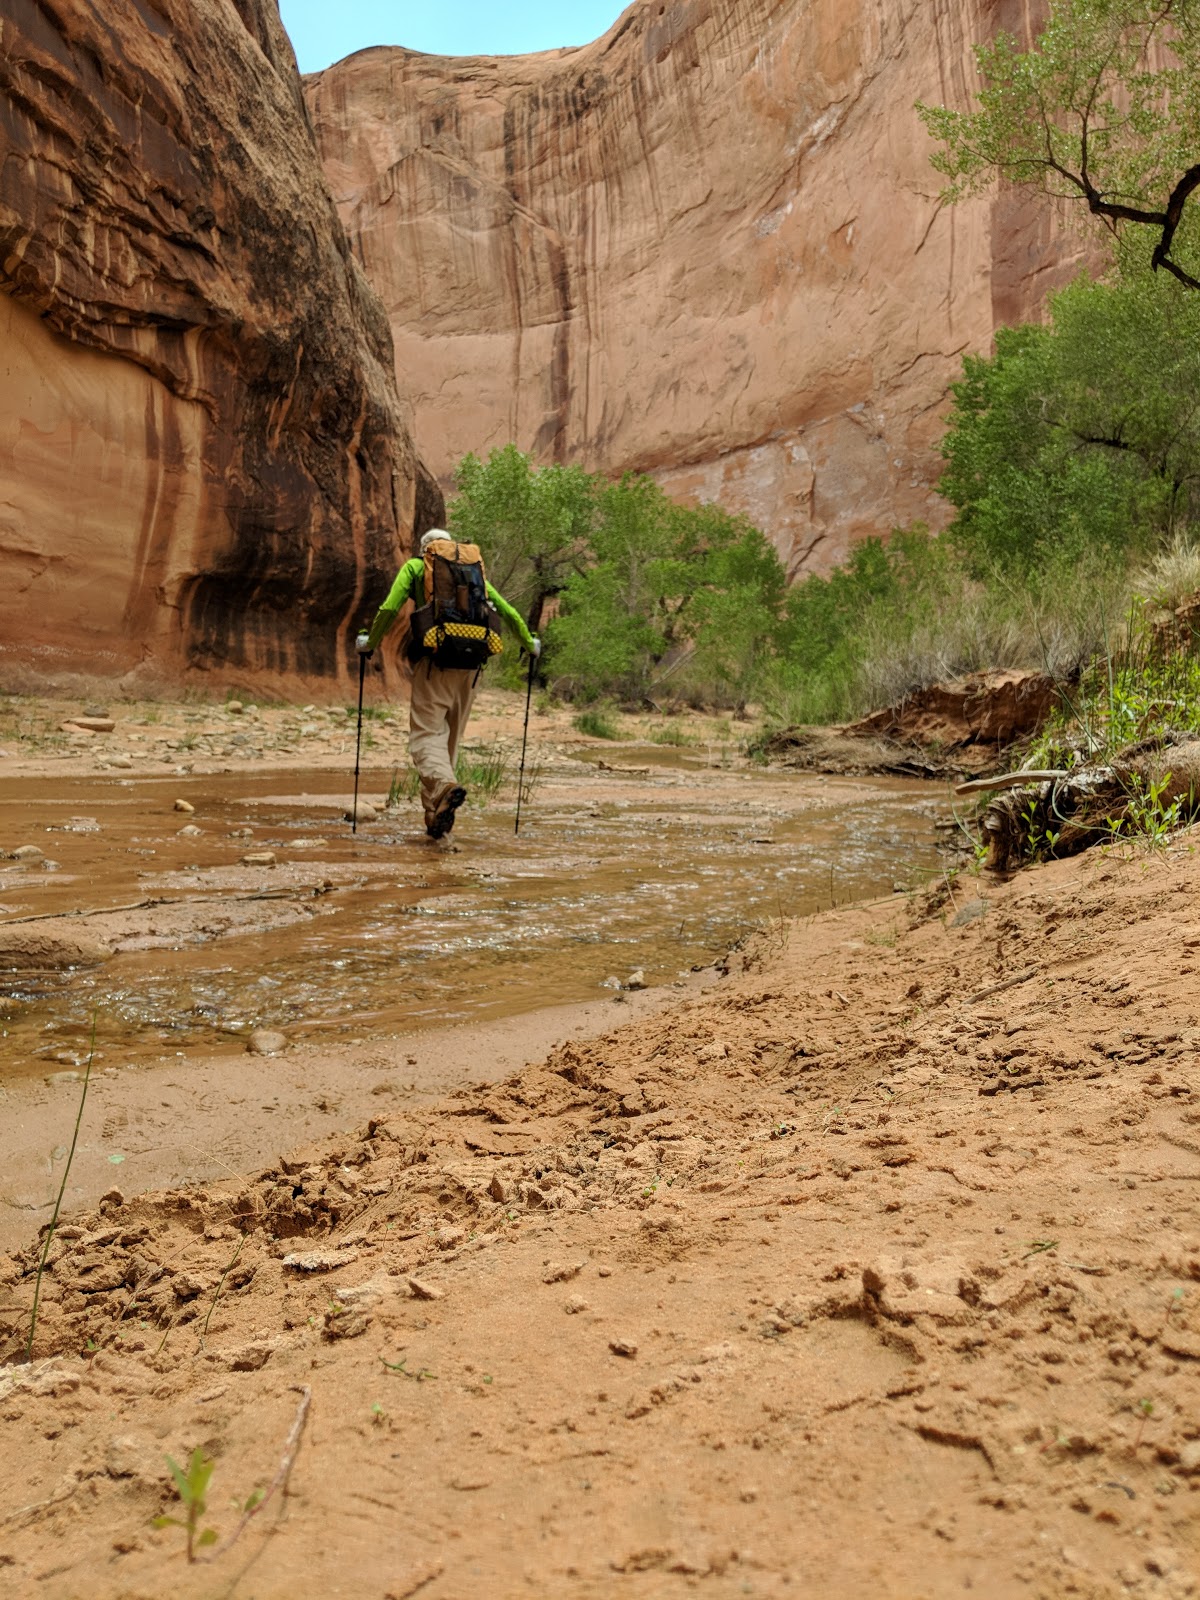
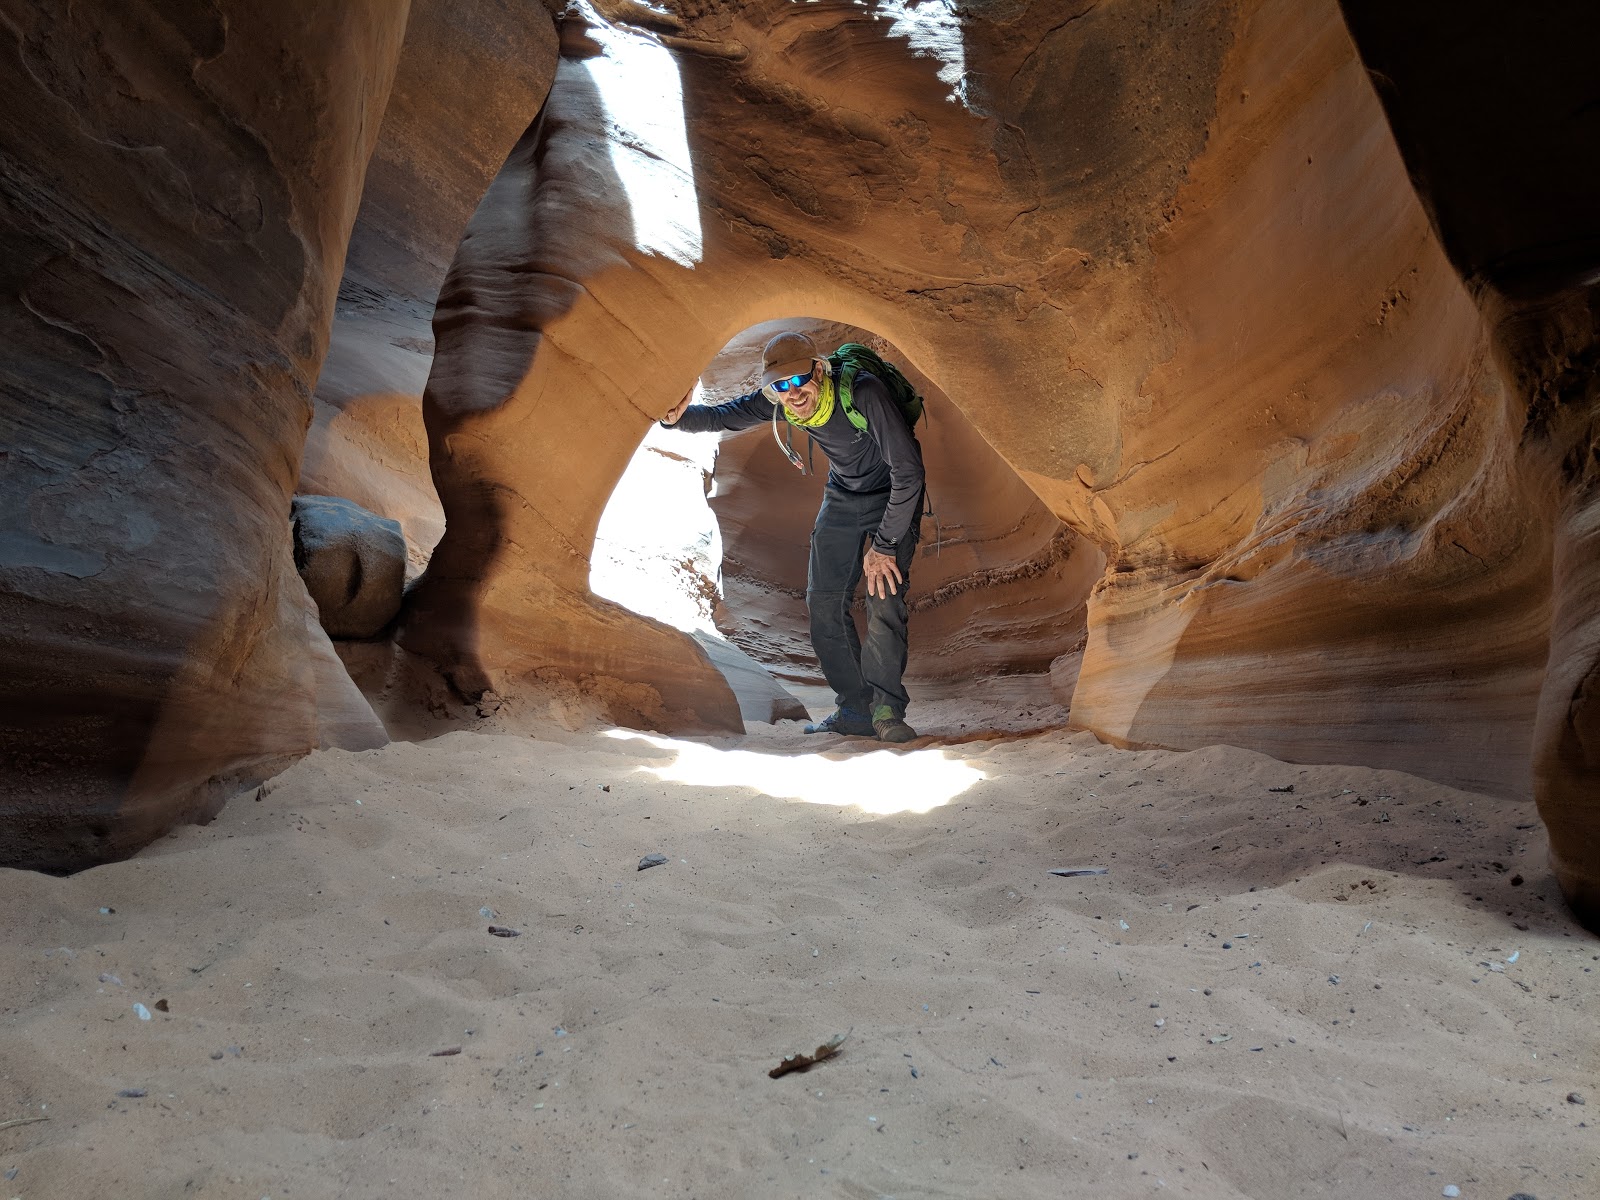
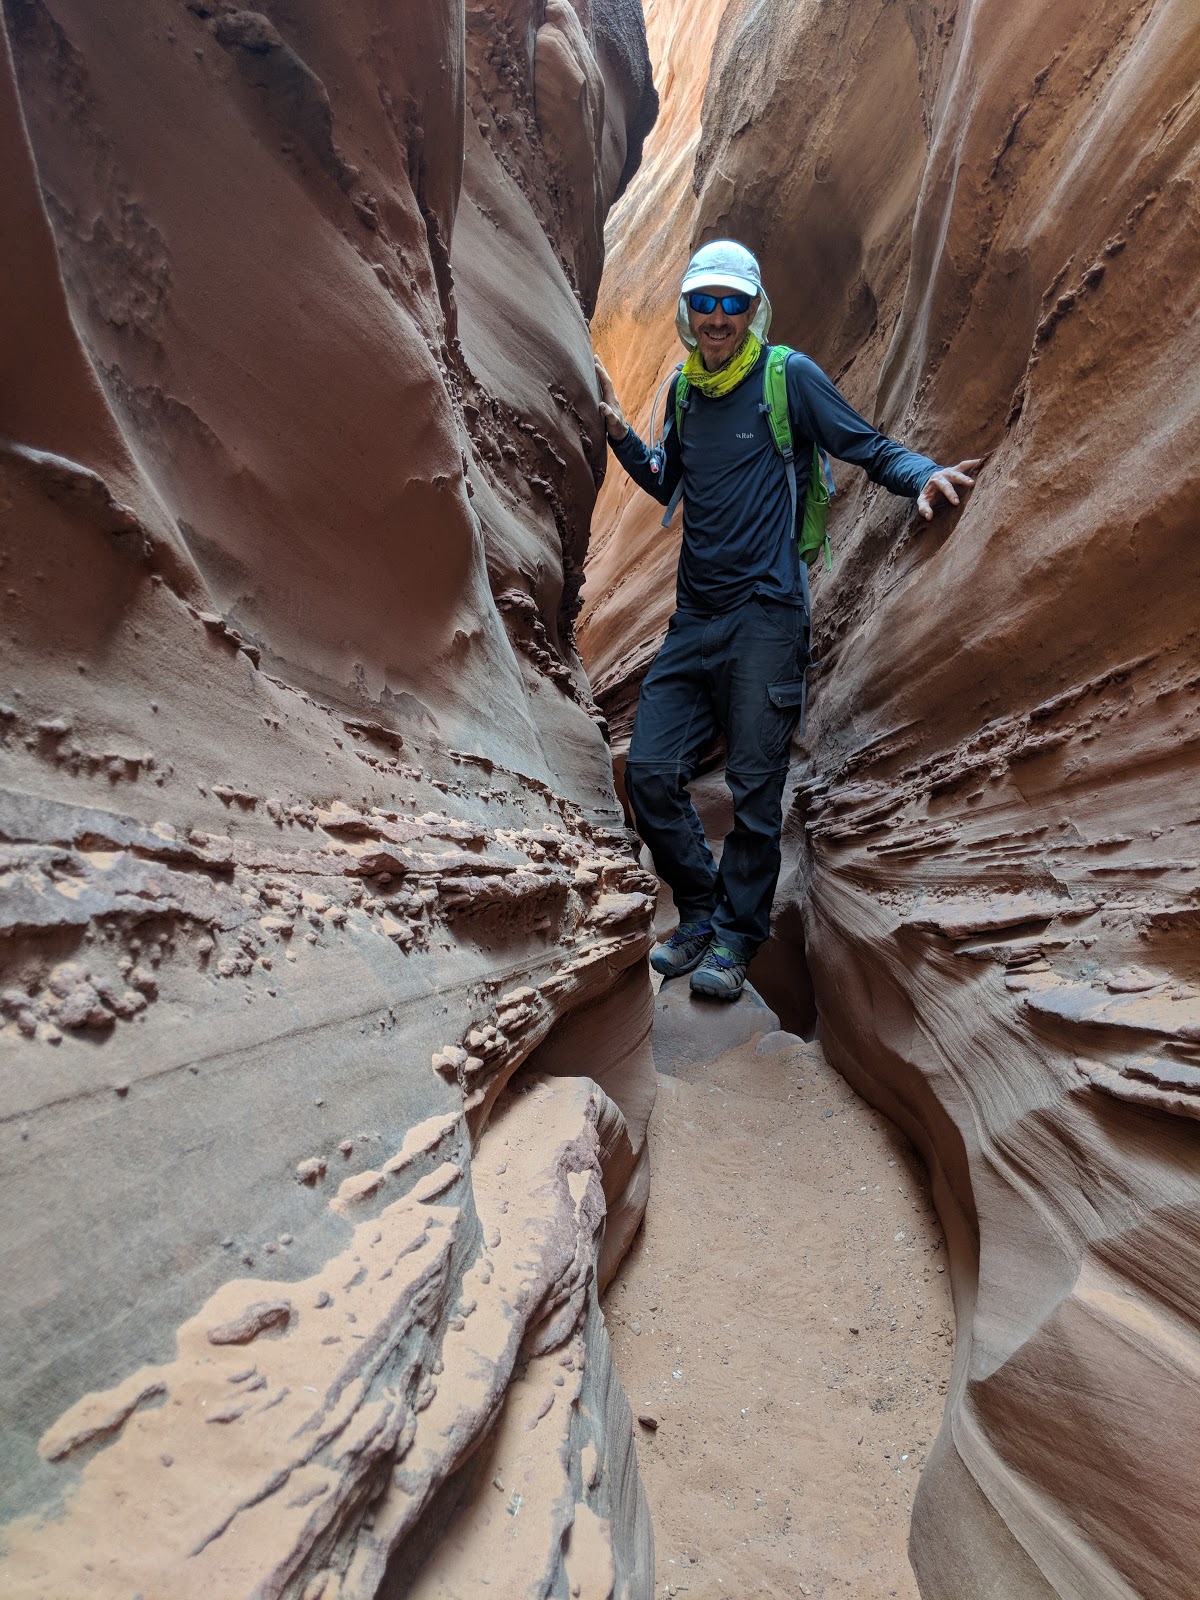
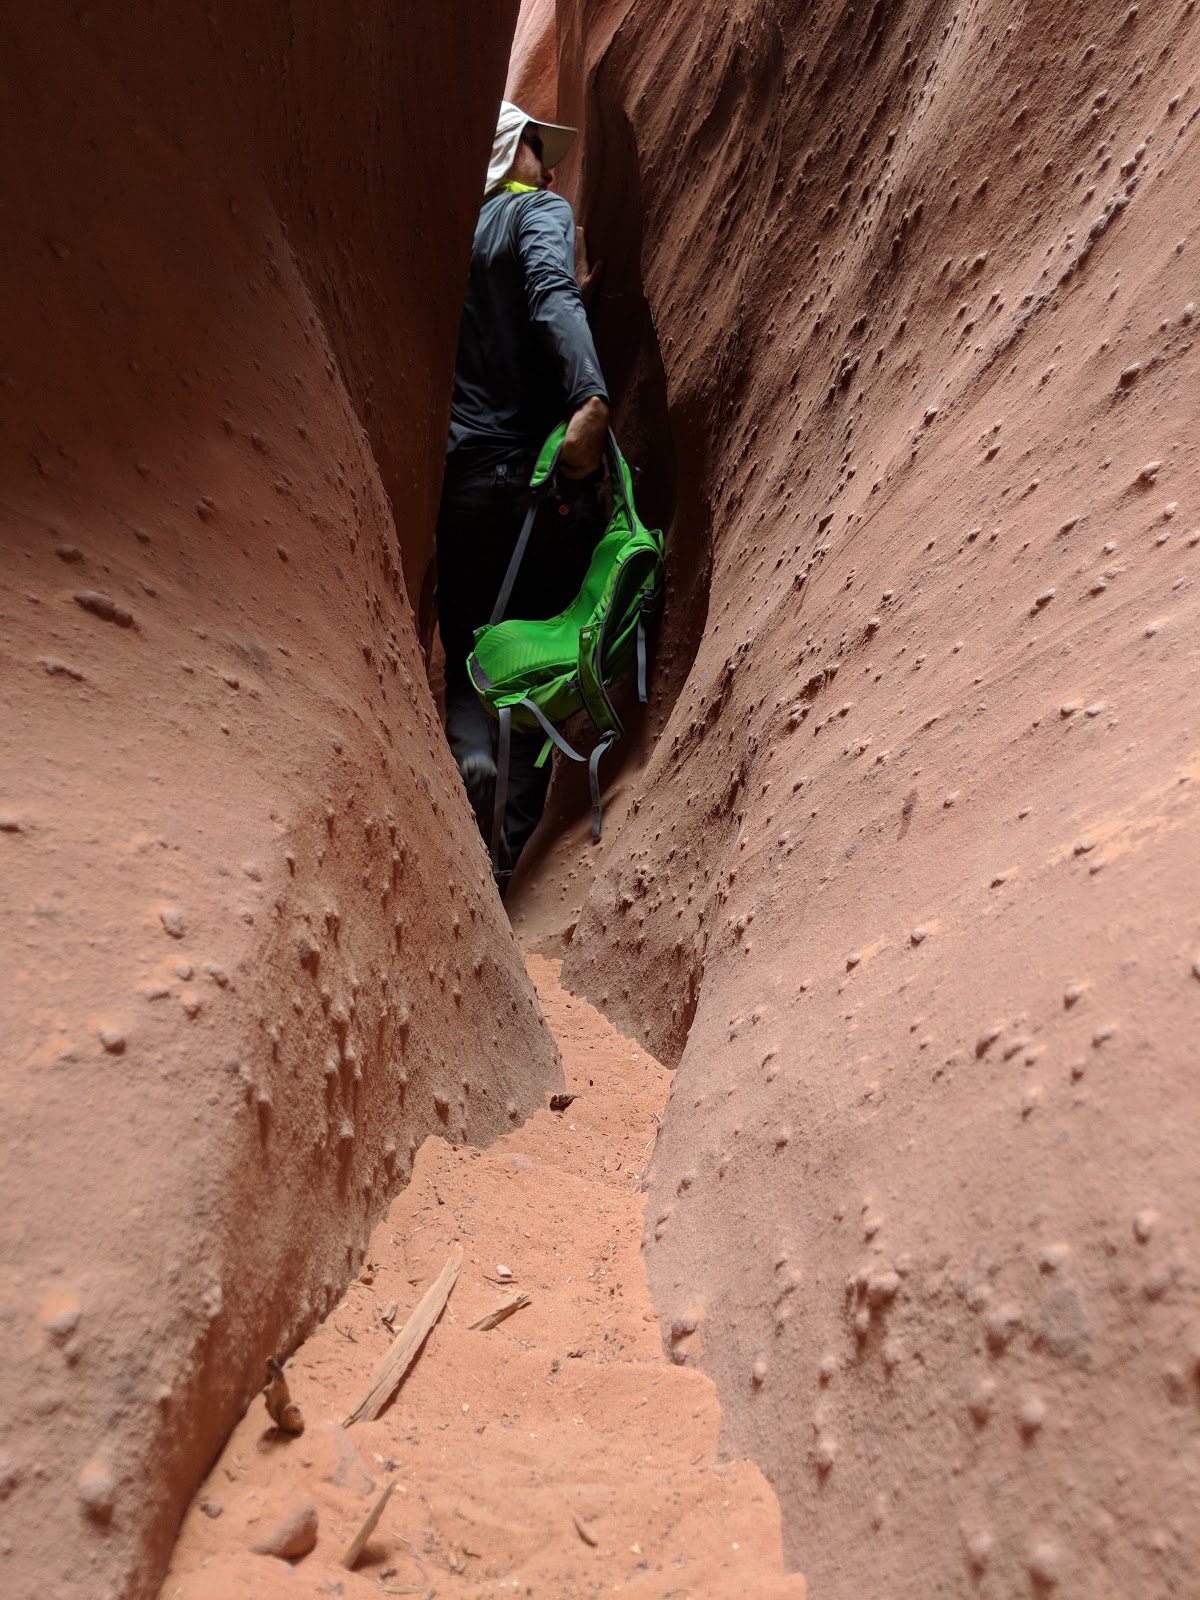
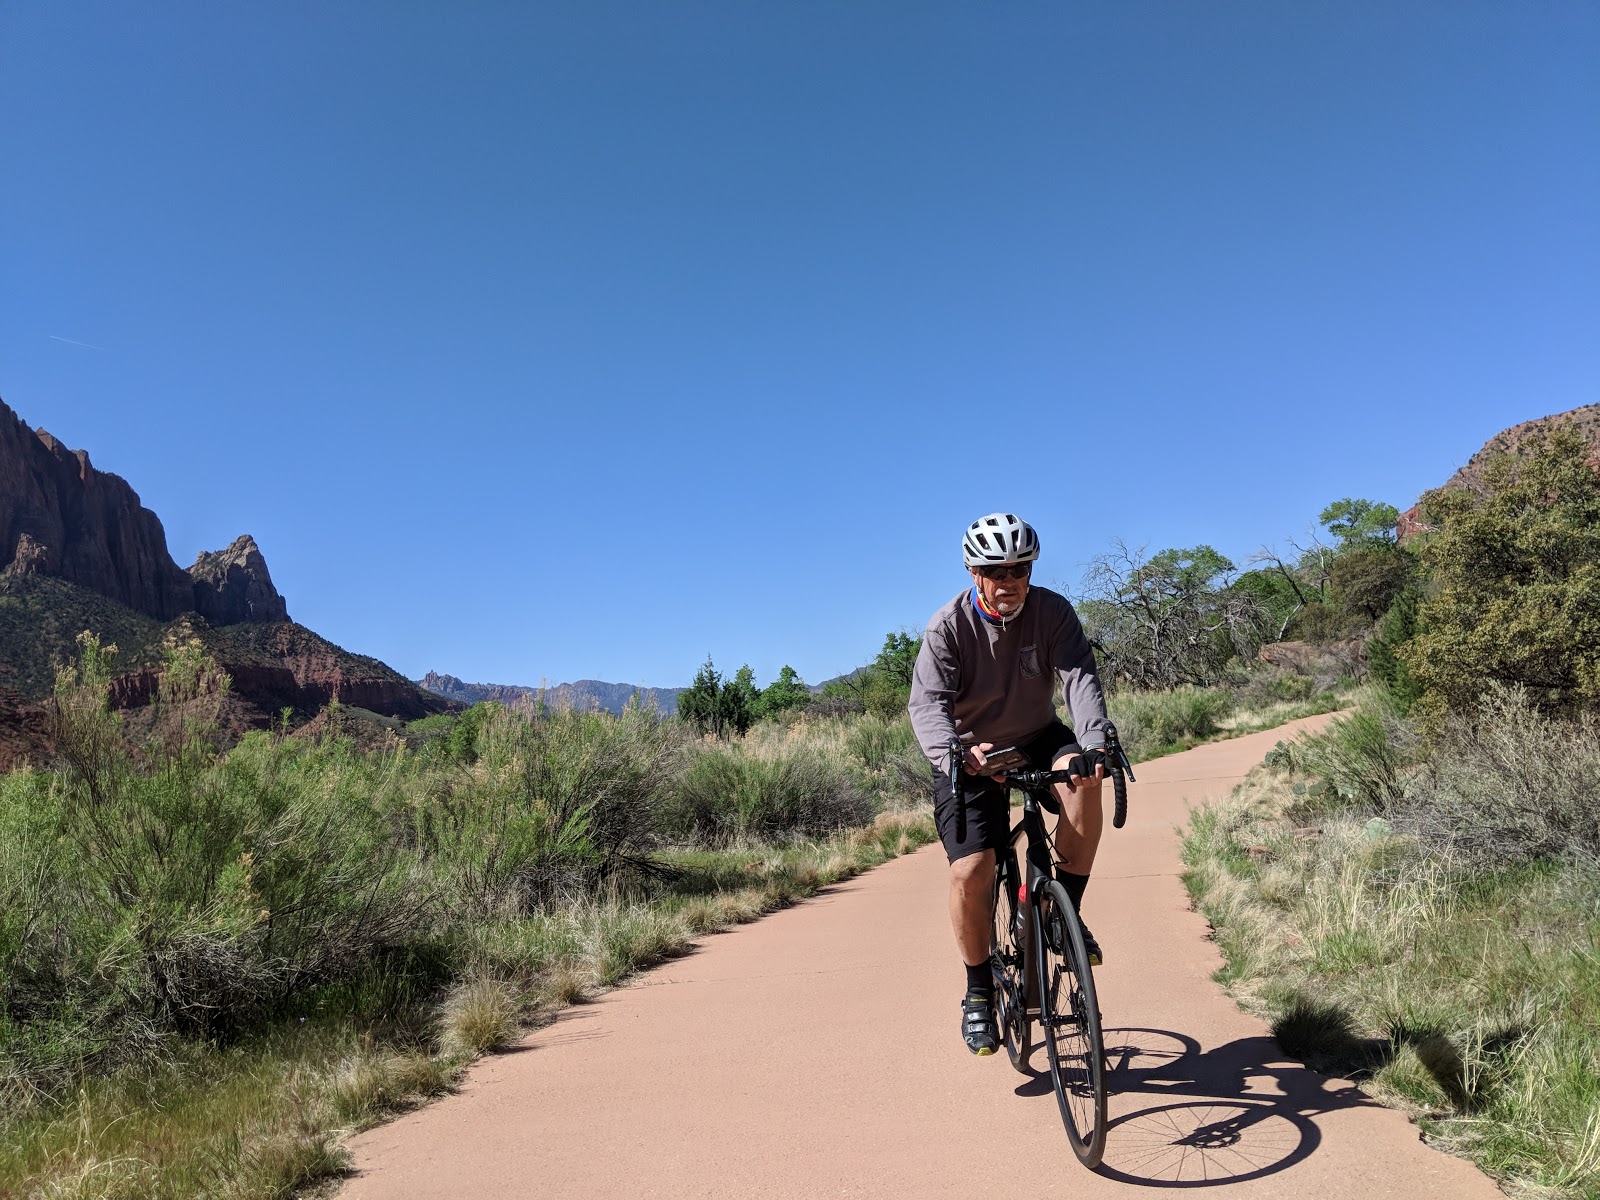
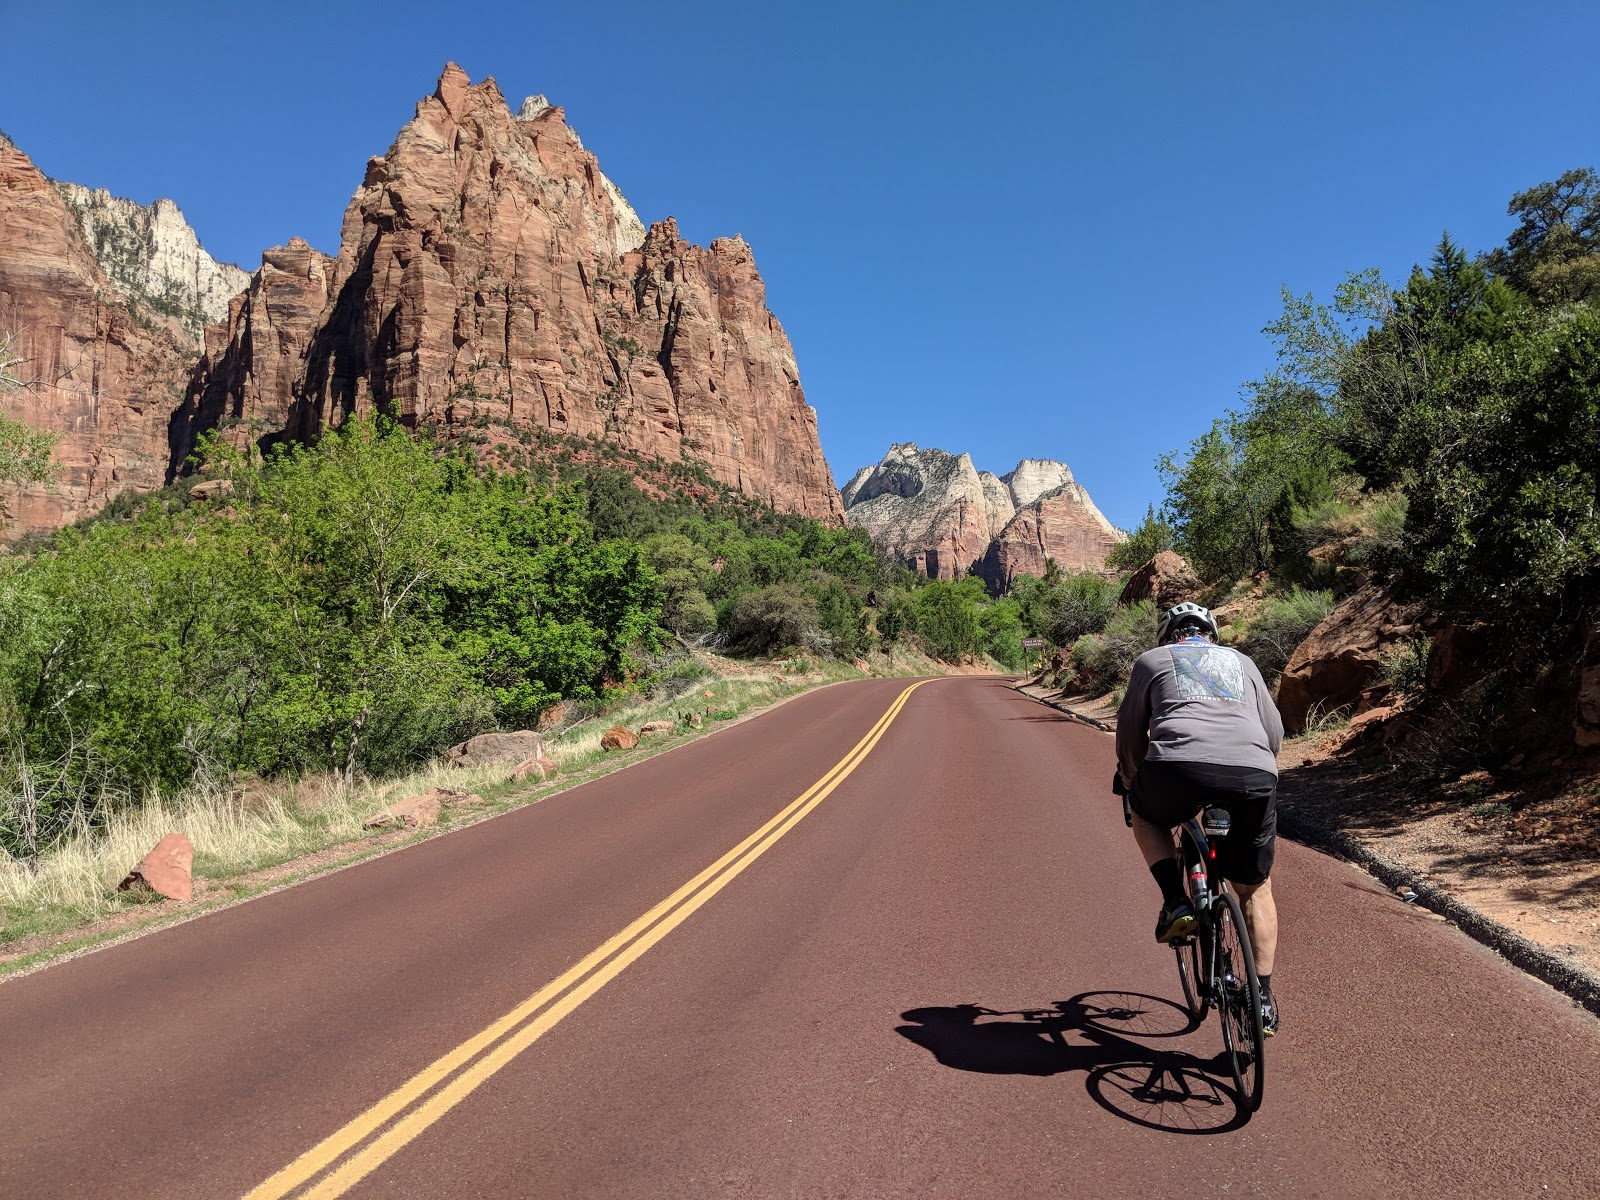
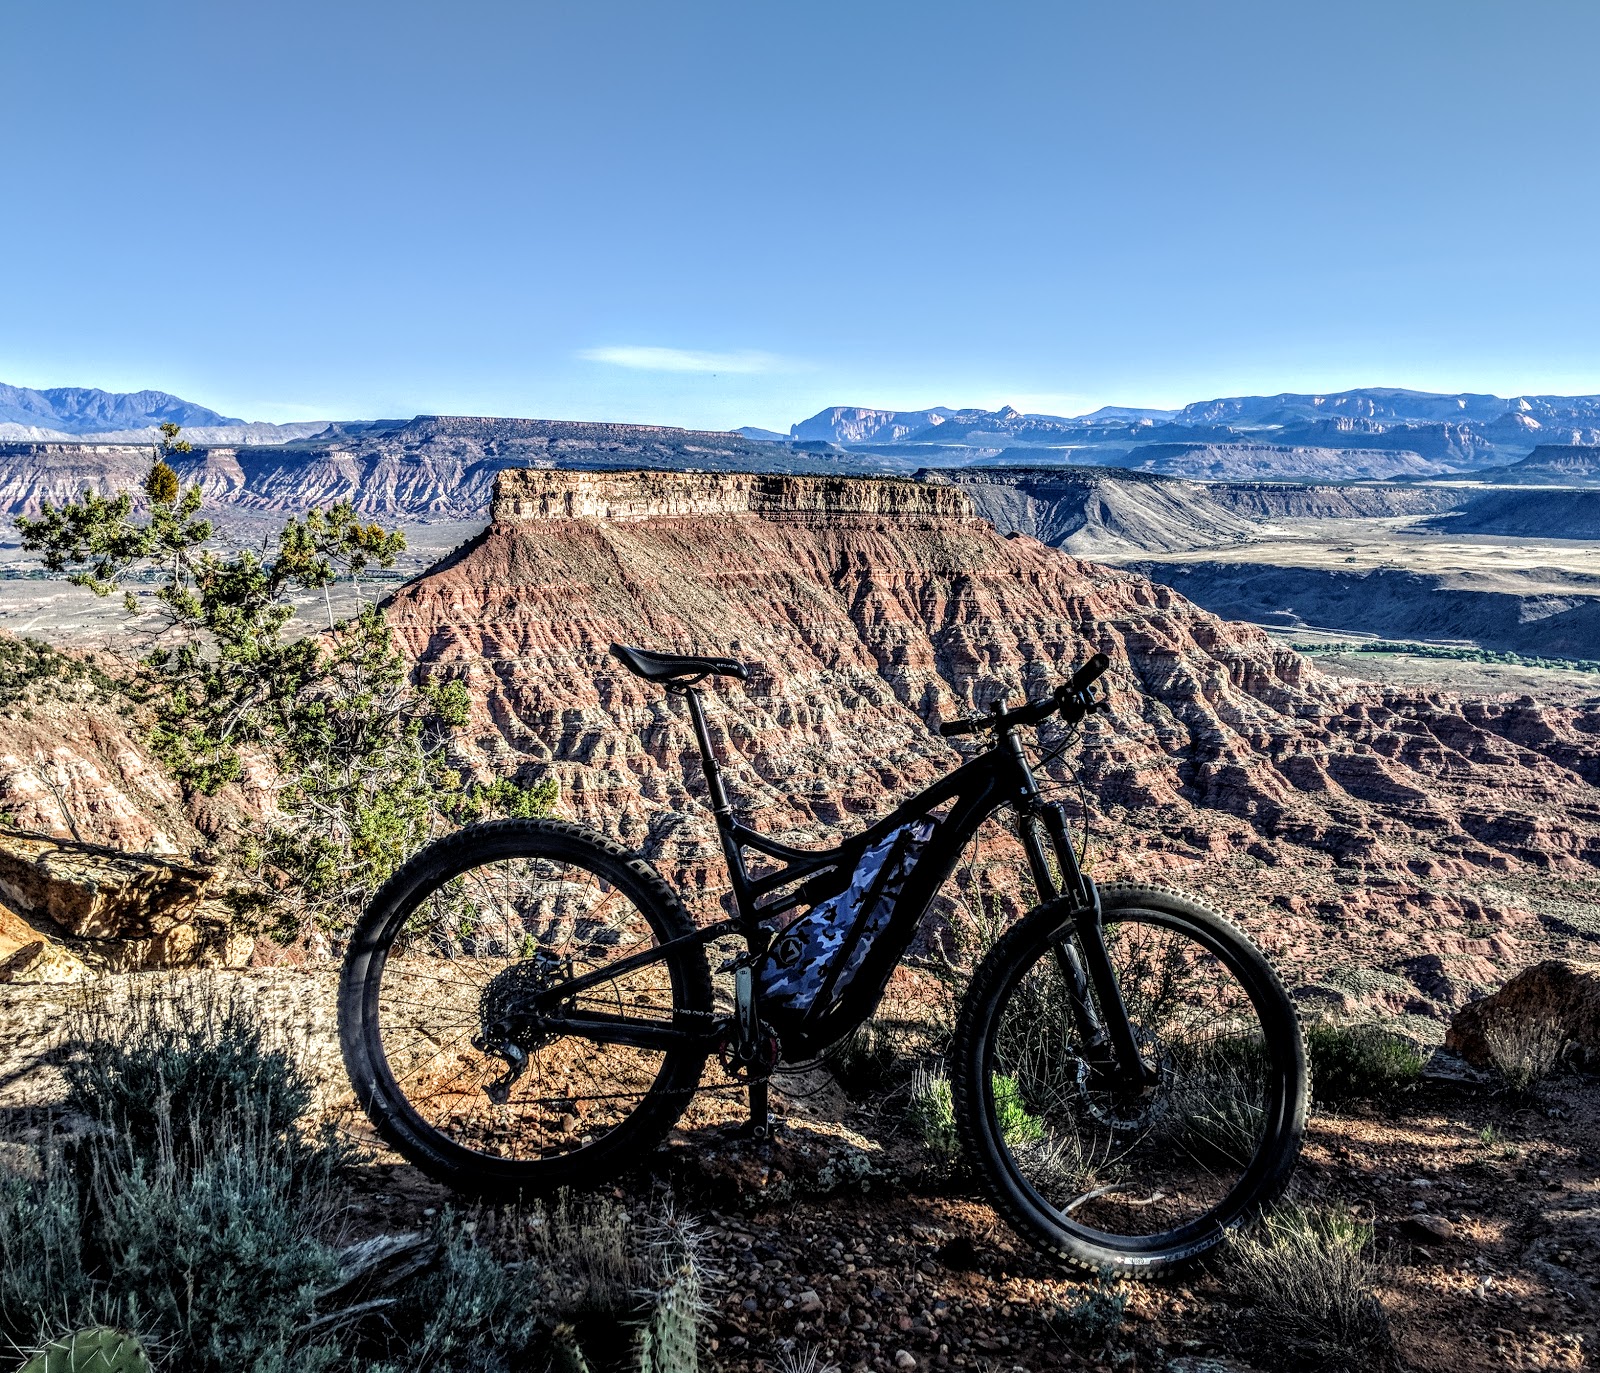
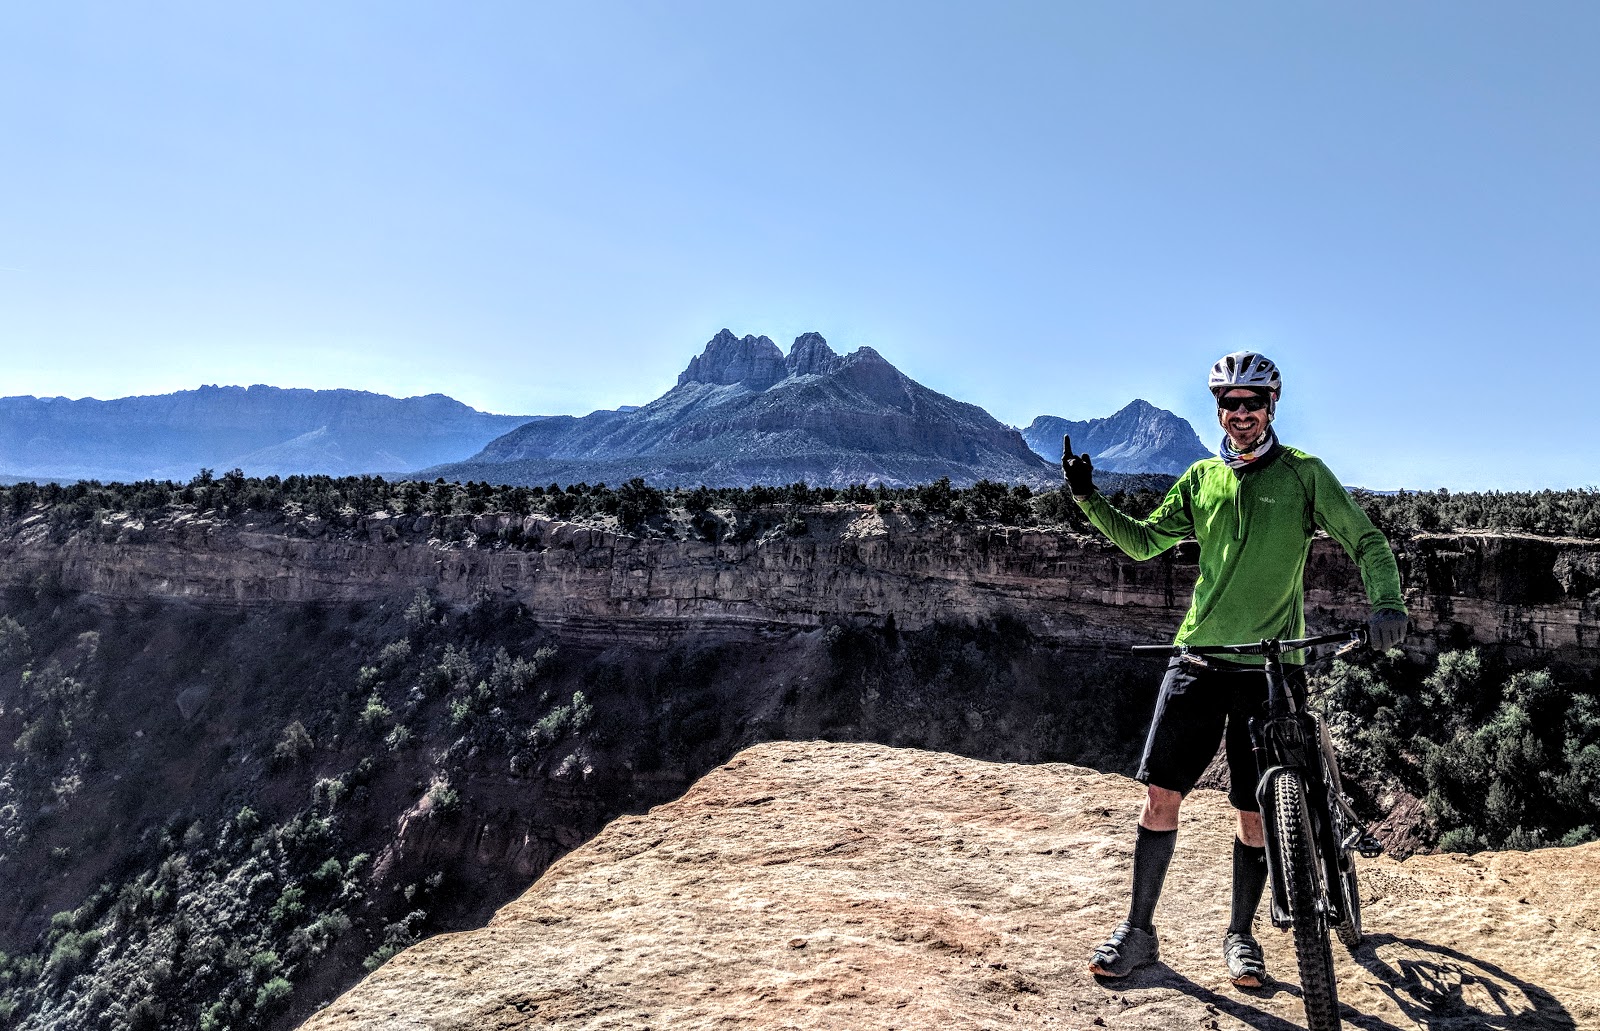
Often I think how dorky self timer shots are. Setting up your camera, tring to time the shot to make it look like you are hiking. The back to retrieve the camera. It becomes time consuming but lately it seems like all I have it time.

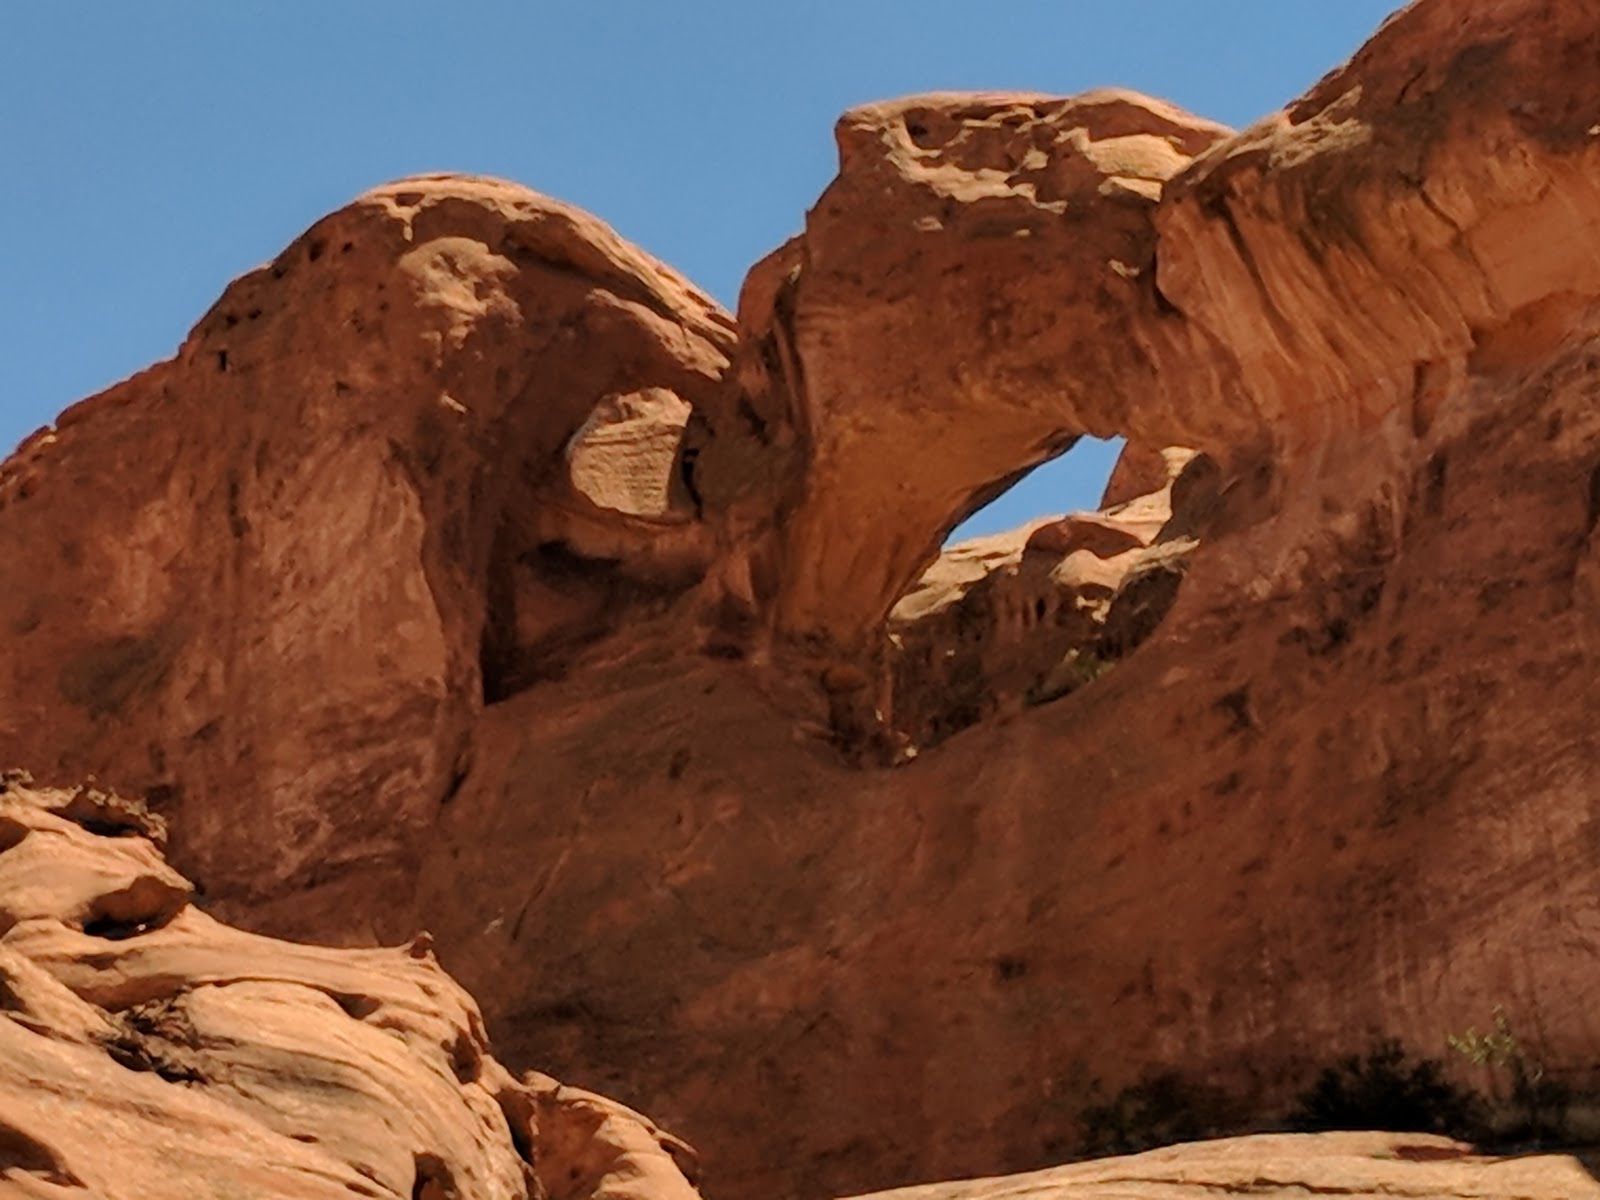
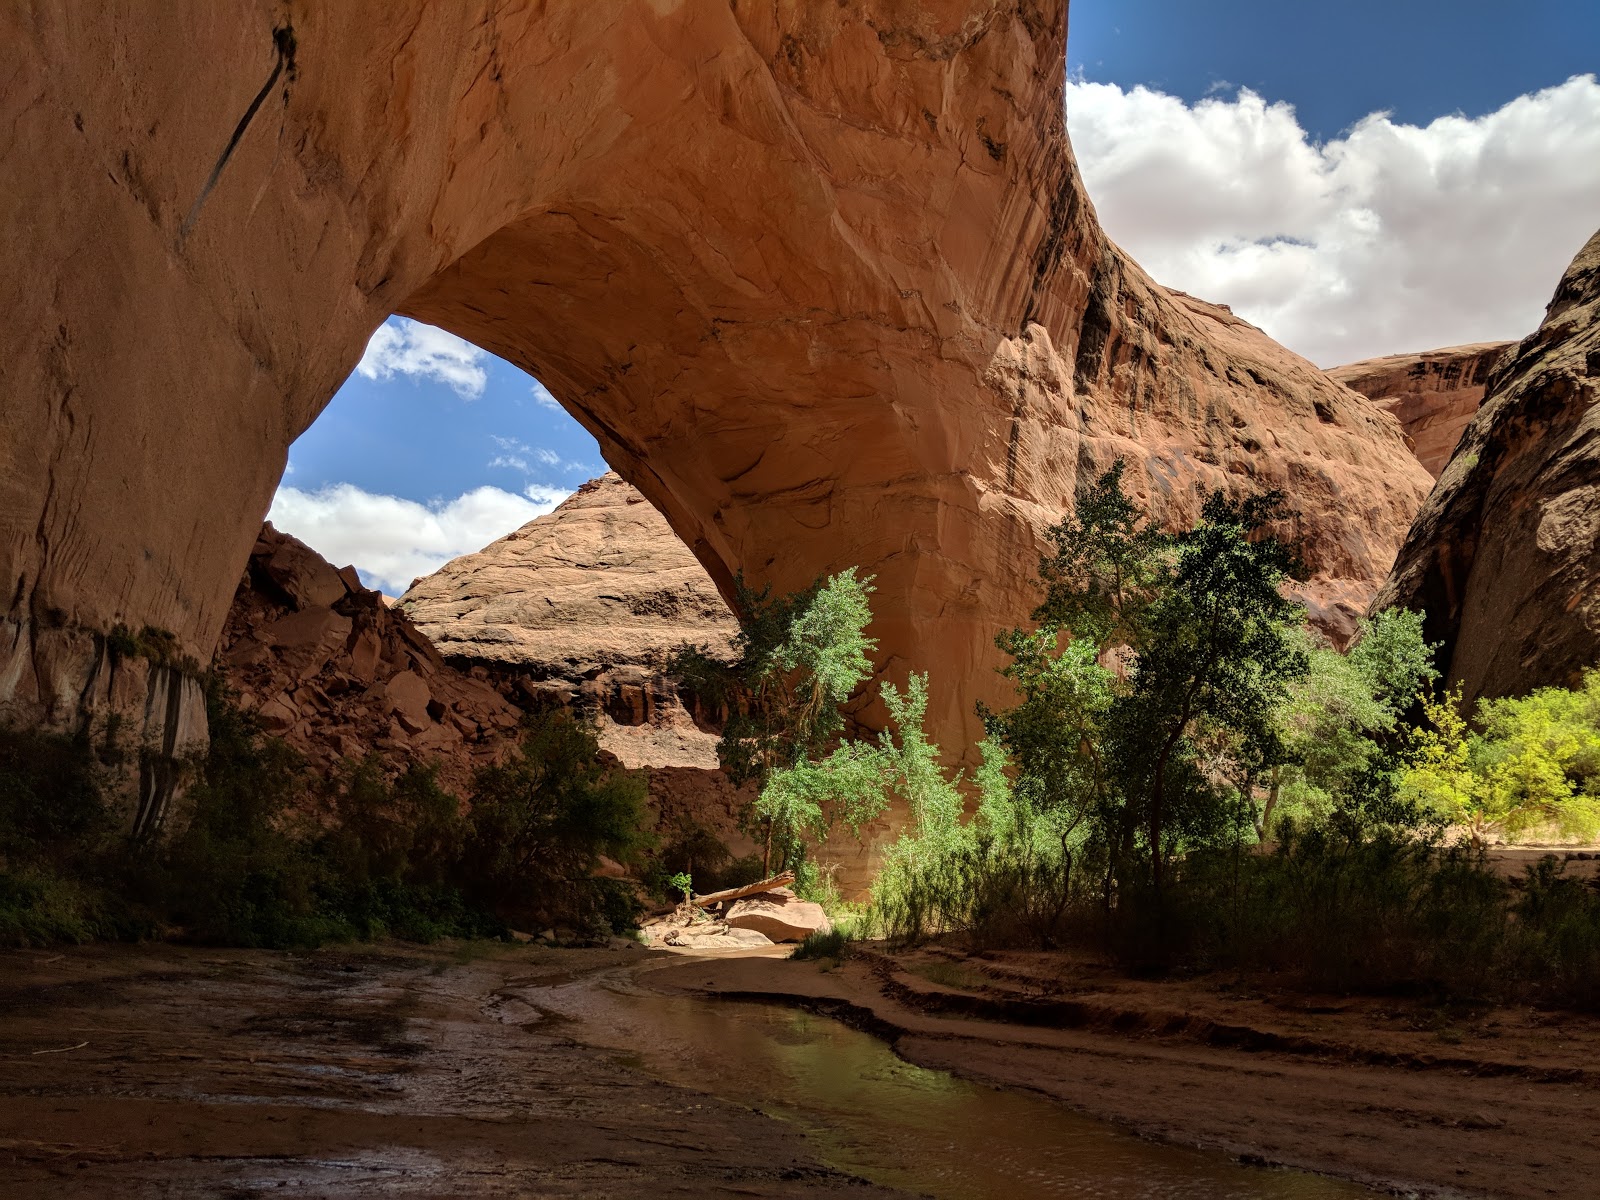
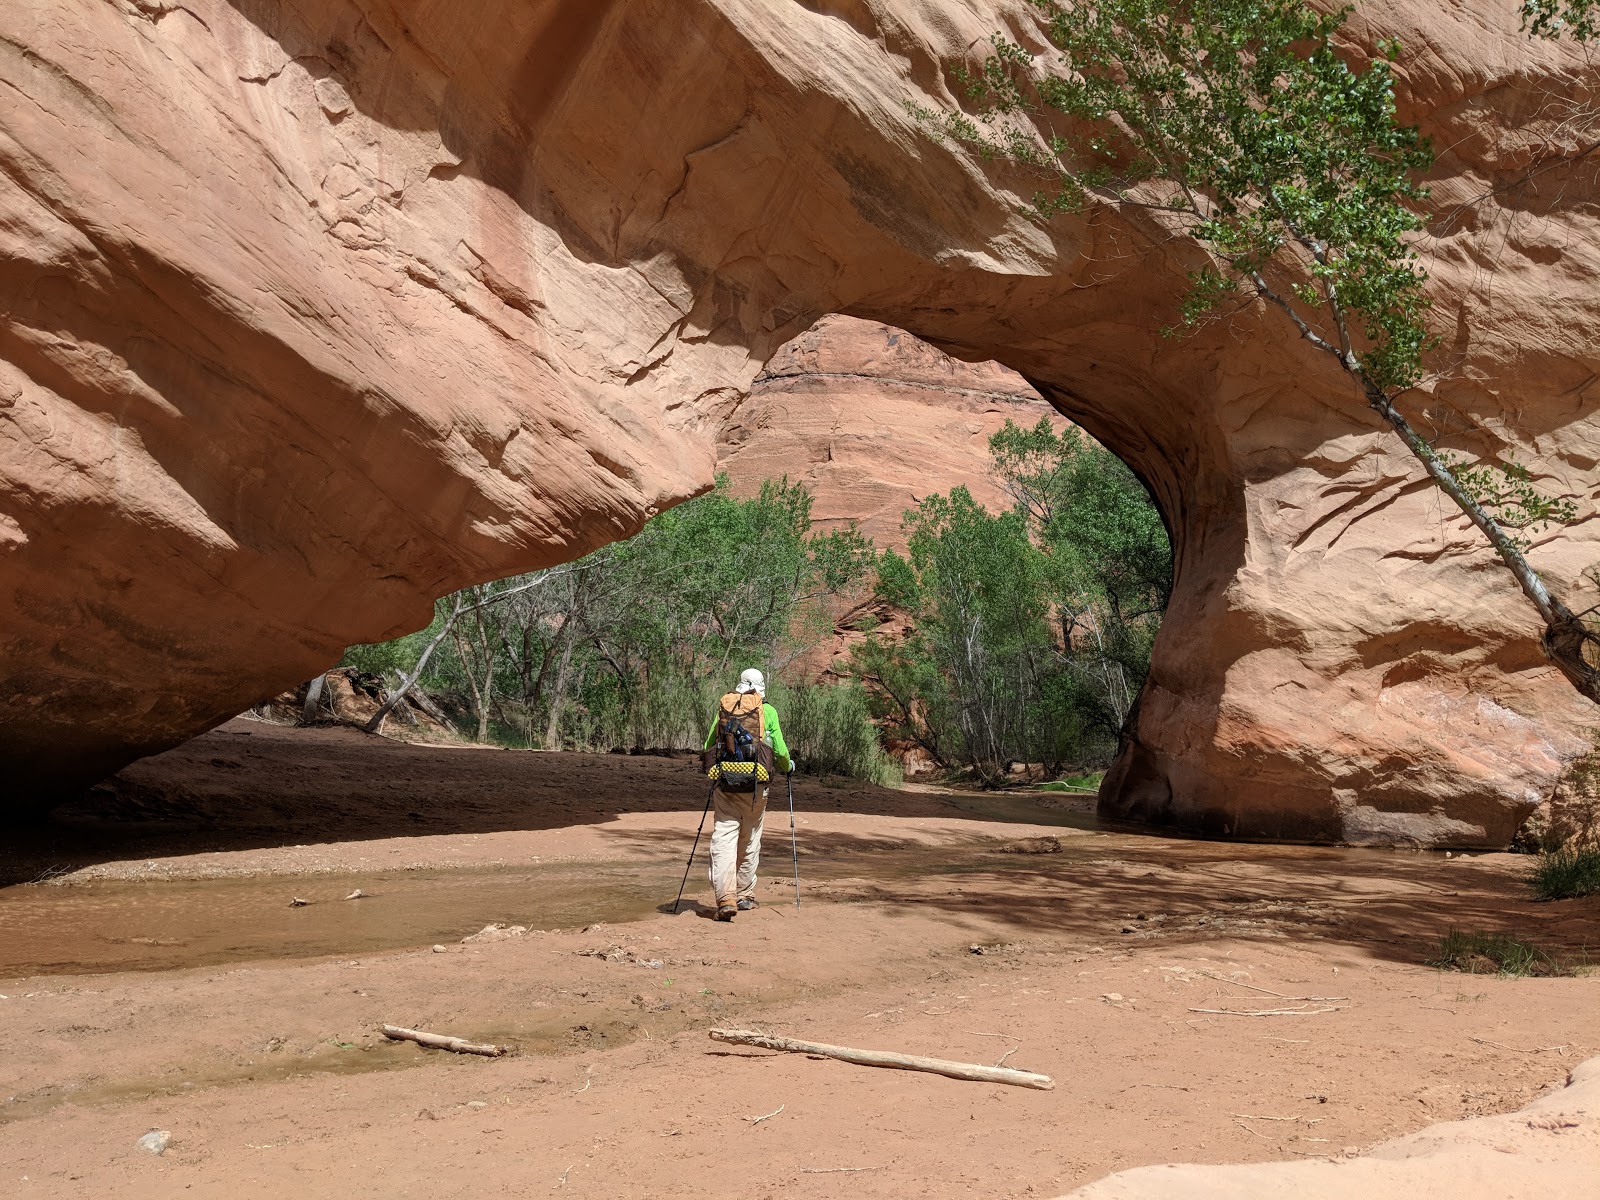
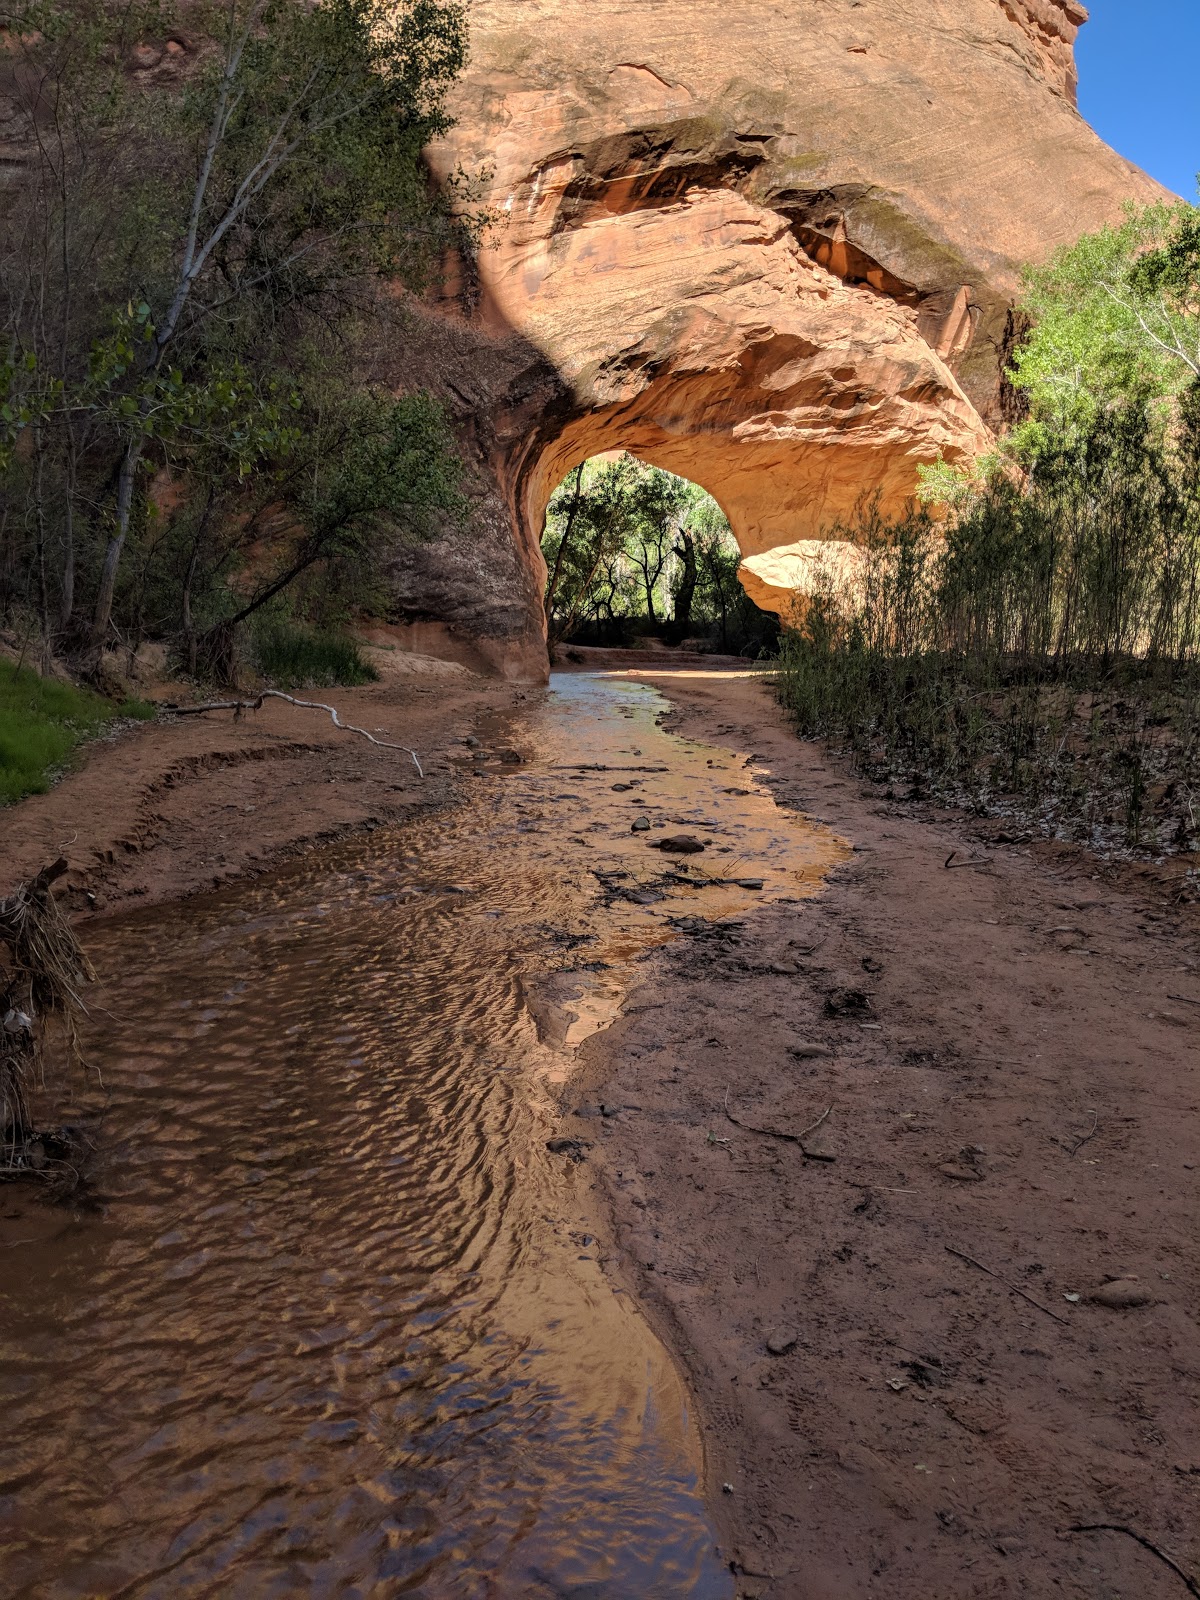
This is the highlight of the entire hike, the Jacob Hamblin Arch! You should click on this one and view it full size. The picture does not do the view justice. I felt the massive undercut was more impressive than the arch. It had a cathedral feel that was out of this world.
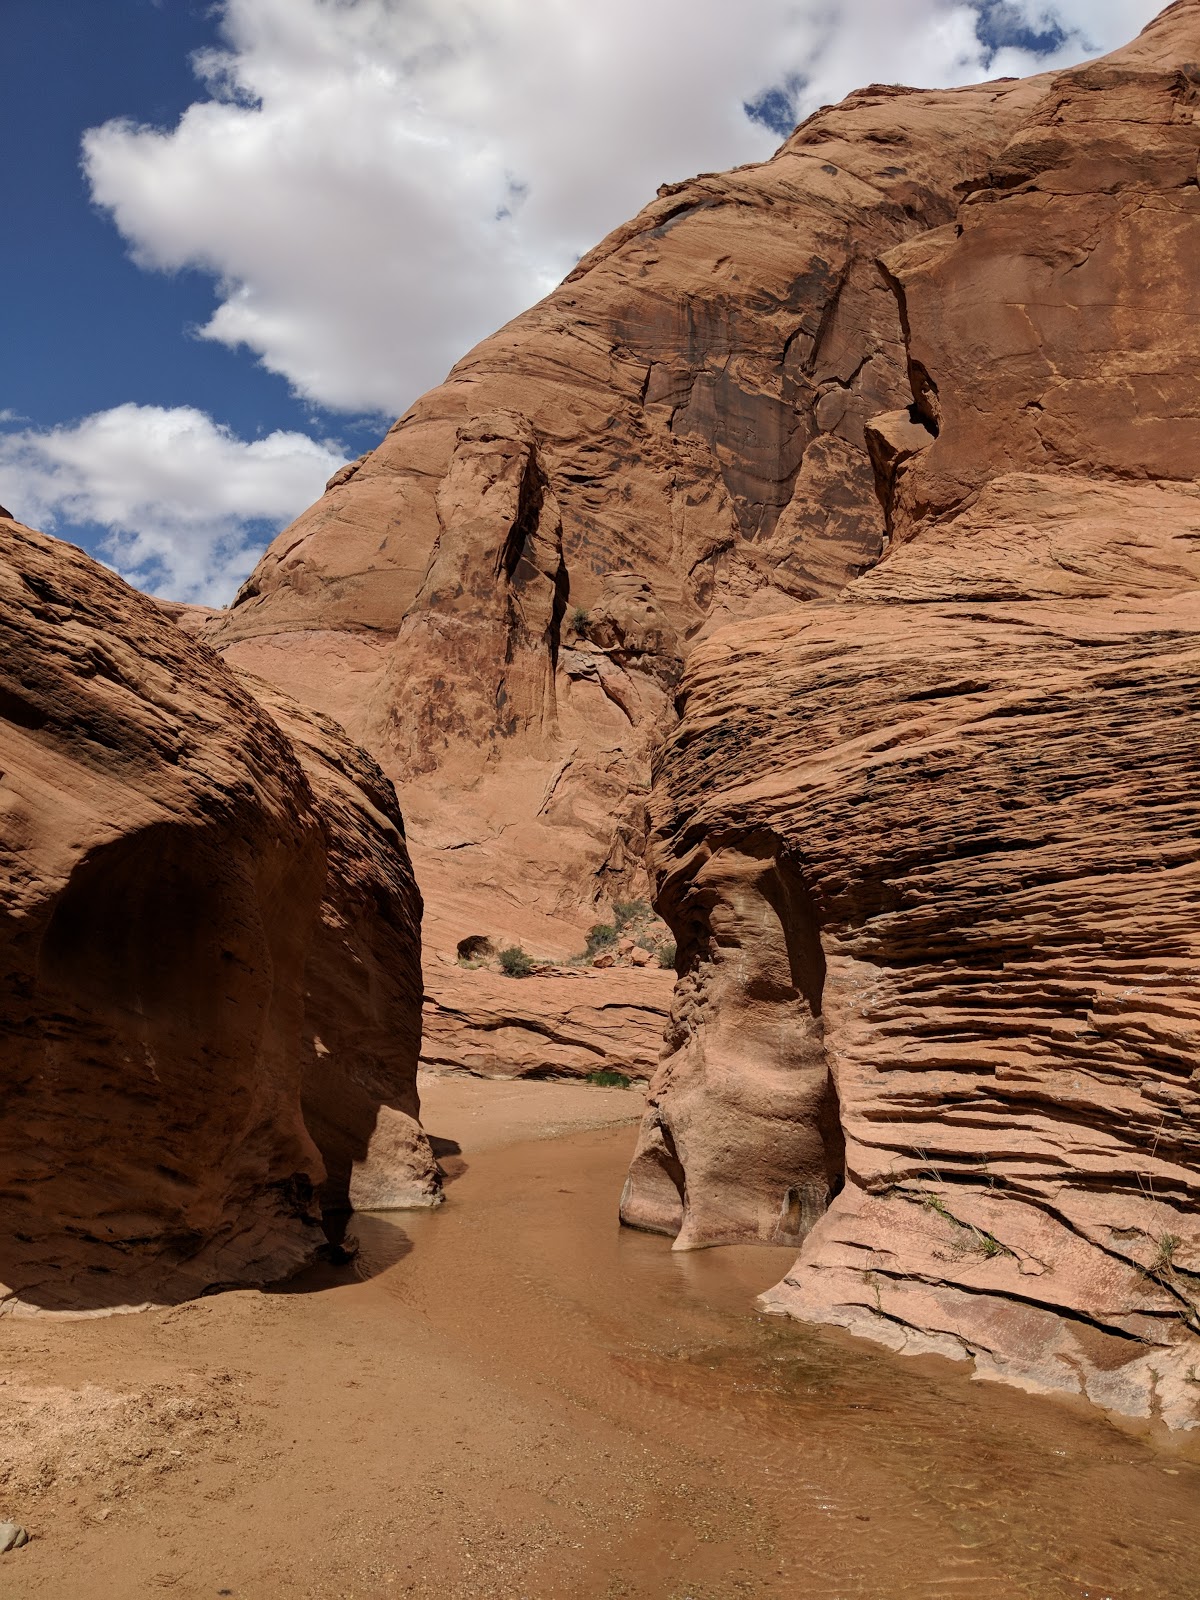
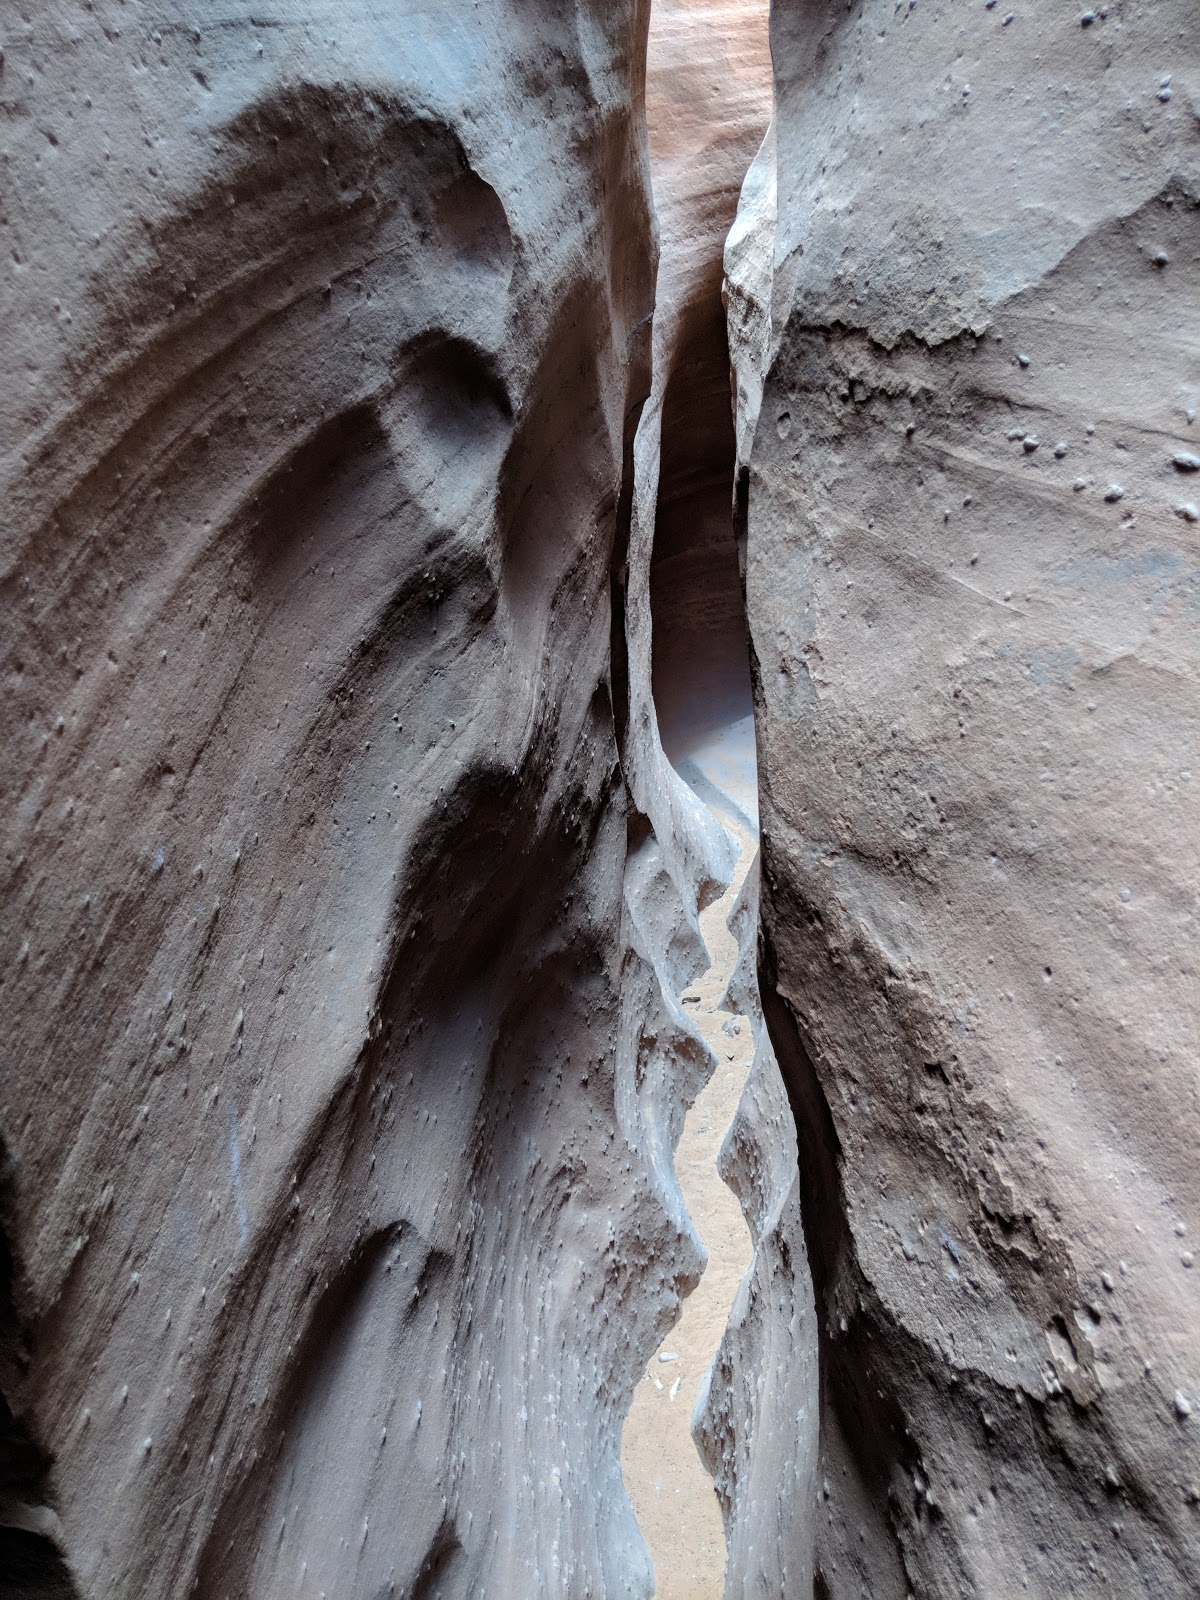
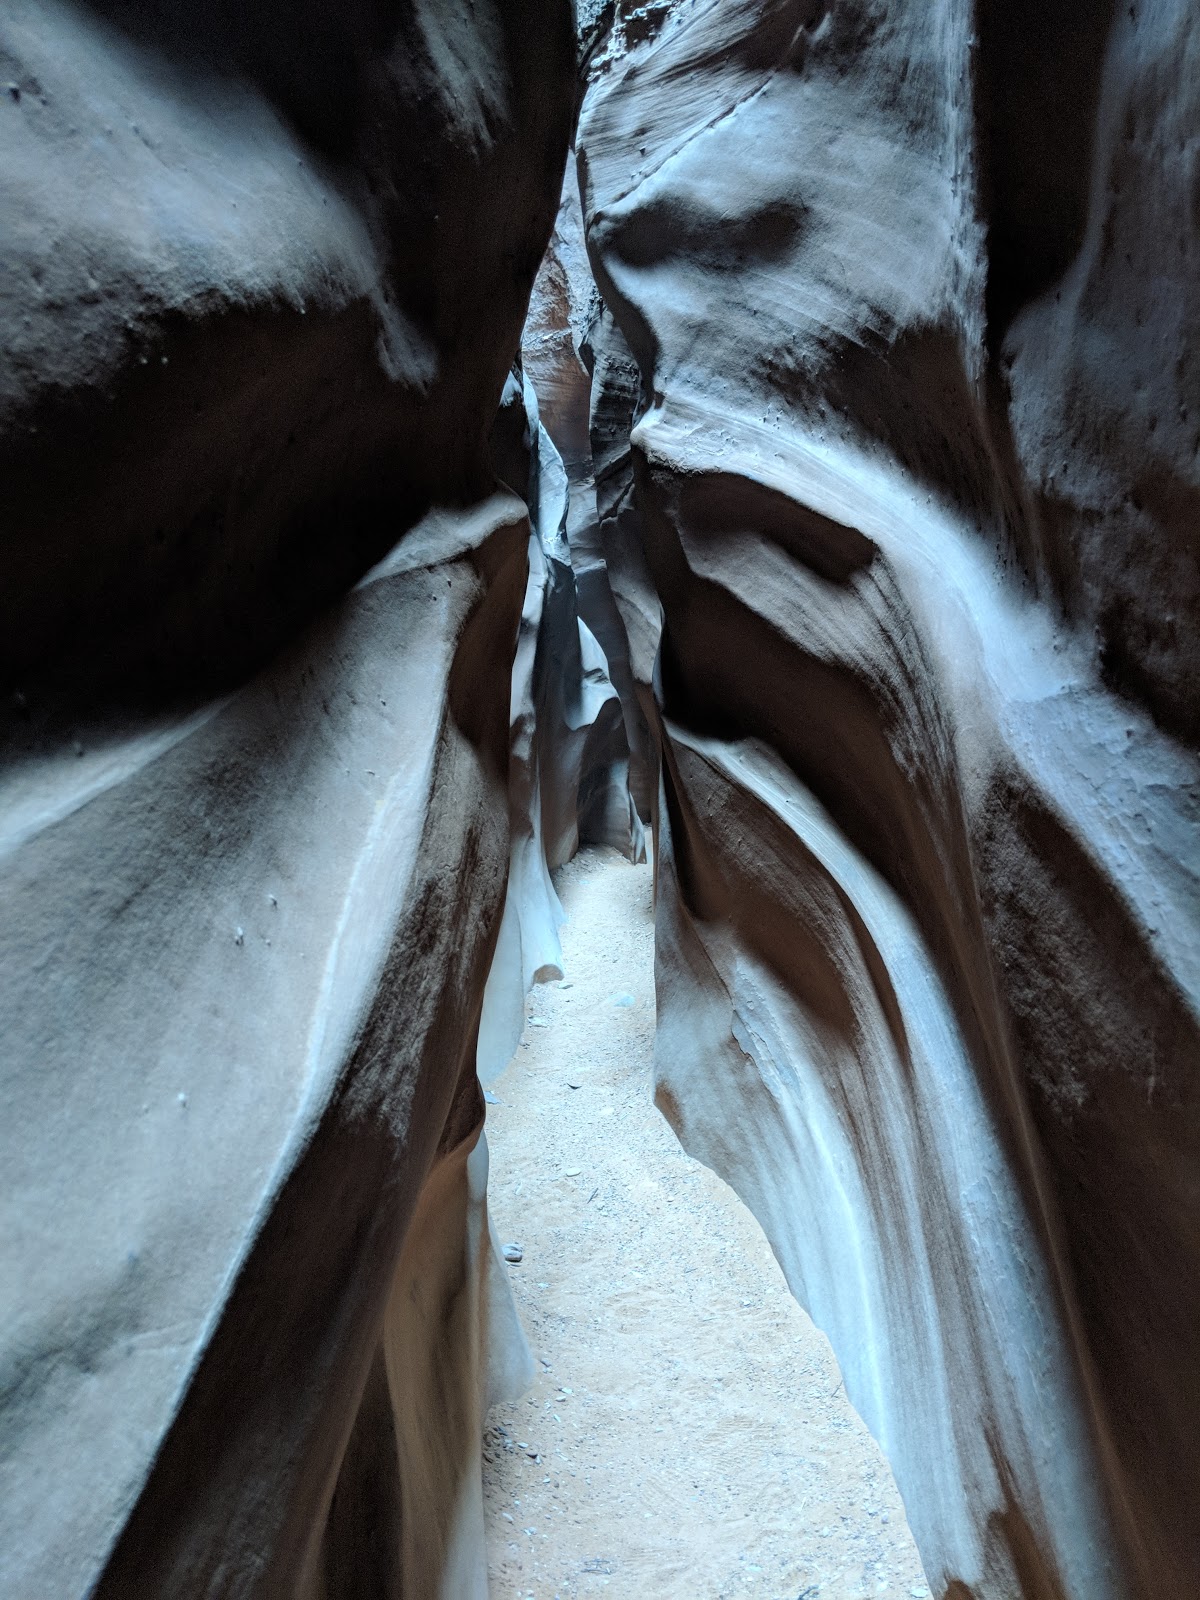
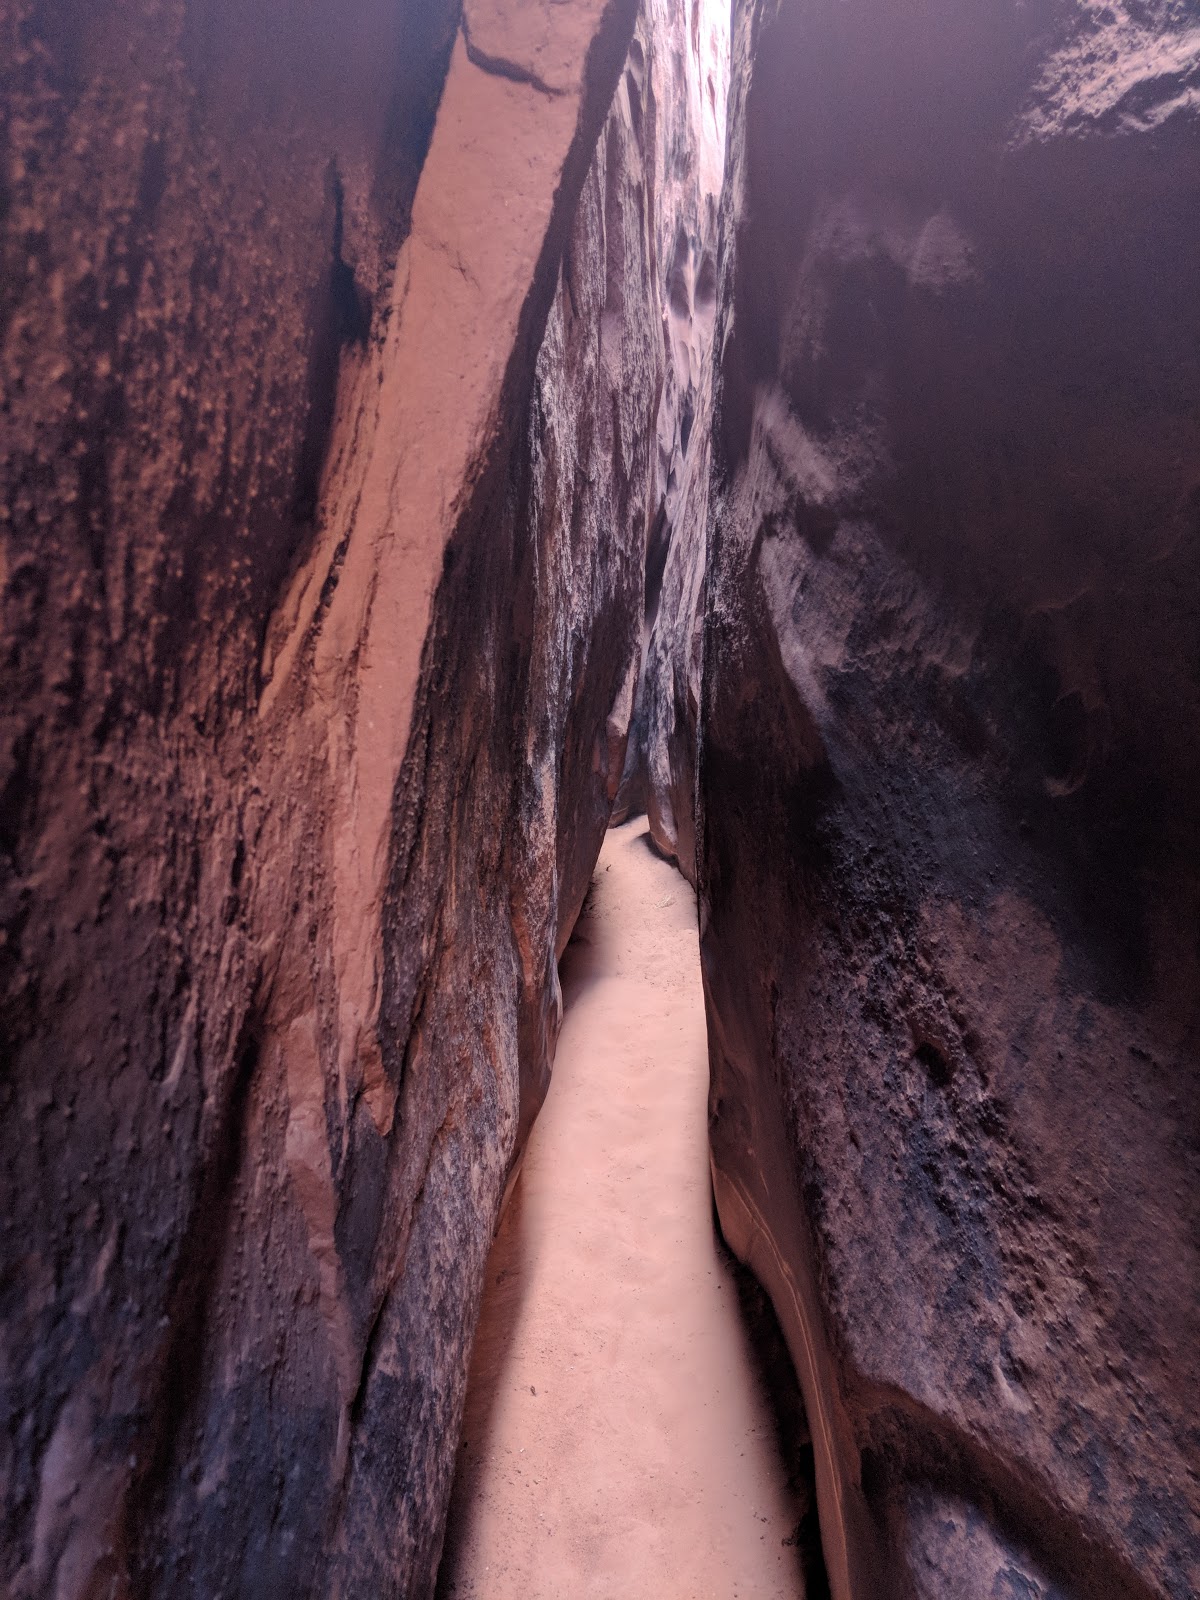
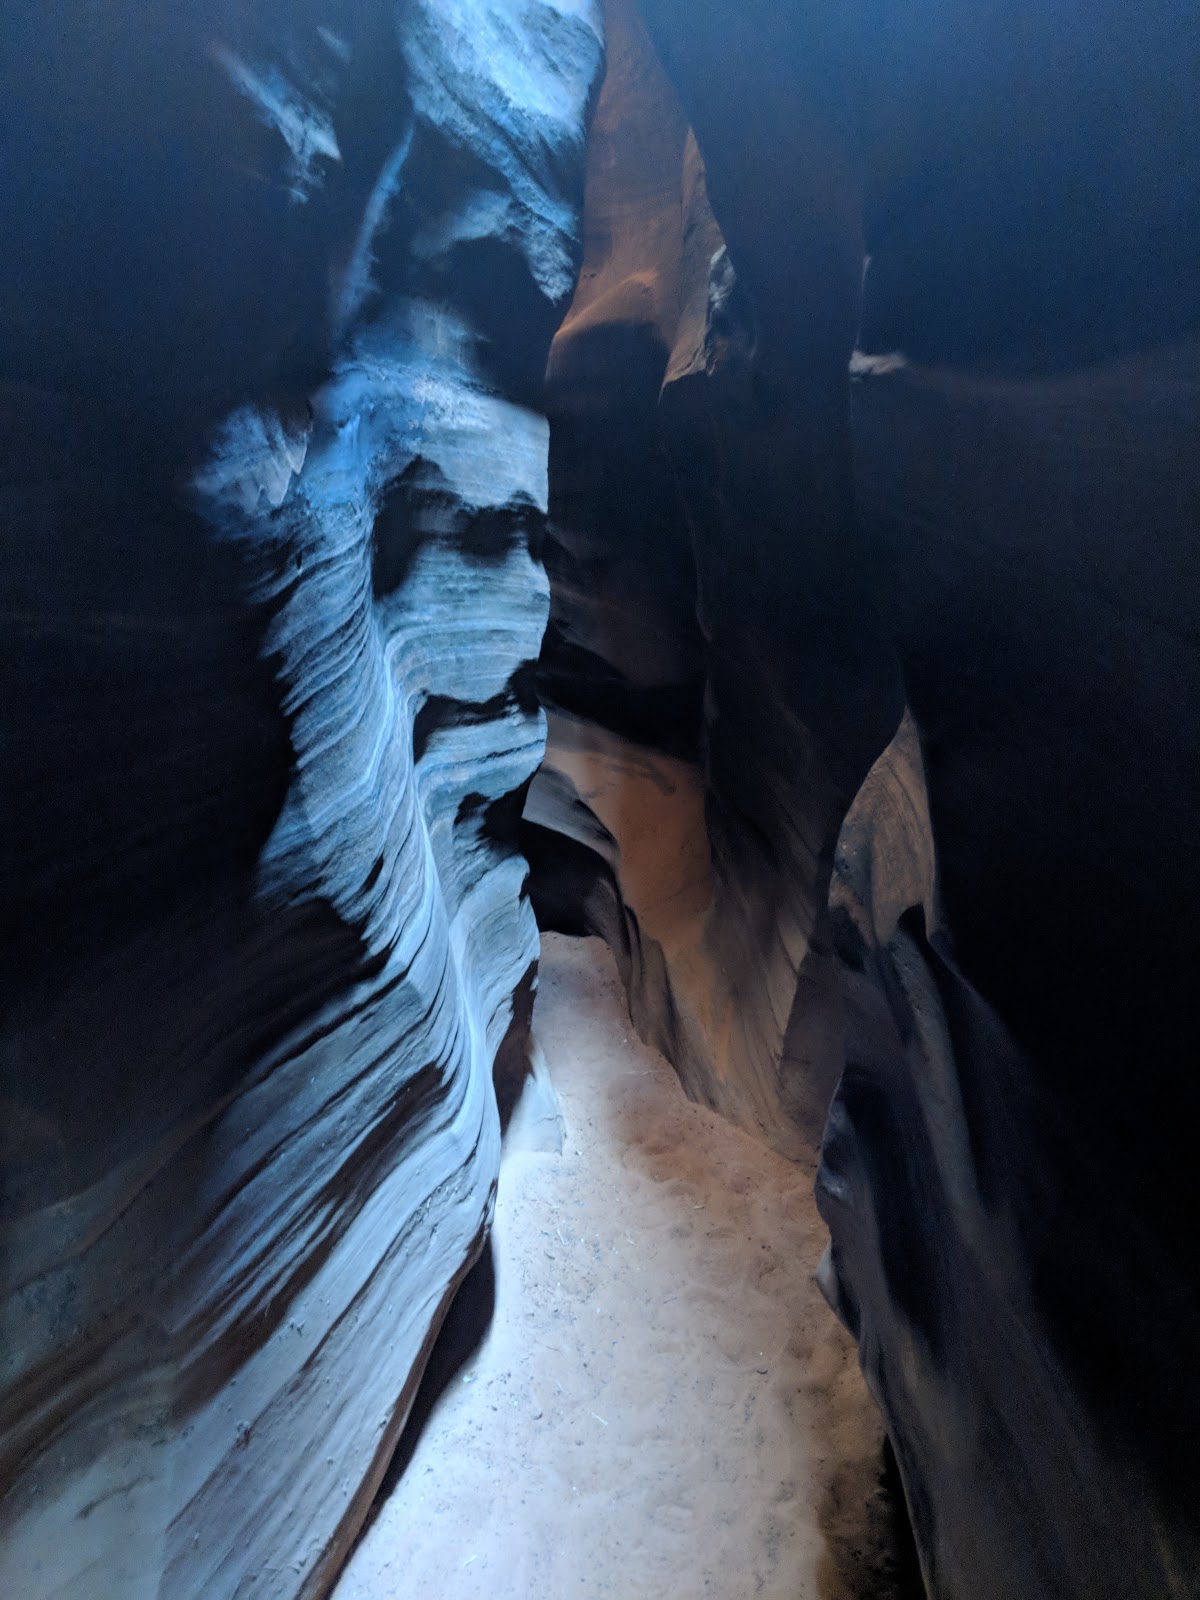
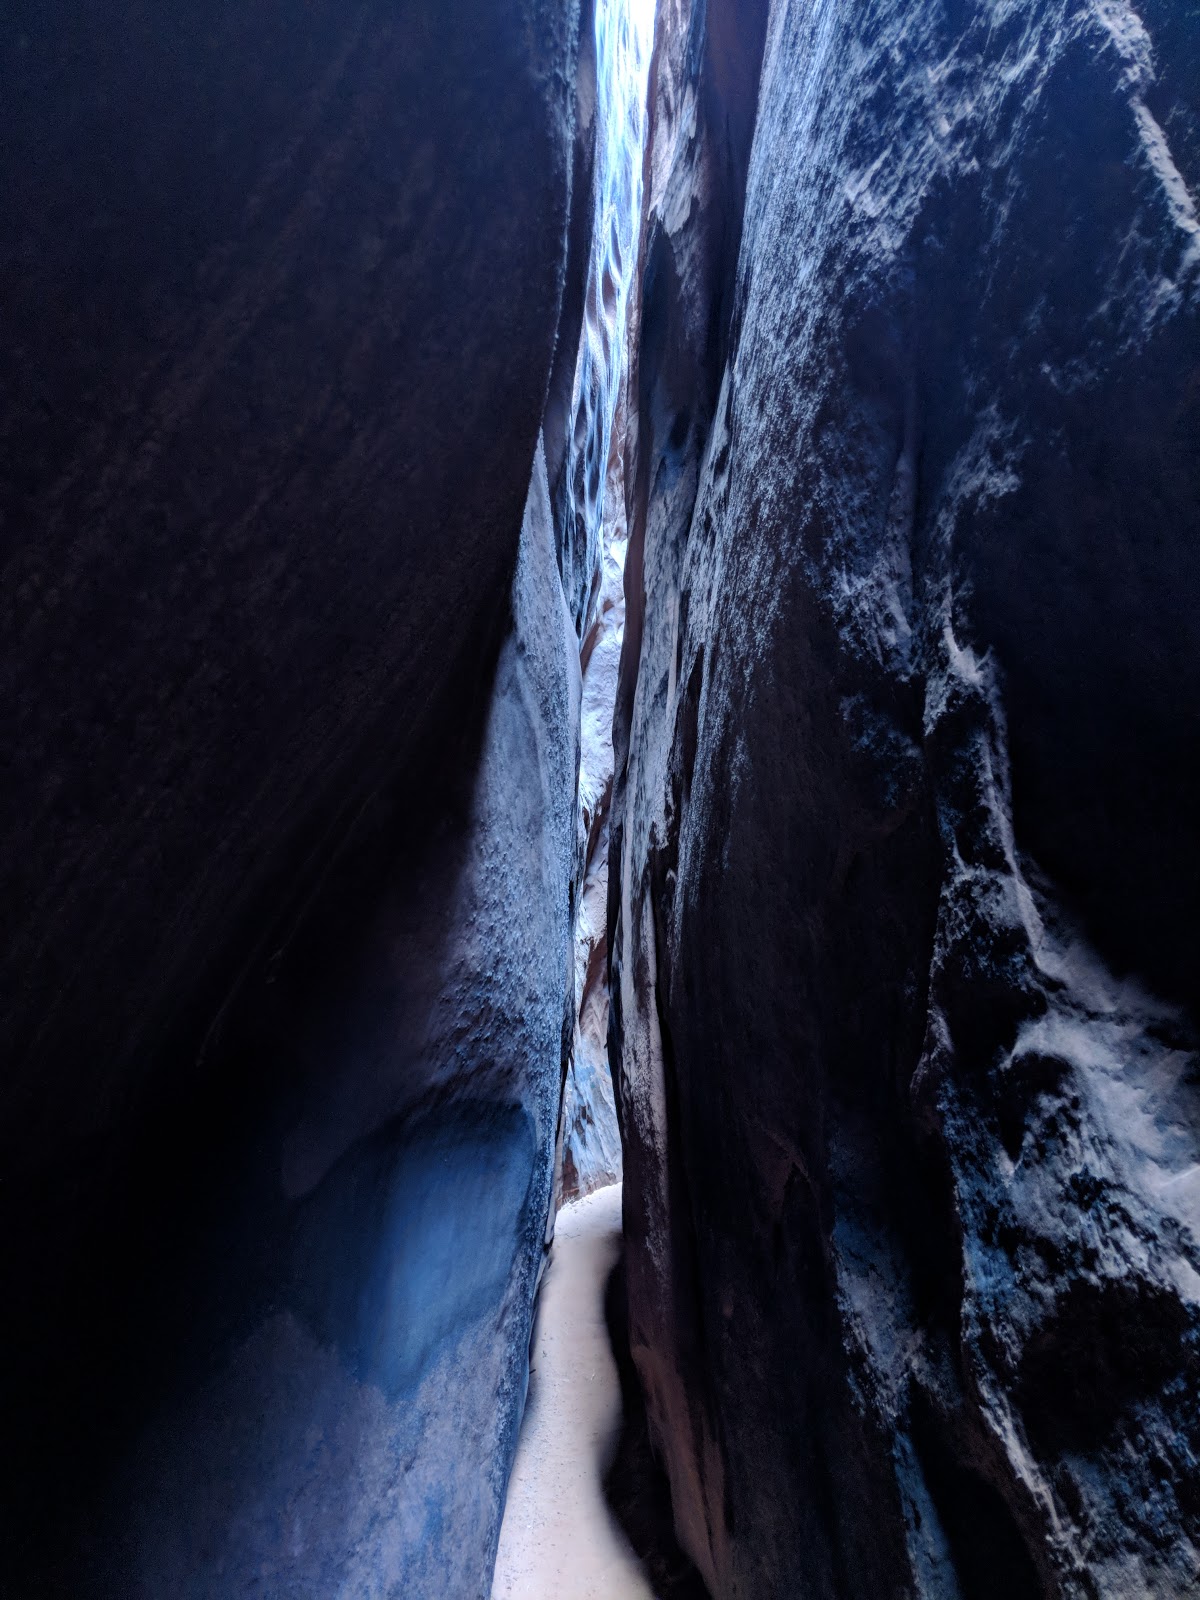
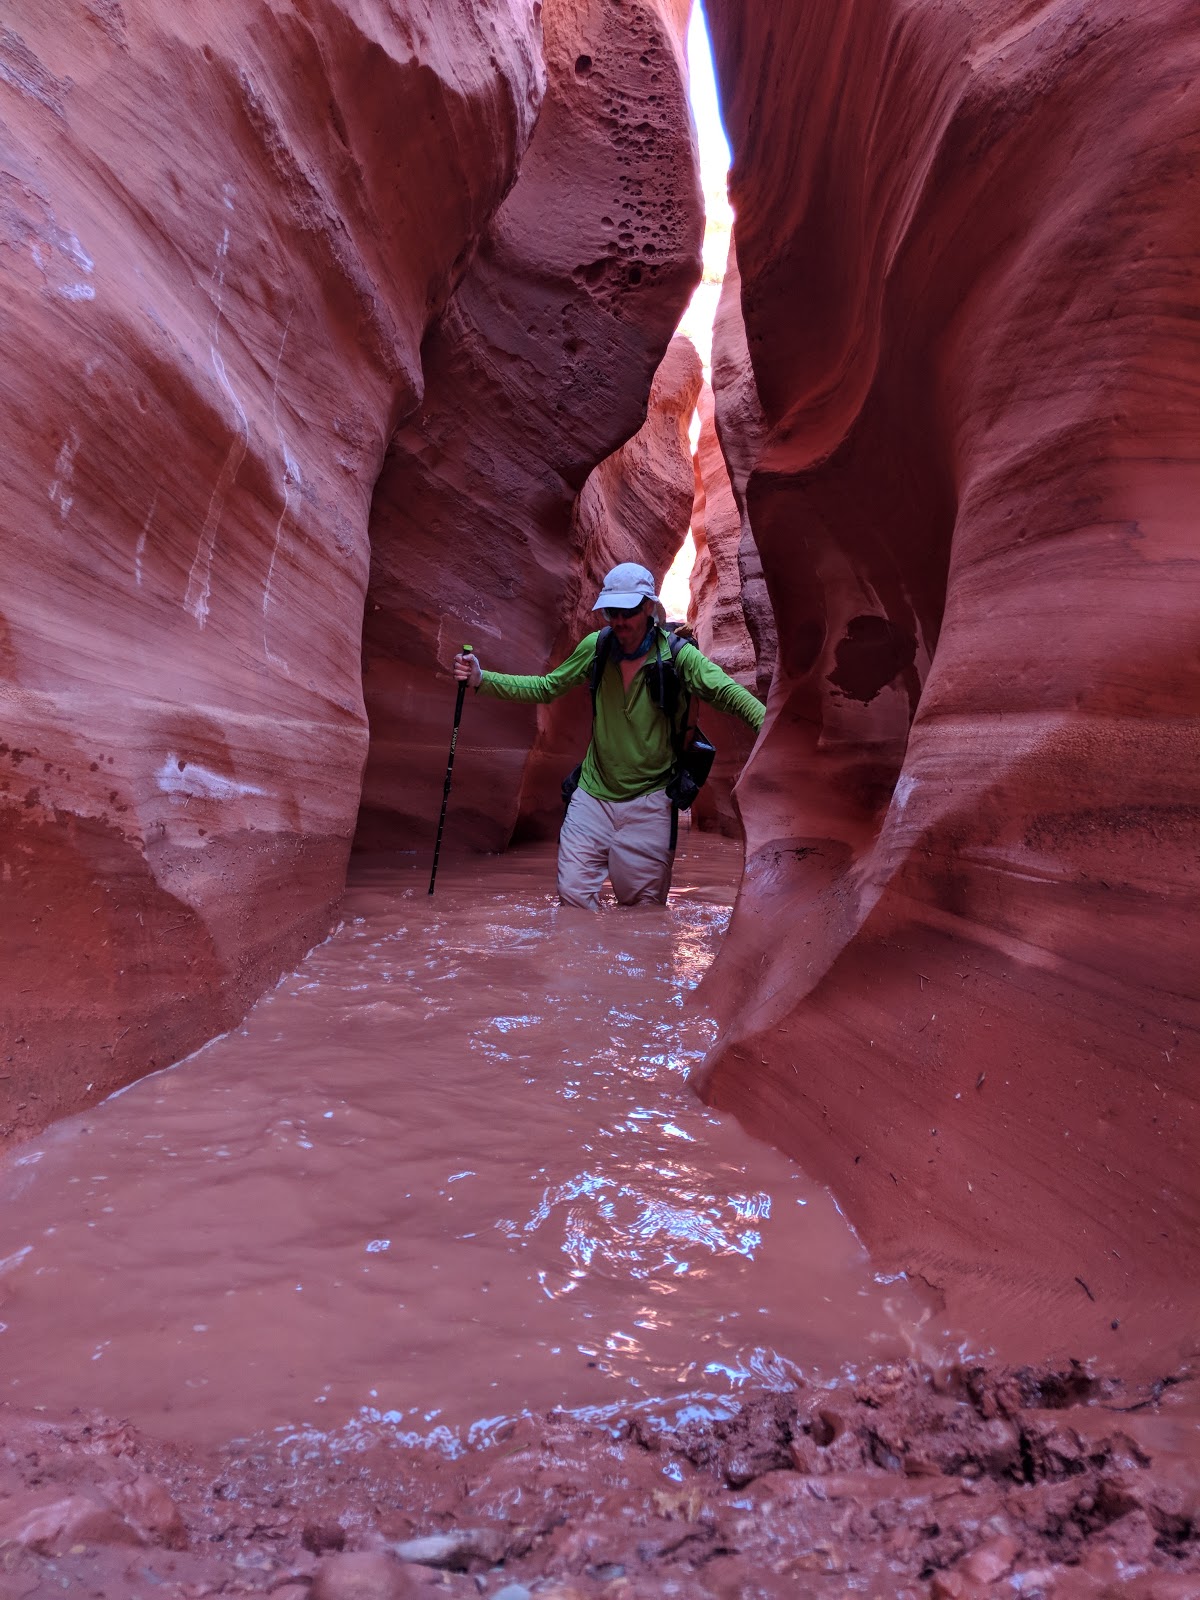
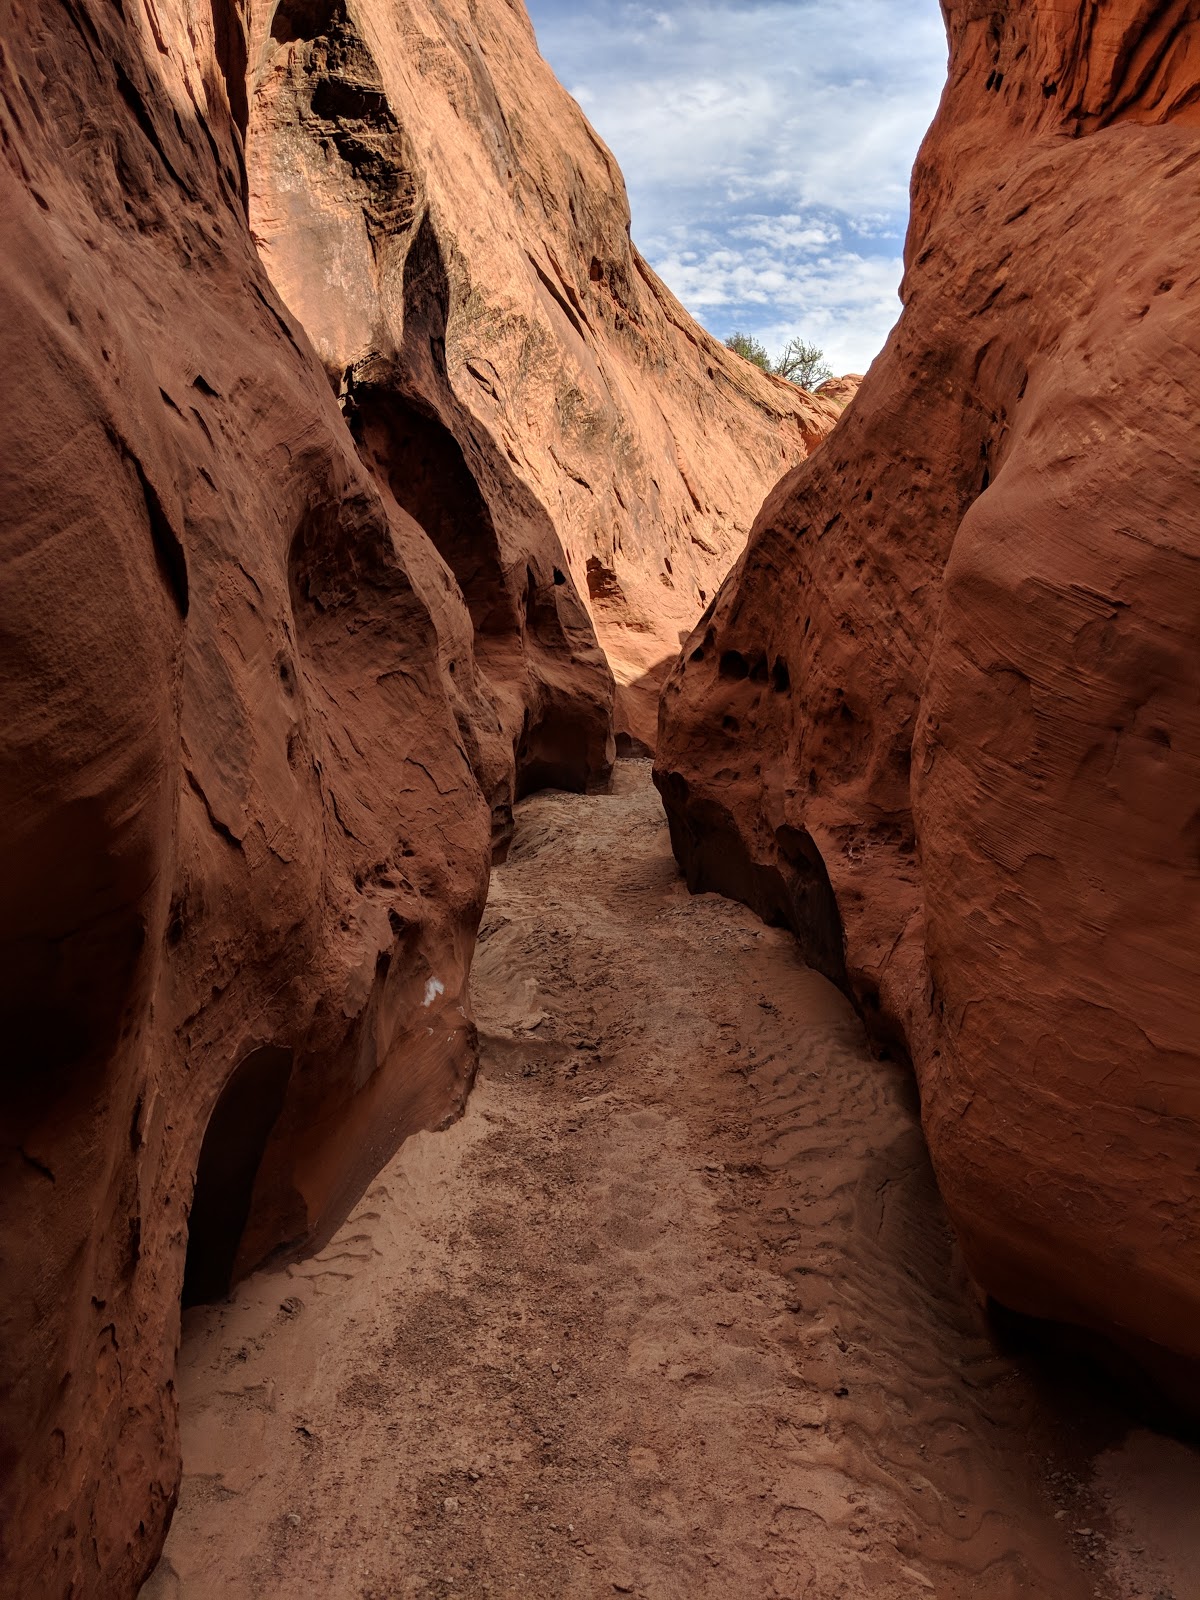
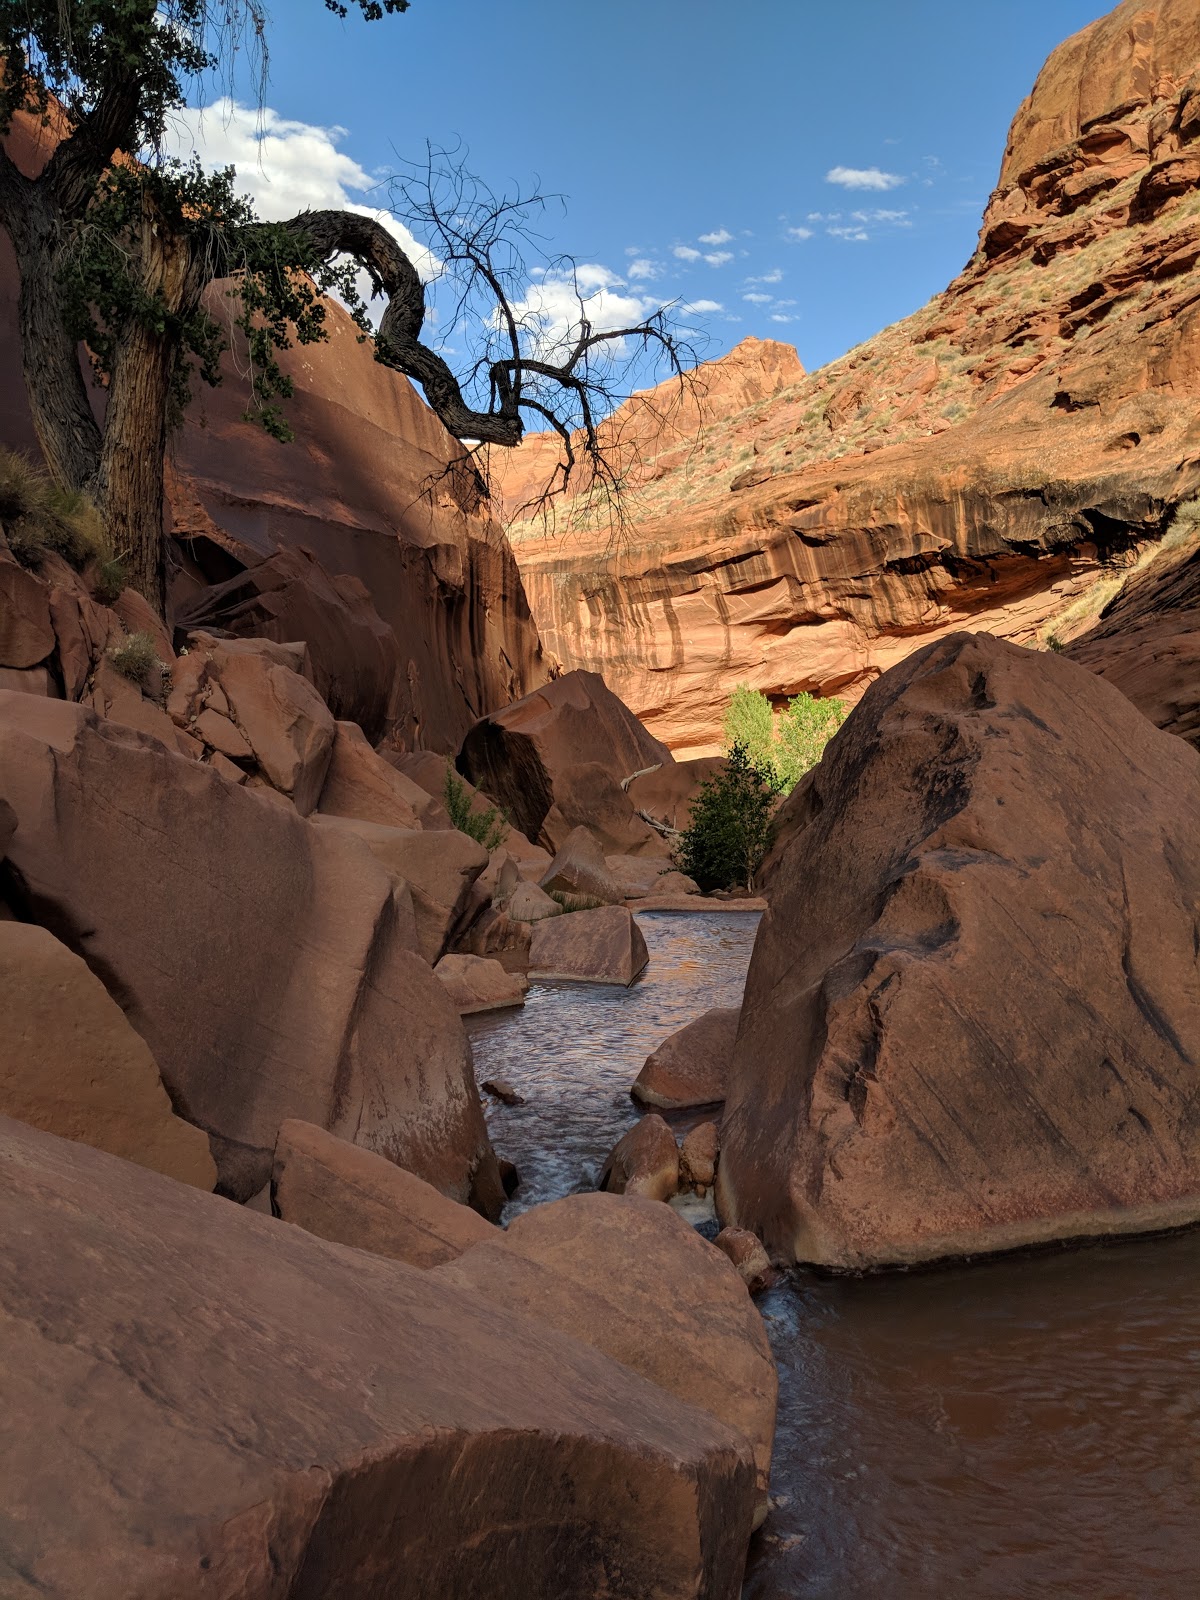
Some very brief narrows in Coyote Gulch near the natural bridge. This hike is a get your feet wet kind of hike. It was just a matter of time before you were wading through the water.
The Coyote Natural bridge.
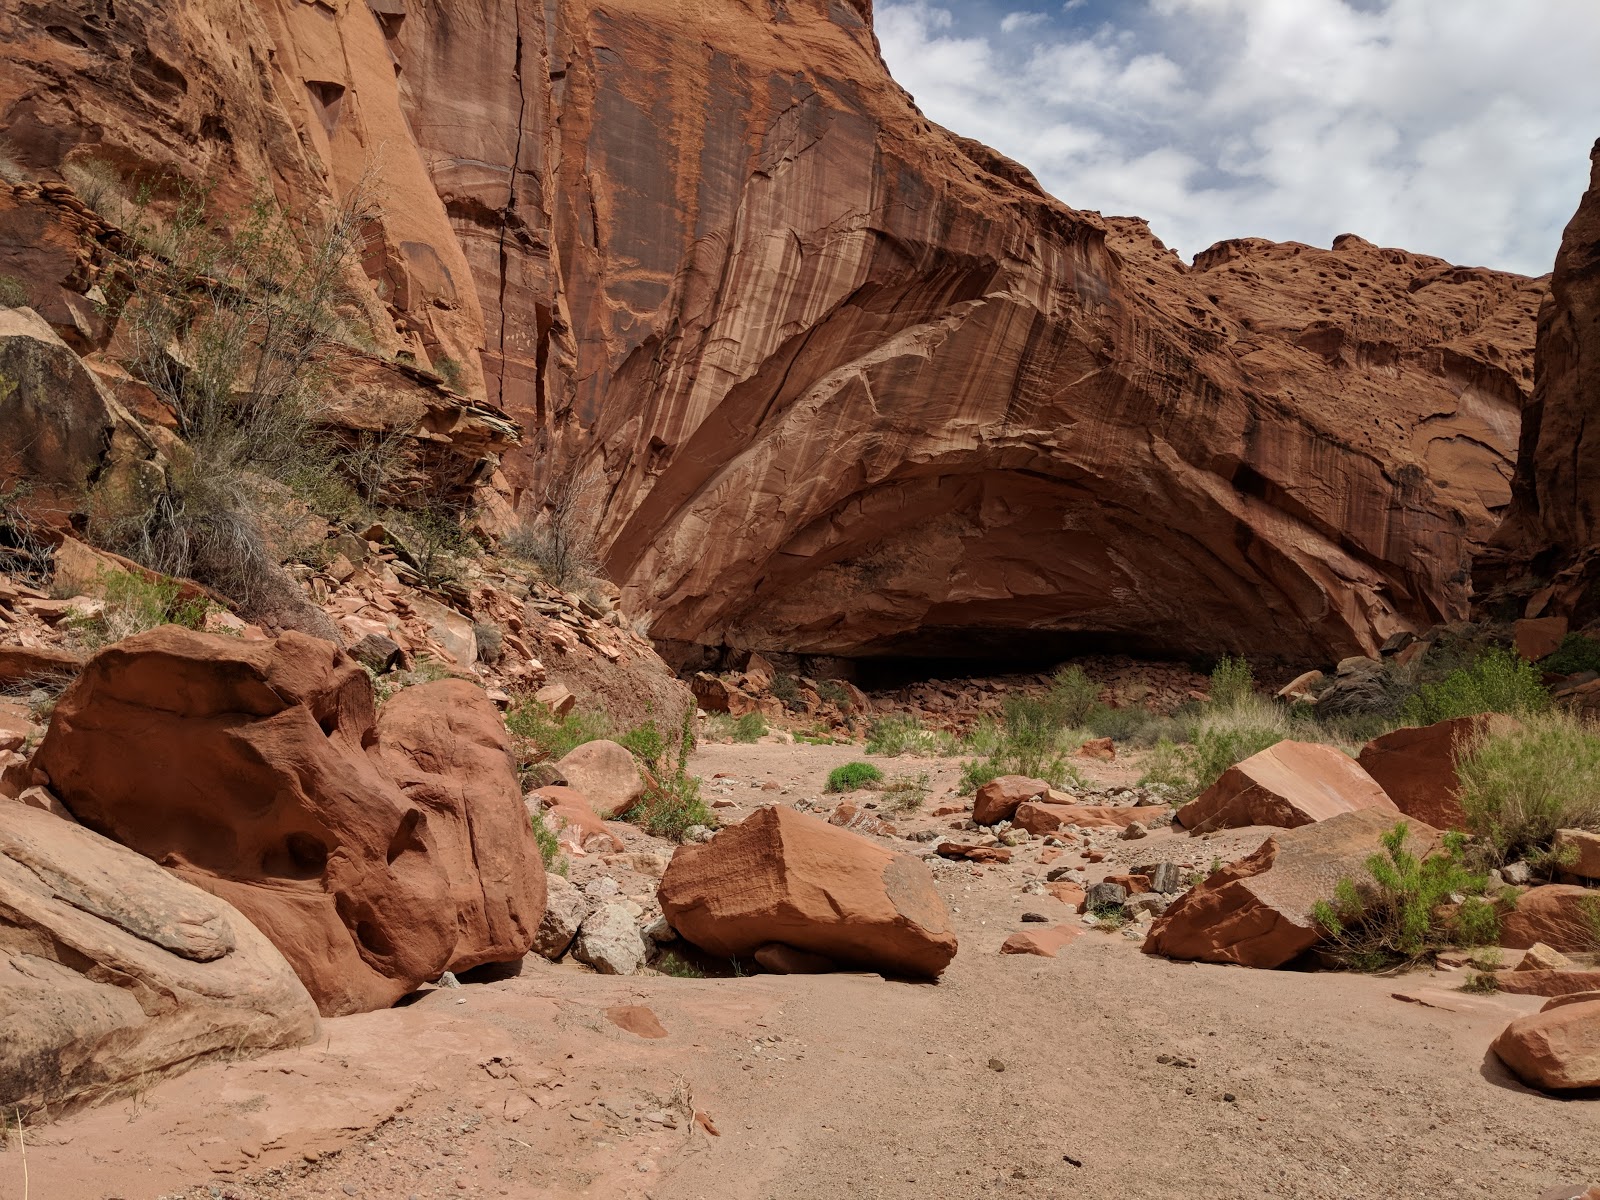
As I made my way down the last third of the canyon I crossed several waterfalls. I failed to find the easy way around and dropped my pack and jumped down into the sand. On the hike back out I found the easy way.
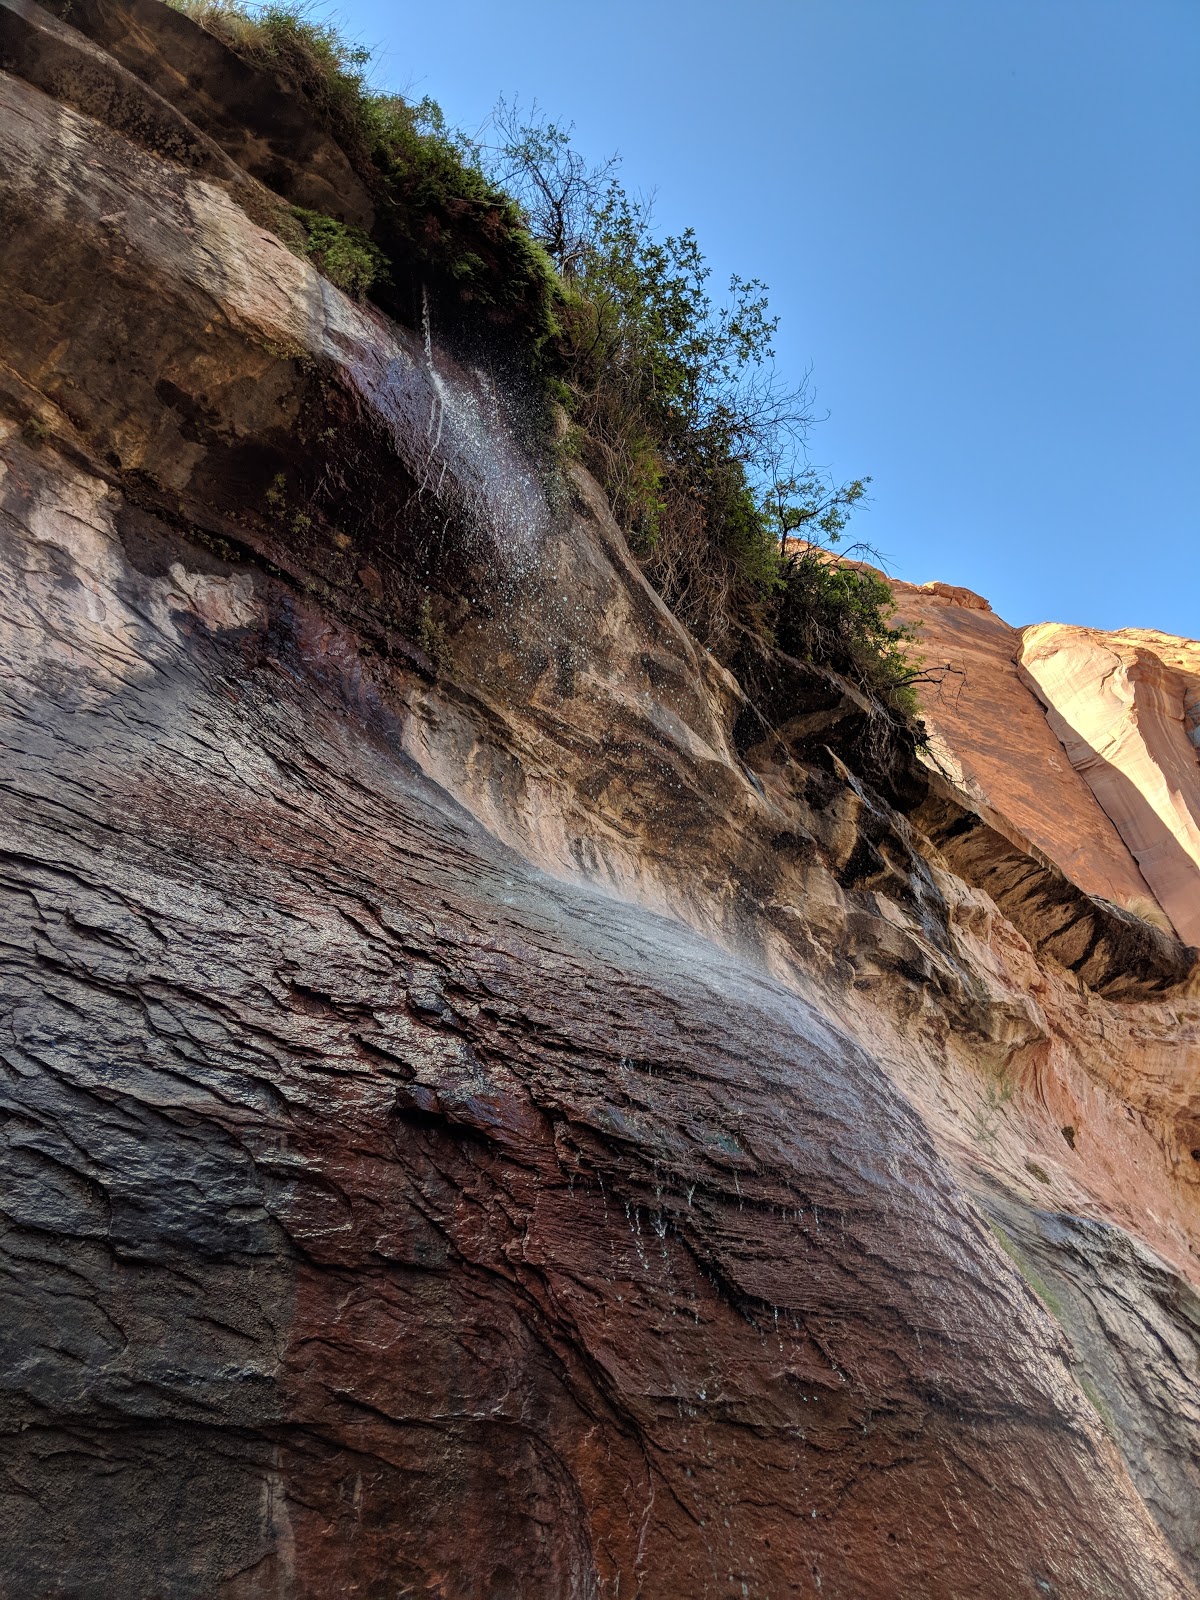
Here is a natural shower coming off of the cliff side. I should have taken a moment to enjoy the shower more. Especially when showers come few and far between living on the road in a van.
This is the end of Coyote Gulch just before you reach the Escalante River connection of Lake Powell.
There was a bypass around a final waterfall crossing at the very end of the canyon. It was the end of the day and I was tired and brain fried and the route options I was finding around the waterfall looked sketchy.

Searching for a way around the final waterfall led me to a view of Stephens Arch. It was big!
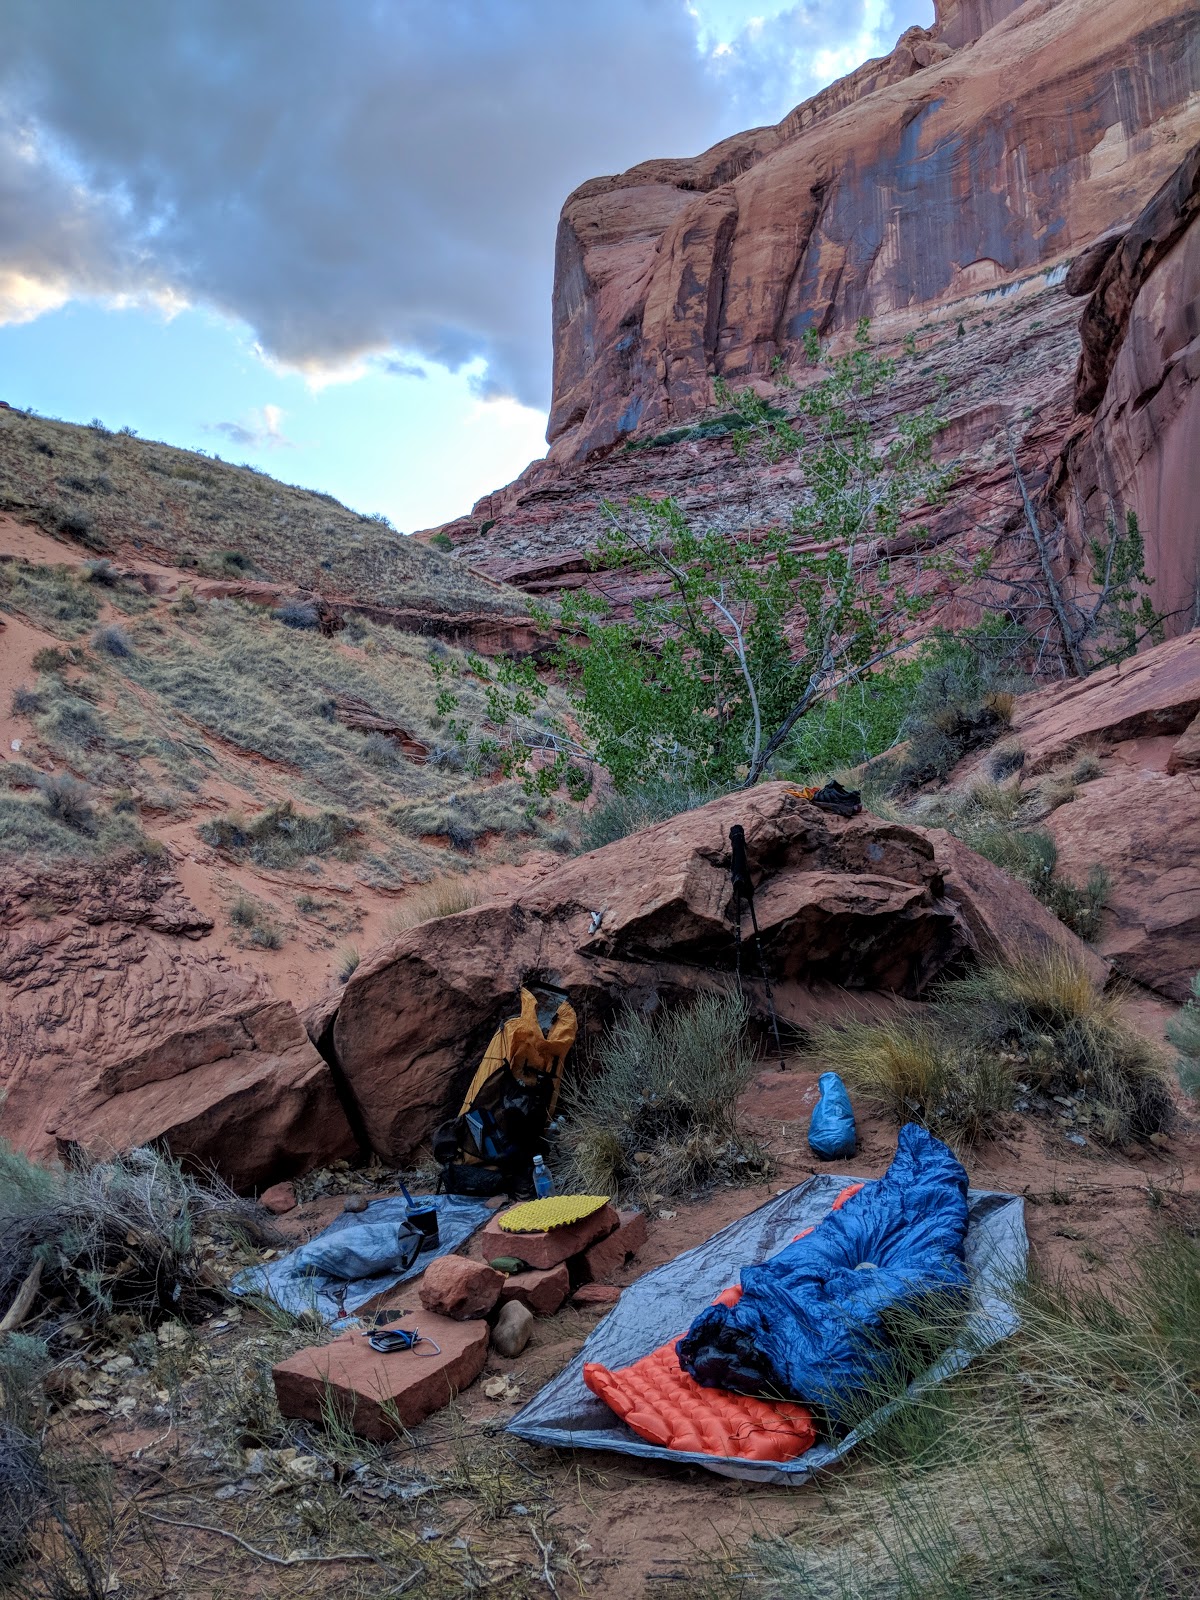
After a failed attempt to hike around the waterfall I decide to look for a camp. I recalled a flat spot along the cliff side and made my way back to find it. If you are doing this hike it is very clearly stated that you need to pack out your own poop. I was not happy about it but wanted to comply. When I went to set up my camp I was greeted to somebody’s poorly covered poop and TP! Grrrrr, so I move down the cliff side to another flat spot and what do I see??? More poorly covered poop and TP. Not only are these people not packing out your poop and TP like you are supposed to, they do a half ass job covering it up so nobody can enjoy this spot. Now I was mad!!
I cleaned up the nasty mess the best I could and eventually decided to set up at the spot in the photo above that was literally on the edge of the waterfall. Although it was not very safe (don’t roll around at night) it was tp and poop free.

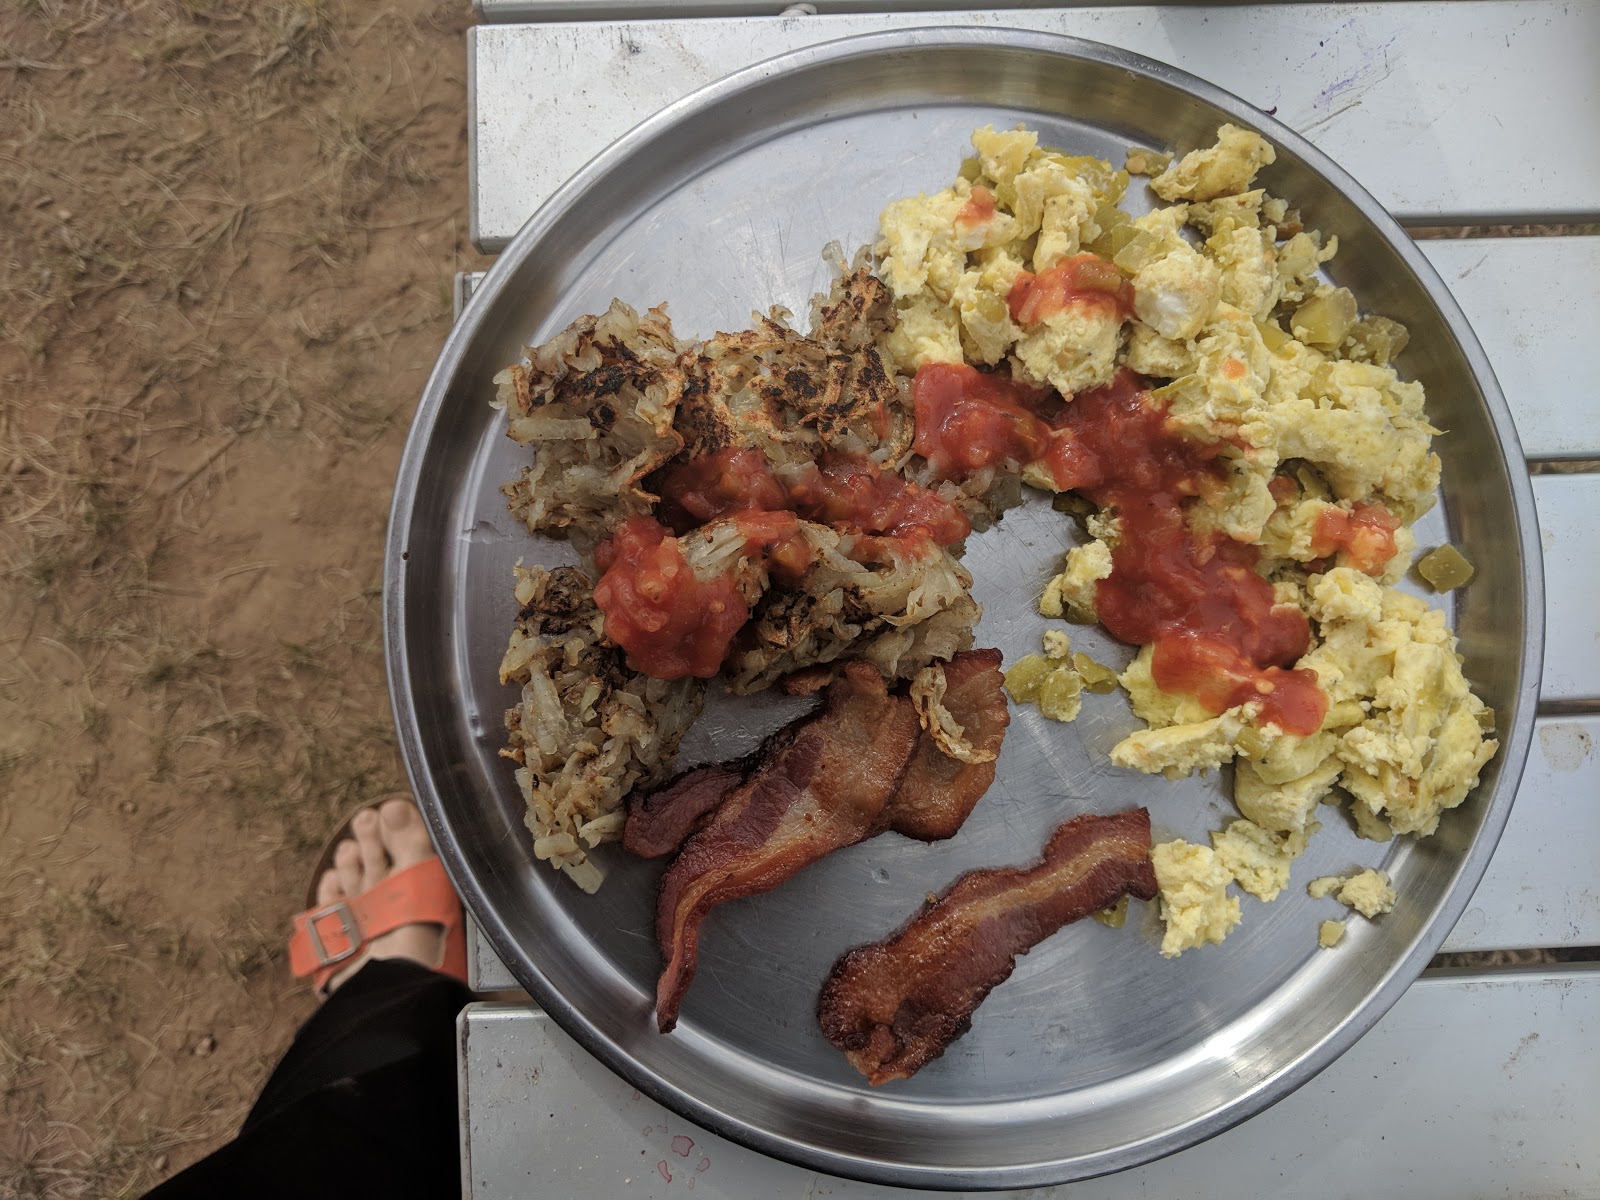
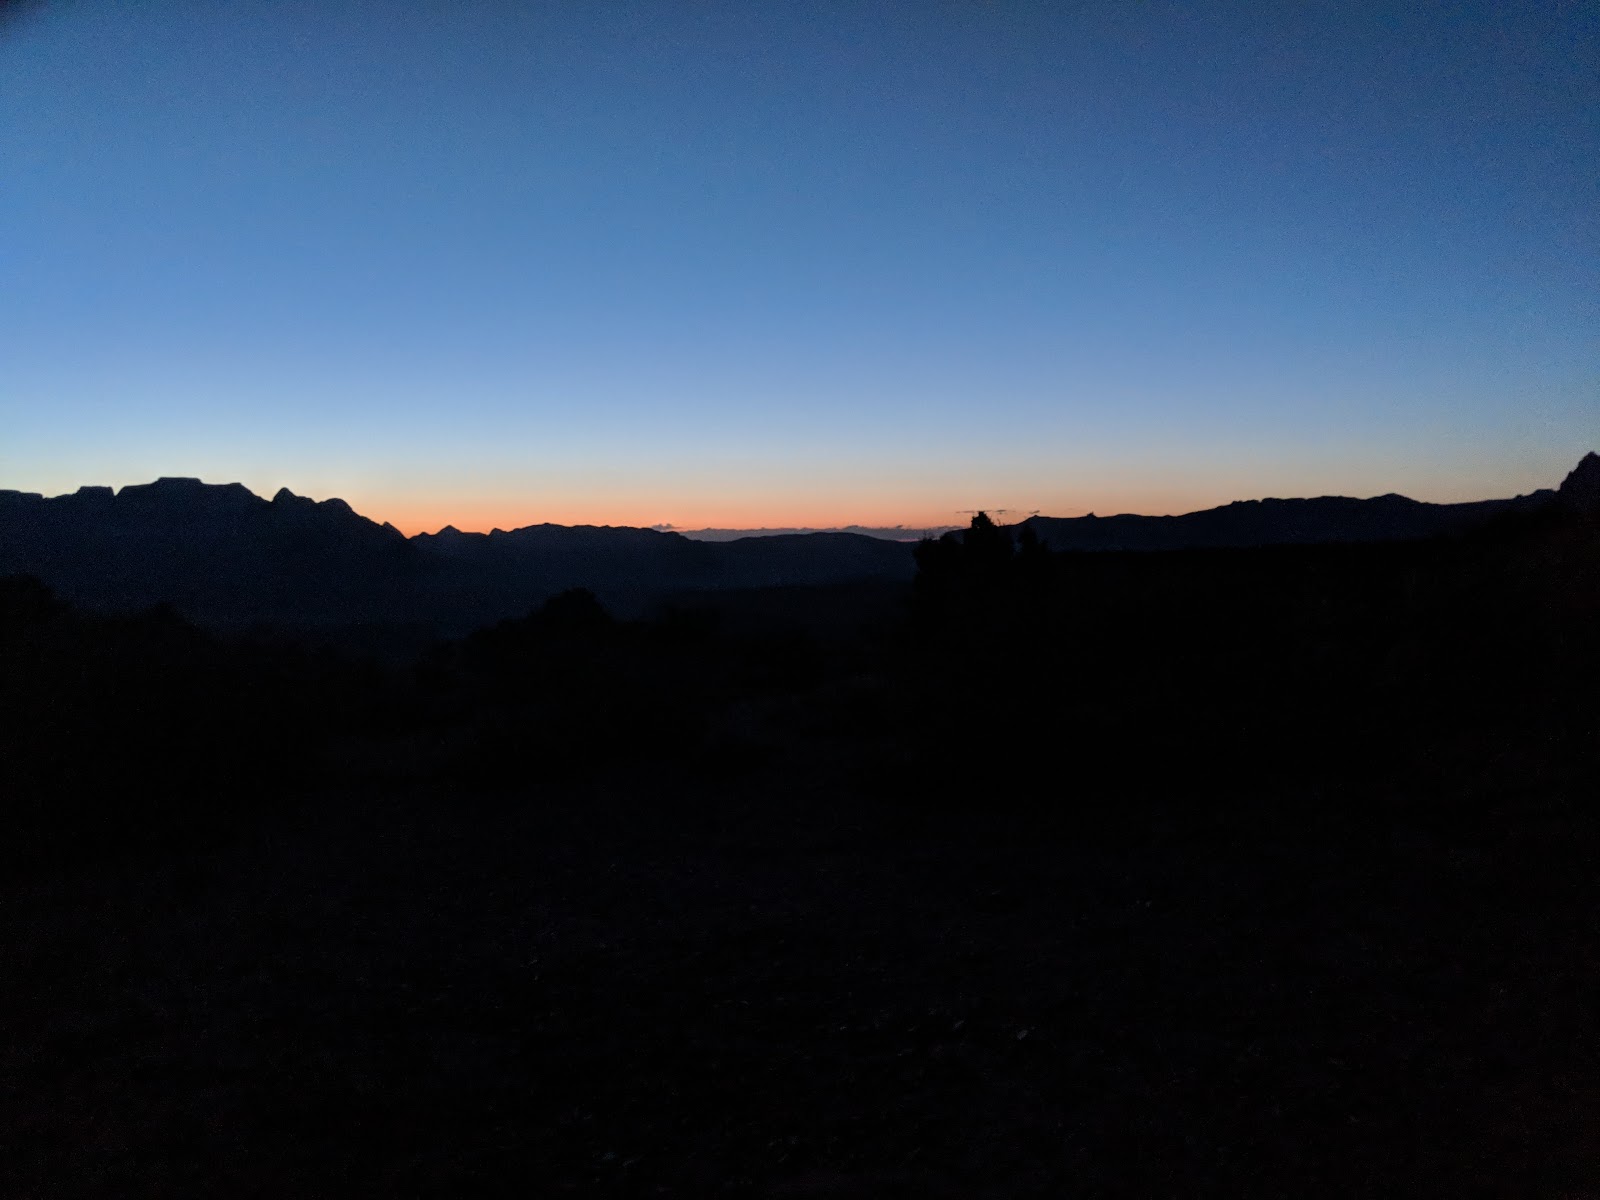
Rise and shine. I cowboy camped this night and will never forget the mega sized daddy long leg spiders crawling around me that I saw when I decided to turn on my head lamp at 2:00am for some reason.
I had enough food to hike for one more day. I wanted to make it to where the Escalante River and Lake Powell met then hike up Stephens Canyon. I was less then a mile away, but trufully I was not feeling this hike. It was a very popular hike and did not offer the seclusion that I normally enjoy on my backpacking trip. It seemed like every corner I turned was some young couple taking selfies. Plus I was still mad about the unburied poo by my campsite. So I pack up and b line it back to my van all they way through the canyon with just a short stop for lunch. I hiked 16 miles in just under 6 hours.
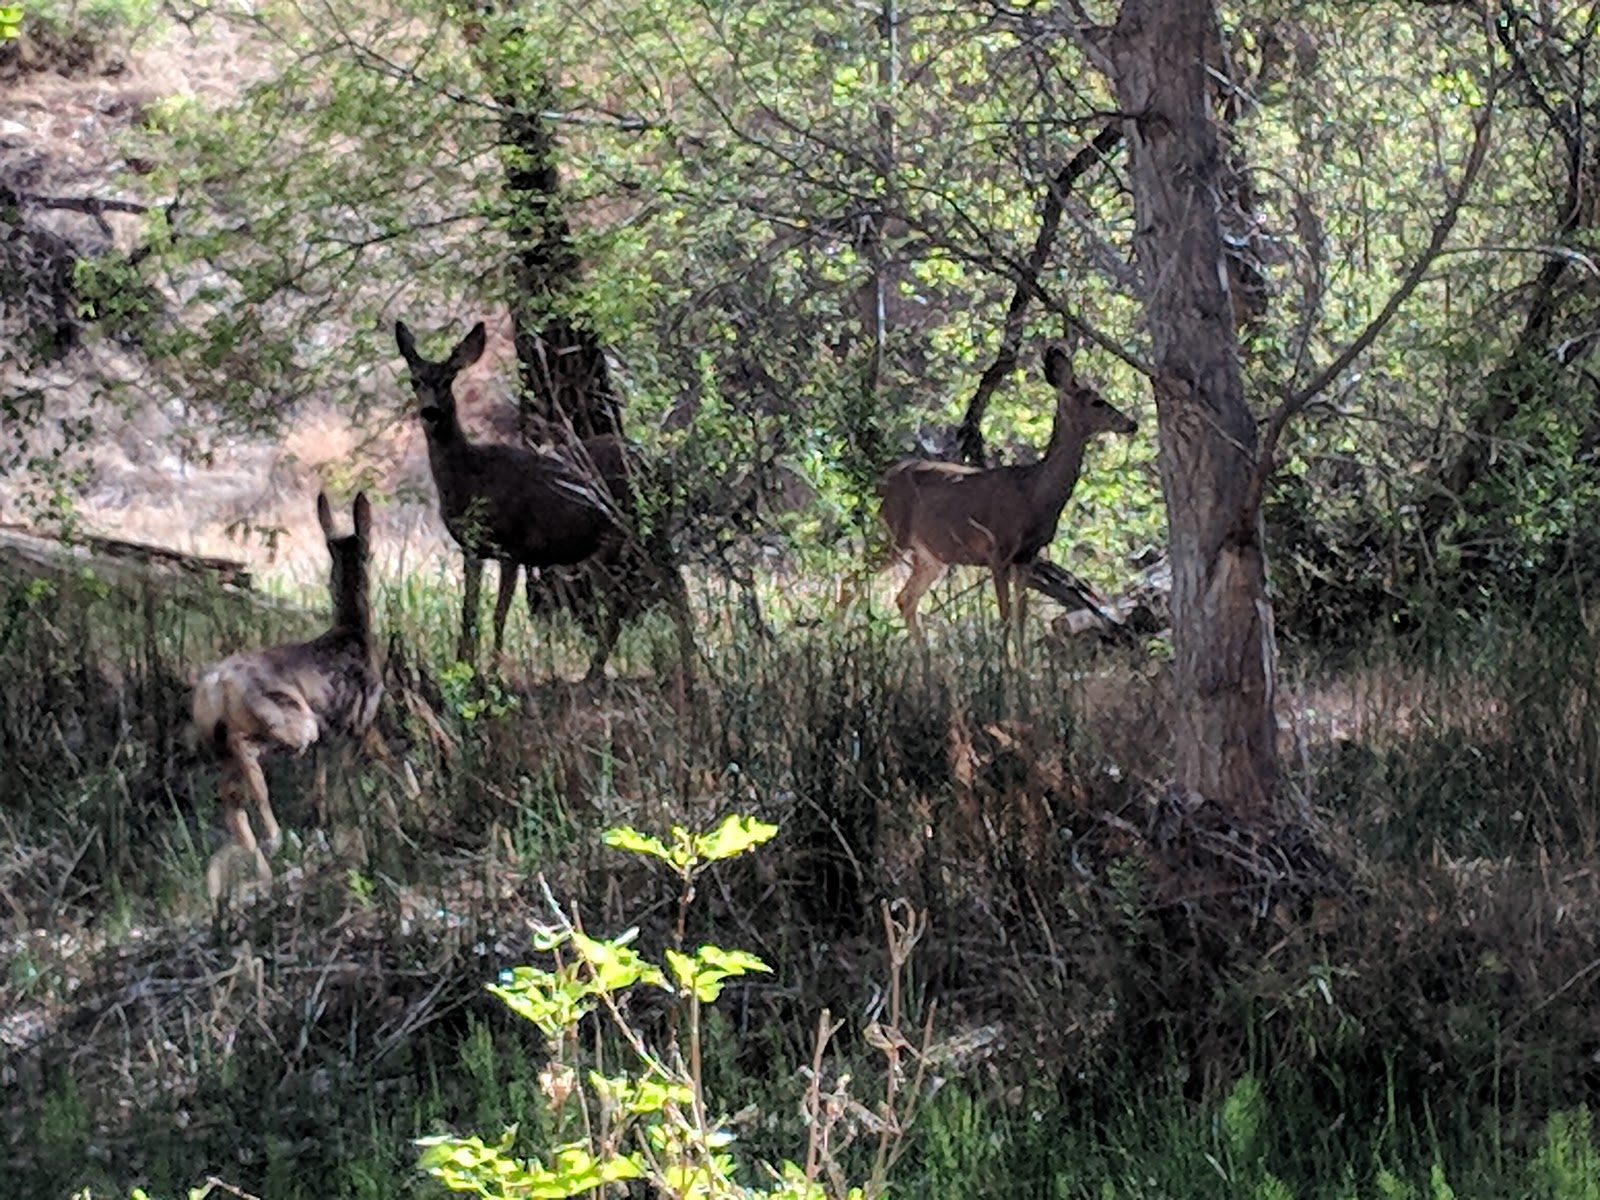
On they way back I came across a small heard of deer. I normally do not get excited about deer but it was neet to see them living in the desert canyon.
On my hike back I caught some really good light at Coyote Natrual Bridge and got this excellent picture. My favorite from the hike.
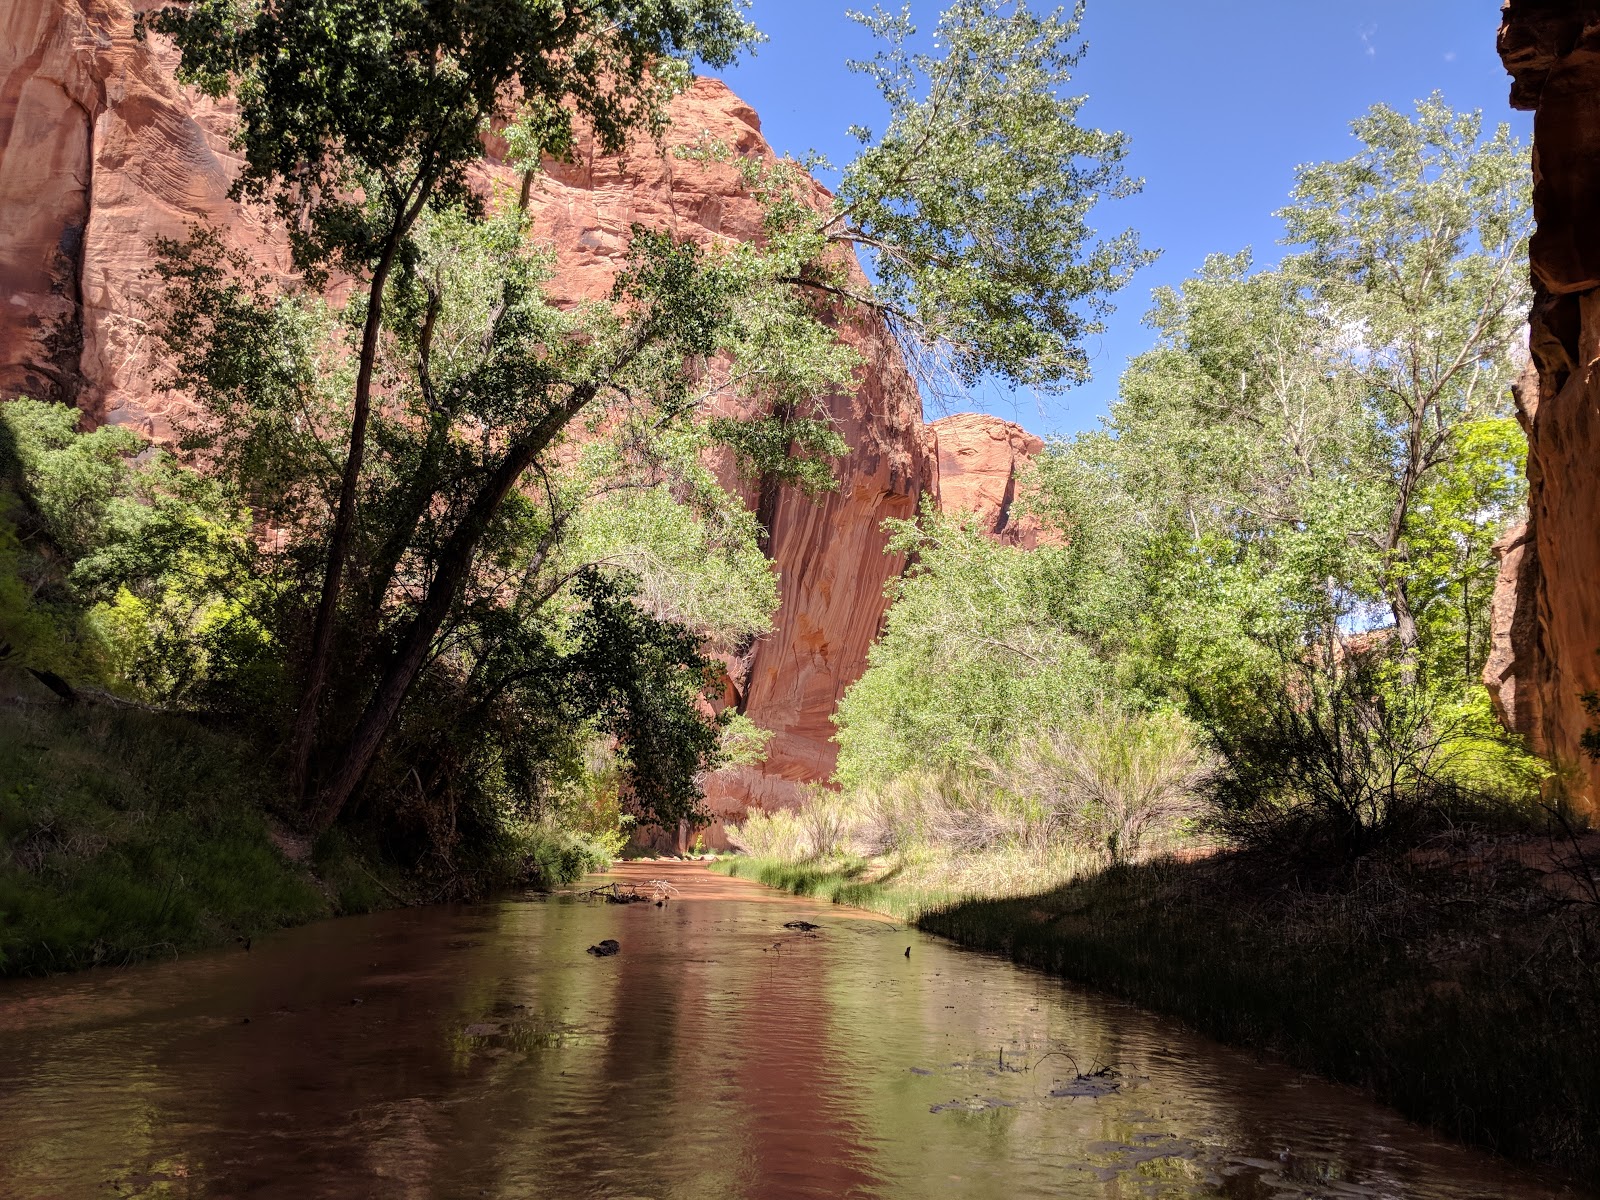
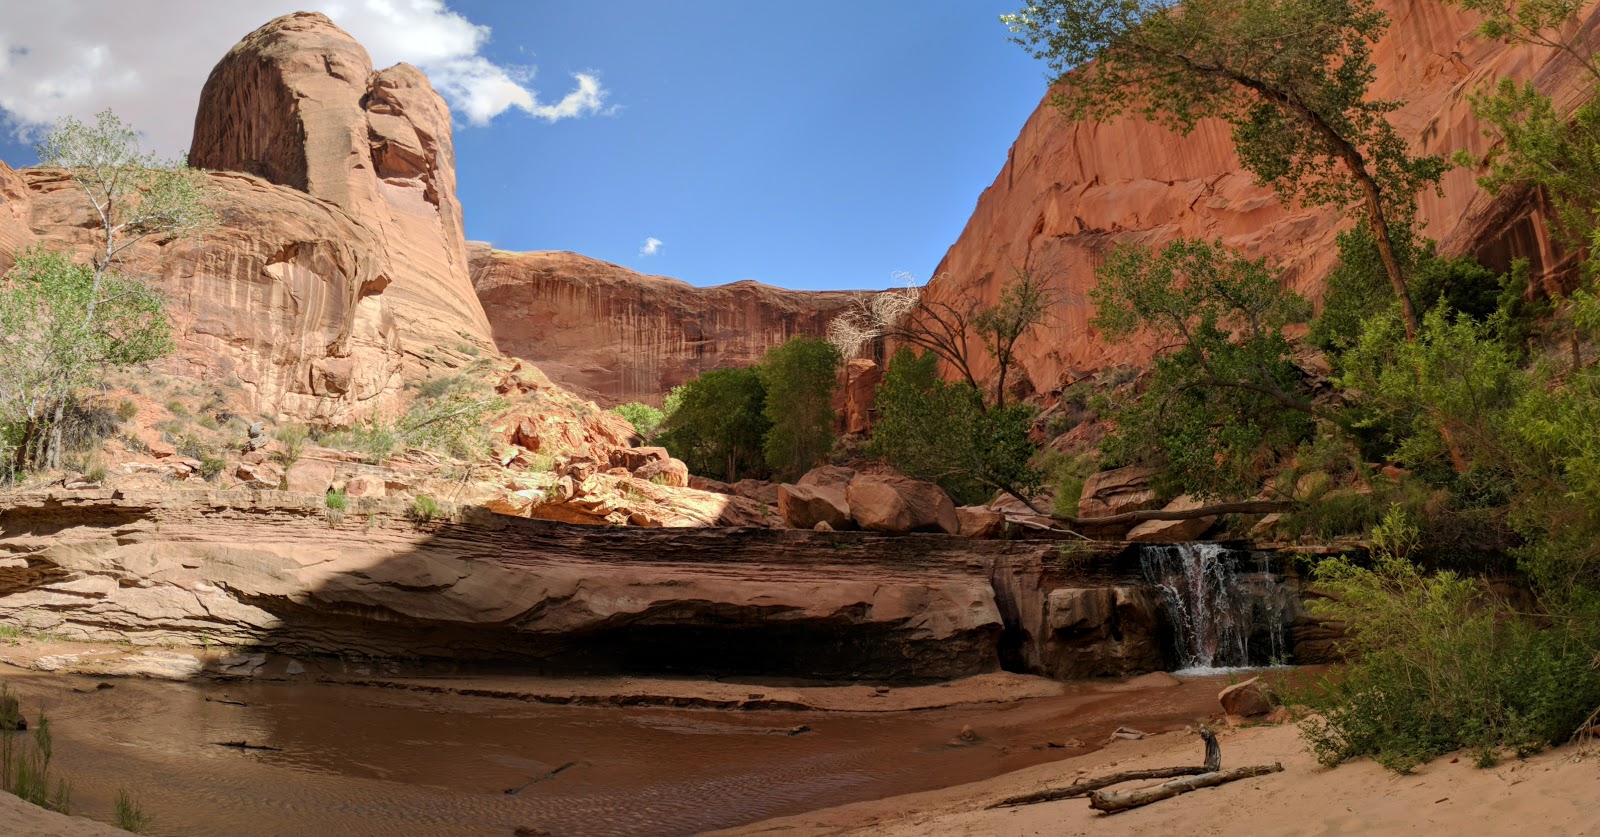
It was nice that this canyon was packed with cool shade and trees along the creek. It was amazing that this small spring feed creek made such a massive impact forming the large sandstone features of Coyote Gulch.
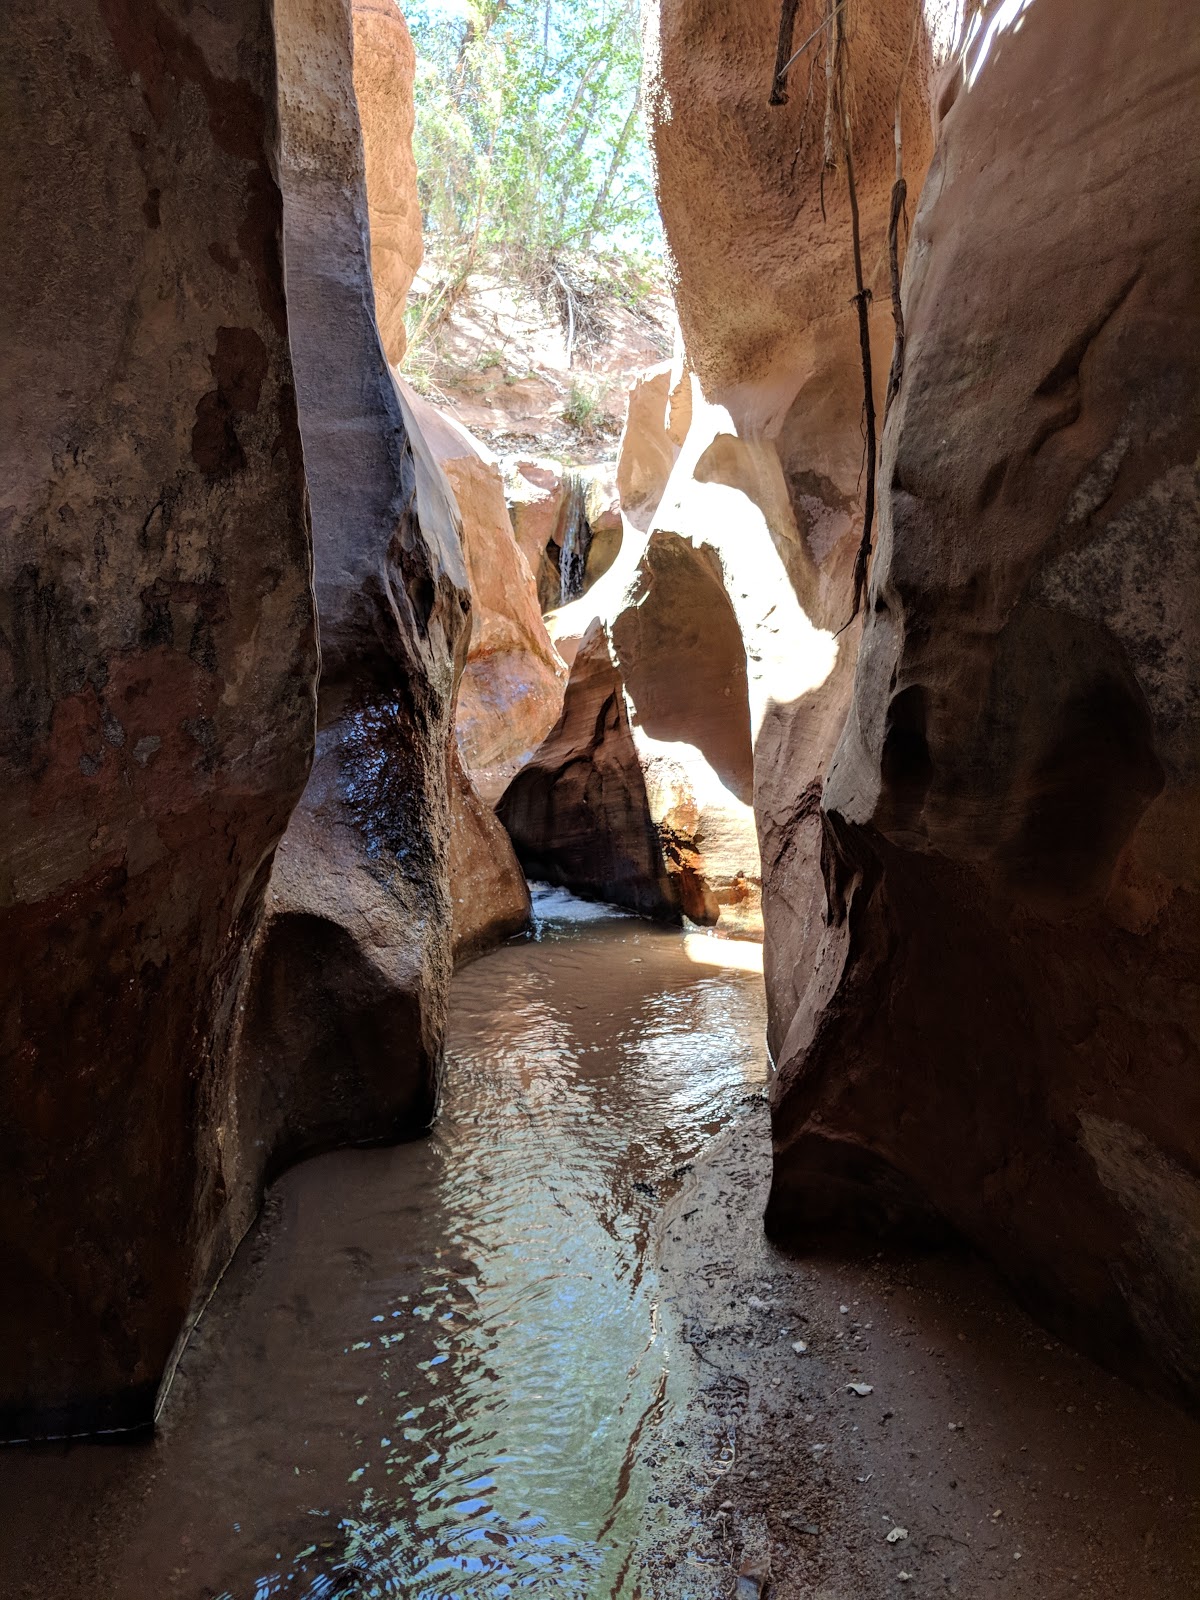
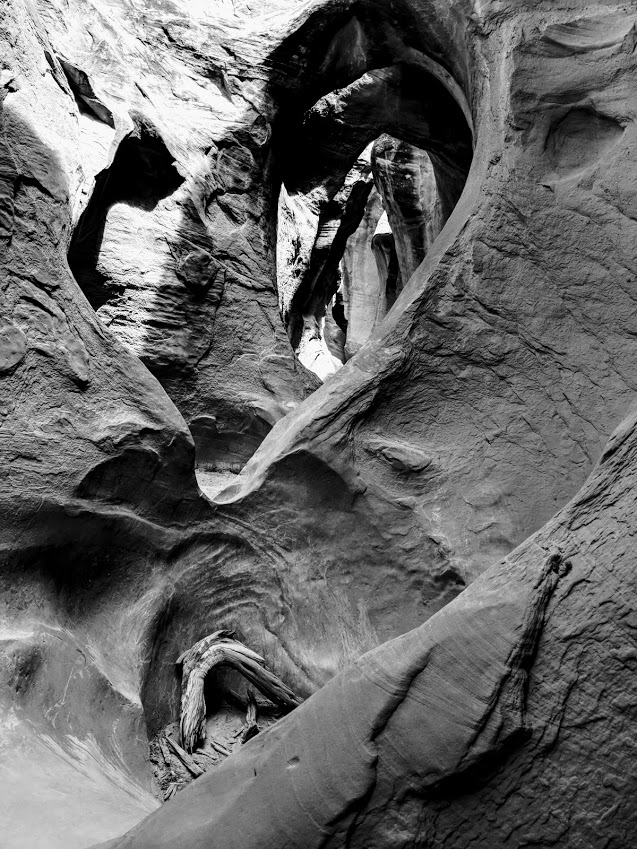
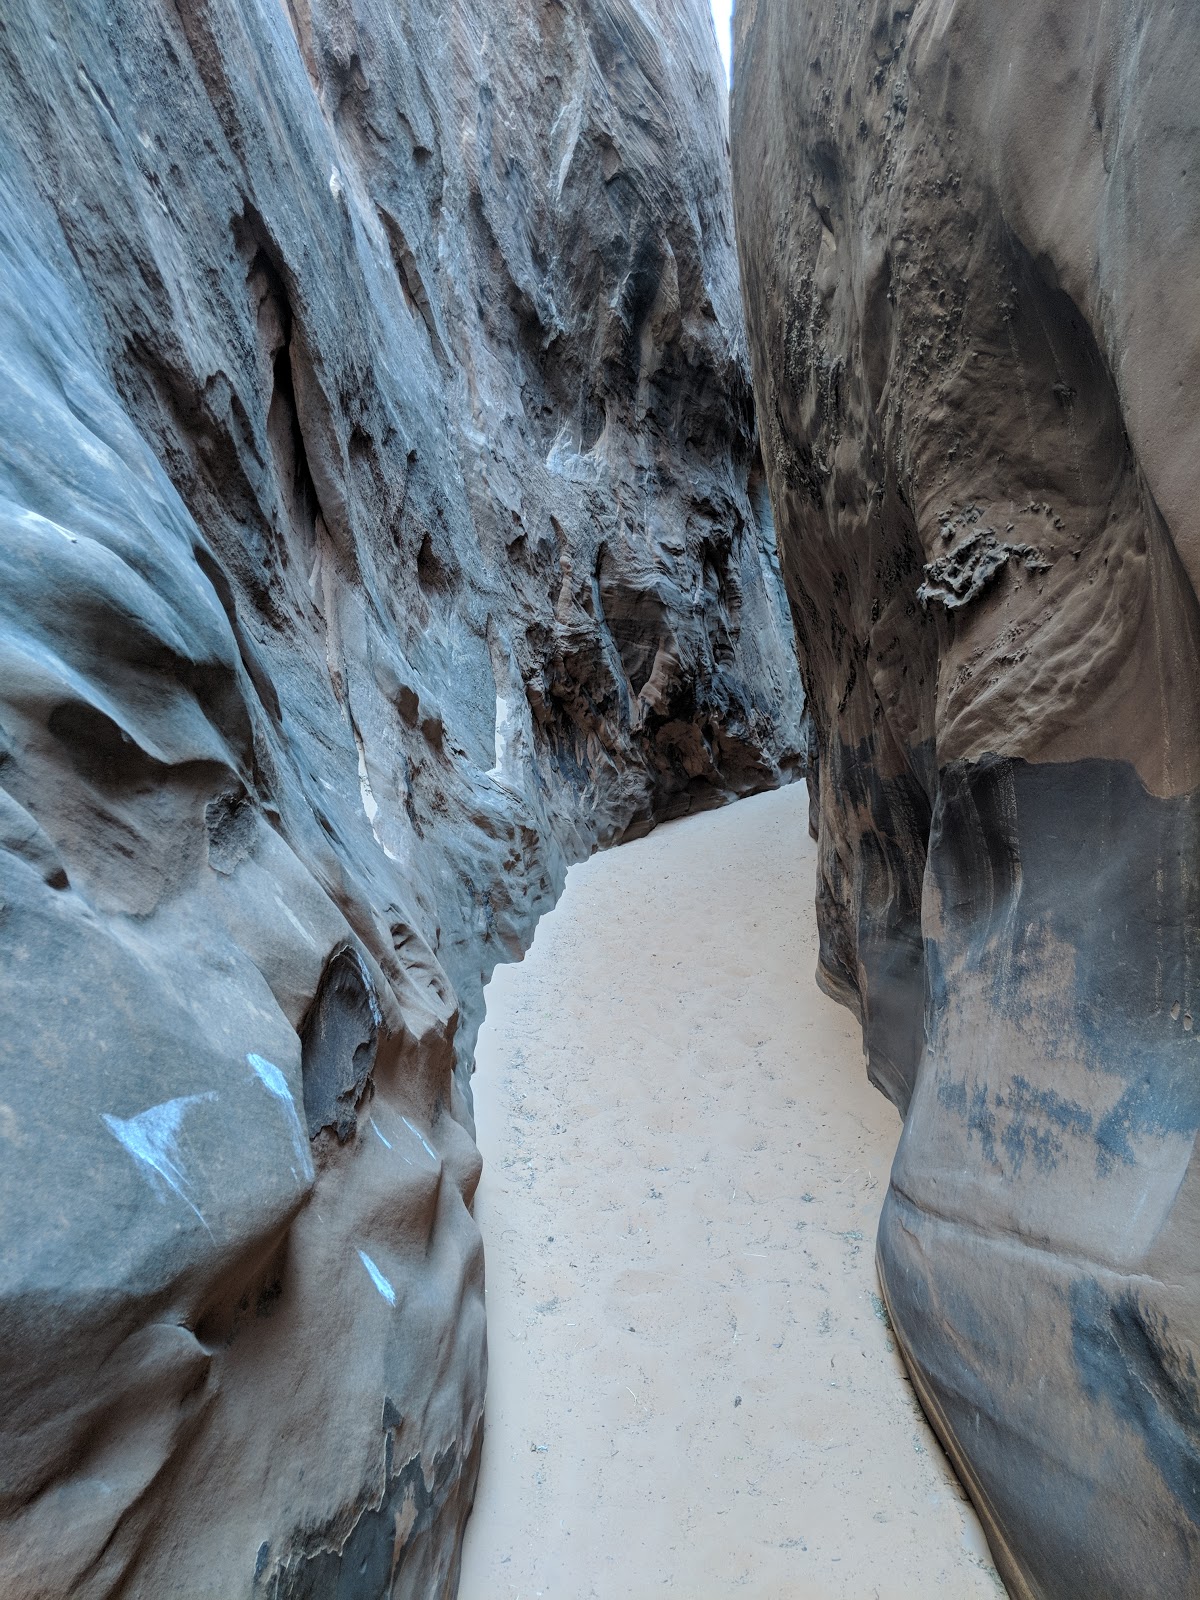
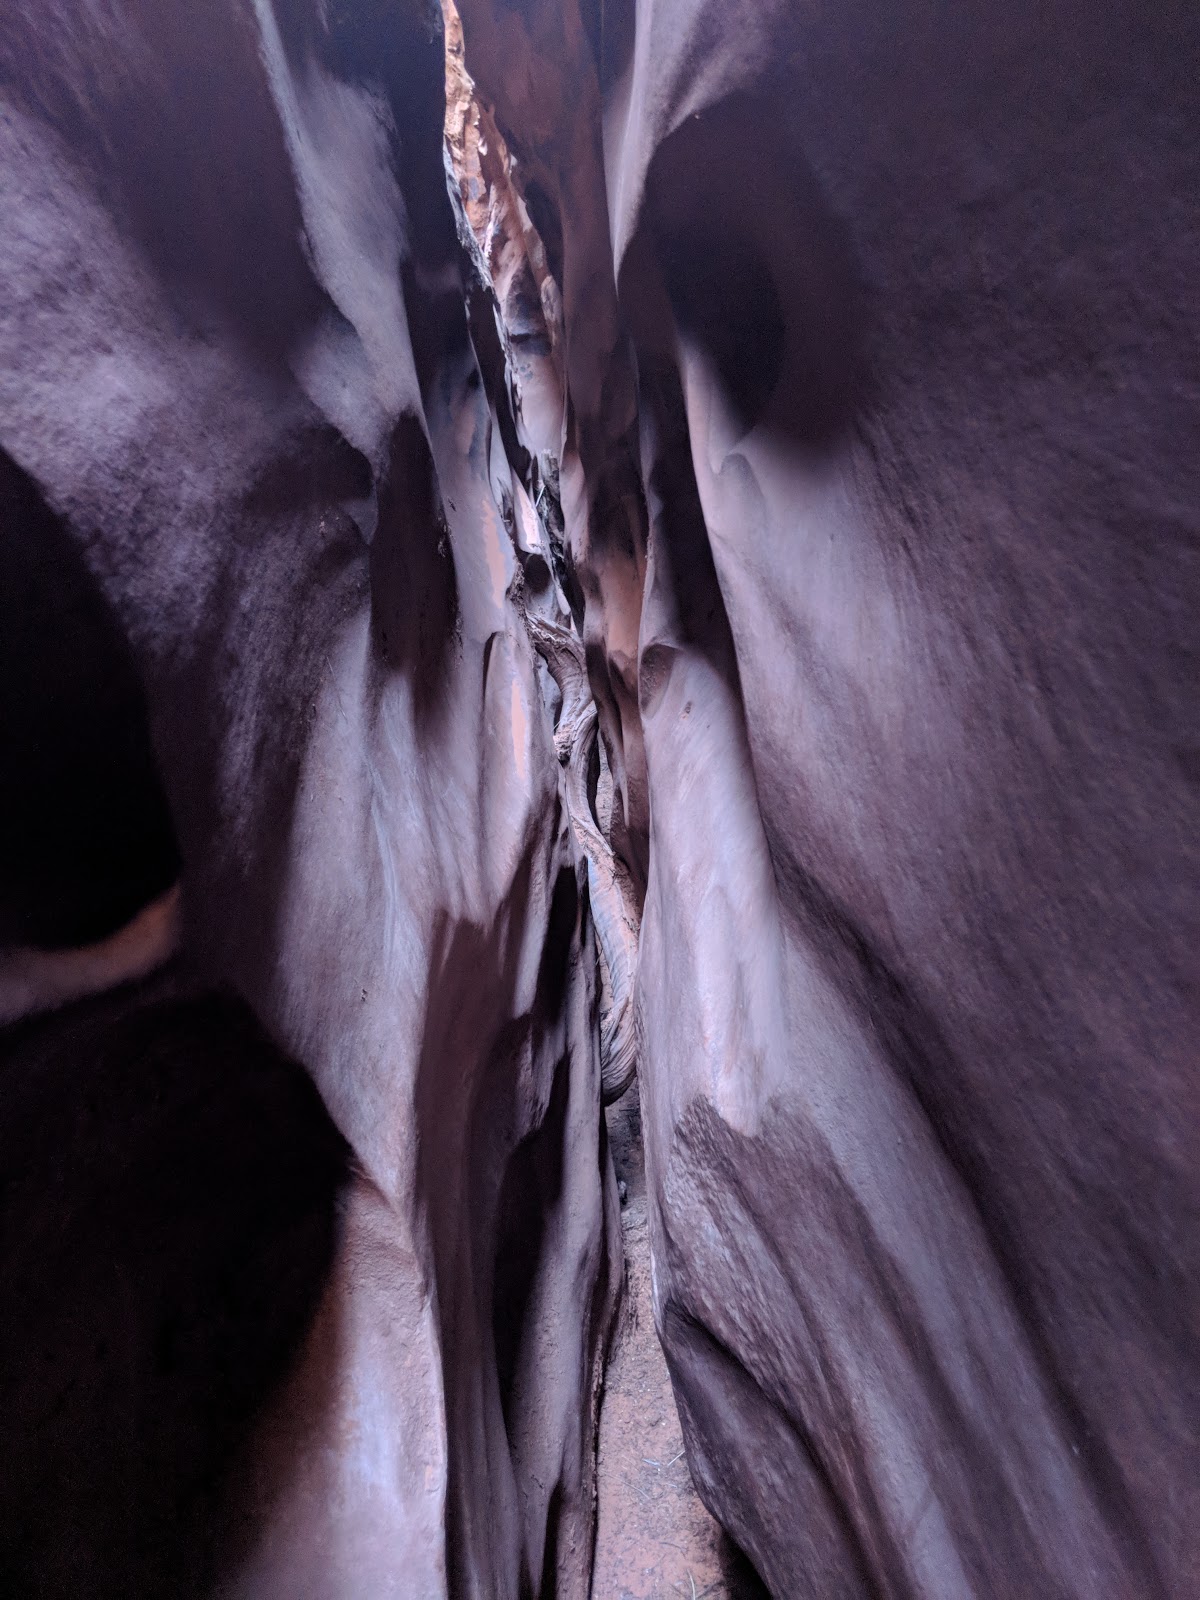
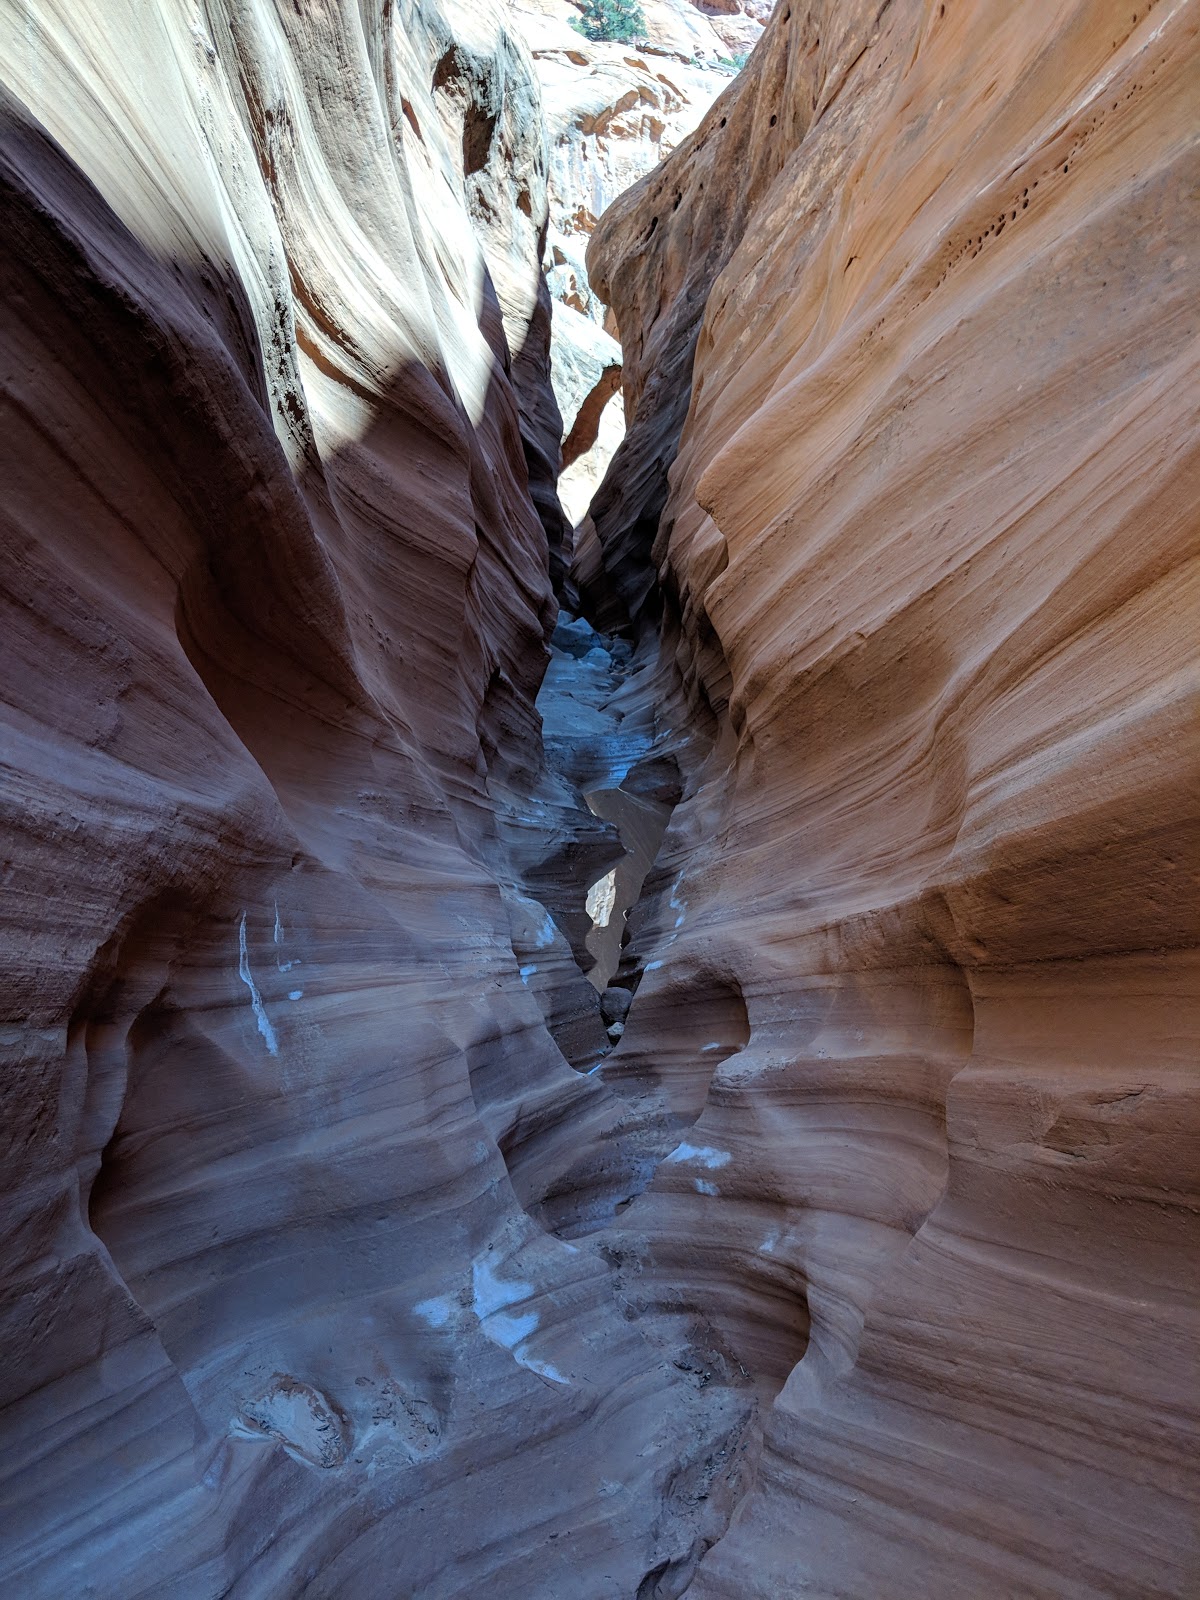
A small slot section with the echoing sound of water falling inside.
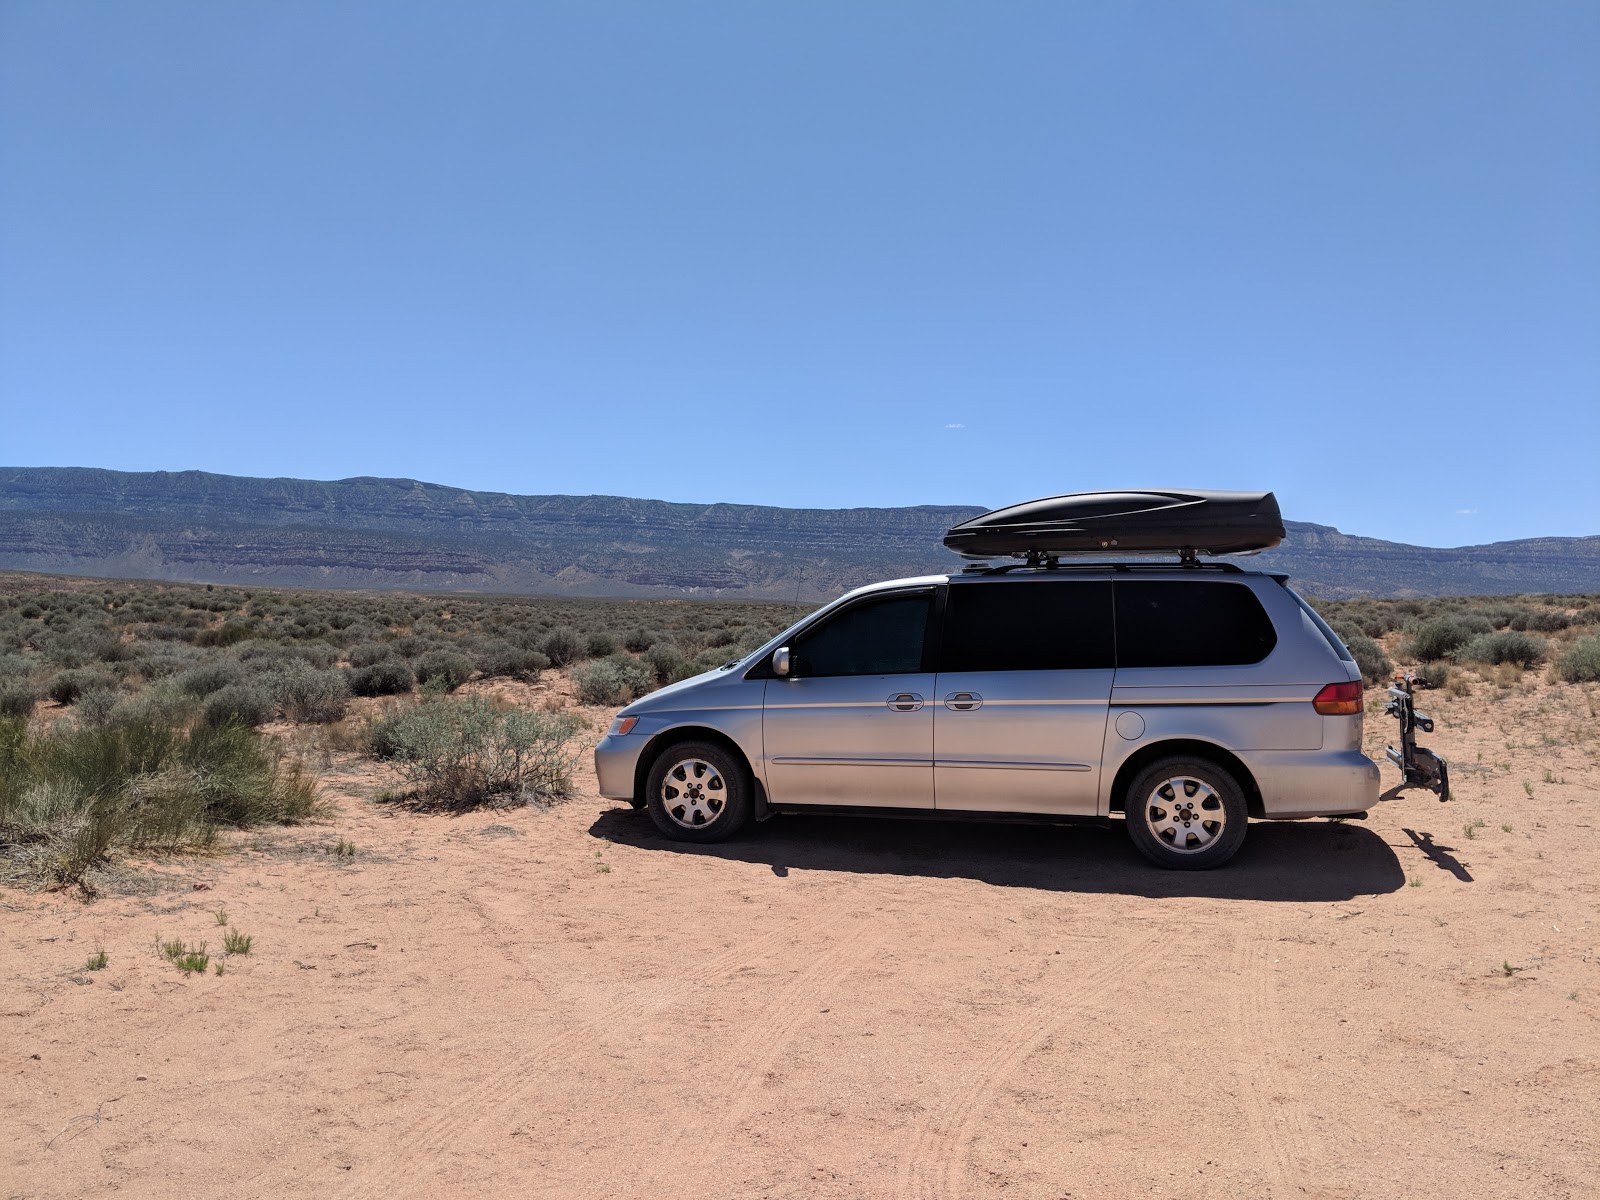
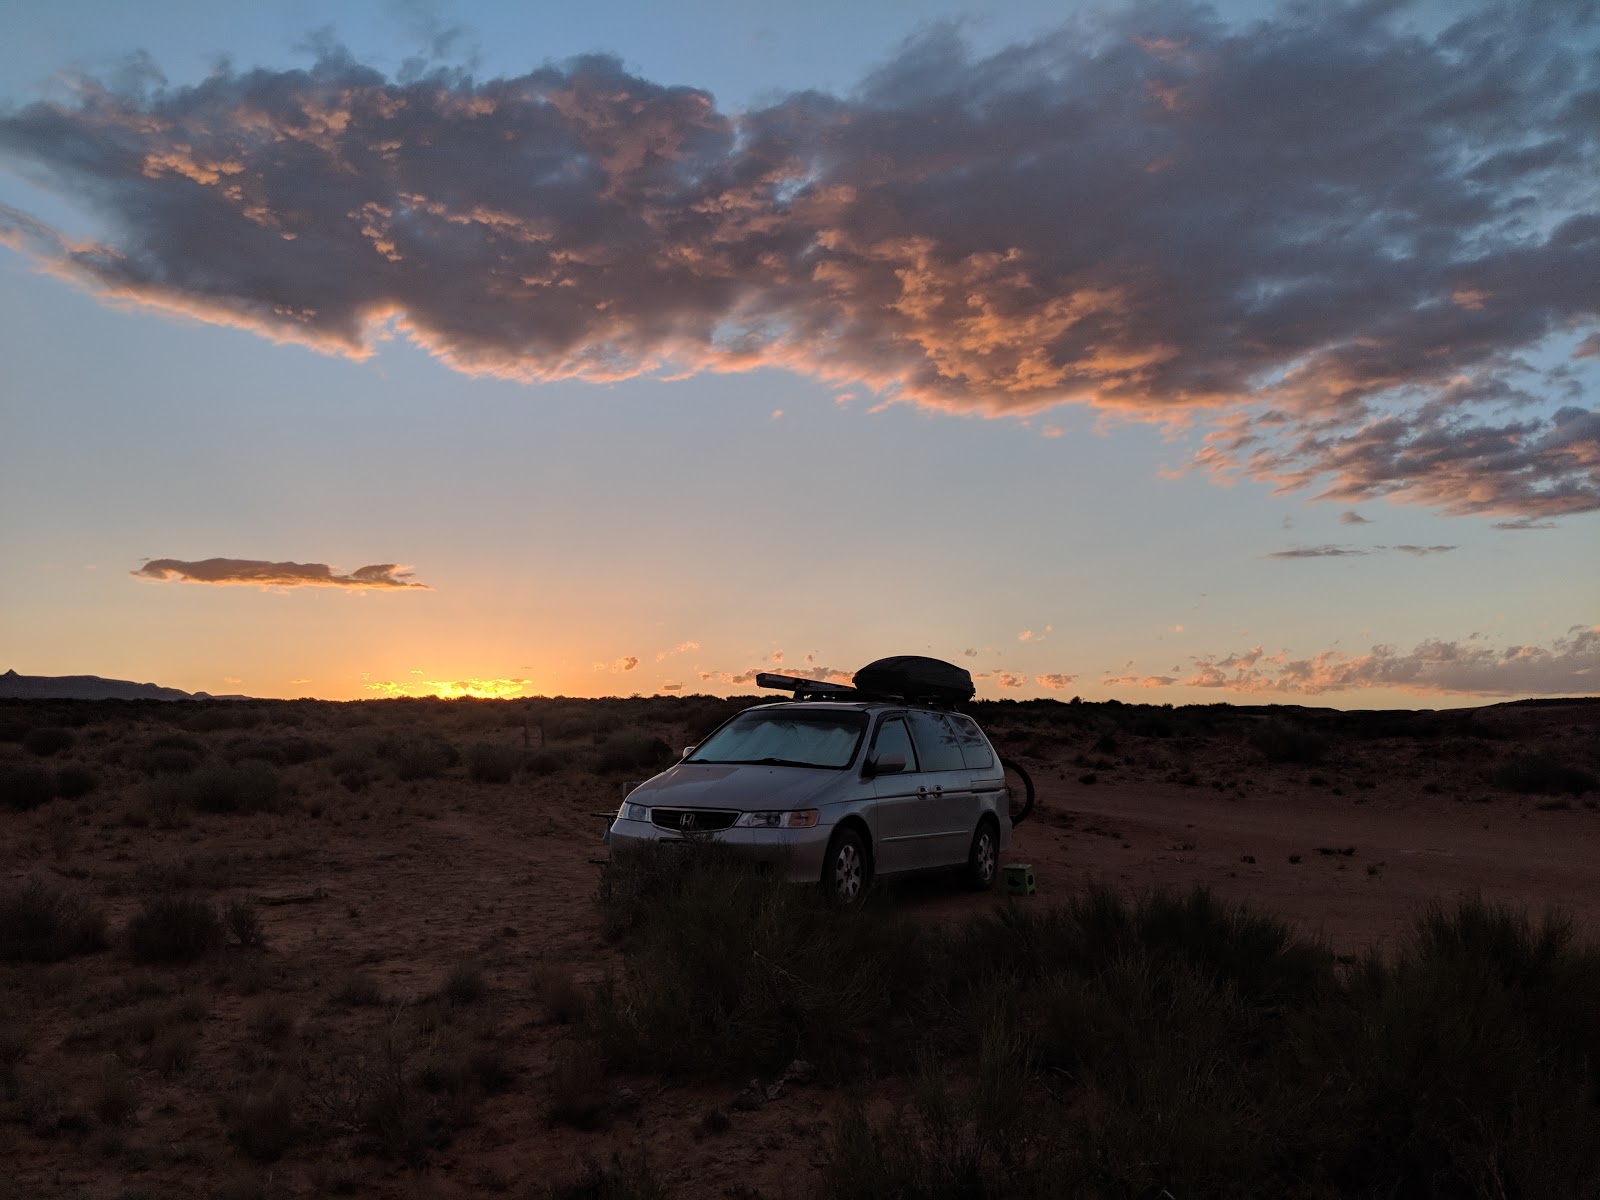
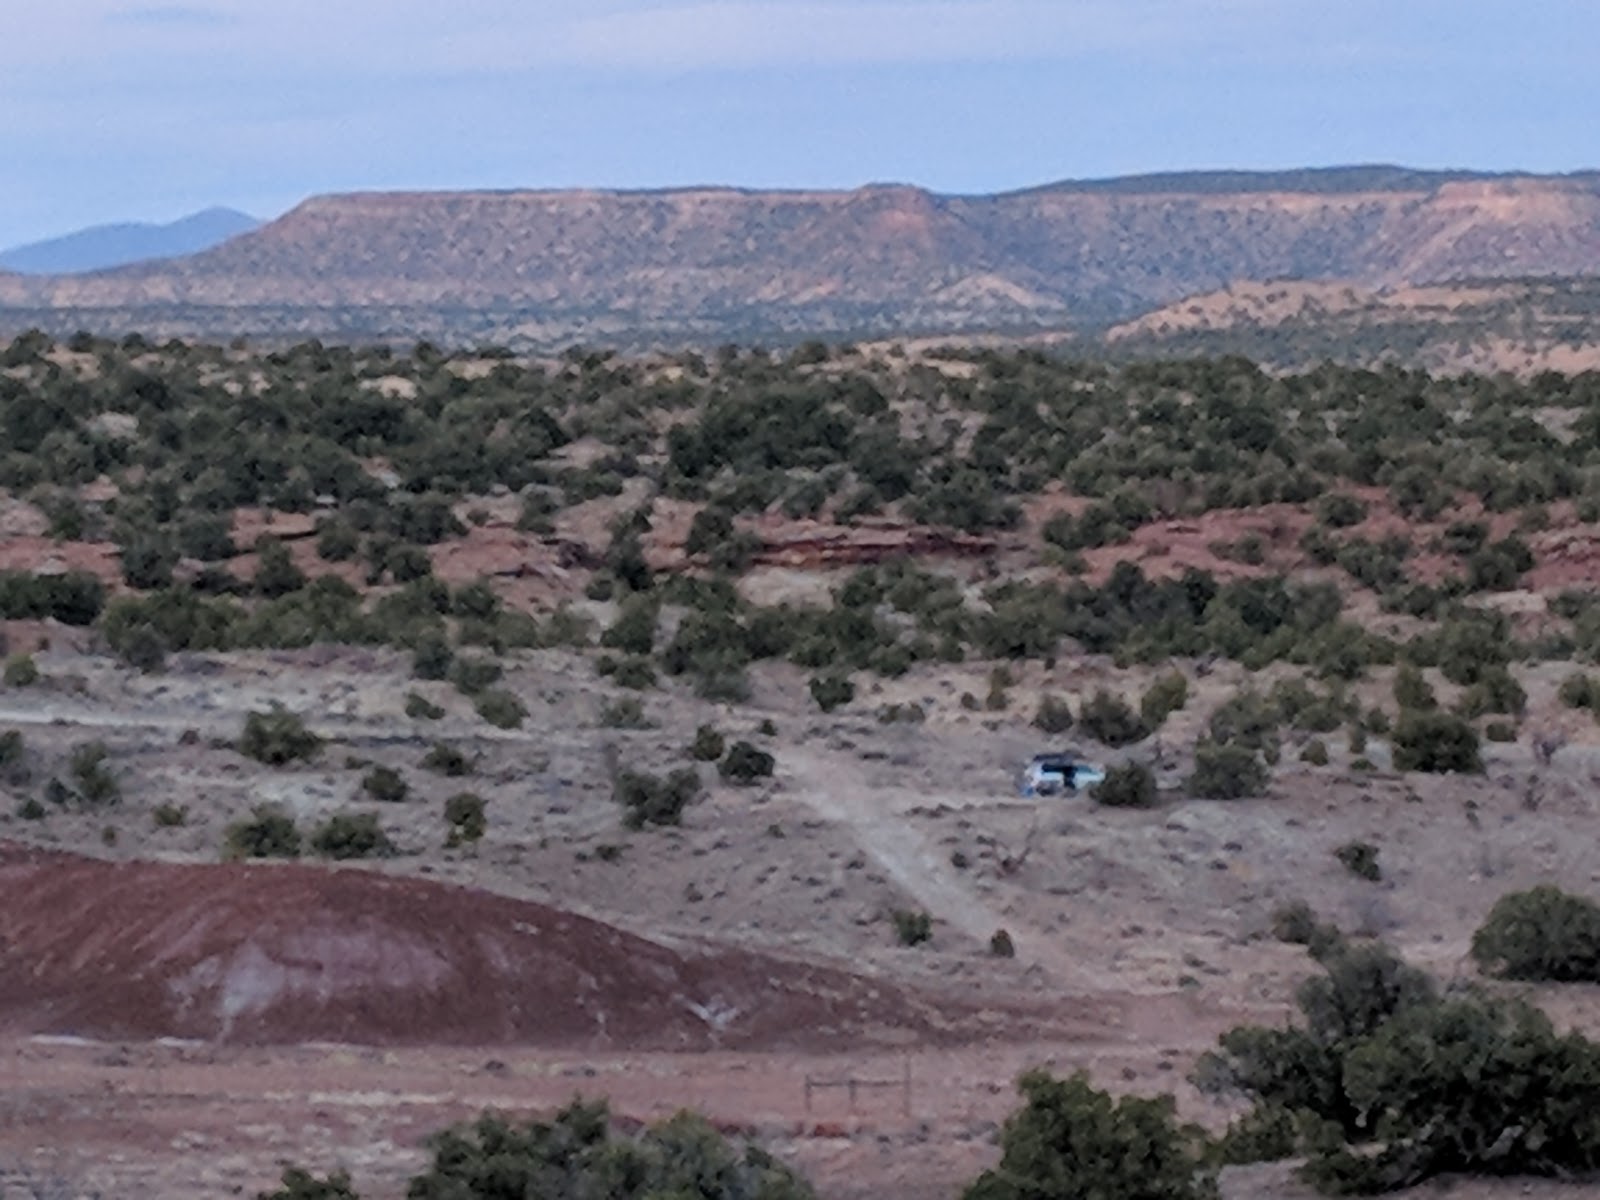
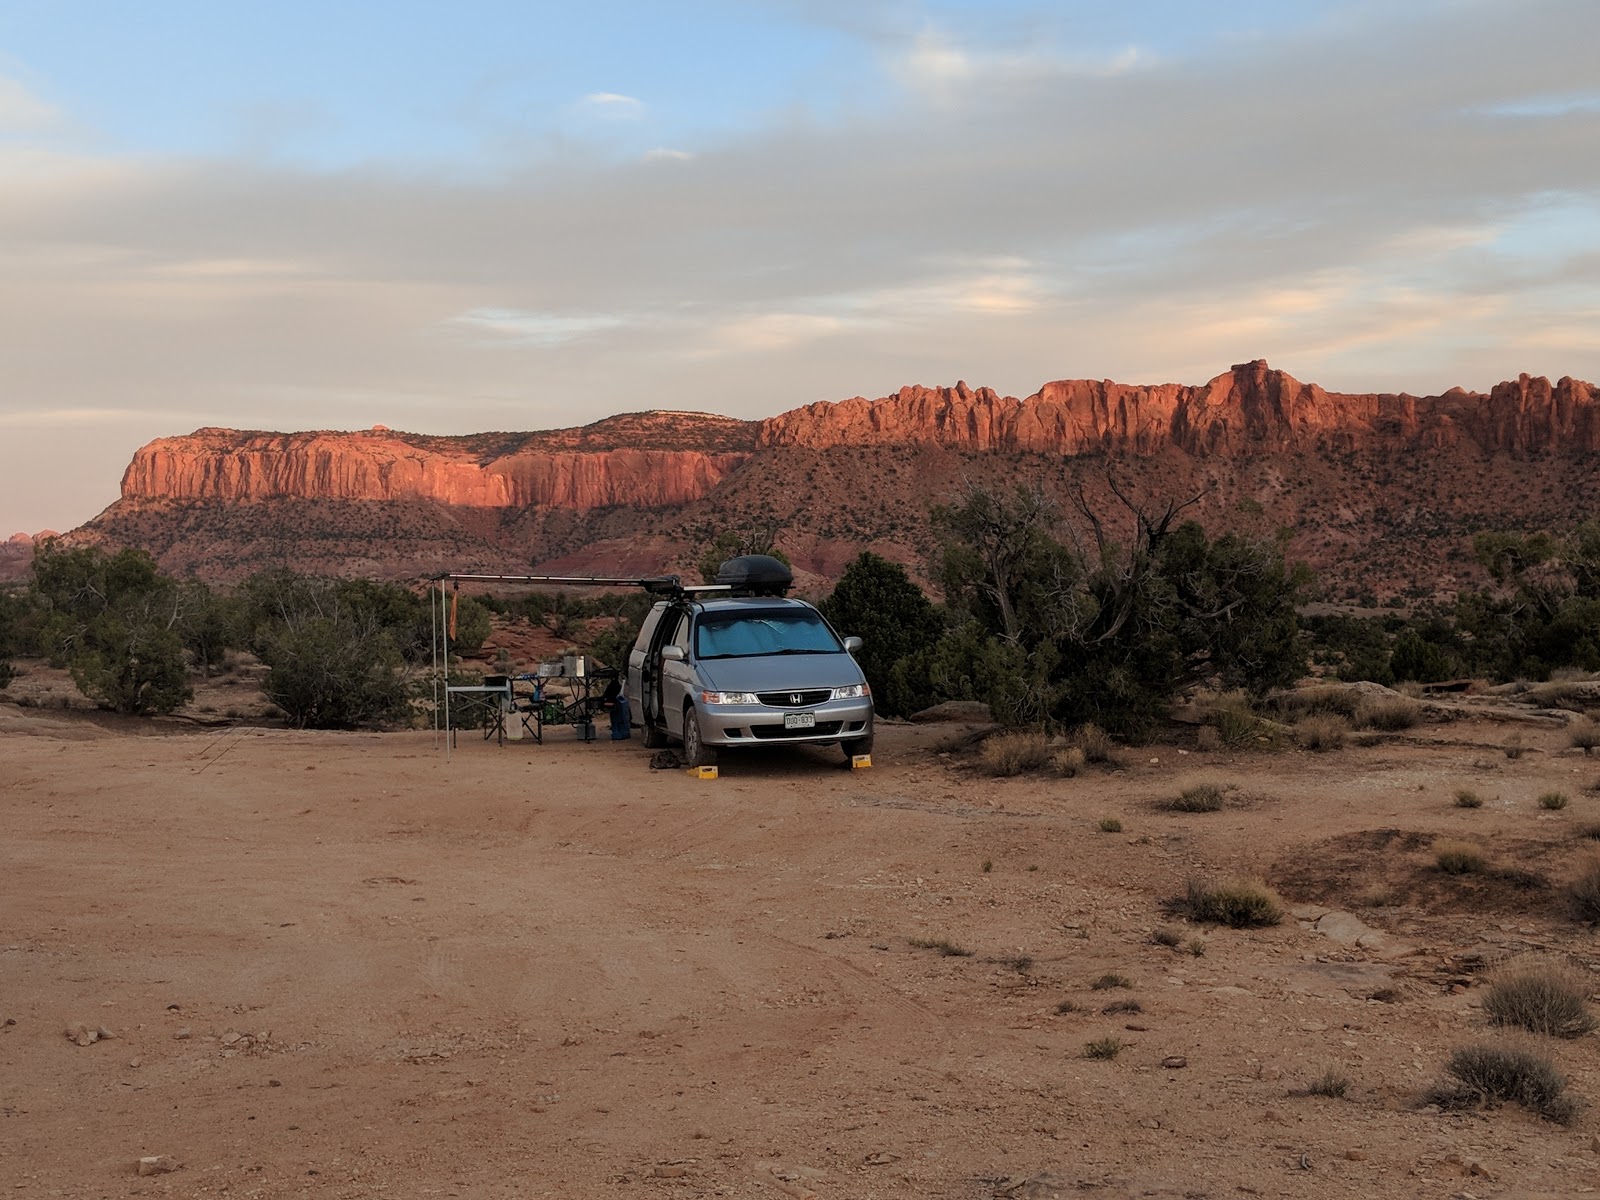
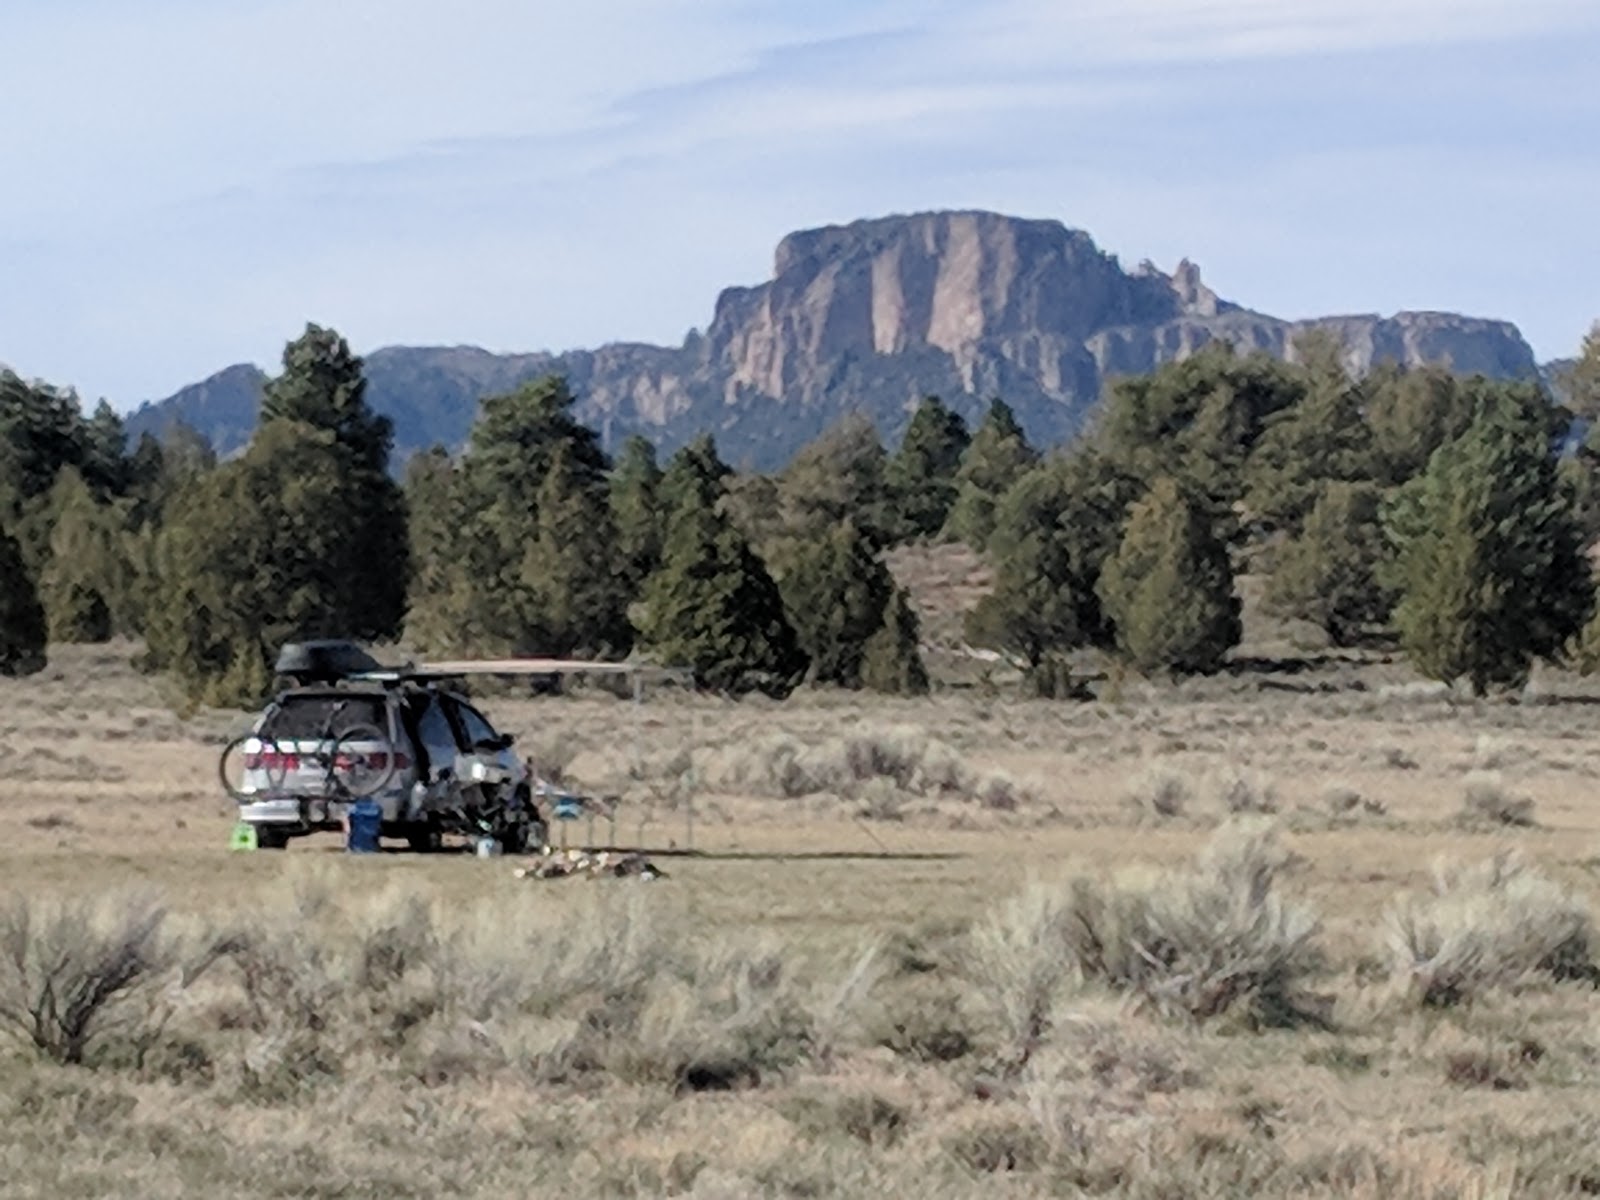
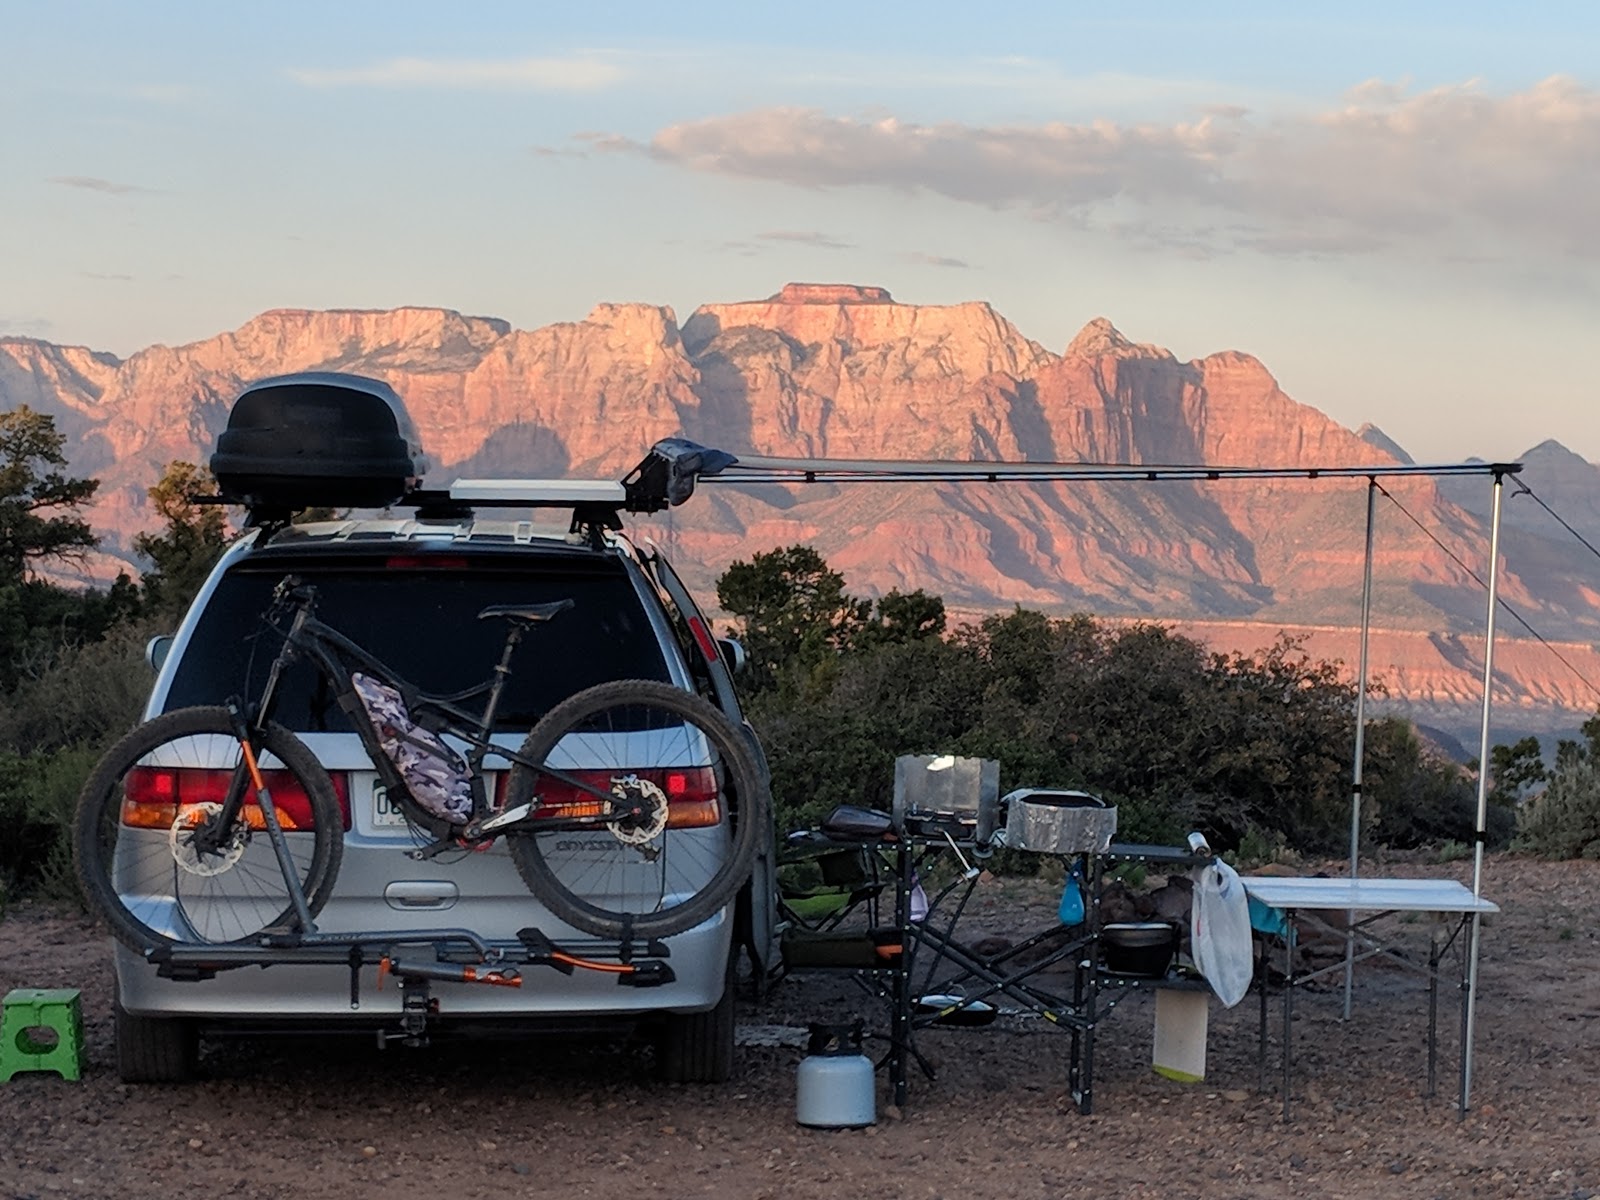
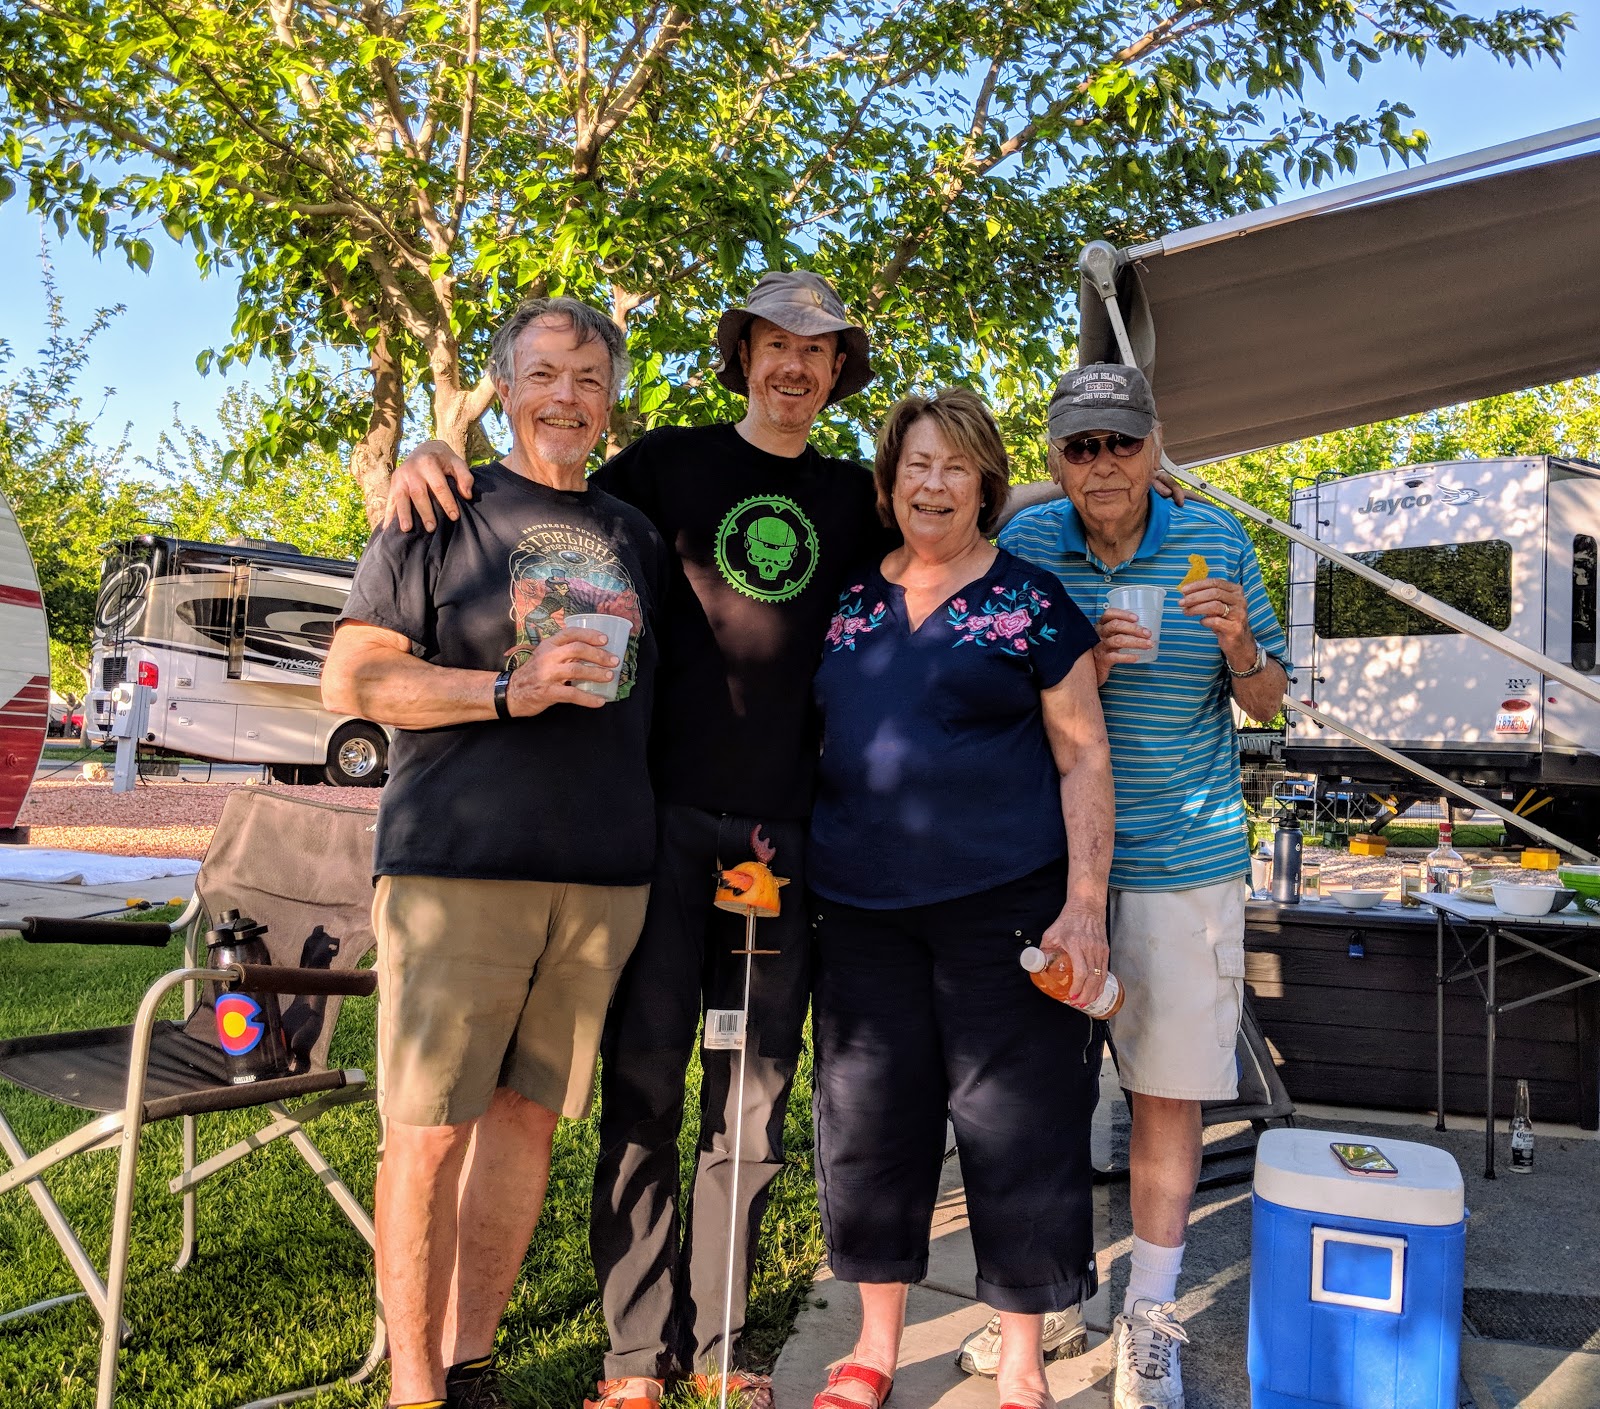
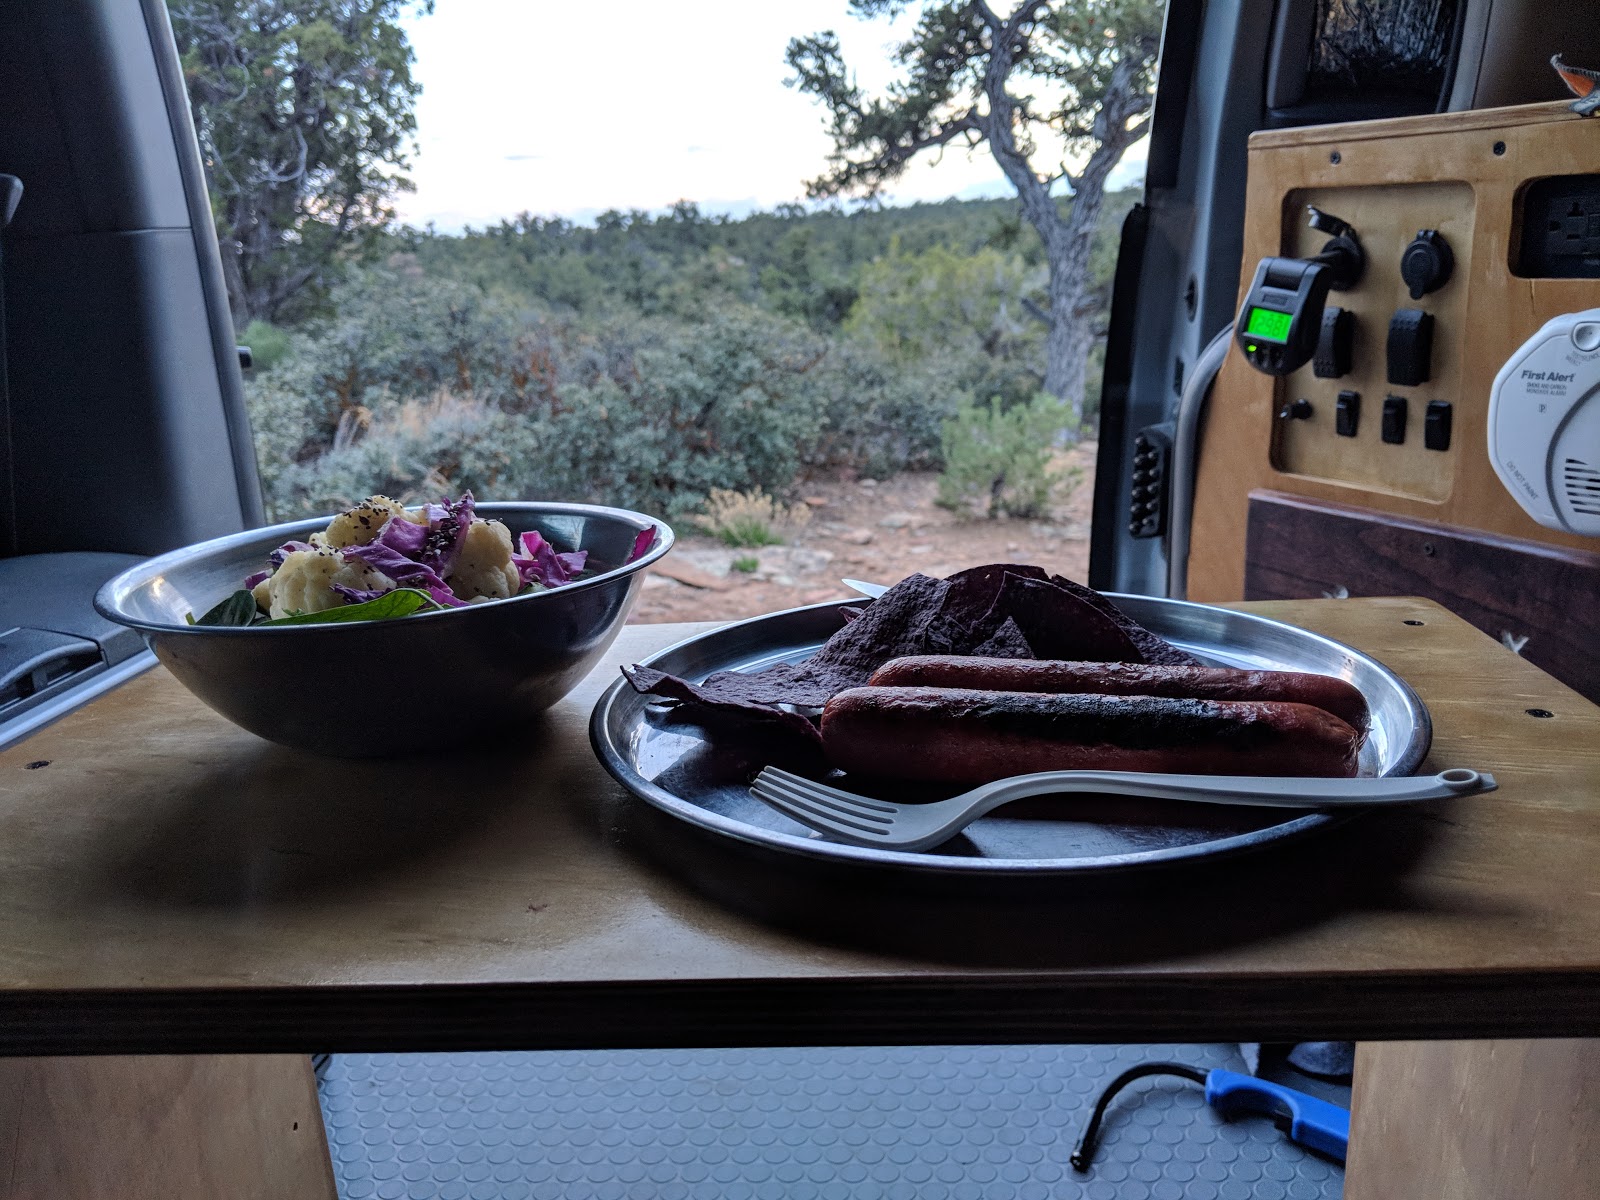
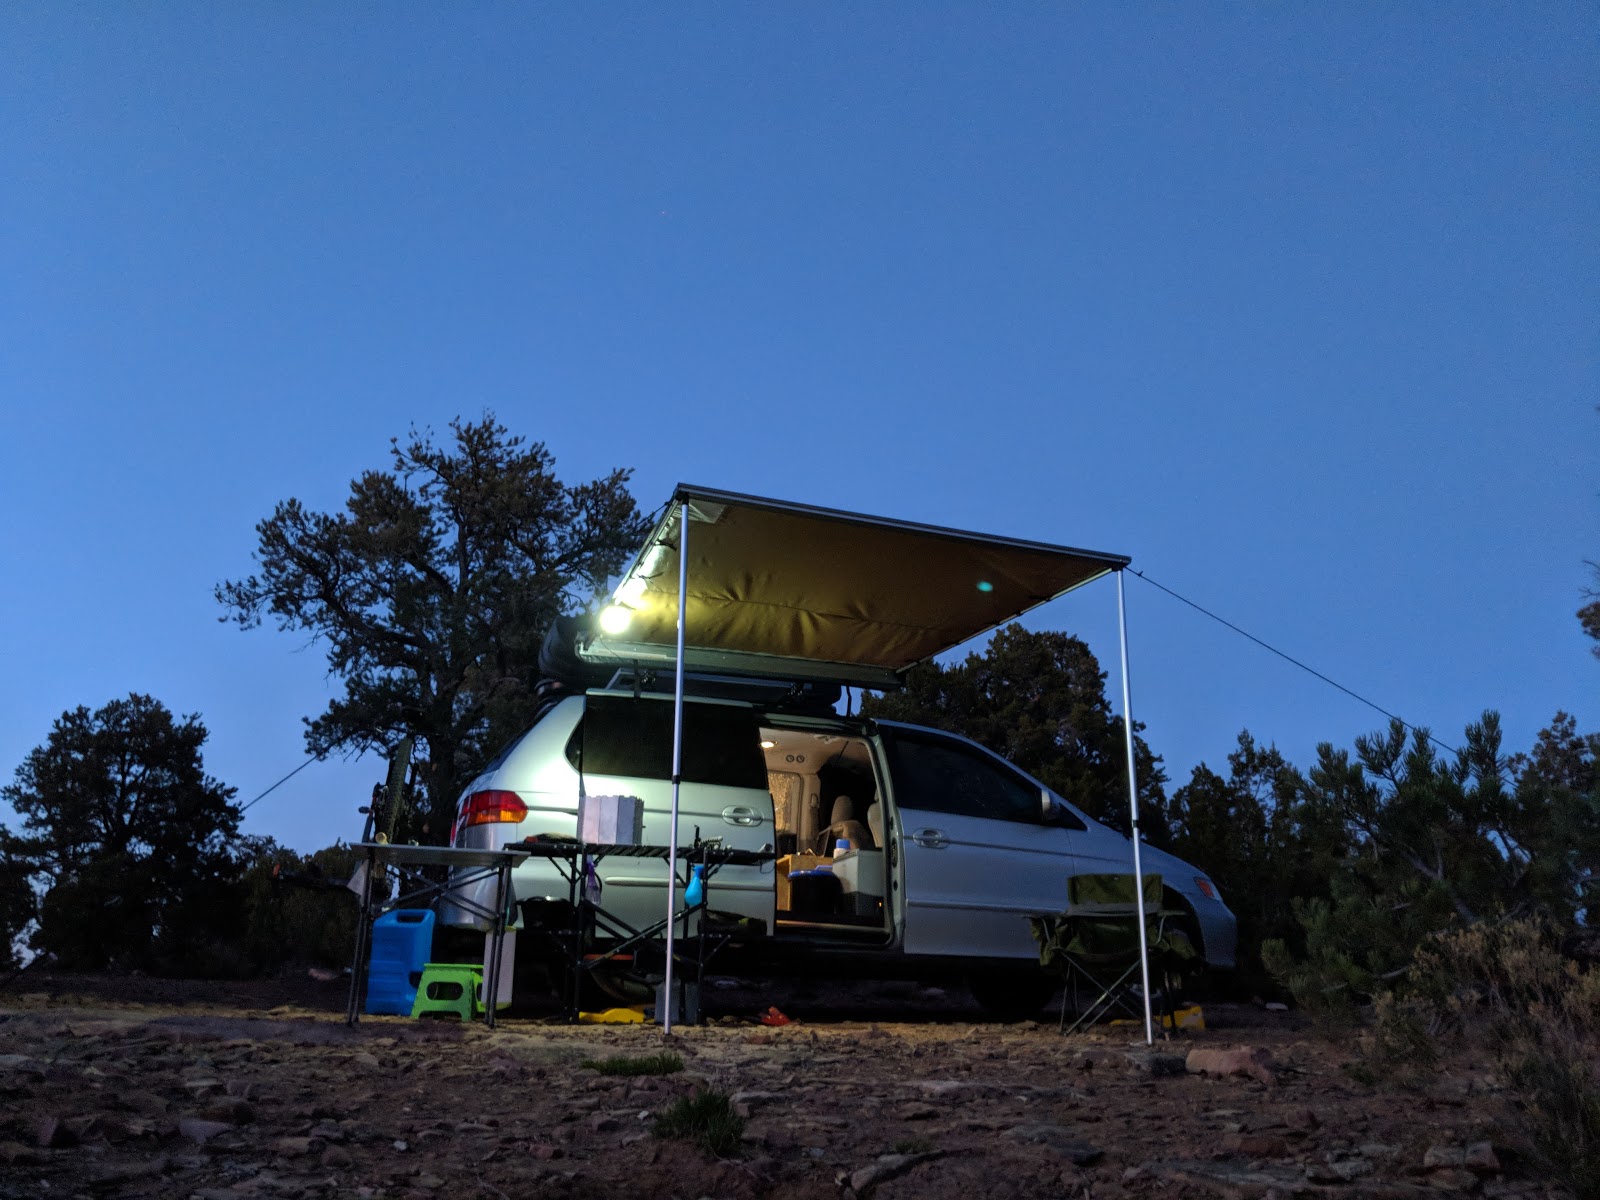
This is where I camped the night prior to the hike and the night after I got back. Not the most beautiful but loved to convenience of camping right at the trail head which seemed perfectly legit to do. This hike was spectacular but a bit to crowded and popular for my liking. If I were to do this hike again I would start near the end of the canyon and make my way to Stephens Canyon which is much less popular.