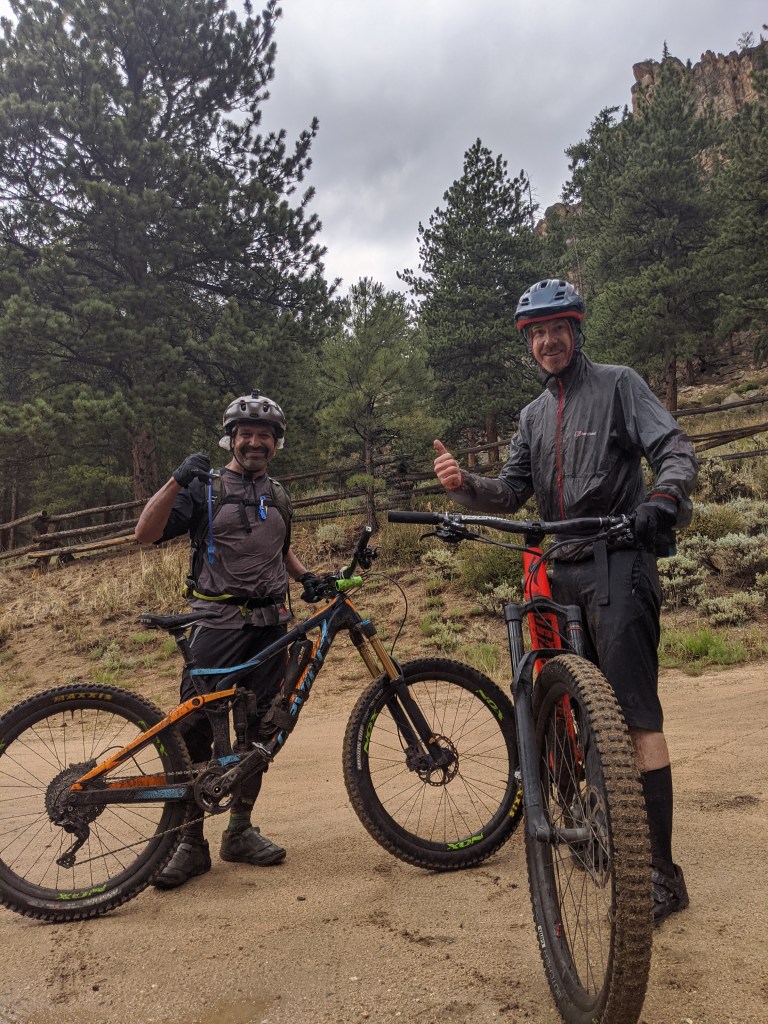
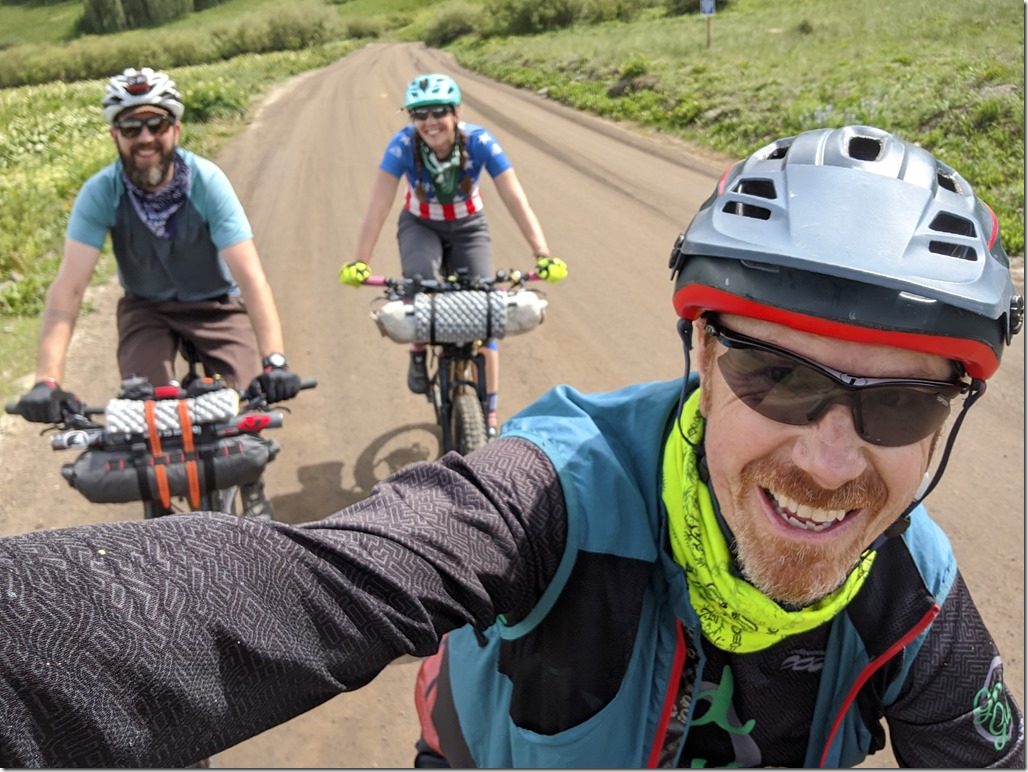
Bikepacking makes the best friends!!! Joe, Kristen and myself smiling big after leaving the town of Crested Butte.

After completing a week stay in Buffalo Creek I made my way down to Gunnison Colorado to meet my friends Joe and Kristen for a 3 day bikepacking trip around Crested Butte. I was riding my bike in Buffalo Creek when I noticed a text from Joe that said “Kristen and I were thinking about your Crested Butte 4th of July route this year. Would you be interested in that?” I replied “Yes, Lets make it happen!”
For several years in a row we had a 4th of July weekend tradition where we would ride a gravel style bikepacking route that typically covered 150+ miles of gravel road, 4×4 road, easy singletrack, and some paved road. The idea is to explore and discover new parts of Colorado that we have never seen before. Unfortunately the tradition got derailed mainly due to my health issues I was having the past couple of years but was very excited to see it pick back up and me back in good health.

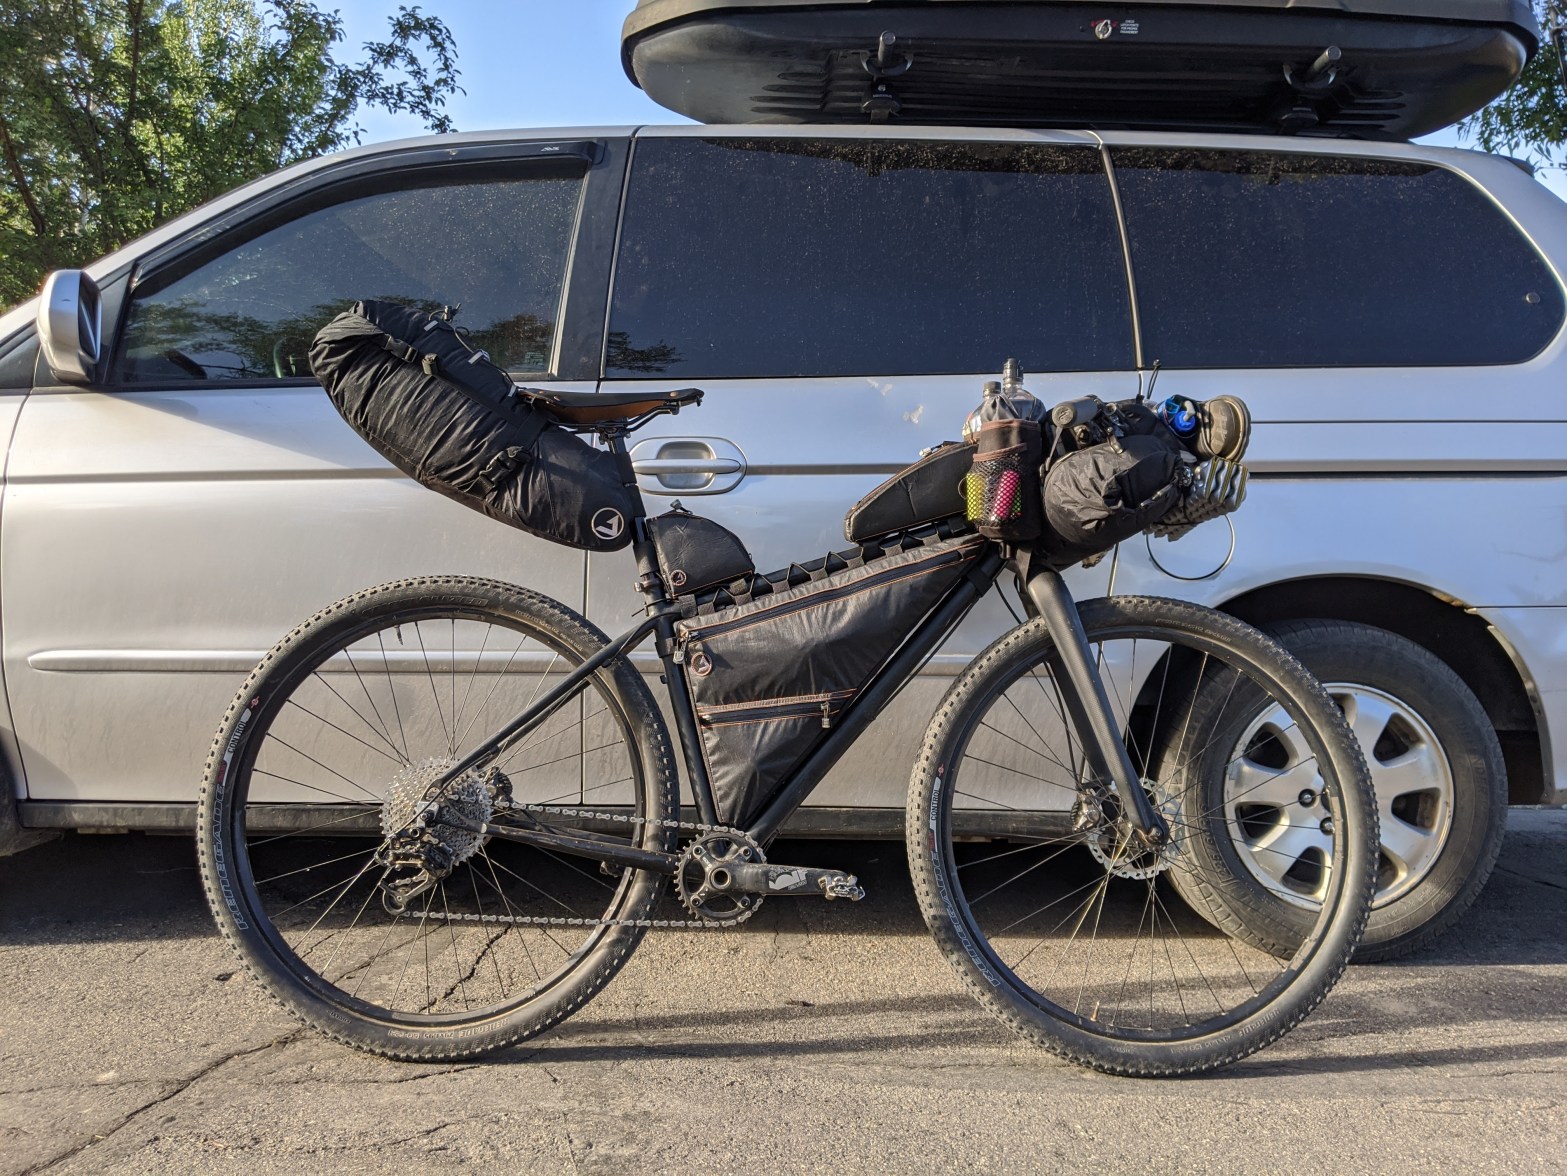
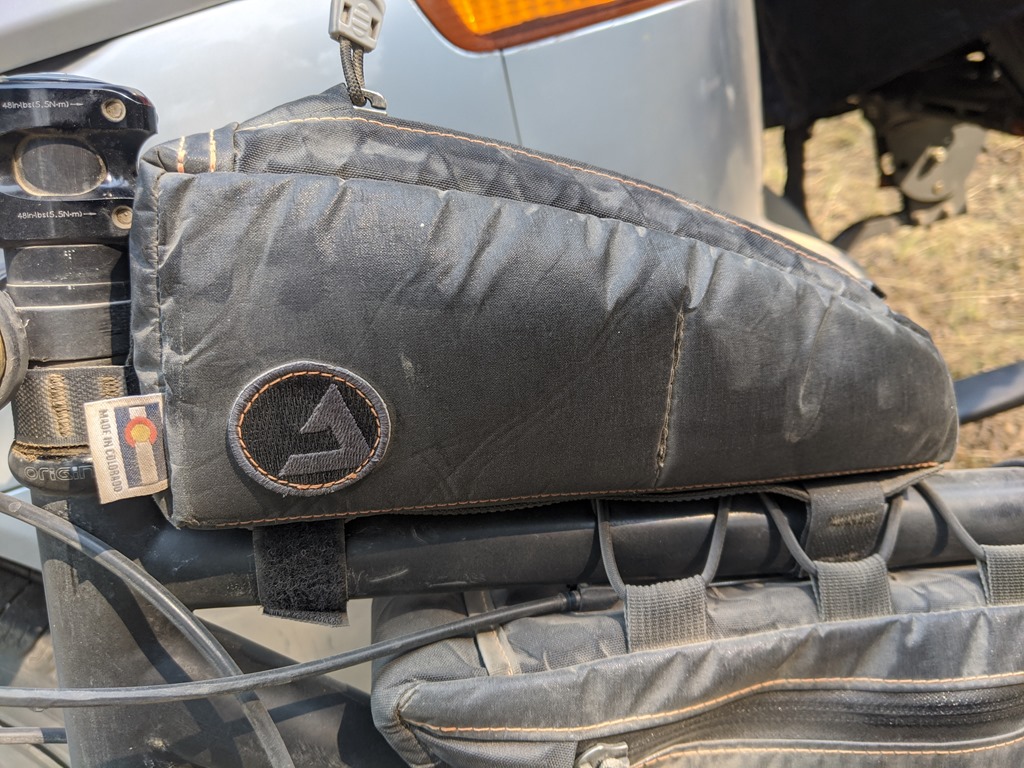
Joe also runs his own bike bag business and just in time for this adventure he made me a fresh set of frame bags! I got a brand new FramePak, ToolPak, and SnakPak. They are made of this really slick off black XPac Lightskin material with orange stitching that gives the bag a little pop. My old frame bag was made by Joe back in 2012 and it is still going strong. I love my old bag but am excited to take advantage of JPaks new innovations and features. For instance the FramePak now bolts directly into the water bottle mounts for an incredibly secure fit. The front of the frame pack is flared for more room when stashing items in a pinch. The pack is cleverly divided into 2 sections for easy organizing. And this new bag is constructed with the latest XPac Lightskin material that’s incredibly sturdy and looks amazing! Be sure visit his company JPaks here.
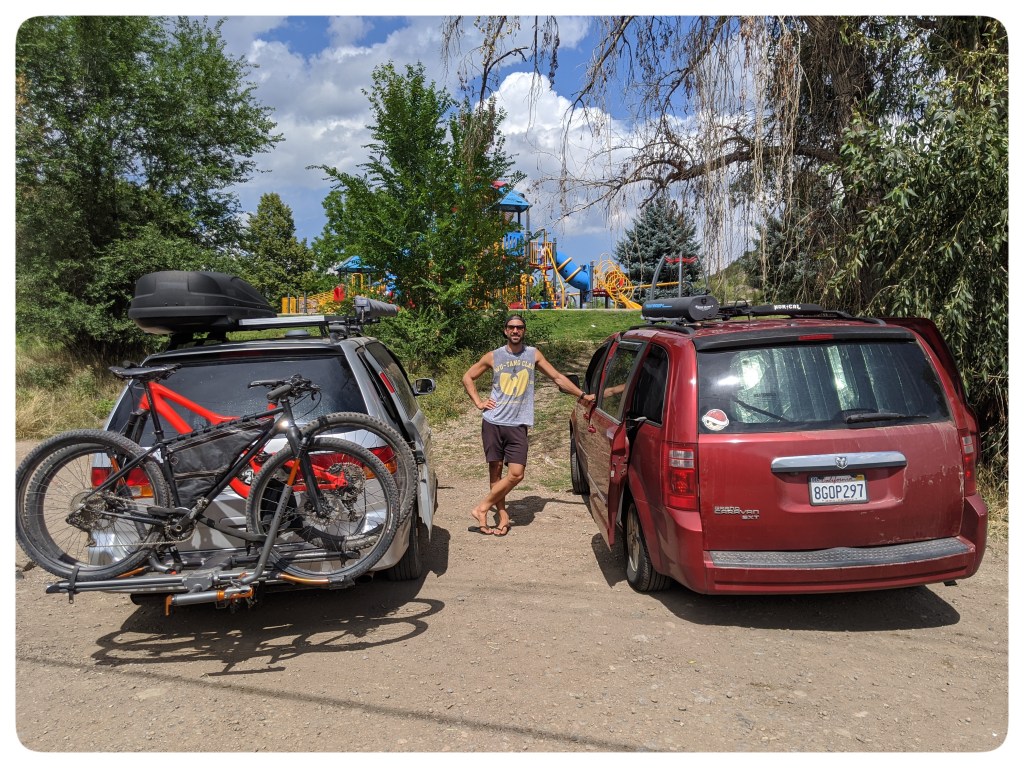
I always get very excited when my bike is fully loaded up and ready to go. Its amazing how capable this 2 wheeled human powered machine is. The above picture was taken in Gunnison next to a a friend of Joe and Kristen’s by the name of Jonathan. He was kind enough to let us park our vehicles on the side of his house for 3 days while we had our adventure. Jonathan is the County Commissioner for Gunnison and an advocate for our public lands. We discussed how I would like to live in Gunnison someday.

And we are off! The start of the ride was a gentle climb up Ohio Pass Road. The last few miles it gets steep and turns to gravel with some rocks to dodge here and there. The crisp morning, blue skies, and beautiful country road made for a very pleasant start.

Here is Joe and Kristen celebrating with some snack mix after cresting Ohio Pass. This was the first of many big passes on this route.

After reaching Kebler Pass Road, Kristen found a delightful piece of singletrack that took us down into the town of Crested Butte. Unfortunately this little slice of trail was the only singletrack the 195 mile route offered.

We arrived at the legendary mountain bike town of Crested Butte and all took turns getting selfies in front of the town sign.

We rolled onto Main Street and scouted a place for lunch. One thing I love about bike touring is all the delicious food and resupply options along the way.

While we were eating lunch it rained hard and we were grateful to have dodged the storm. Here is Kristen enjoying her affogato which is espresso and french vanilla ice cream. I got a taste and it was yummy. Something about the mix of rich espresso and the cold vanilla ice cream did wonders for your taste buds.

Somebody is all fueled up and ready for our next big climb over Schofield Pass. Over the years it’s been great to see Kristen grow into one of the best mountain bikers I know. She is a Colorado Trail Race finisher and an absolute beast of a rider that continues to inspire me.
We continued on climbing up easy paved and dirt road passing the Mount Crested Butte Ski Resort and the little town of Gothic.

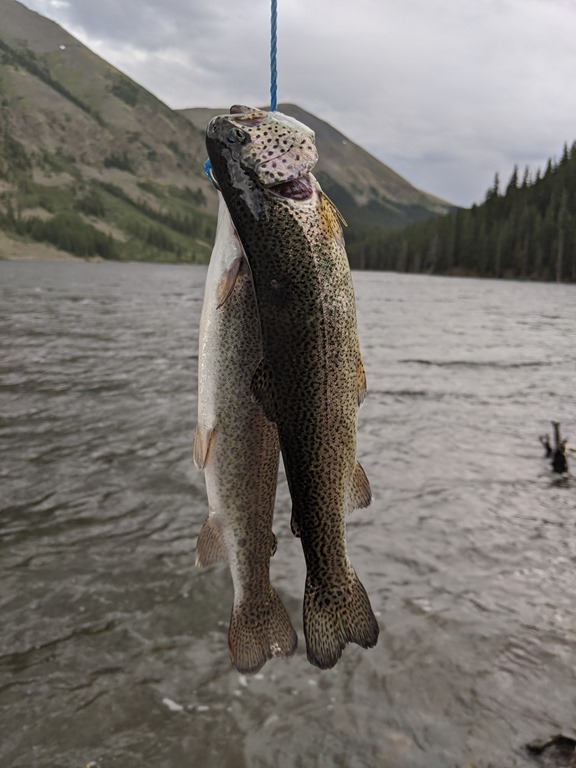
Along the way up I asked Joe and Kristen to stop at a bend in the stream next to the road for a little Tenkara fishing. During my last van tour in 2018, I had finished riding the 401 Trail, and after I loaded up my bike I fished the creek by the trail head and caught a little brook trout. So why not try this spot again?

Well the fish were not biting for me and the next wave of thunderstorms were moving in. However Joe did catch a little fingerling that he was pretty excited about!

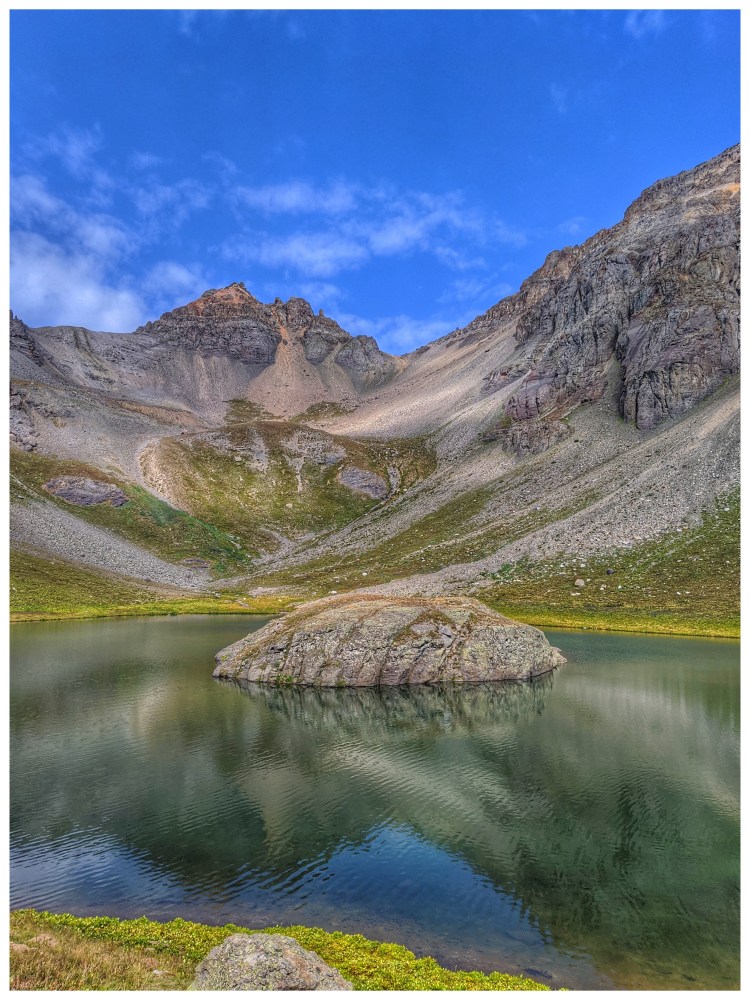
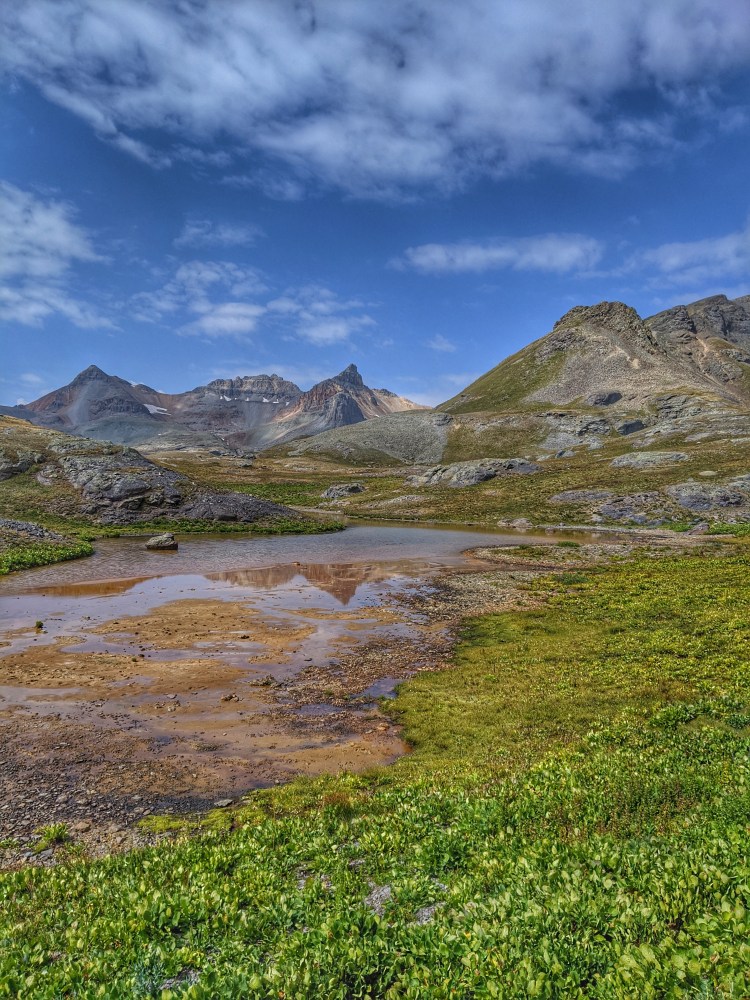
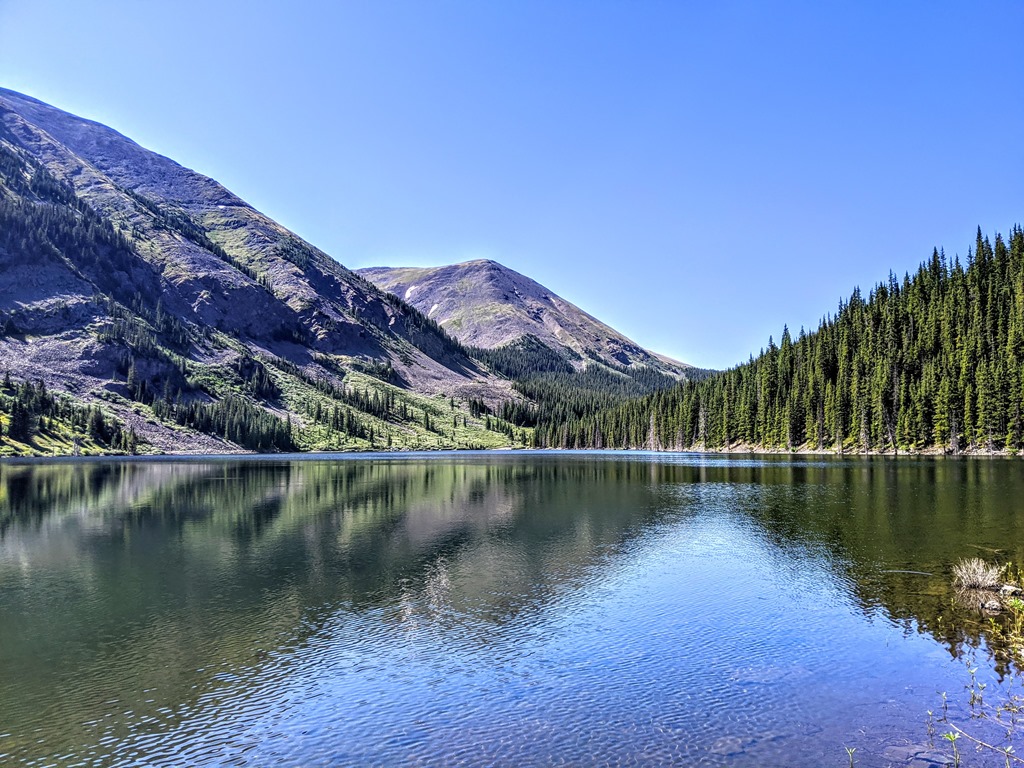
Continuing up the pass and it starts to rain. In the distance you can see the gorgeous Emerald Lake. This day we planed to ride 50 miles and after cresting the pass it would be time to look for a camp site.

After being rained on moderately for the last couple of hours we were relieved to see the top of Schofield Pass. Are spirits were high and the day seemed to go really smooth despite the rain. Joe obliged and added a couple of JPaks stickers to the sign and we got this group photo. After the summit the gravel road slowly descends to a large alpine park then turns to a very rough 4×4 road.

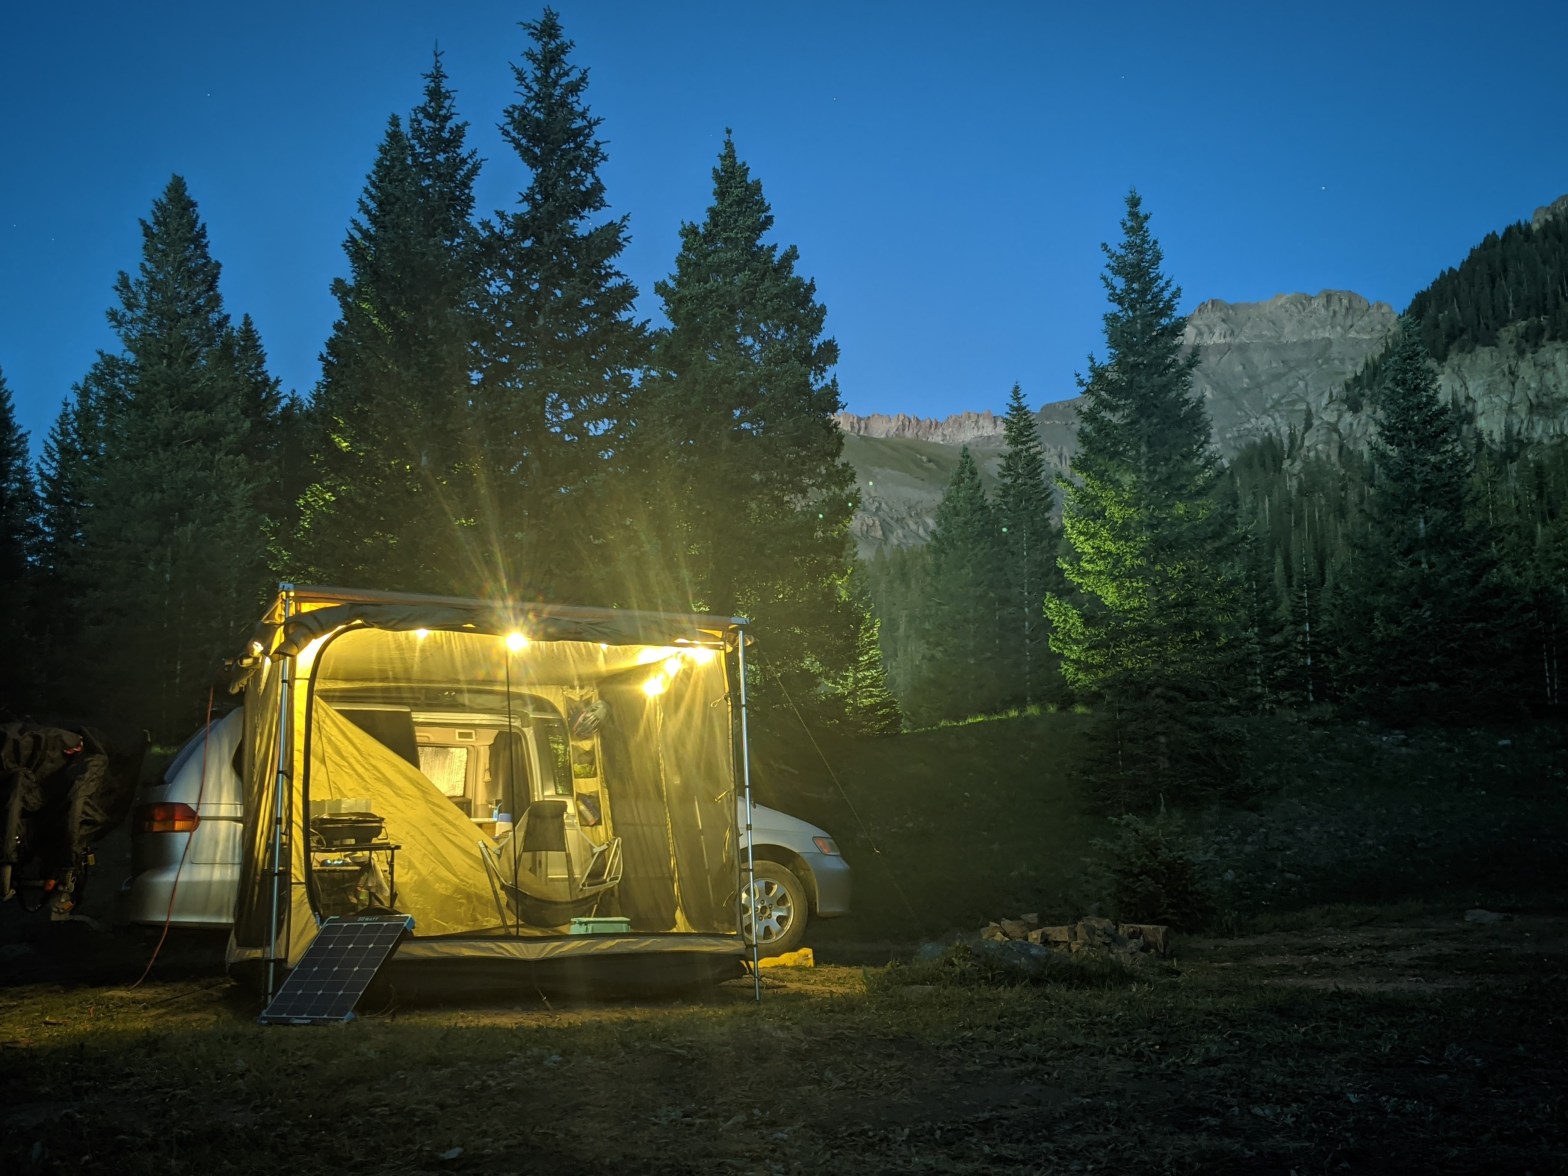
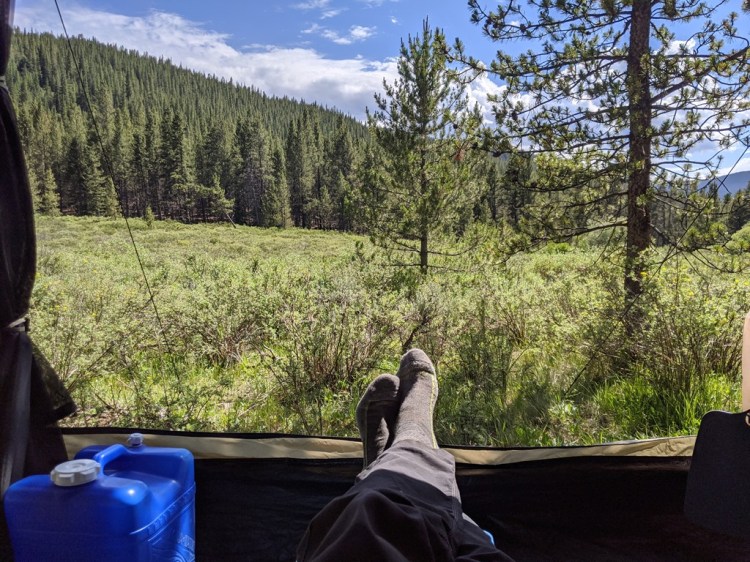
After a great night sleep in my hammock next to a rushing stream, I was awakened by Joe making a morning fire and was looking forward to having coffee with my friends.

#coffeeoutside
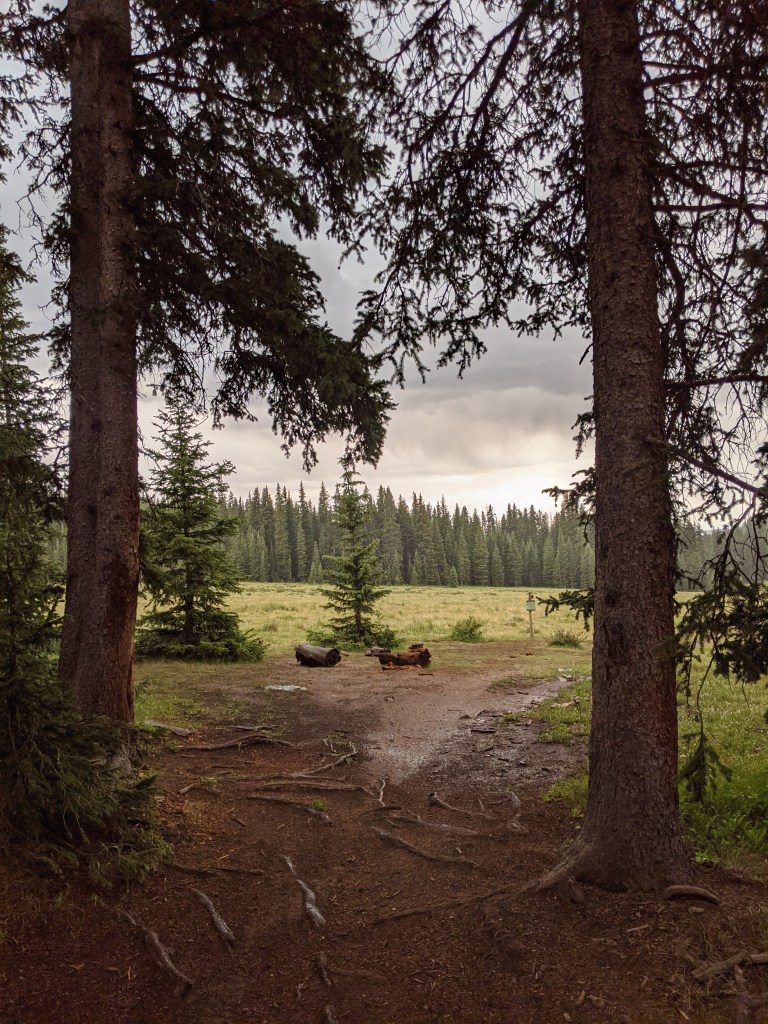
Our campsite was excellent. It was right next to a rushing creek with a a waterfall about 50 yards away. There was a flat spot for Joe and Kristen’s tarp and a nice spacing of trees for my hammock. Also there was a makeshift bridge that crossed the fast running creek and on the other side was a sign that said “Bridge to Tarabithia”. Kristen explained to me that it was based on a children’s fantasy book that I never had heard of. Well Tarabithia sounded like a magical place and so was the setting for this adventure. Hence my title for this ride, “Road to Tarabithia”.

After a high energy breakfast we loaded up and got ready to head out for day 2. I was a little apprehensive about this day since the backside of Schofield Pass looked steep and spicy with large creek crossings according to the maps I studied. It ended up being spicy indeed with steep loose rocky descents, massive water crossings, and consequential exposure.

The first large water crossing was immediately after leaving our campsite. Here is Joe taking in the majesty of the area. This was just a small taste how amazing the next 10 miles were going to be.

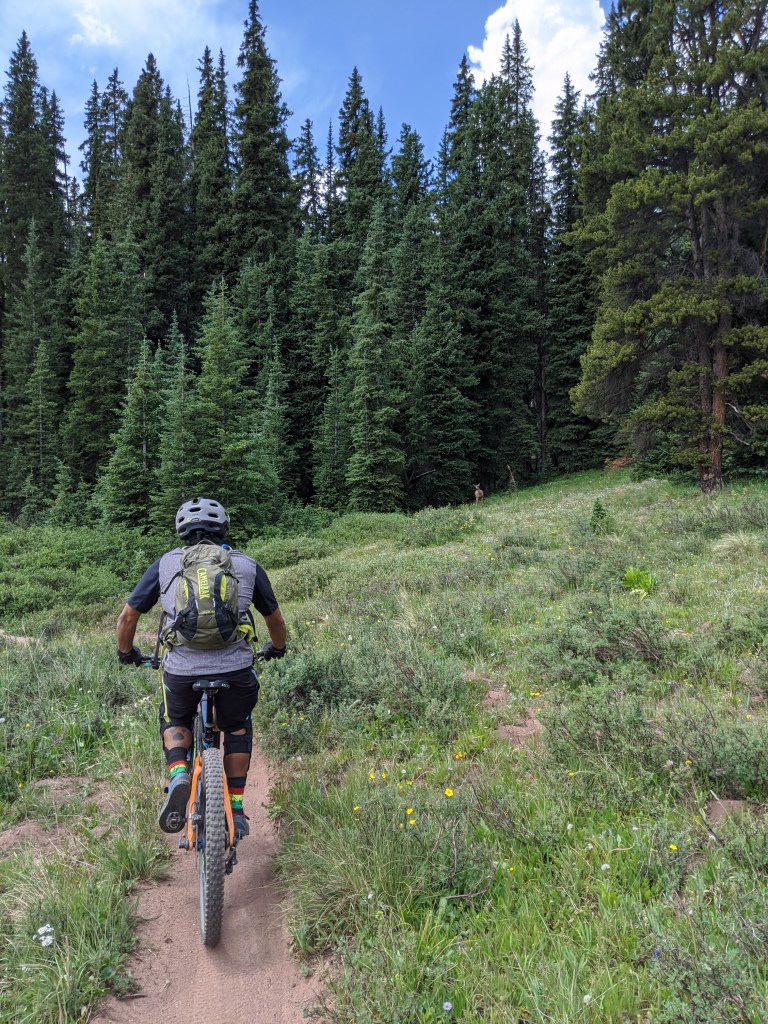
More creek crossings. The descending at this point was way beyond the capabilities of my gravel bike but Joe and Kristen were right at home on their beefy trail bikes and 3 inch wide tires. We were coming down a very rocky and exposed section of trail when we encountered two dirt bikers that were trying to figure out how to get their heavy motorcycles up the steep, rocky trail. Kristen rode by them as if this treacherous section of trail was a piece of cake. I will never forget how they were in complete amazement of her prancing down the rugged trail making it look effortless. Me not so much. There were several parts I had to dismount and walk my bike but for the most part I did well and just had to hang on tight to my fully ridged whip.

The views were unbelievable. As Joe said later on, his retinas were burning from the overload of beauty and pure ruggedness. This had to be the most spectacular 10 miles of Colorado I have ever experienced. However it is not easily earned. You need a very capable off road vehicle, motorcycle, or mountain bike accompanied by some balls of steel to conquer this side of the pass.

The lighting was not right but low and behold the Devils Punch Bowl. As usual It was much more impressive in person. I did not know at the time but reaching the Devils Punchbowl it is a sought after off road accomplishment.

The 4×4 road starts to level off but is still very rocky. I love riding through these tight sections of Aspens that would on occasion open up with views of the rushing Crystal River.

When I designed the route I was ecstatic to see that it passed the infamous Crystal Mill. For quite some time I have wanted to visit this highly photogenic riverside relic. I have seen photos of it displayed in businesses, doctors and dentist offices, even one of my old coworkers had a picture of it hanging on his cubicle wall. We took some time to snap some shots and enjoy the spectacle.

Here is a better picture of the Crystal Mill. I later found out that the mill is actually an air compressor that fed pressurized airlines at 60psi for the marble mining operation.
![IMG_20200705_113245[1]](https://journeyvision.net/wp-content/uploads/2020/08/img_20200705_1132451_thumb.jpg "IMG_20200705_113245[1]")
After a very bumpy ride we made it to the town of Marble. I always wanted to visit this little town and when I created the route I noticed Marble had an awesome BBQ spot worth checking out. Joes eye caught the catering truck and our mouths started watering.


Slow Groovin BBQ didn’t open until noon so we had about an hour to kill. We discovered this historic site and had fun checking out the cool cuts of marble. Much of the marble mined from this area was used on the Lincoln Memorial and Colorado State Capitol.
![IMG_20200705_122622[1]](https://journeyvision.net/wp-content/uploads/2020/08/img_20200705_1226221_thumb.jpg "IMG_20200705_122622[1]")
Oh boy did Slow Groovin deliver! Just look at that!
![IMG_20200705_150400[1]](https://journeyvision.net/wp-content/uploads/2020/08/img_20200705_1504001_thumb.jpg "IMG_20200705_150400[1]")
After leaving the town of Marble with a belly fully of brisket, smoked sausage, baked beans, and cole slaw, we had some road riding to do and coming up was our first big pass of the day, McClure Pass. The pass was a beat down as temps were close to 100 degrees and the road was steep with no shade. We had some ground to make up as by the time we left the town of Marble it was afternoon already and we had only ridden about 10 miles so far.
![IMG_20200705_170047[1]](https://journeyvision.net/wp-content/uploads/2020/08/img_20200705_1700471_thumb.jpg "IMG_20200705_170047[1]")
We were back on gravel and on a very long dirt road climb that would lead us eventually to the small Western Colorado town of Paonia. This climb was 4000’ of ascending over 13 miles and was an absolute beat down. I suffered more on this segment than anywhere else on the route. The blazing heat, unrelenting sun, never ending climb, and the loose surface of the road just absolutely tore me up.
![IMG_20200705_174008[1]](https://journeyvision.net/wp-content/uploads/2020/08/img_20200705_1740081_thumb.jpg "IMG_20200705_174008[1]")
Here I am faking a smile, or maybe not… as I climb and climb and climb. To beat the heat I would pack away my helmet and wear a buff until I started going downhill again.
![IMG_20200705_192114[1]](https://journeyvision.net/wp-content/uploads/2020/08/img_20200705_1921141_thumb.jpg "IMG_20200705_192114[1]")
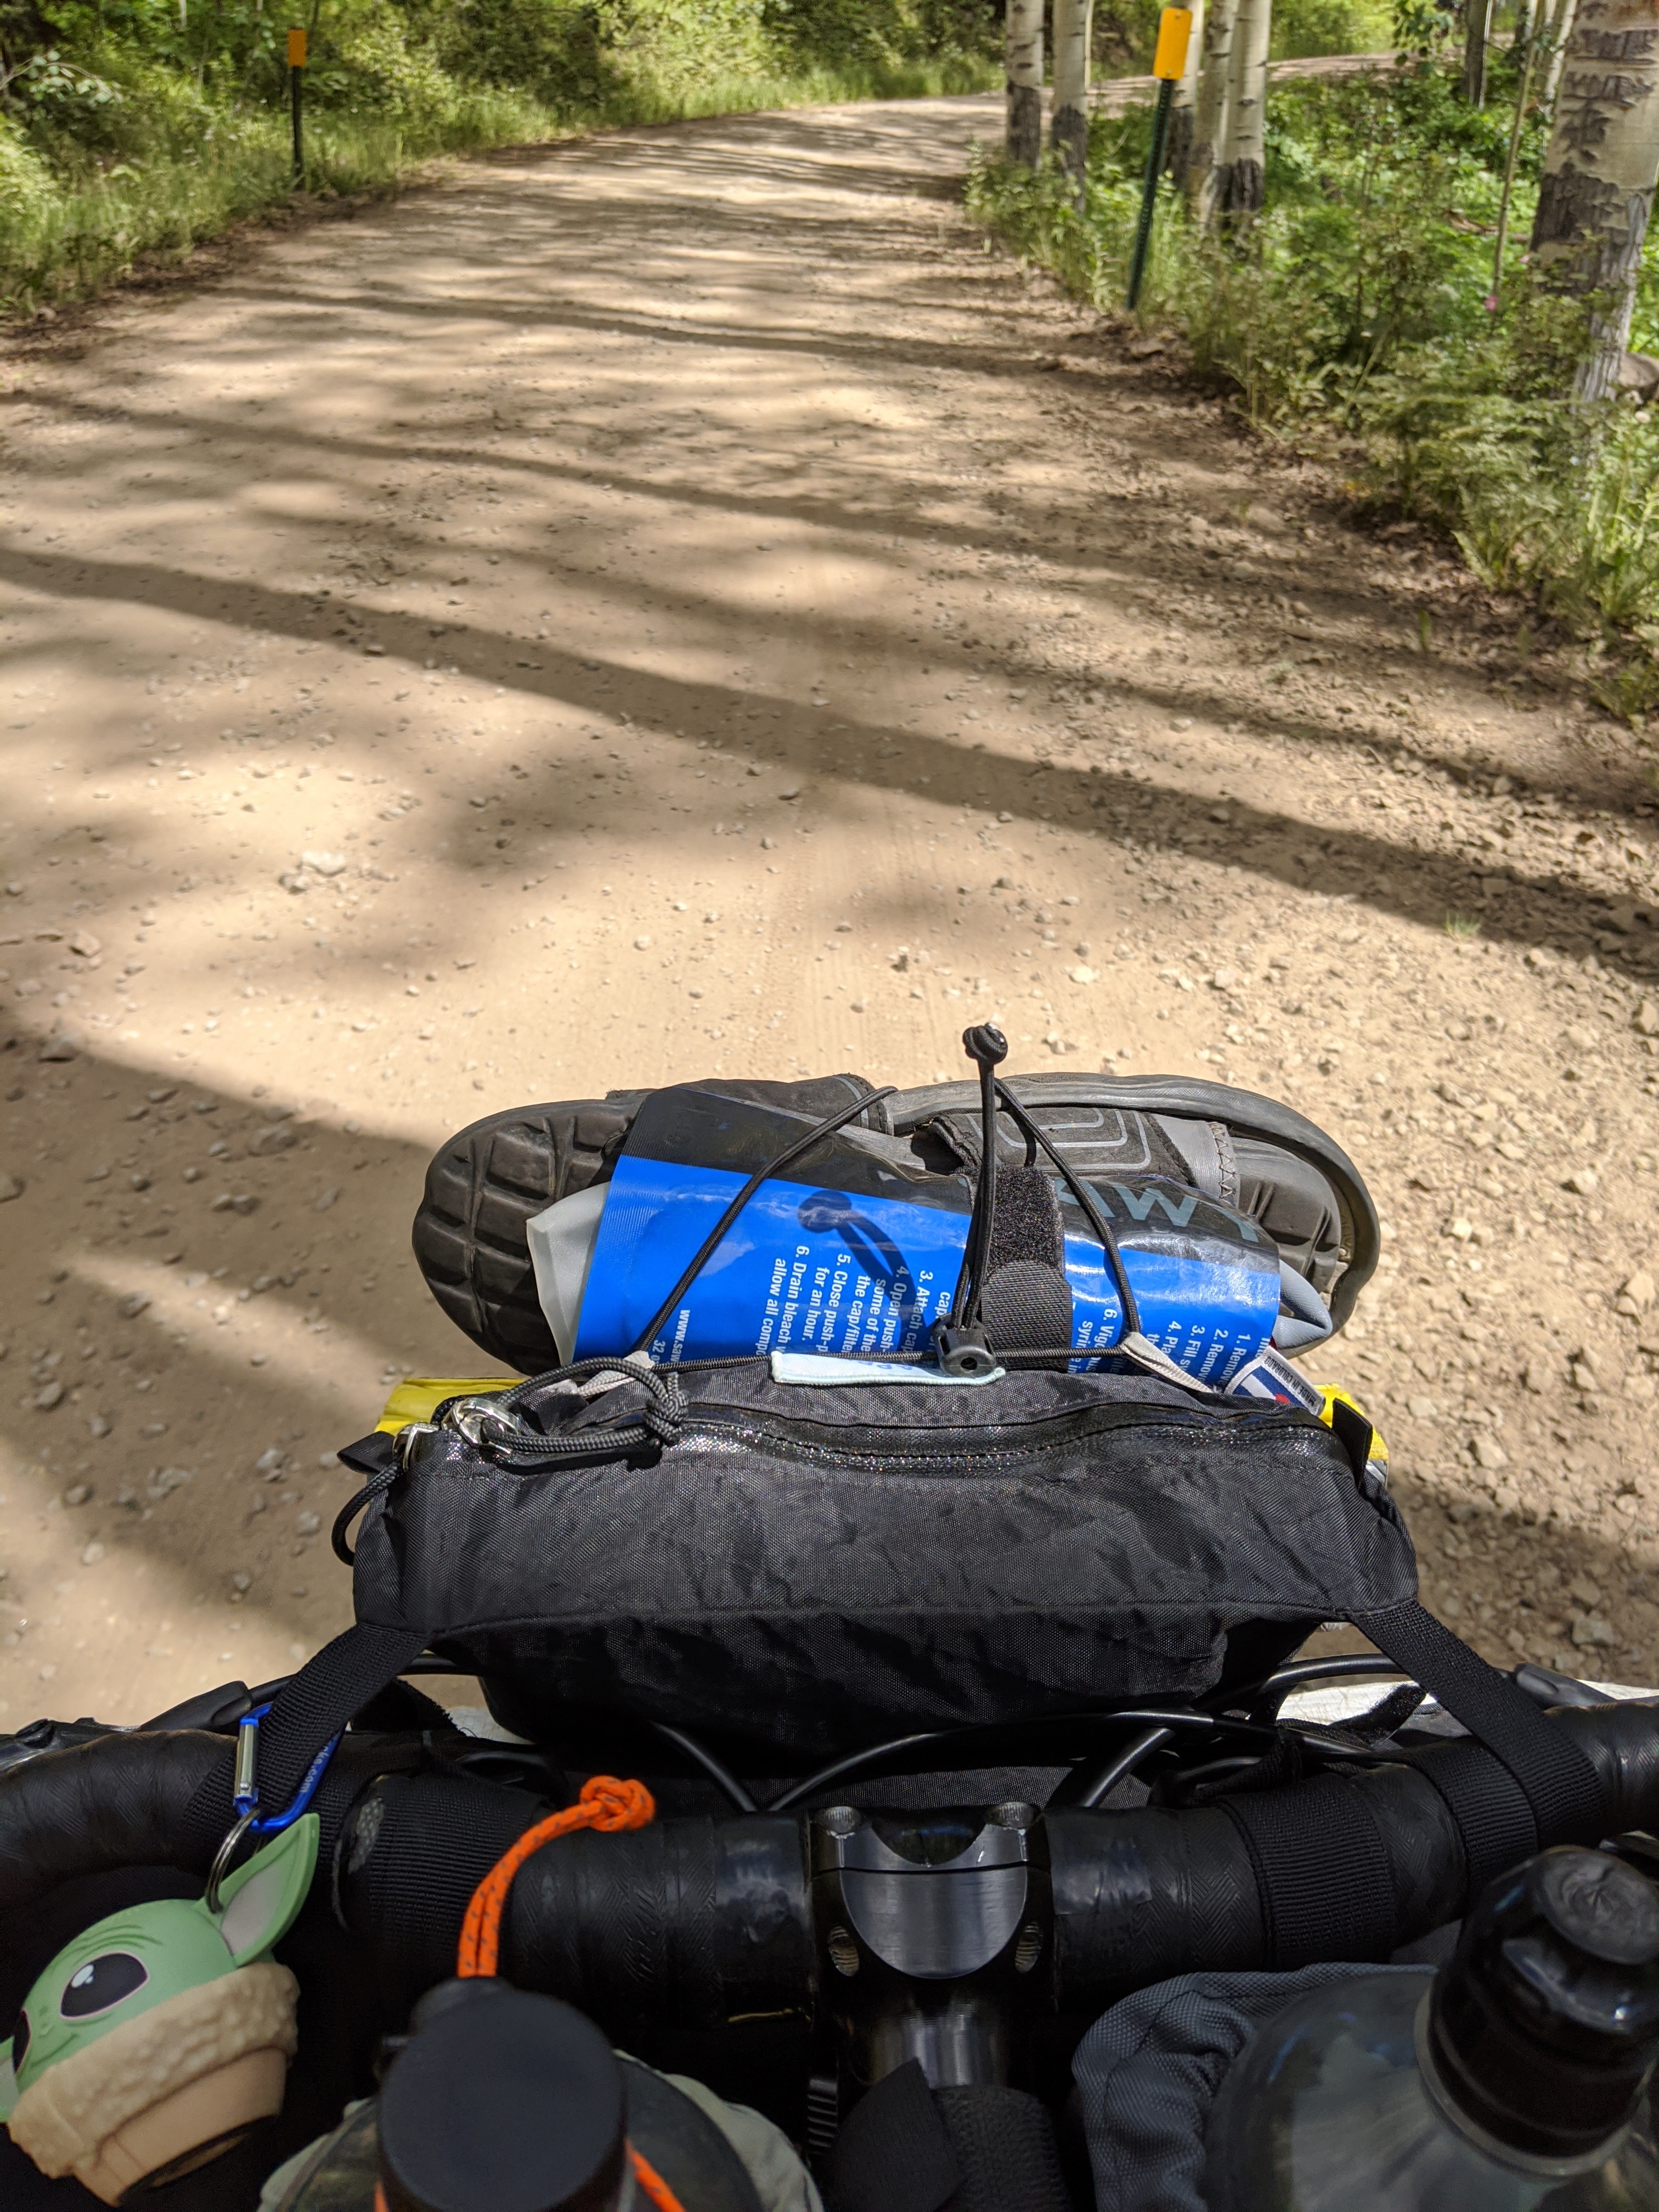
One last stop for water. By this time we had been on our bikes for over 10 hours and I was beyond exhausted. Kristen kept pushing us to make distance. Originally we had thought the route was 150 miles long so our goal was to make 50 miles each day. At this point we were at about 40 miles for the day and wanted to stay on track. This way we didn’t have a terrible long set up for tomorrow. Later we would find out that what was thought to be a 150 mile long route was 195 miles instead.
![IMG_20200705_203002[1]](https://journeyvision.net/wp-content/uploads/2020/08/img_20200705_2030021_thumb.jpg "IMG_20200705_203002[1]")
We rode until 9:00 pm. I remember saying to myself several times that at some point we had to stop. And we did eventually after a 12 hour day and slightly exceeding our 50 mile goal.
![IMG_20200706_074148[1]](https://journeyvision.net/wp-content/uploads/2020/08/img_20200706_0741481_thumb.jpg "IMG_20200706_074148[1]")
![IMG_20200706_074154[1]](https://journeyvision.net/wp-content/uploads/2020/08/img_20200706_0741541_thumb.jpg "IMG_20200706_074154[1]")
Here are a couple of pictures that I took as we were finishing packing up and getting ready to leave for day 3. We had trouble finding a spot at the end of the second day and most of the sites were occupied by mooing cows. Kristen was wise and recommended for us to find a campsite not occupied by noisy cows which we eventually did. I can tell I was completely exhausted because I lost my sun glasses and a USB C cable while setting up camp that night. I got up early and looked everywhere but could not find my misplaced items. Oh well, Joe had a cable I could borrow to charge my phone and soon the town of Paonia was coming up so I could look for a place to buy new sunglasses there.
![IMG_20200706_090142[1]](https://journeyvision.net/wp-content/uploads/2020/08/img_20200706_0901421_thumb.jpg "IMG_20200706_090142[1]")
After a roaring 13 mile downhill we made it to the town of Paonia. We crossed paths with a bakery and Kristen thought it would be a good idea to stop and grab a quick bite. Joe and Kristen had breakfast pizza and I had a quiche. Everything was delicious. After that we ventured our way deeper into town to find me a new pair of sunglasses. I didn’t notice, but while I was standing in line to purchase my glasses, J and K went on a photo shoot and captured some really cool shots of Joes new titanium bike and some street art. Joe says he wants to retire in Paonia. There is something very charming about this town.
![IMG_20200706_095350[1]](https://journeyvision.net/wp-content/uploads/2020/08/img_20200706_0953501_thumb.jpg "IMG_20200706_095350[1]")
When I had mapped out the ride there was a long highway section between Paonia and Kebler Pass Road. So I searched and searched for alternates along the way to reduce our time on the highway. On the outskirts of Paonia I found some back roads on Google Earth then some small farming roads that lead to this bridge crossing the North Fork of the Gunnison River. On Google Earth it looked legit but you never know until you get there in person. Everything was great until we got to the end of the bridge and it was gated and locked. There was a residential house just 10 yards away and just beyond the end of the drive way was the public road we were trying to reach. We made the call to hand our bikes over the side of the bridge and make a dash for the road. If we turned back it would have added at least an hour to an already grueling long day on our bikes. Well we dashed for it and we did get yelled at but all in all it was worth the risk. I certainly don’t condone trespassing and if I am ever to do this route again I will be sure to leave this section out and ride the highway miles.
![IMG_20200706_104055[1]](https://journeyvision.net/wp-content/uploads/2020/08/img_20200706_1040551_thumb.jpg "IMG_20200706_104055[1]")
Moments later we got stopped by law enforcement on another highway detour. We were forced onto the highway again and left no choice but to put our heads down and push the remaining miles to Kebler Pass Road. I felt bad about the private land issues but if I attempt this route again I will be sure to make some adjustments.
![IMG_20200706_113707[1]](https://journeyvision.net/wp-content/uploads/2020/08/img_20200706_1137071_thumb.jpg "IMG_20200706_113707[1]")
We reached the start of Kebler Pass Road and found a campground with a little general store to buy some cold beverages and snacks. It was blazing hot again today and it felt good to get off the highway and refresh in the shade for a bit. We devoured the last of our snacks and guzzled our drinks before attacking the final grueling segment.
![IMG_20200706_152321[1]](https://journeyvision.net/wp-content/uploads/2020/08/img_20200706_1523211_thumb.jpg "IMG_20200706_152321[1]")
![IMG_20200706_121113[1]](https://journeyvision.net/wp-content/uploads/2020/08/img_20200706_1211131_thumb.jpg "IMG_20200706_121113[1]")
![IMG_20200706_155215[1]](https://journeyvision.net/wp-content/uploads/2020/08/img_20200706_1552151_thumb.jpg "IMG_20200706_155215[1]")
Kebler Pass Road is beautiful and home of some of the largest aspen groves in the world. It had some paved parts but was mostly dirt. Kebler Pass Road is 33 miles long with massive hills but we pushed forward knowing this was our last big climb.
![IMG_20200706_142350[1]](https://journeyvision.net/wp-content/uploads/2020/08/img_20200706_1423501_thumb.jpg "IMG_20200706_142350[1]")
As we ascended up the pass we were treated with excellent views of Ruby Peak and the surrounding Elk Mountains
![IMG_20200706_161111[1]](https://journeyvision.net/wp-content/uploads/2020/08/img_20200706_1611111_thumb.jpg "IMG_20200706_161111[1]")
Joe is rounding out the final climb at the top of Kebler Pass. We were all beat but proud of our accomplishments this day. After this point it was 26 miles of downhill tracing our way back to Gunnison on Ohio Pass Road where we started 3 days ago.
![IMG_20200706_180528[1]](https://journeyvision.net/wp-content/uploads/2020/08/img_20200706_1805281_thumb.jpg "IMG_20200706_180528[1]")
Easy Peasy! All of us were relieved to be riding the final bit of bike path into Gunnison. The last 26 miles went by quickly.
![IMG_20200706_200511[1]](https://journeyvision.net/wp-content/uploads/2020/08/img_20200706_2005111_thumb.jpg "IMG_20200706_200511[1]")
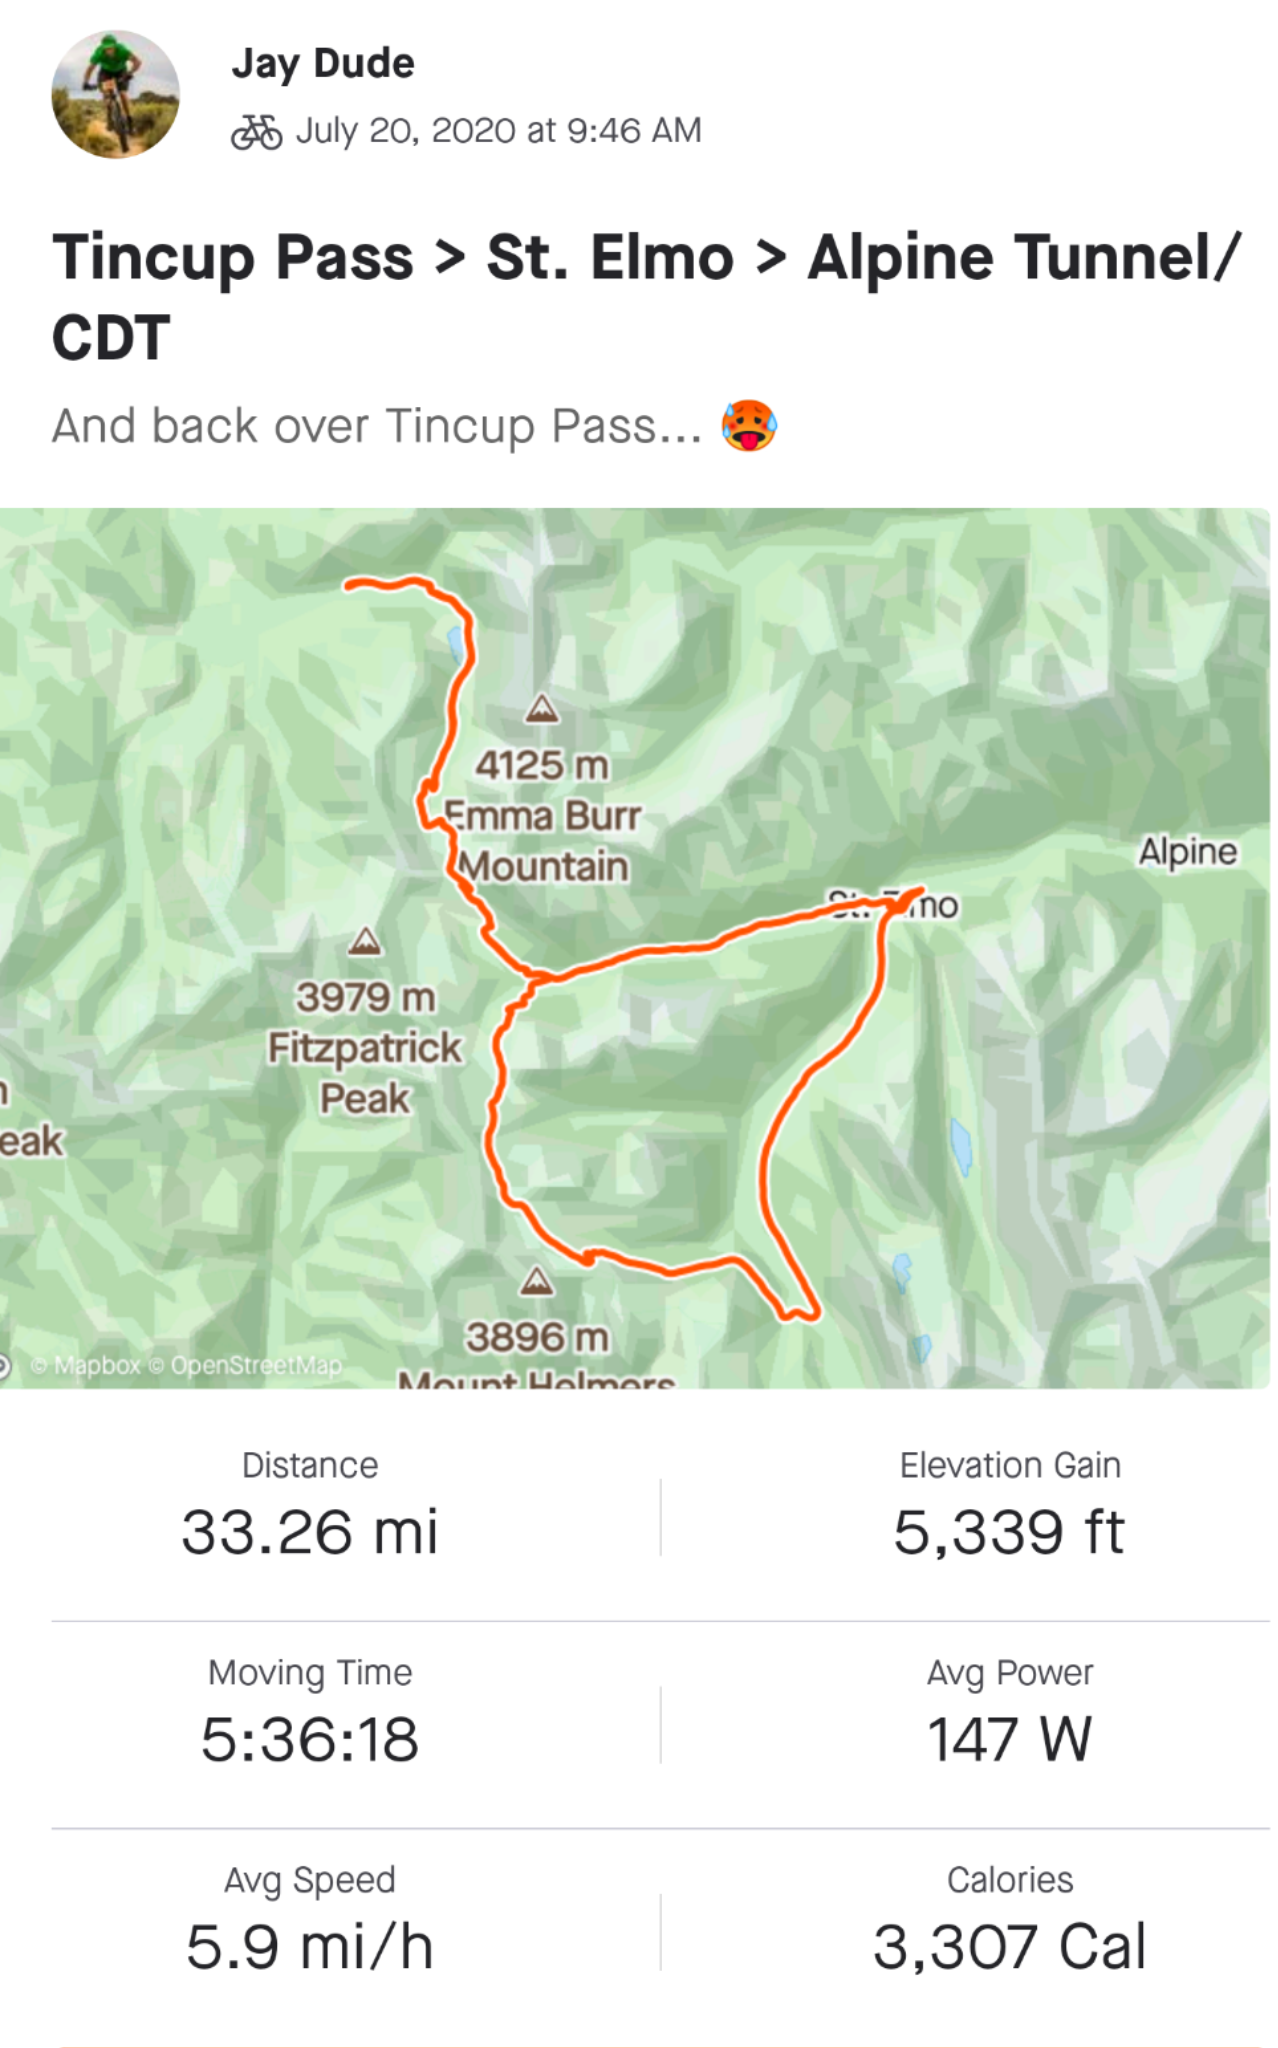
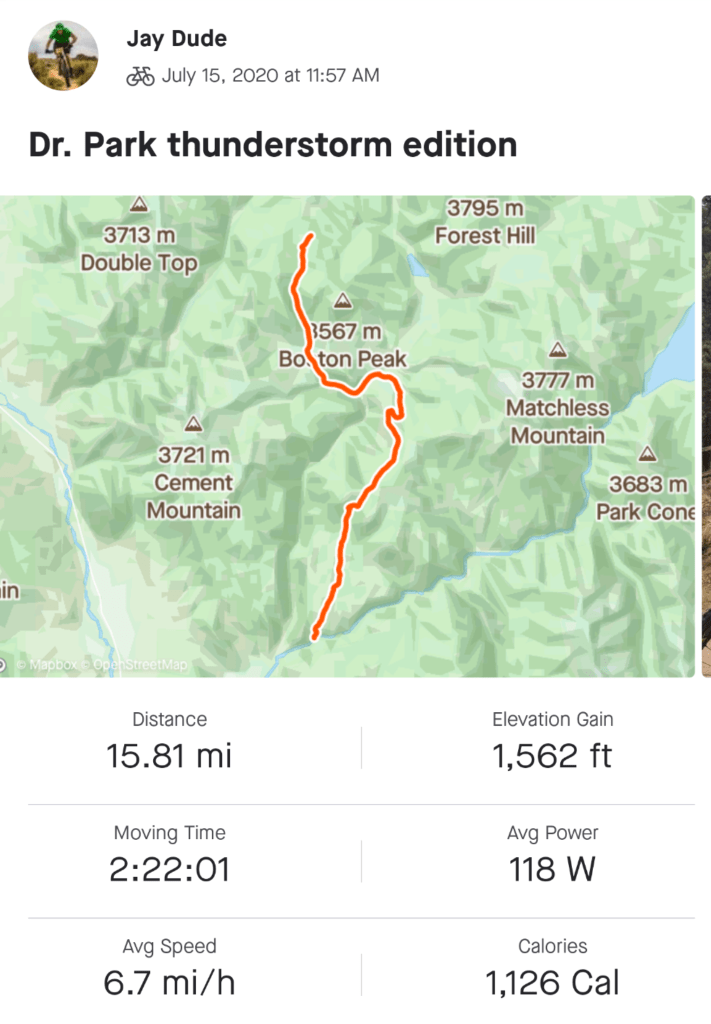
We made our way into Gunnison and found a place to get some Mexican food and salty margaritas. Here is my bike after arriving back to my van with my leftovers strapped to my SeatPak. 195 miles and over 15k of climbing according to my Strava app. On the last day we covered over 80 miles… Wow!
We were beyond tired and dirty after 3 days of riding. I remember Kristen saying after the ride she just wanted to lay on the ground and groan. I thought this was funny because I wanted to do the exact same.
I cannot recommend this bikepacking route enough. It delivered on all of our 4th of July adventure expectations and then some. The route had awesome towns like Gunnison, Crested Butte, Marble, and Paonia. Massive passes, rugged 4×4 descents, waterfalls, sunsets, and barbeque. Even a little fishing can be thrown in. This is by far the best route I have put together for our 4th of July adventures and we all said let’s do it again!
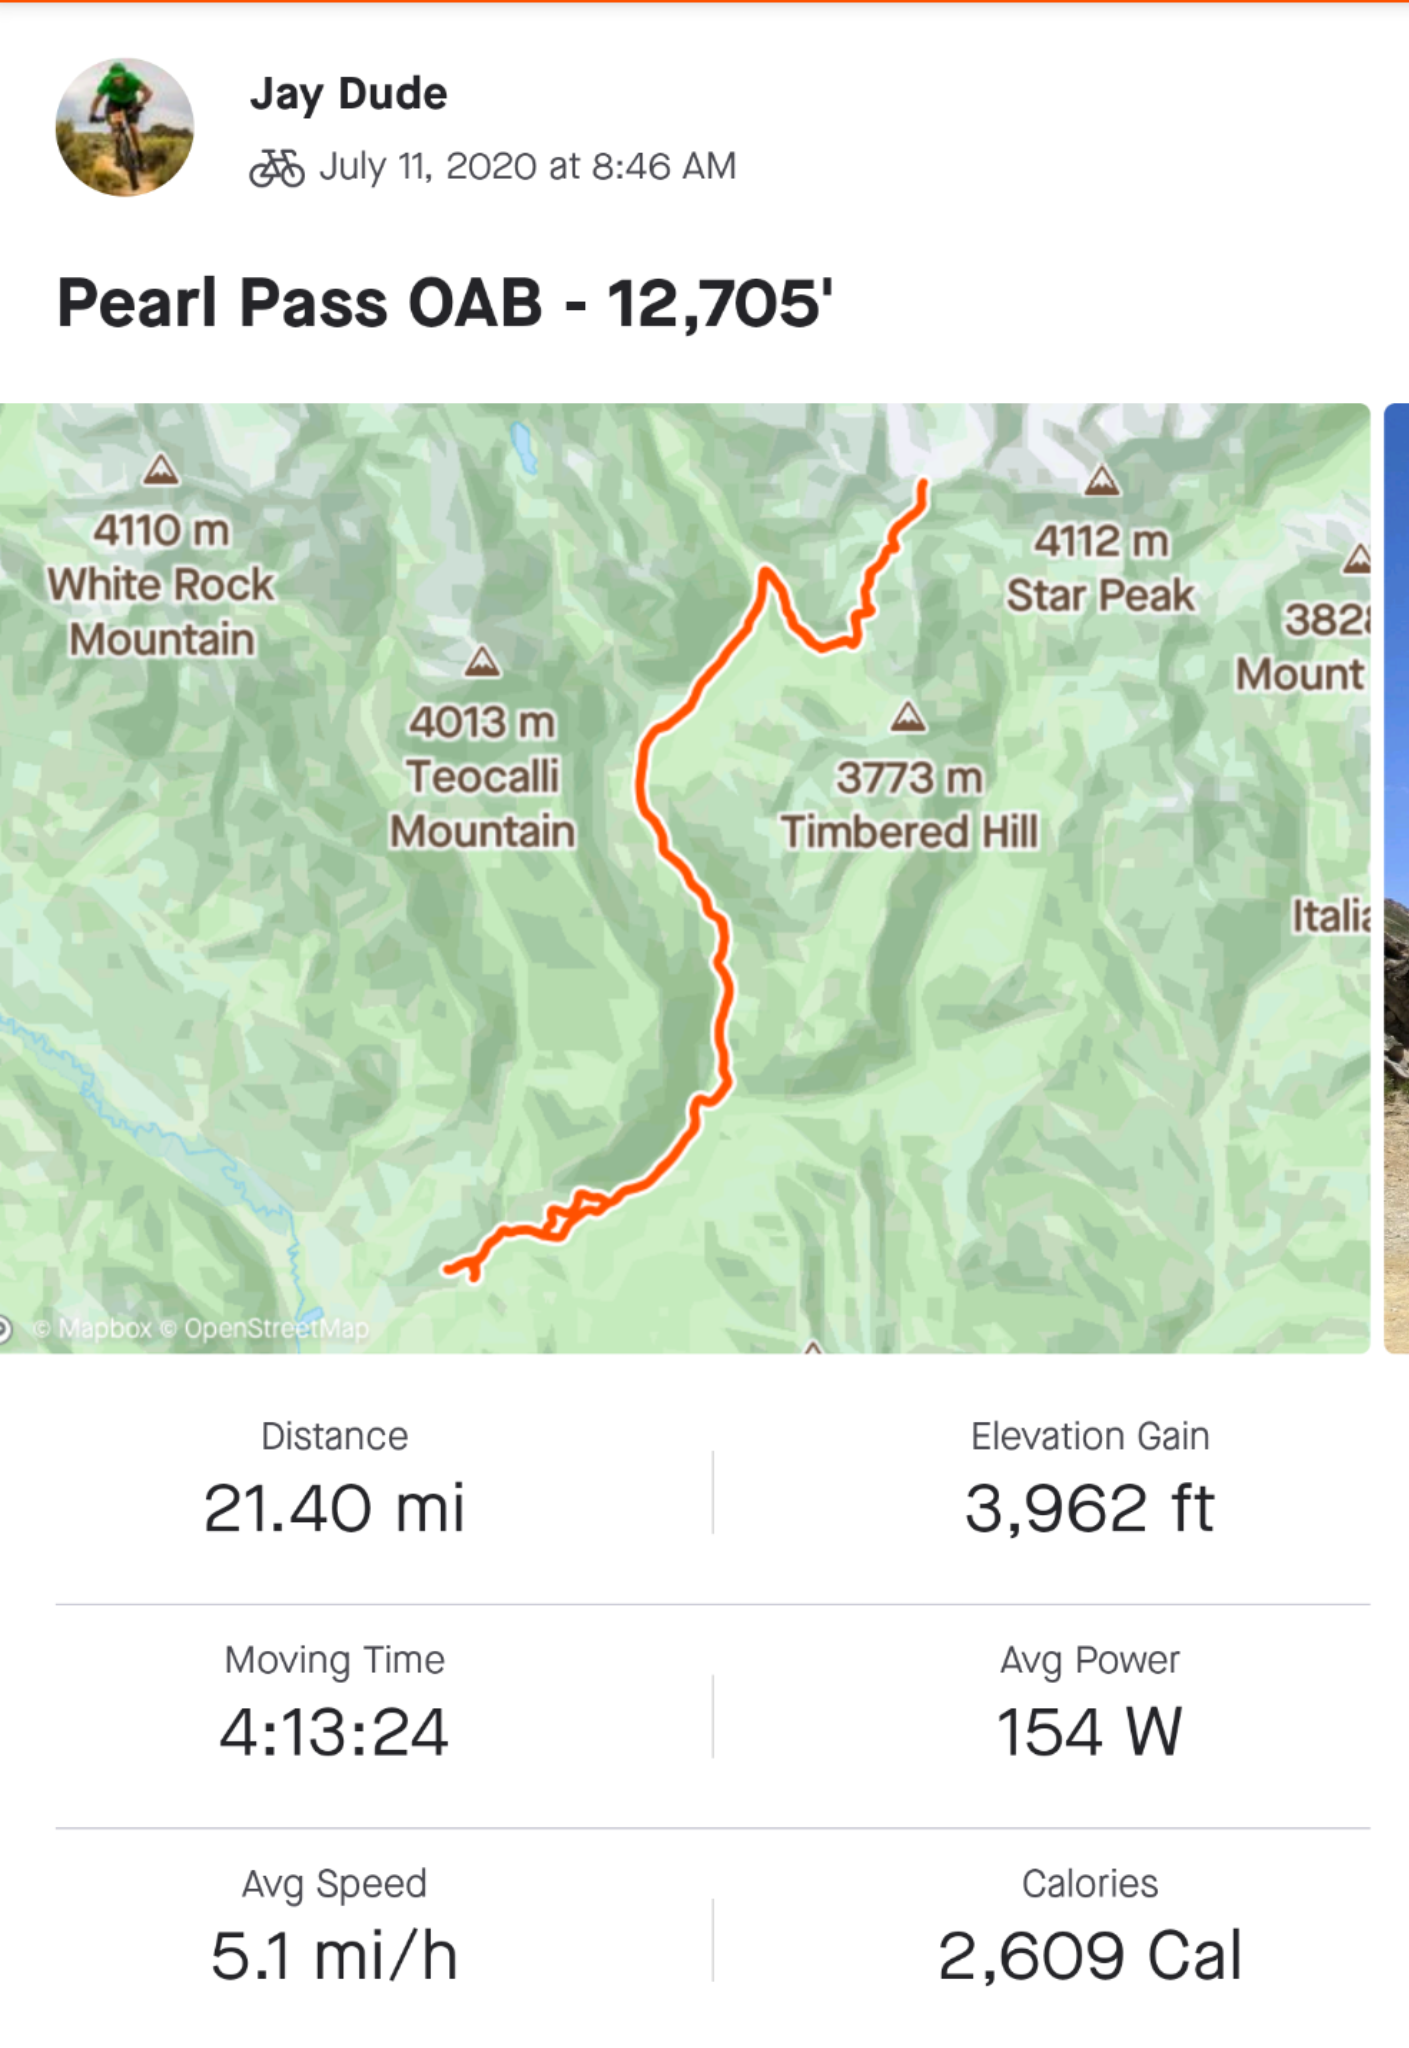
Check out my activity on Strava: https://strava.app.link/2EFaYYkaw9
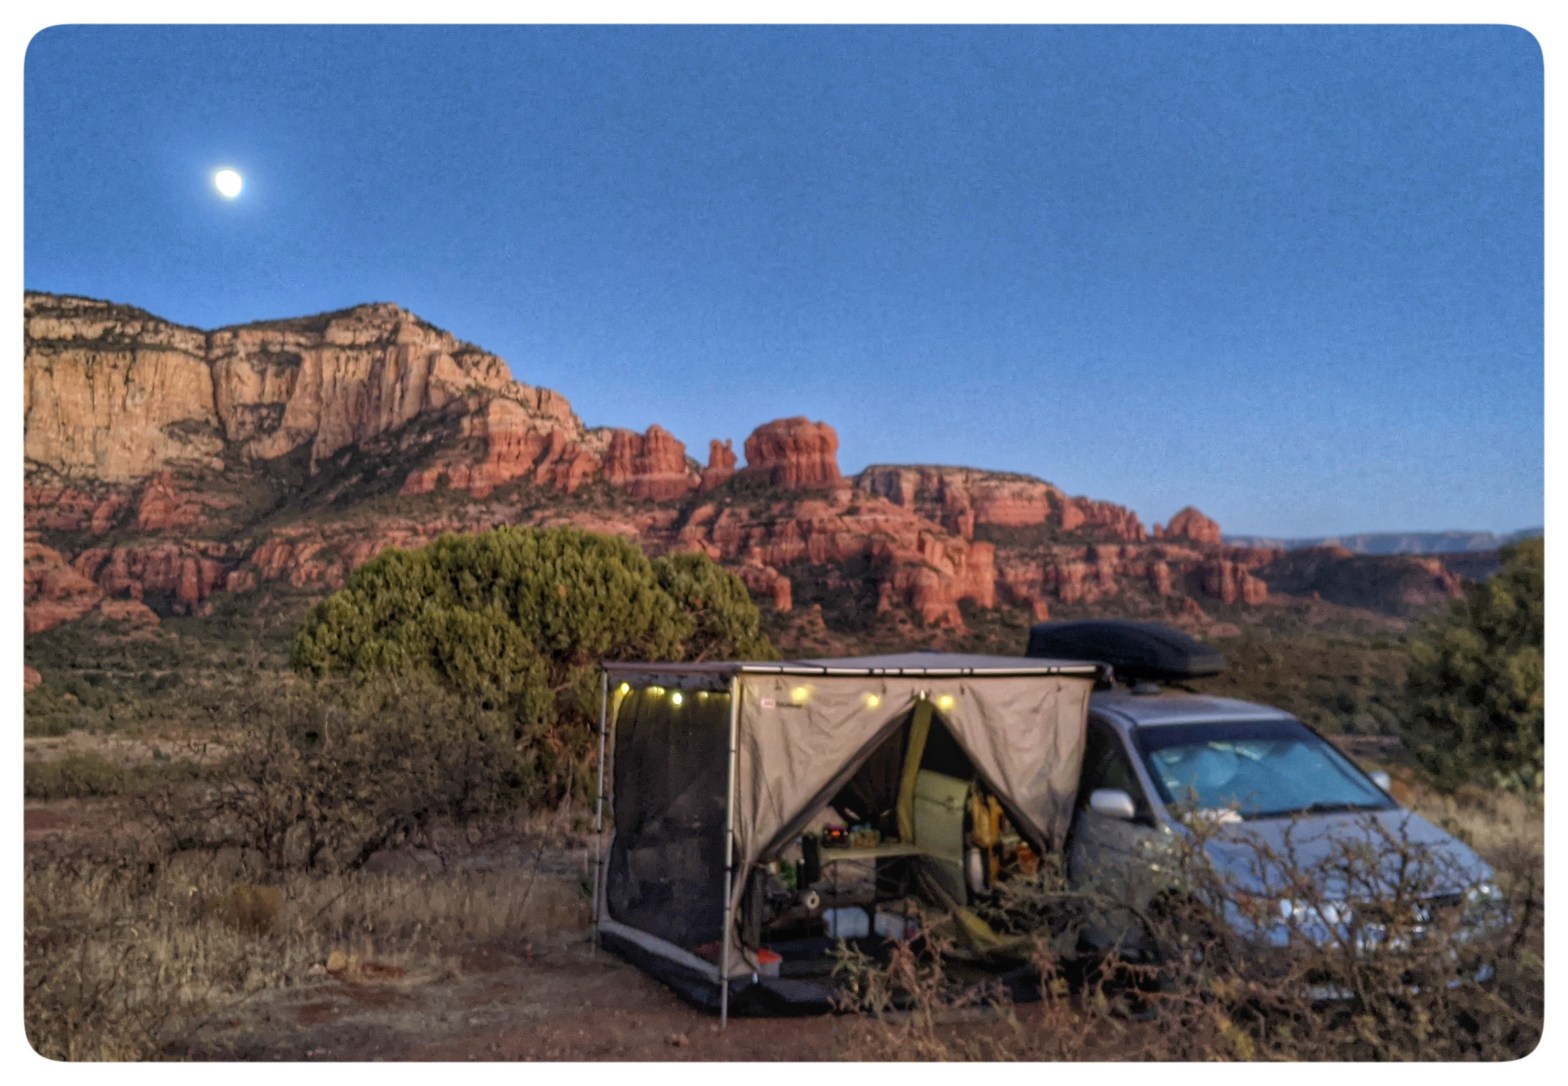

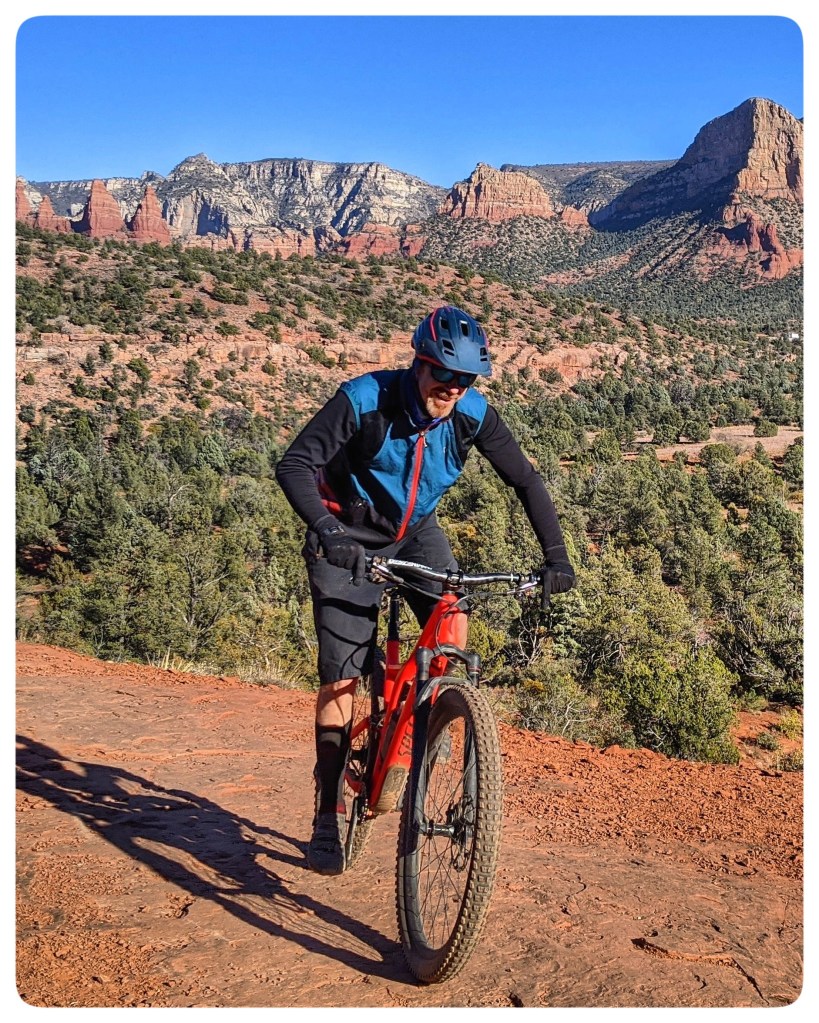
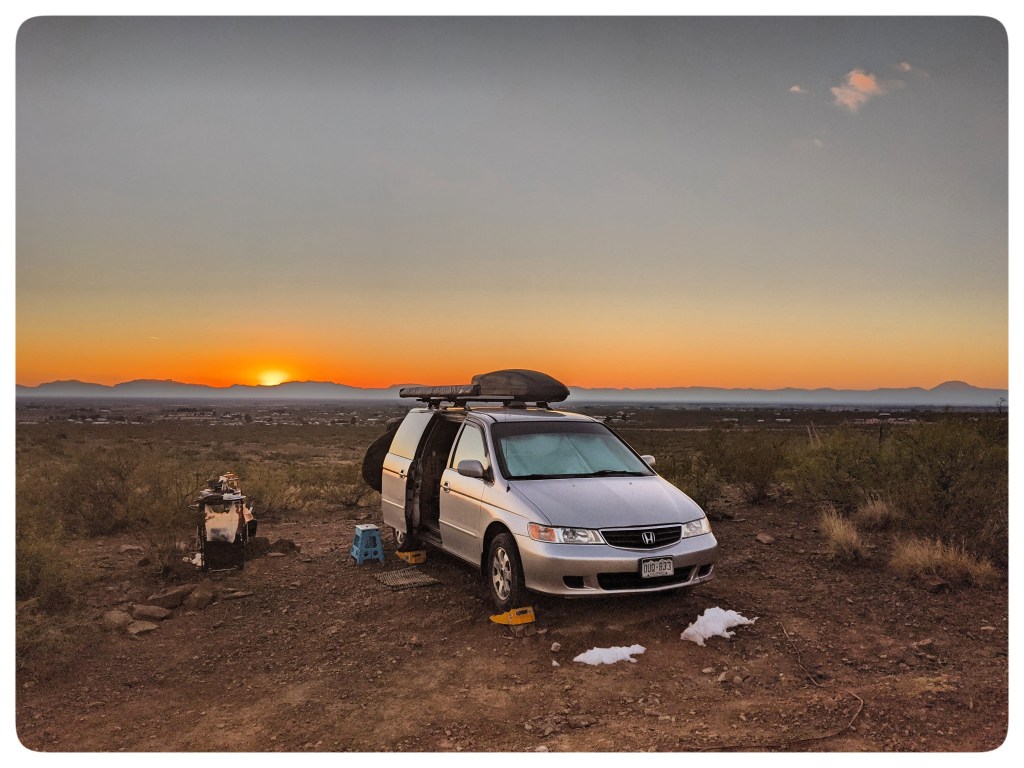


![IMG_20200817_172348[1]](https://journeyvision.net/wp-content/uploads/2020/12/img_20200817_1723481.jpg "IMG_20200817_172348[1]")
![IMG_20200817_172906[1]](https://journeyvision.net/wp-content/uploads/2020/12/img_20200817_1729061.jpg "IMG_20200817_172906[1]")


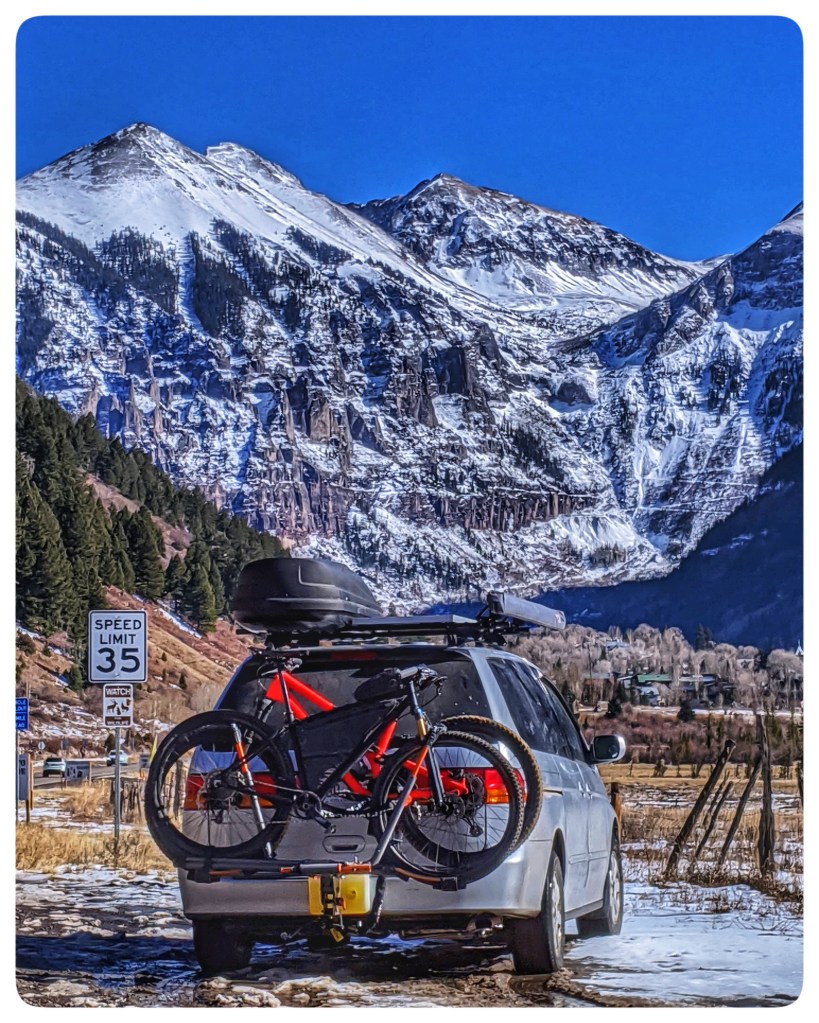
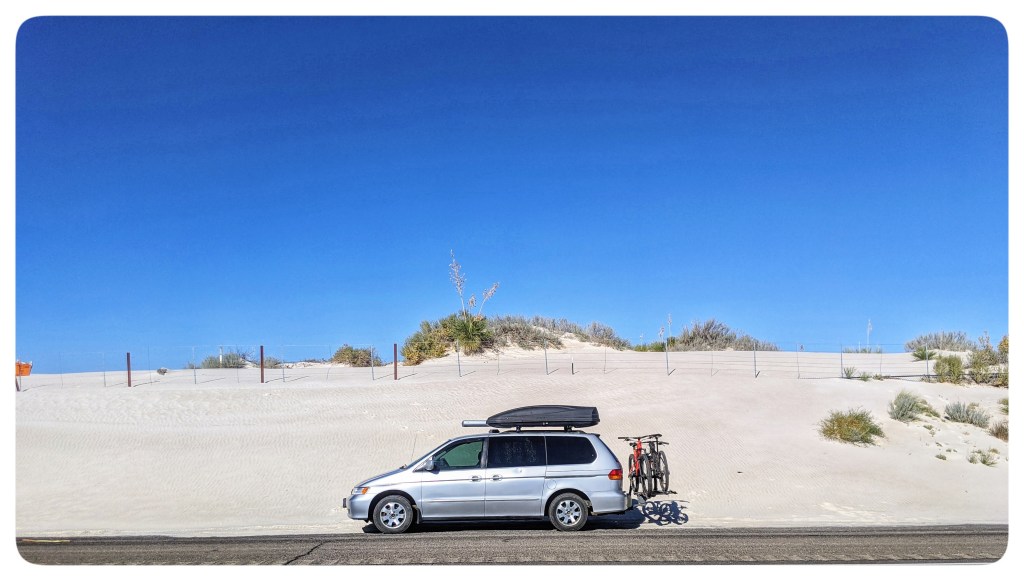
![IMG_20201005_150344[1]](https://journeyvision.net/wp-content/uploads/2020/11/img_20201005_1503441.jpg "IMG_20201005_150344[1]")


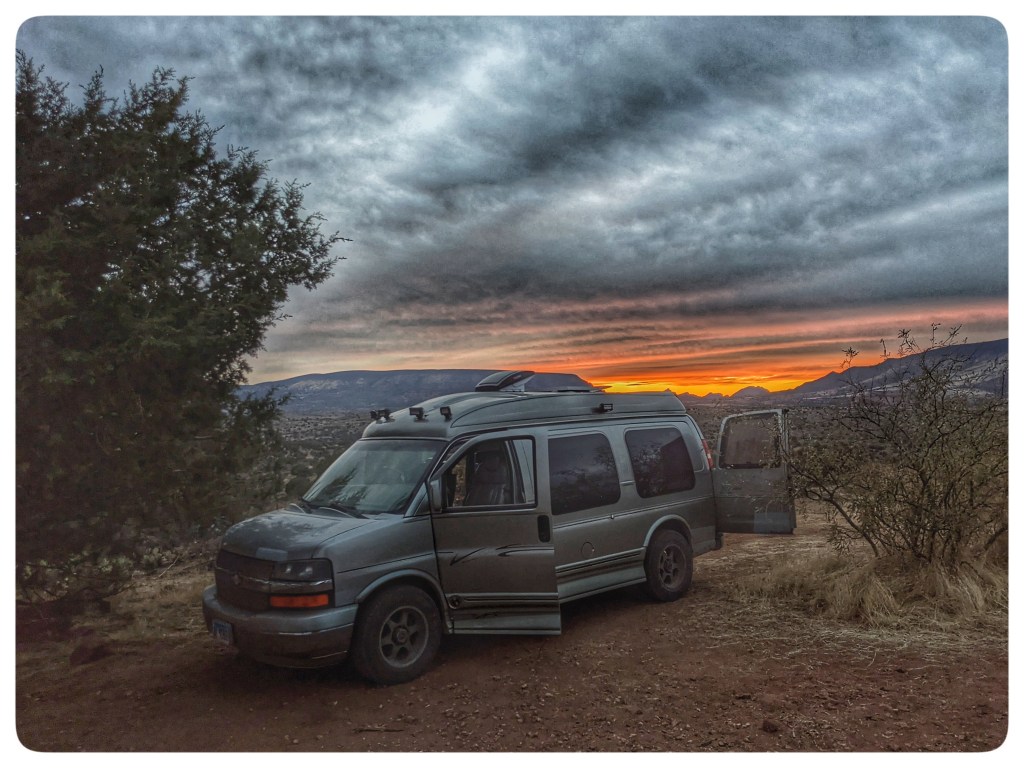
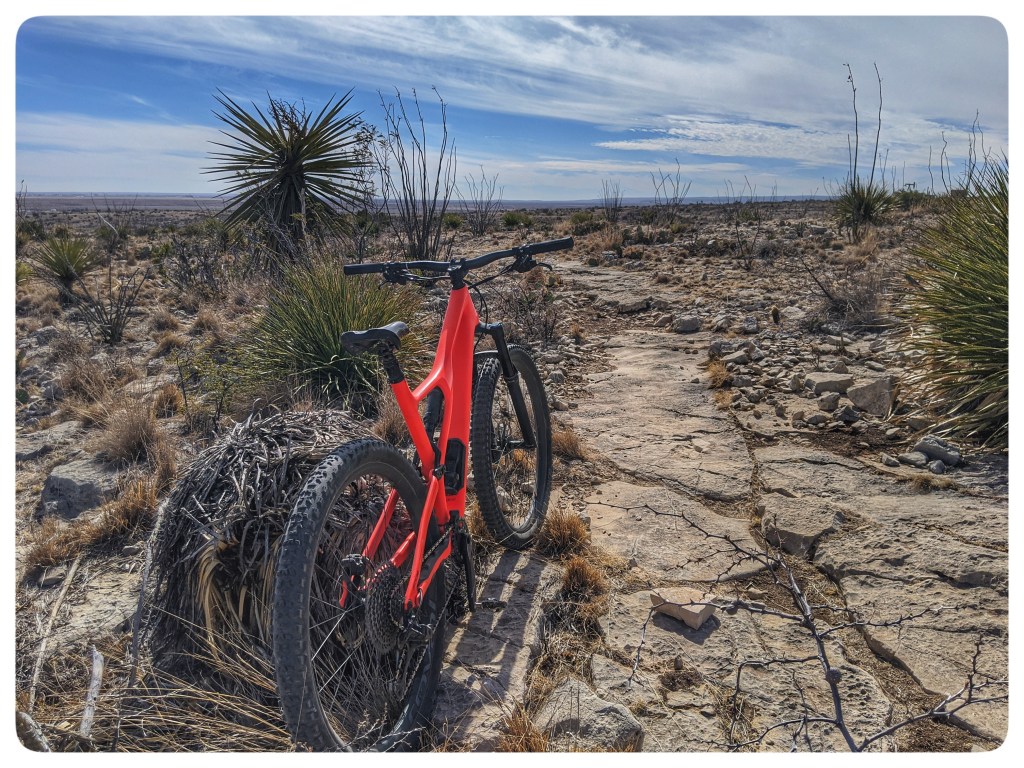
![PXL_20201123_180047989[1]](https://journeyvision.net/wp-content/uploads/2020/11/pxl_20201123_1800479891.jpg "PXL_20201123_180047989[1]")


")


 T
T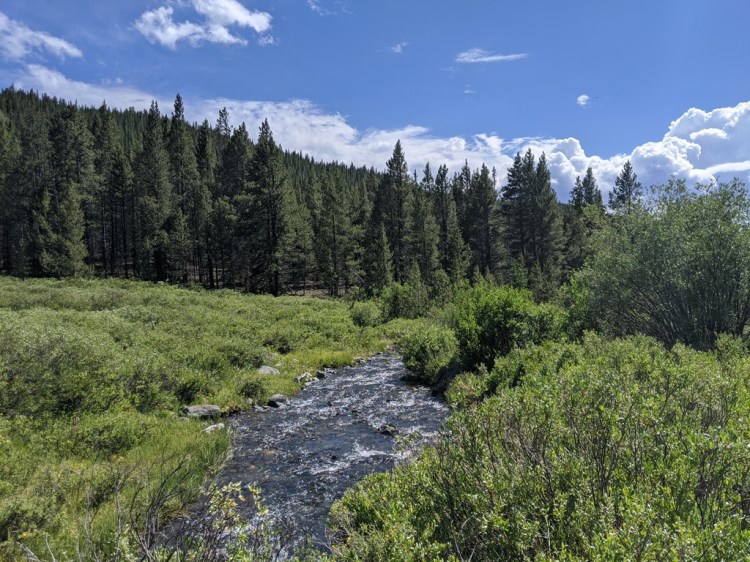


")
")
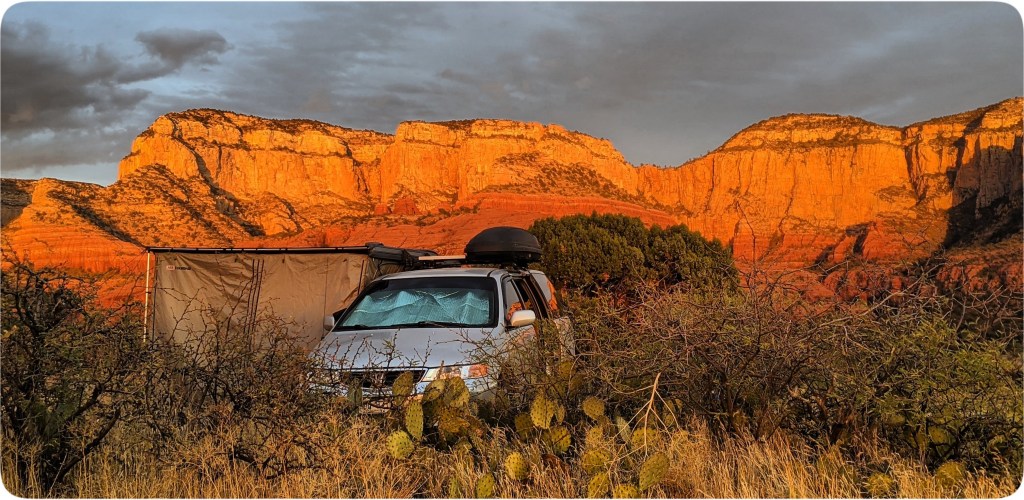
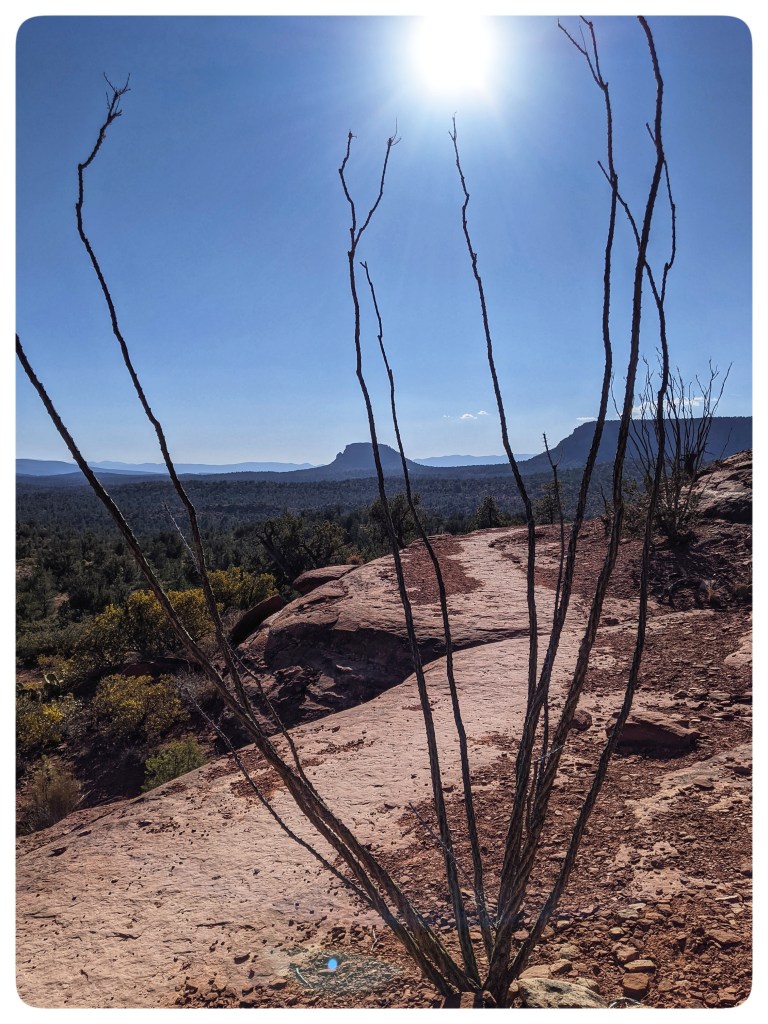
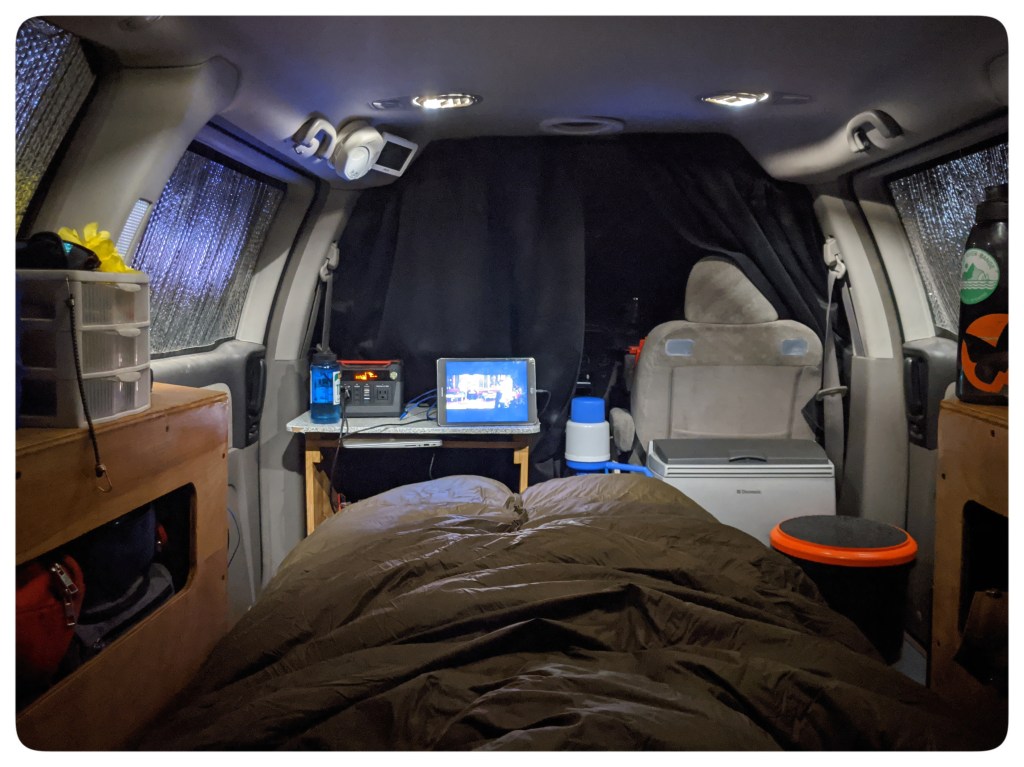
![IMG_20200908_102402[1]](https://journeyvision.net/wp-content/uploads/2020/11/img_20200908_1024021.jpg "IMG_20200908_102402[1]")
![IMG_20200908_102343[2]](https://journeyvision.net/wp-content/uploads/2020/11/img_20200908_1023432.jpg "IMG_20200908_102343[2]")
![IMG_20200908_102405[1]](https://journeyvision.net/wp-content/uploads/2020/11/img_20200908_1024051.jpg "IMG_20200908_102405[1]")
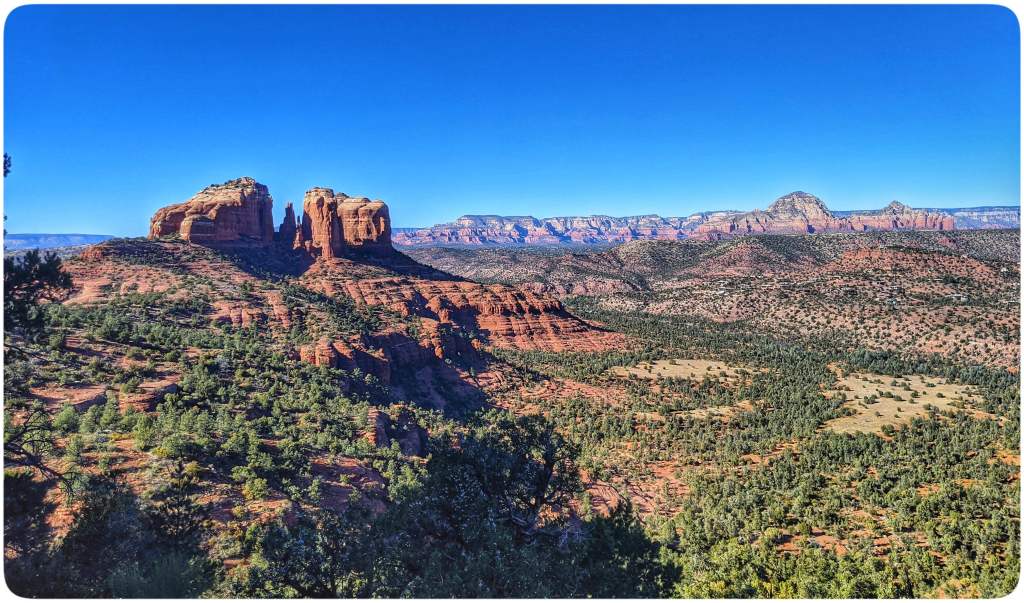
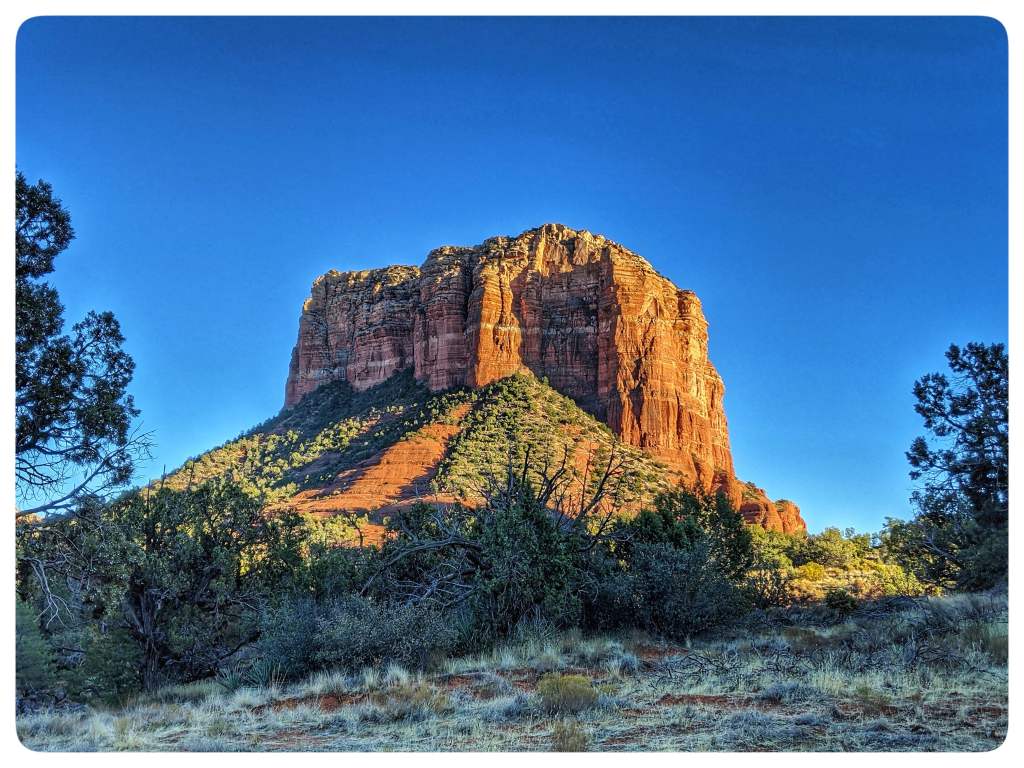
![20150818_100250[1]](https://journeyvision.net/wp-content/uploads/2020/11/20150818_1002501.jpg "20150818_100250[1]")


![IMG_20200705_113245[1]](https://journeyvision.net/wp-content/uploads/2020/08/img_20200705_1132451.jpg "IMG_20200705_113245[1]")


![IMG_20200705_122622[1]](https://journeyvision.net/wp-content/uploads/2020/08/img_20200705_1226221.jpg "IMG_20200705_122622[1]")
![IMG_20200705_150400[1]](https://journeyvision.net/wp-content/uploads/2020/08/img_20200705_1504001.jpg "IMG_20200705_150400[1]")
![IMG_20200705_170047[1]](https://journeyvision.net/wp-content/uploads/2020/08/img_20200705_1700471.jpg "IMG_20200705_170047[1]")
![IMG_20200705_174008[1]](https://journeyvision.net/wp-content/uploads/2020/08/img_20200705_1740081.jpg "IMG_20200705_174008[1]")
![IMG_20200705_192114[1]](https://journeyvision.net/wp-content/uploads/2020/08/img_20200705_1921141.jpg "IMG_20200705_192114[1]")
![IMG_20200705_203002[1]](https://journeyvision.net/wp-content/uploads/2020/08/img_20200705_2030021.jpg "IMG_20200705_203002[1]")
![IMG_20200706_074148[1]](https://journeyvision.net/wp-content/uploads/2020/08/img_20200706_0741481.jpg "IMG_20200706_074148[1]")
![IMG_20200706_074154[1]](https://journeyvision.net/wp-content/uploads/2020/08/img_20200706_0741541.jpg "IMG_20200706_074154[1]")
![IMG_20200706_090142[1]](https://journeyvision.net/wp-content/uploads/2020/08/img_20200706_0901421.jpg "IMG_20200706_090142[1]")
![IMG_20200706_095350[1]](https://journeyvision.net/wp-content/uploads/2020/08/img_20200706_0953501.jpg "IMG_20200706_095350[1]")
![IMG_20200706_104055[1]](https://journeyvision.net/wp-content/uploads/2020/08/img_20200706_1040551.jpg "IMG_20200706_104055[1]")
![IMG_20200706_113707[1]](https://journeyvision.net/wp-content/uploads/2020/08/img_20200706_1137071.jpg "IMG_20200706_113707[1]")
![IMG_20200706_152321[1]](https://journeyvision.net/wp-content/uploads/2020/08/img_20200706_1523211.jpg "IMG_20200706_152321[1]")
![IMG_20200706_121113[1]](https://journeyvision.net/wp-content/uploads/2020/08/img_20200706_1211131.jpg "IMG_20200706_121113[1]")
![IMG_20200706_155215[1]](https://journeyvision.net/wp-content/uploads/2020/08/img_20200706_1552151.jpg "IMG_20200706_155215[1]")
![IMG_20200706_142350[1]](https://journeyvision.net/wp-content/uploads/2020/08/img_20200706_1423501.jpg "IMG_20200706_142350[1]")
![IMG_20200706_161111[1]](https://journeyvision.net/wp-content/uploads/2020/08/img_20200706_1611111.jpg "IMG_20200706_161111[1]")
![IMG_20200706_180528[1]](https://journeyvision.net/wp-content/uploads/2020/08/img_20200706_1805281.jpg "IMG_20200706_180528[1]")
![IMG_20200706_200511[1]](https://journeyvision.net/wp-content/uploads/2020/08/img_20200706_2005111.jpg "IMG_20200706_200511[1]")
