Back Story
Before I met Joe I was using a large CamelBak and and several compression sacks for my bikepacking adventures. This was back when the concept of bikepacking was new and frame bags were not yet available unless you wanted to make your own. I quickly learned that bikepacking with a heavy Camelbak was not the way to go. Sore sweaty back and shoulders, decimated sit bones, and intense fatigue is what I dealt with on my early bikepacking adventures. I bought my first JPak from Joe Tonsager in 2012 and it was a very early version of his current packs. Even back then he was ahead of his time in terms of quality and innovation. Joe is a Colorado Trail racer and an avid bikepacker himself. He uses all of his own bags and tests of his products rigorously in the field. The frame bag that I first had made 2011 is still in great shape and gets used to this day. Working with a custom bike bag maker like JPaks over the years has been an excellent way for me to get set up for big bikepacking adventures.
Joe stands behind his products and is just a all around great guy to work with! Be sure to visit his website here. Depending on your bike and type of adventures you are planning, Joe can design your bags in a variety of ways such as custom colors, custom pockets, double or single zippers, bladder storage, webbing for your pump, etc. Lately Joe has been using a very durable material called XPac and XPac Lite. Not only does it look good, it’s highly durable and water resistant. If I have ever had any problems with the packs Joe will fix them personally even if it means tearing apart and rebuilding your bag. Over an 8 year span there were only 2 times I had to send my packs back. Once for a blown out zipper, and another was to repair a hole in the bottom of my frame bag from crank rub. Both instances Joe was able to repair and get the bags back to me in a very reasonable amount of time. I especially liked that when he fixed the hole from crank rub on my Stumpjumper he reinforced it with some very sturdy plastic material to prevent another hole from ever developing again. In terms of finding a more personable, innovative, and quality driven bike bags go no further than JPaks.
FramePak (approx $300)

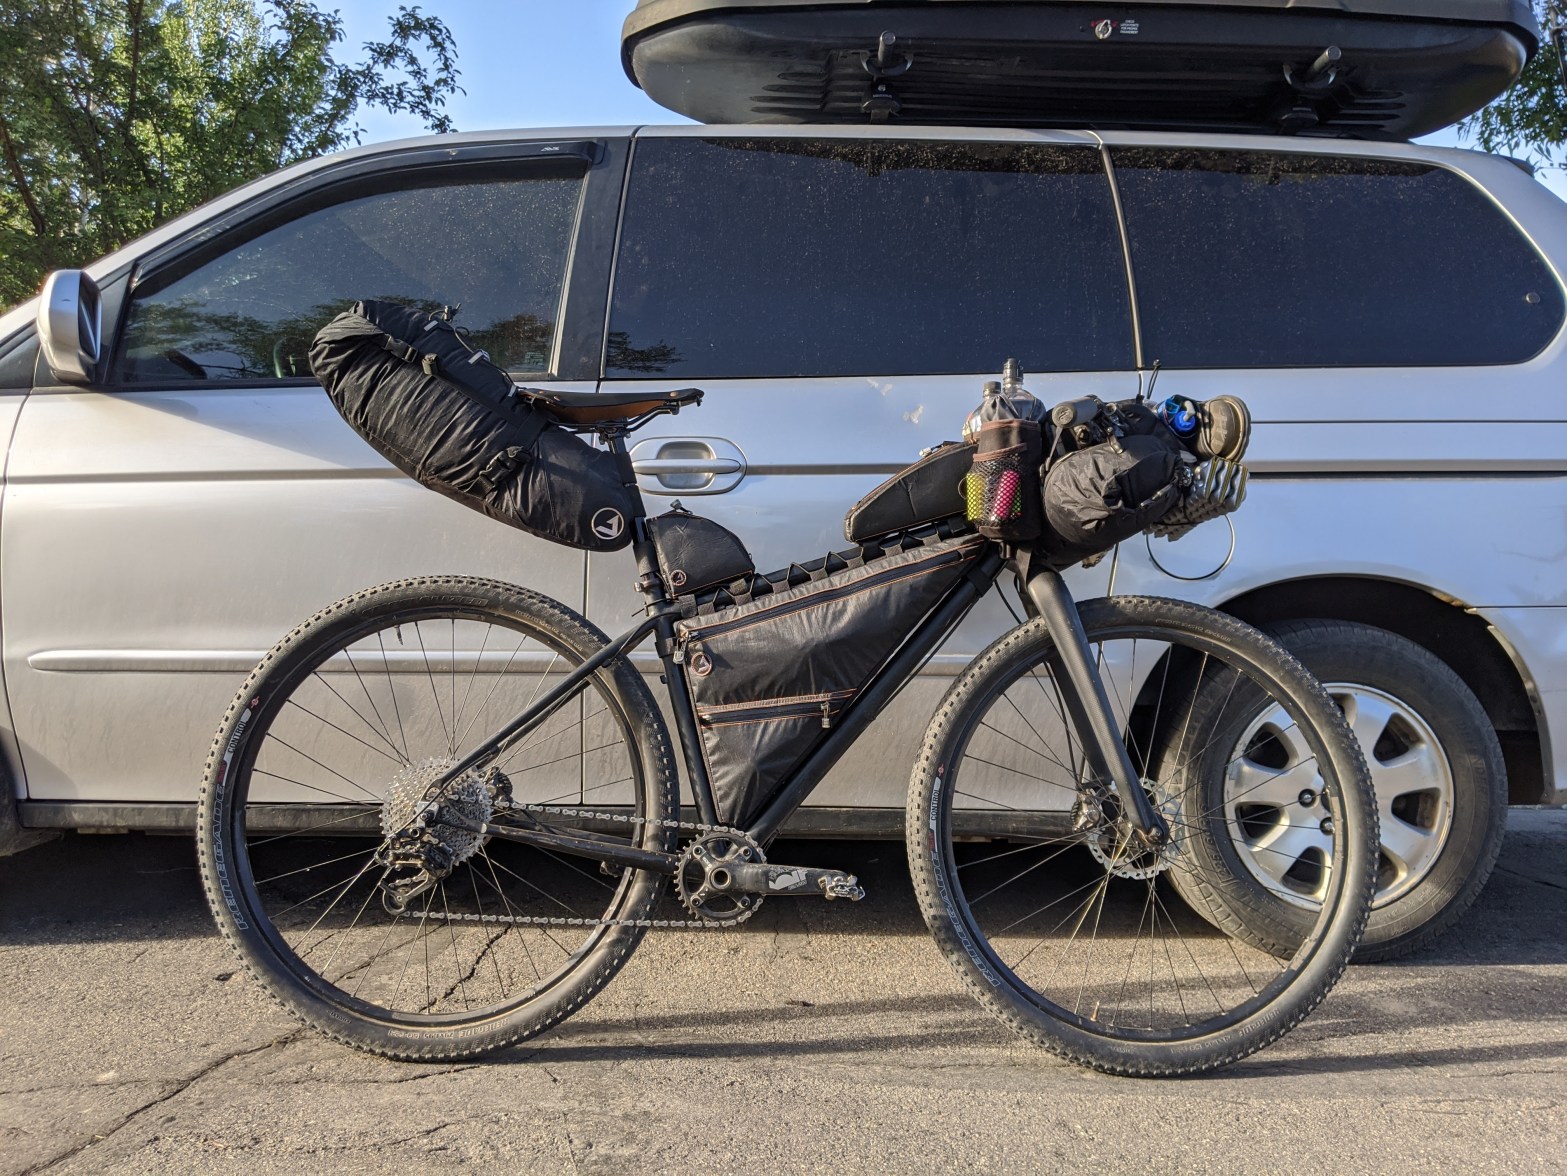
I have purchased 4 frame bags from Joe over the years. One for my hard tail bike in 2012, and a Surly Cross Check and Specialized Stumpjumper sometime in 2015. In July of this year I received the beautiful pack above made out of XPac Liteskin material. FramePaks need to be custom made and it starts by creating a template of your frame triangle. Joe can provide you instructions on how to create a template at home, or drop into his shop in Denver and he can make one for you while enjoying some friendly conversation about bikes and adventures!
The FramePak is by far my favorite and most functional bag JPaks offers. My FramePak almost always stays attached to my bike and allows me to take on day rides and bikepacking adventures with nothing on my back. I am able to carry all my tools, tubes, pump, food, clothing, and water stored neatly inside my frame triangle. For bikepacking trips it functions amazingly with easy access to all those items you need to grab quickly while on trail. I am always amazed at how much stuff fits inside. Joe uses closed cell foam to create structure and rigidity. It’s also flared in the front by the head tube so if you are looking for a place to stash a jacket or leg warmers there is always plenty of room waiting for you there. About 2/3 the way down the inside of the FramePak there is a divider in the middle that can be used to create 2 separate compartments, each with their own zipper access from the drive side of the bike. The velcro divider in the middle can be stashed away to make your bag one compartment if that is what you prefer. There are so many functional pockets on piece of gear! I did not capture good pictures of the pockets but counted over 7. These pockets will hold everything form your pump, energy bars, clothing, water, tools, tire sealant, and even several beers. For awhile now Joe has been leading the industry by taking advantage of the water bottle mounts already in the frame to attach the frame bag directly to your frame. The top of the bag is secured by a elastic cord laced through tabs across the top of the bag. This makes for a very secure fit and allows the bag to hold its shape but flex while zipping up tight loads.

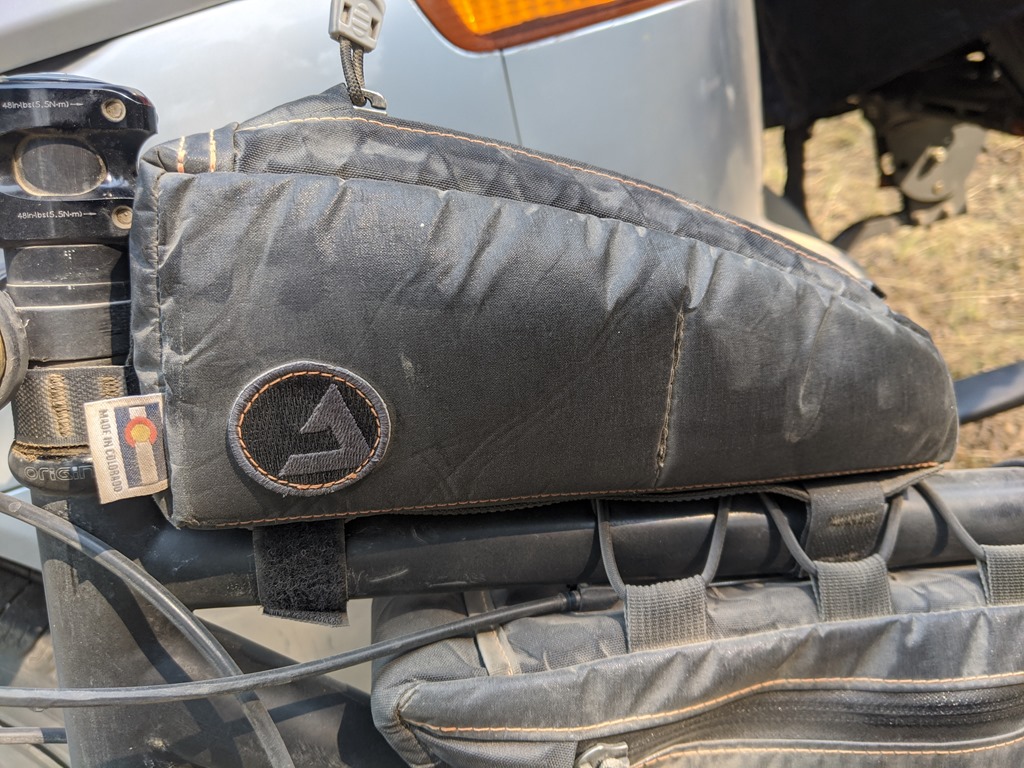
One of the Innovative features on the FramePak is a port to run your CamelBak Hose or cables for your lighting system through.

Picture of the bolt on mounts from inside.

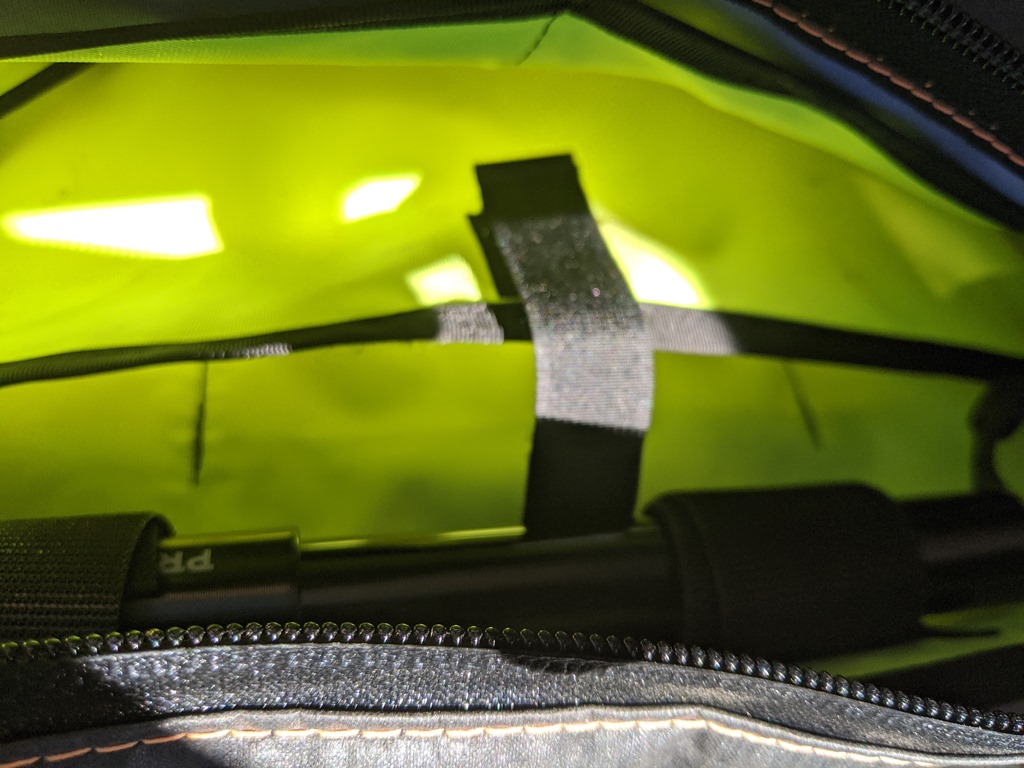
Peaking inside to see the velcro divider and Joe’s flawless stitching. I like having the option to have one large compartment or two smaller ones. And all the different sized internal pockets, so much storage! Its important to stay organized on trail and my FramePak really helps. Also the highlighter yellow interior seems to light up and make it easier to find what you are looking for. There are 3 pockets on the drive side and 4 pockets on the non drive side in addition to the main compartment allowing me to organize my gear just about anyway possible.
SeatPak (Retail from $170)
")
I have purchased 2 different versions of SeatPaks. I have a large one (SeatPak) that I use for bikepacking and a small one (GravelPak) that I use for commuting or long day rides. Both I have been very satisfied with. The GravelPak fits a pair of shoes or a jacket and some light clothing which makes it perfect for commuting or bringing extra layers for that winter ride. Unfortunately I do not have a picture of this pack but you can find one here.
The larger SeatPak’s performance is incredible when riding loaded. My seat pack is a few years old had is just as sturdy as the day I bought it. Some of my favorite innovations are the oversized straps and buckles used to keep this large bag snug and your gear compressed. In the above picture my pack is filled to the brim. I rely on mine to hold my shelter, 10 degree sleeping bag, and rain gear. That’s a lot of stuff!. My JPaks Seatpak fits securely with 2 over built velcro tabs around the seat post then two heavy duty straps with locking buckles that attach to my seat rails. This plus some plastic molding in the front of the pack makes for easy loading. After my gear is stuffed inside I use a velcro enclosure at the edge of the bag and compression straps to roll and compress its contents. What I end up with, if properly packed, is a very stable bag that holds my gear securely all day long despite how rough the ride gets. There is minimal sway and my legs or butt do not rub against the material when peddling. I have been extremely happy with this pack and has proven to be an essential piece of my bikepacking gear.
Deluxe BarritoPak (call for pricing) and RukSak ($60 each)
")
Bags from left to right..The Pouch, BarritoPak, and RukSak all work in harmony to securely load gear onto the front of your bike. In the picture above is my JPaks Deluxe H-Bar Pak setup with the BarritoPak and the handy Pouch that for the front. With all my gear fully packed I find minimal impact with steering and the load feels nicely balanced and secure on the front of my bike. The BarritoPak is the largest bag in the grouping and is the one that looks like a burrito. Each end is equipped with a velcro and buckle and roll system that allows you to compress your gear. The cleverly designed “H” mounts space the bag away enough from your bars to clear your cables and levers. I typically will strap this bag on loosely then use a piece of gear like an air mattress or sit pad to create structure in the middle. Then fill the rest with food on one side and clothing on the other opening. After compressing each end you should have a nice burrito shape. Joe makes an additional pouch that is designed to mount to the front of the “barrito” and offers quick access for items like my stove, food, medical kit, and more. It takes some practice to pack and get the straps right but when done correctly I am left with an all day long secure fit.

It’s pretty standard to have 2 RukSaks, one on each side of your stem. These mount securely using straps from the BarritoPak and a strip of velcro connecting each pack to the stem. On the bottom of each RukSak is a strap to lash under your fork crown to finalize securing it. Inside there is plenty of storage for large or small water bottles, snacks, sunglasses, bear spray and whatever else I need to stuff in there. There is a drawstring on top to close it off and a mesh pocket on the outside for a couple energy bars, ear buds, or to stuff your wrappers in.
SnackPak ($70) and the ToolPak ($45)
![IMG_20200908_102402[1]](https://journeyvision.net/wp-content/uploads/2020/11/img_20200908_1024021.jpg "IMG_20200908_102402[1]")
The SnackPak is a simple but highly functioning bag. It’s constructed using XPac Lite and closed cell foam to ensure a sturdy shape for you ride. Its easy to un-zip and zip back up while riding.
![IMG_20200908_102343[2]](https://journeyvision.net/wp-content/uploads/2020/11/img_20200908_1023432.jpg "IMG_20200908_102343[2]")
Another great innovation is a velcro divider inside the SnackPak that’s just the right size for energy bars in top compartment and my keys in the bottom. Like the FramePak, If needed the divider can be opened up for more room.
![IMG_20200908_102405[1]](https://journeyvision.net/wp-content/uploads/2020/11/img_20200908_1024051.jpg "IMG_20200908_102405[1]")
My ToolPak fits snugly into this corner of my bike and is filled with bike tools, spare parts, a small bottle of chain lube, and enough room left for my headlamp.
Overall
Synergy is what makes these packs so amazing. They all work together to carry your gear over rugged trails and keeps you comfortable over long distances. Its also great to work with Joe. He is a stand up guy and is fun to be around. He is very knowledgeable and it shows with his passion of cycling and the sport of bikepacking.
With 8 years experience using JPaks I can say I am pleased with every purchase. Joes quality and innovation proves he is an absolute industry leader. If I had any issues it would be the long lead times on custom items like FramePaks. Typically everything is made to order. Joe is just a one man show and supports a large demand of bikepackers that love his products. Something else to consider is that JPaks for the most part are water resistant and not waterproof. I typically bring along a couple trash compactor bags to line the inside during heavy wet weather.
The JPaks on my bike have elevated my cycling and hunger for adventure to new levels. I have completed the Colorado Trail in 2015 and the Kokopelli Trail 4 times along with countless other adventures that you can find on this blog.
![20150818_100250[1]](https://journeyvision.net/wp-content/uploads/2020/11/20150818_1002501.jpg "20150818_100250[1]")
